Dungeons & Derps: Nothic
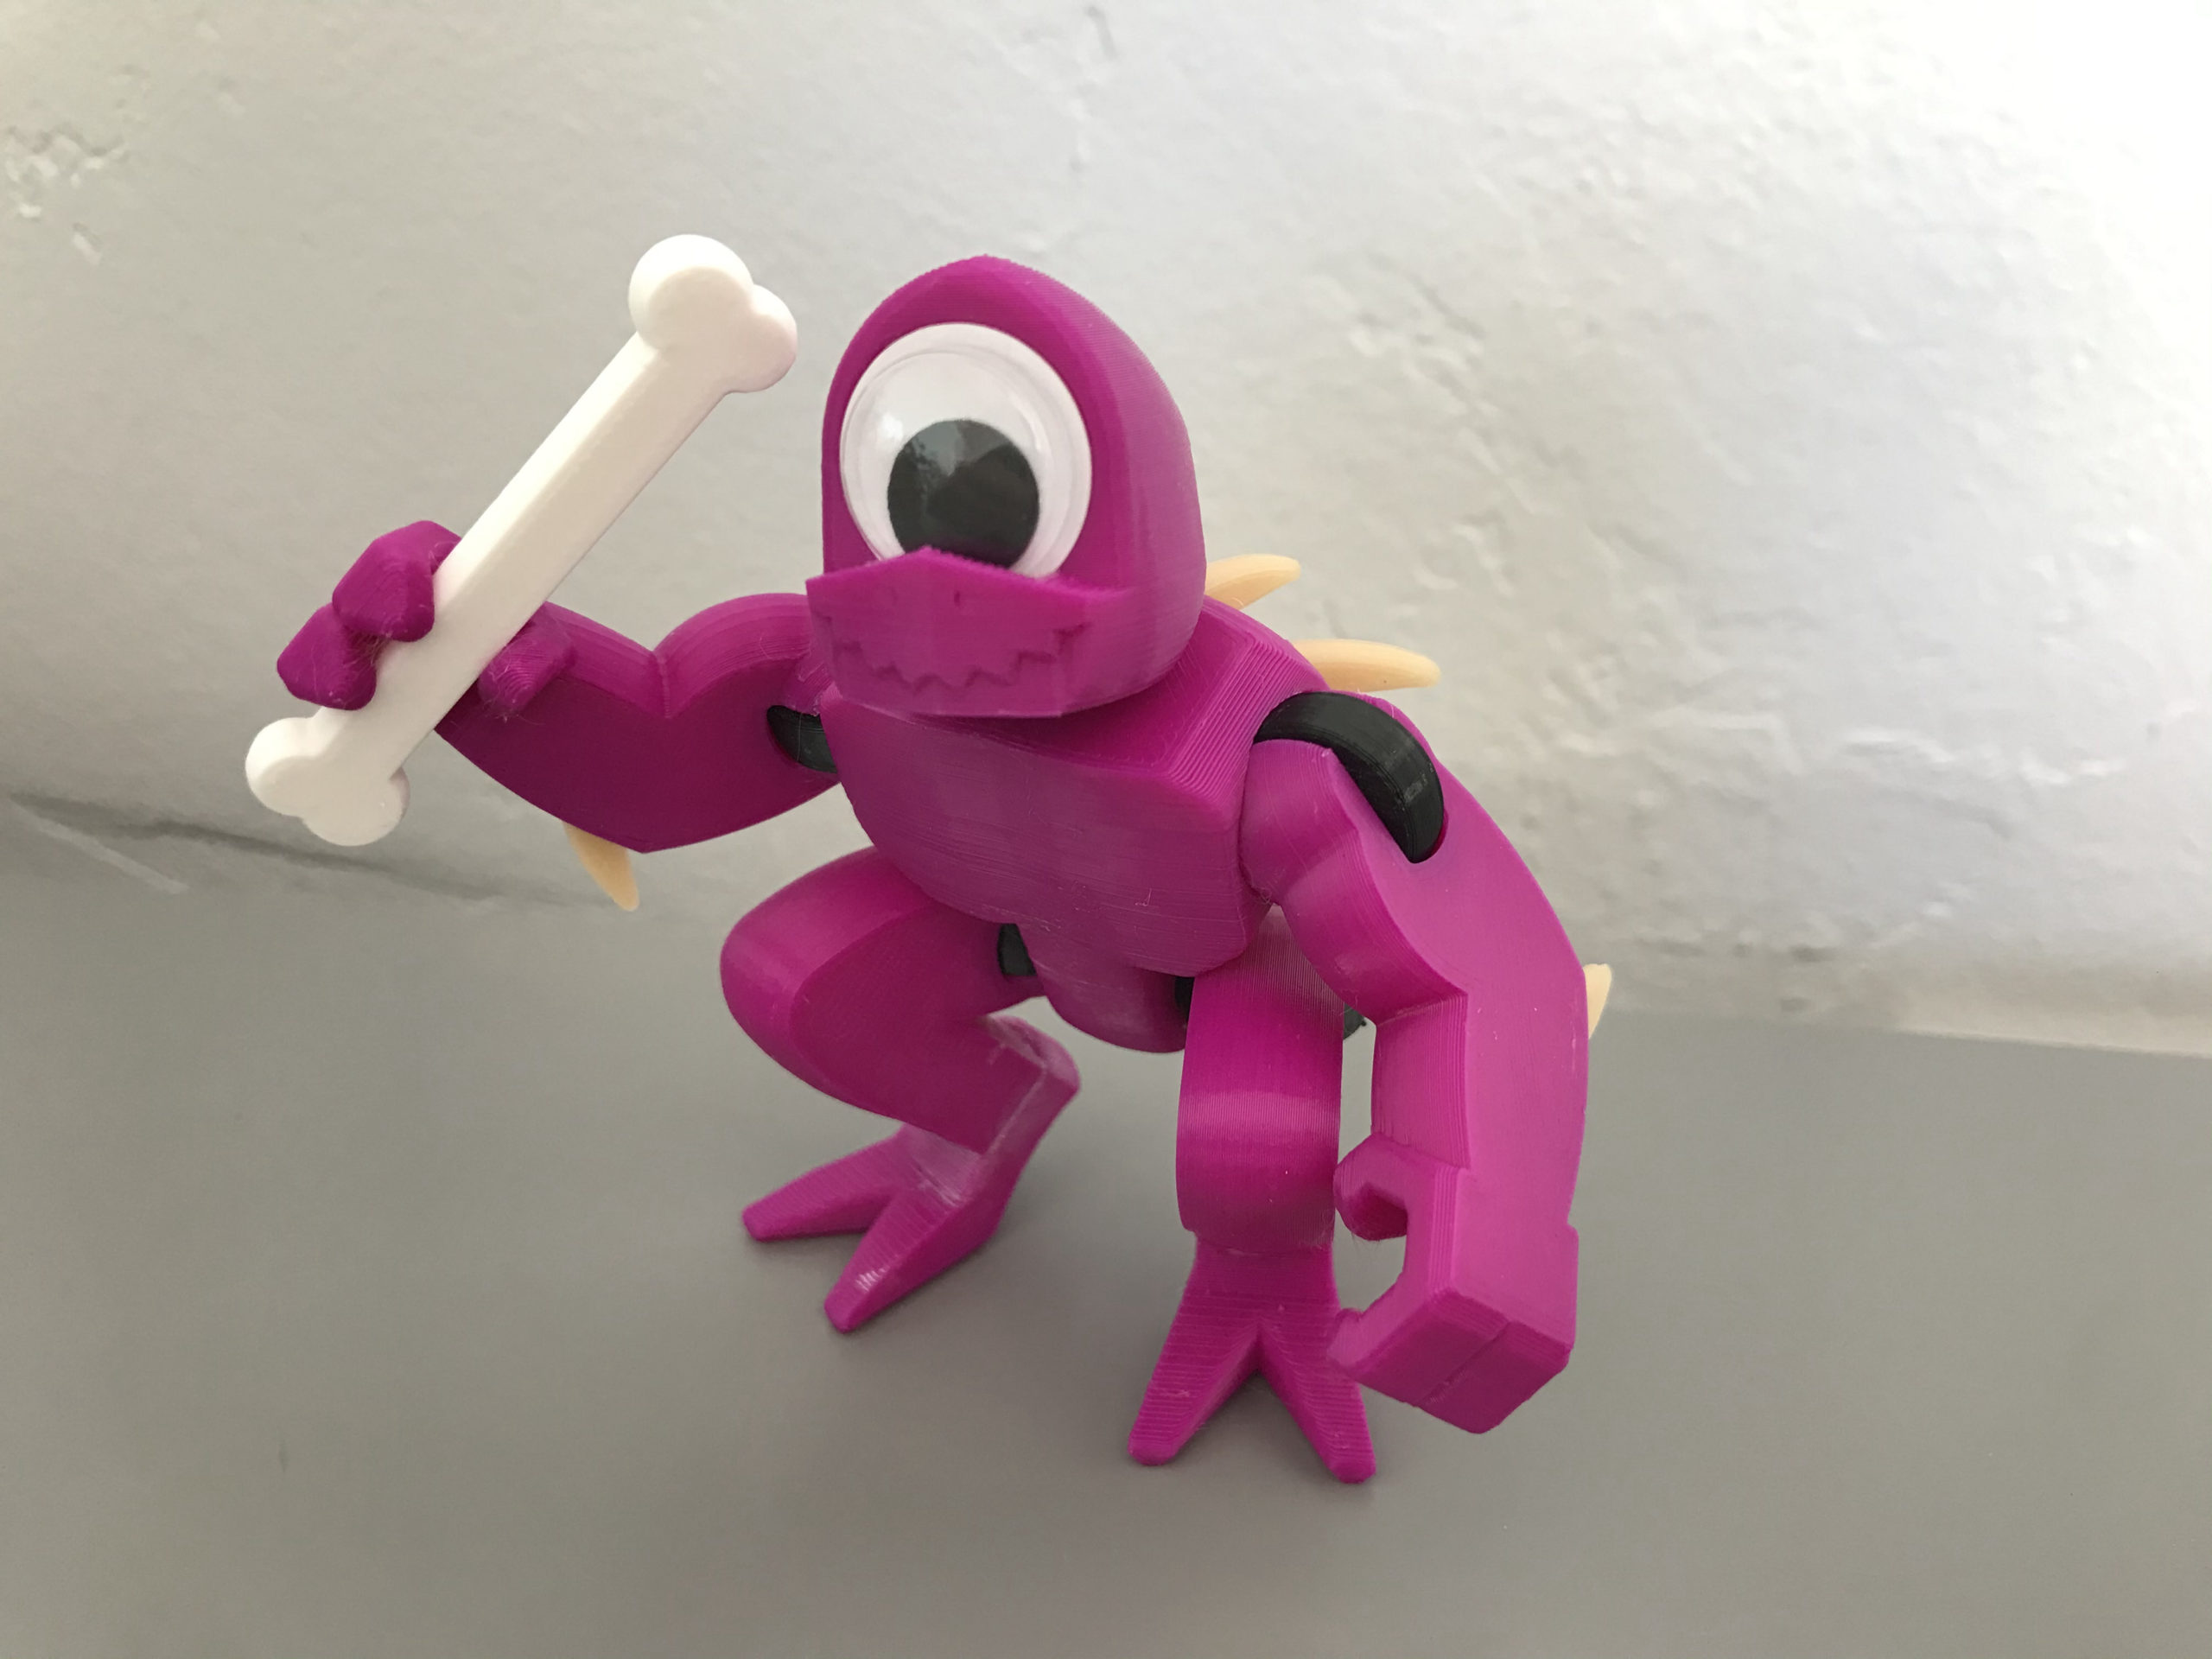
Started playing D&D for the first time earlier this year (thanks for being a great DM, BFFNate!), and monsters are fun. For these reasons, I realized I needed to get right back into action figures by designing adorable, goofy versions.
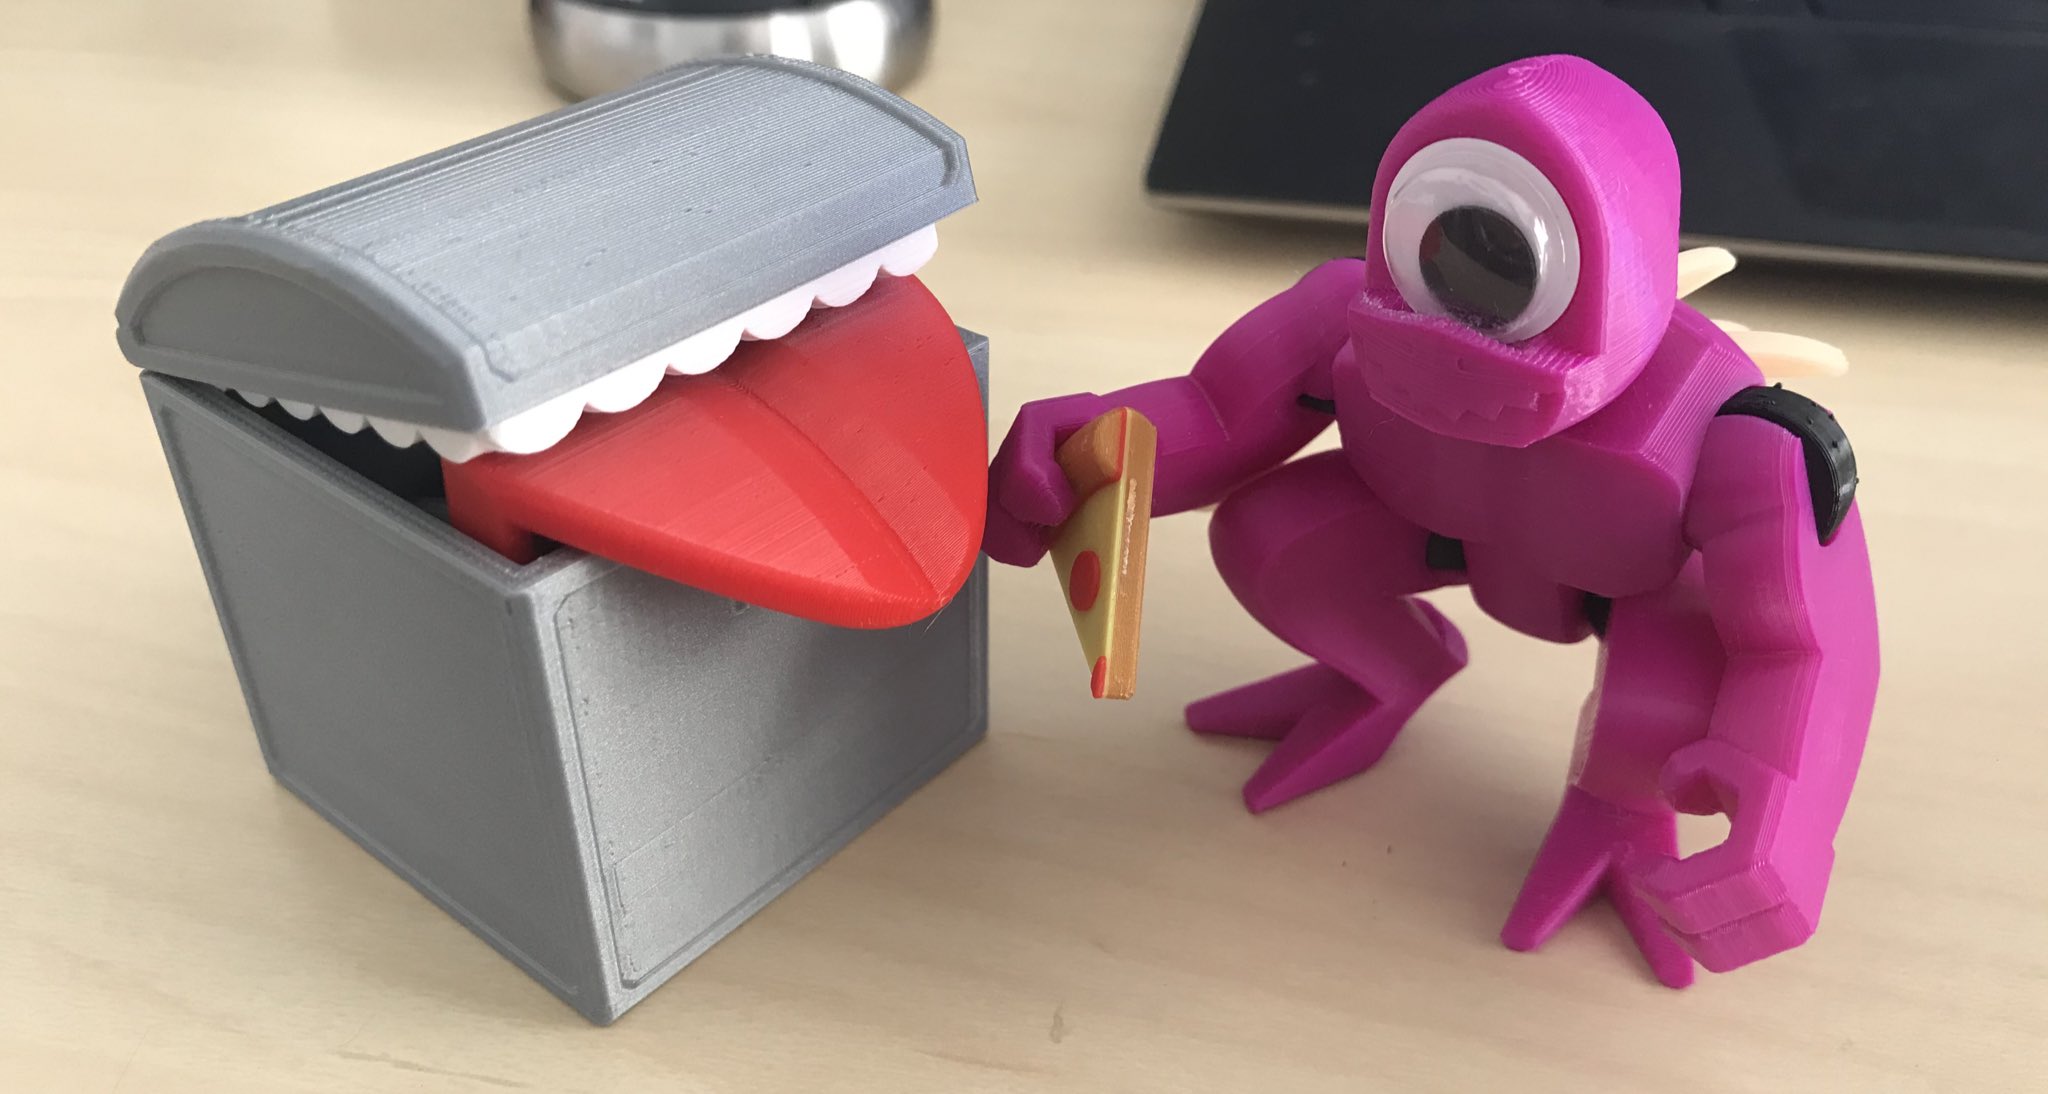
Also, wasn’t the plan at the time of development, but the Mimic Dice Box now counts as the first in the series.
Design Notes
Designed in FreeCAD v0.19 to expand my abilities in the software, and learned more and more about its capabilities and limitations. For the most part this turned out exactly the way it was envisioned. I usually like to chamfer all edges, but found that FreeCAD just wasn’t having that in a couple areas on the feet and head. Overall, I’m okay with that though because making the feet separate parts gave me the opportunity to get a bit fancier with the geometry.

Still need to figure out how to use one of the assembly workbenches. To make up for that, models were exported as STEP files and then imported to the body file to check fit and scale to each other.
Parts List
15mm Wiggle/Googly Eye (fever dream revealed how great of an addition this would be, so you all can thank the scientists at Moderna for this)
Helpful Tools
3D printer capable of working with flexible materials
Super glue
Needle Nose Pliers
Let’s get to making!
1. Print out Parts
Files can be found toward the bottom of the page.

AFJ-FreeCAD (x5)
Material: Flex (98A)
Infill: 15-20%
Supports: No
Brim: No
Nothic-LeftFoot, Nothic-RightFoot
Material: PLA
Infill: 50% (good solid feet)
Supports: No
Brim: No
Nothic-Spike (12x), Everything else (1x each)
Material: PLA
Infill: 15-20%
Supports: No
Brim: No
2. Assemble Joints
Press-fit the AFJ-FreeCAD components into the corresponding slots of the limb components as shown.

Press-fit the feet into the legs as shown. Use a little glue if necessary (please forgive the white spots on this model as the control gel I was using somehow got out of control).

Press-fit Nothic-Spike into the arms as shown (x2). Use a little glue and/or needle nose pliers if necessary.

3. Assemble Head
Press-fit the final AFJ-FreeCAD component into the head as shown.

4. Assemble Body
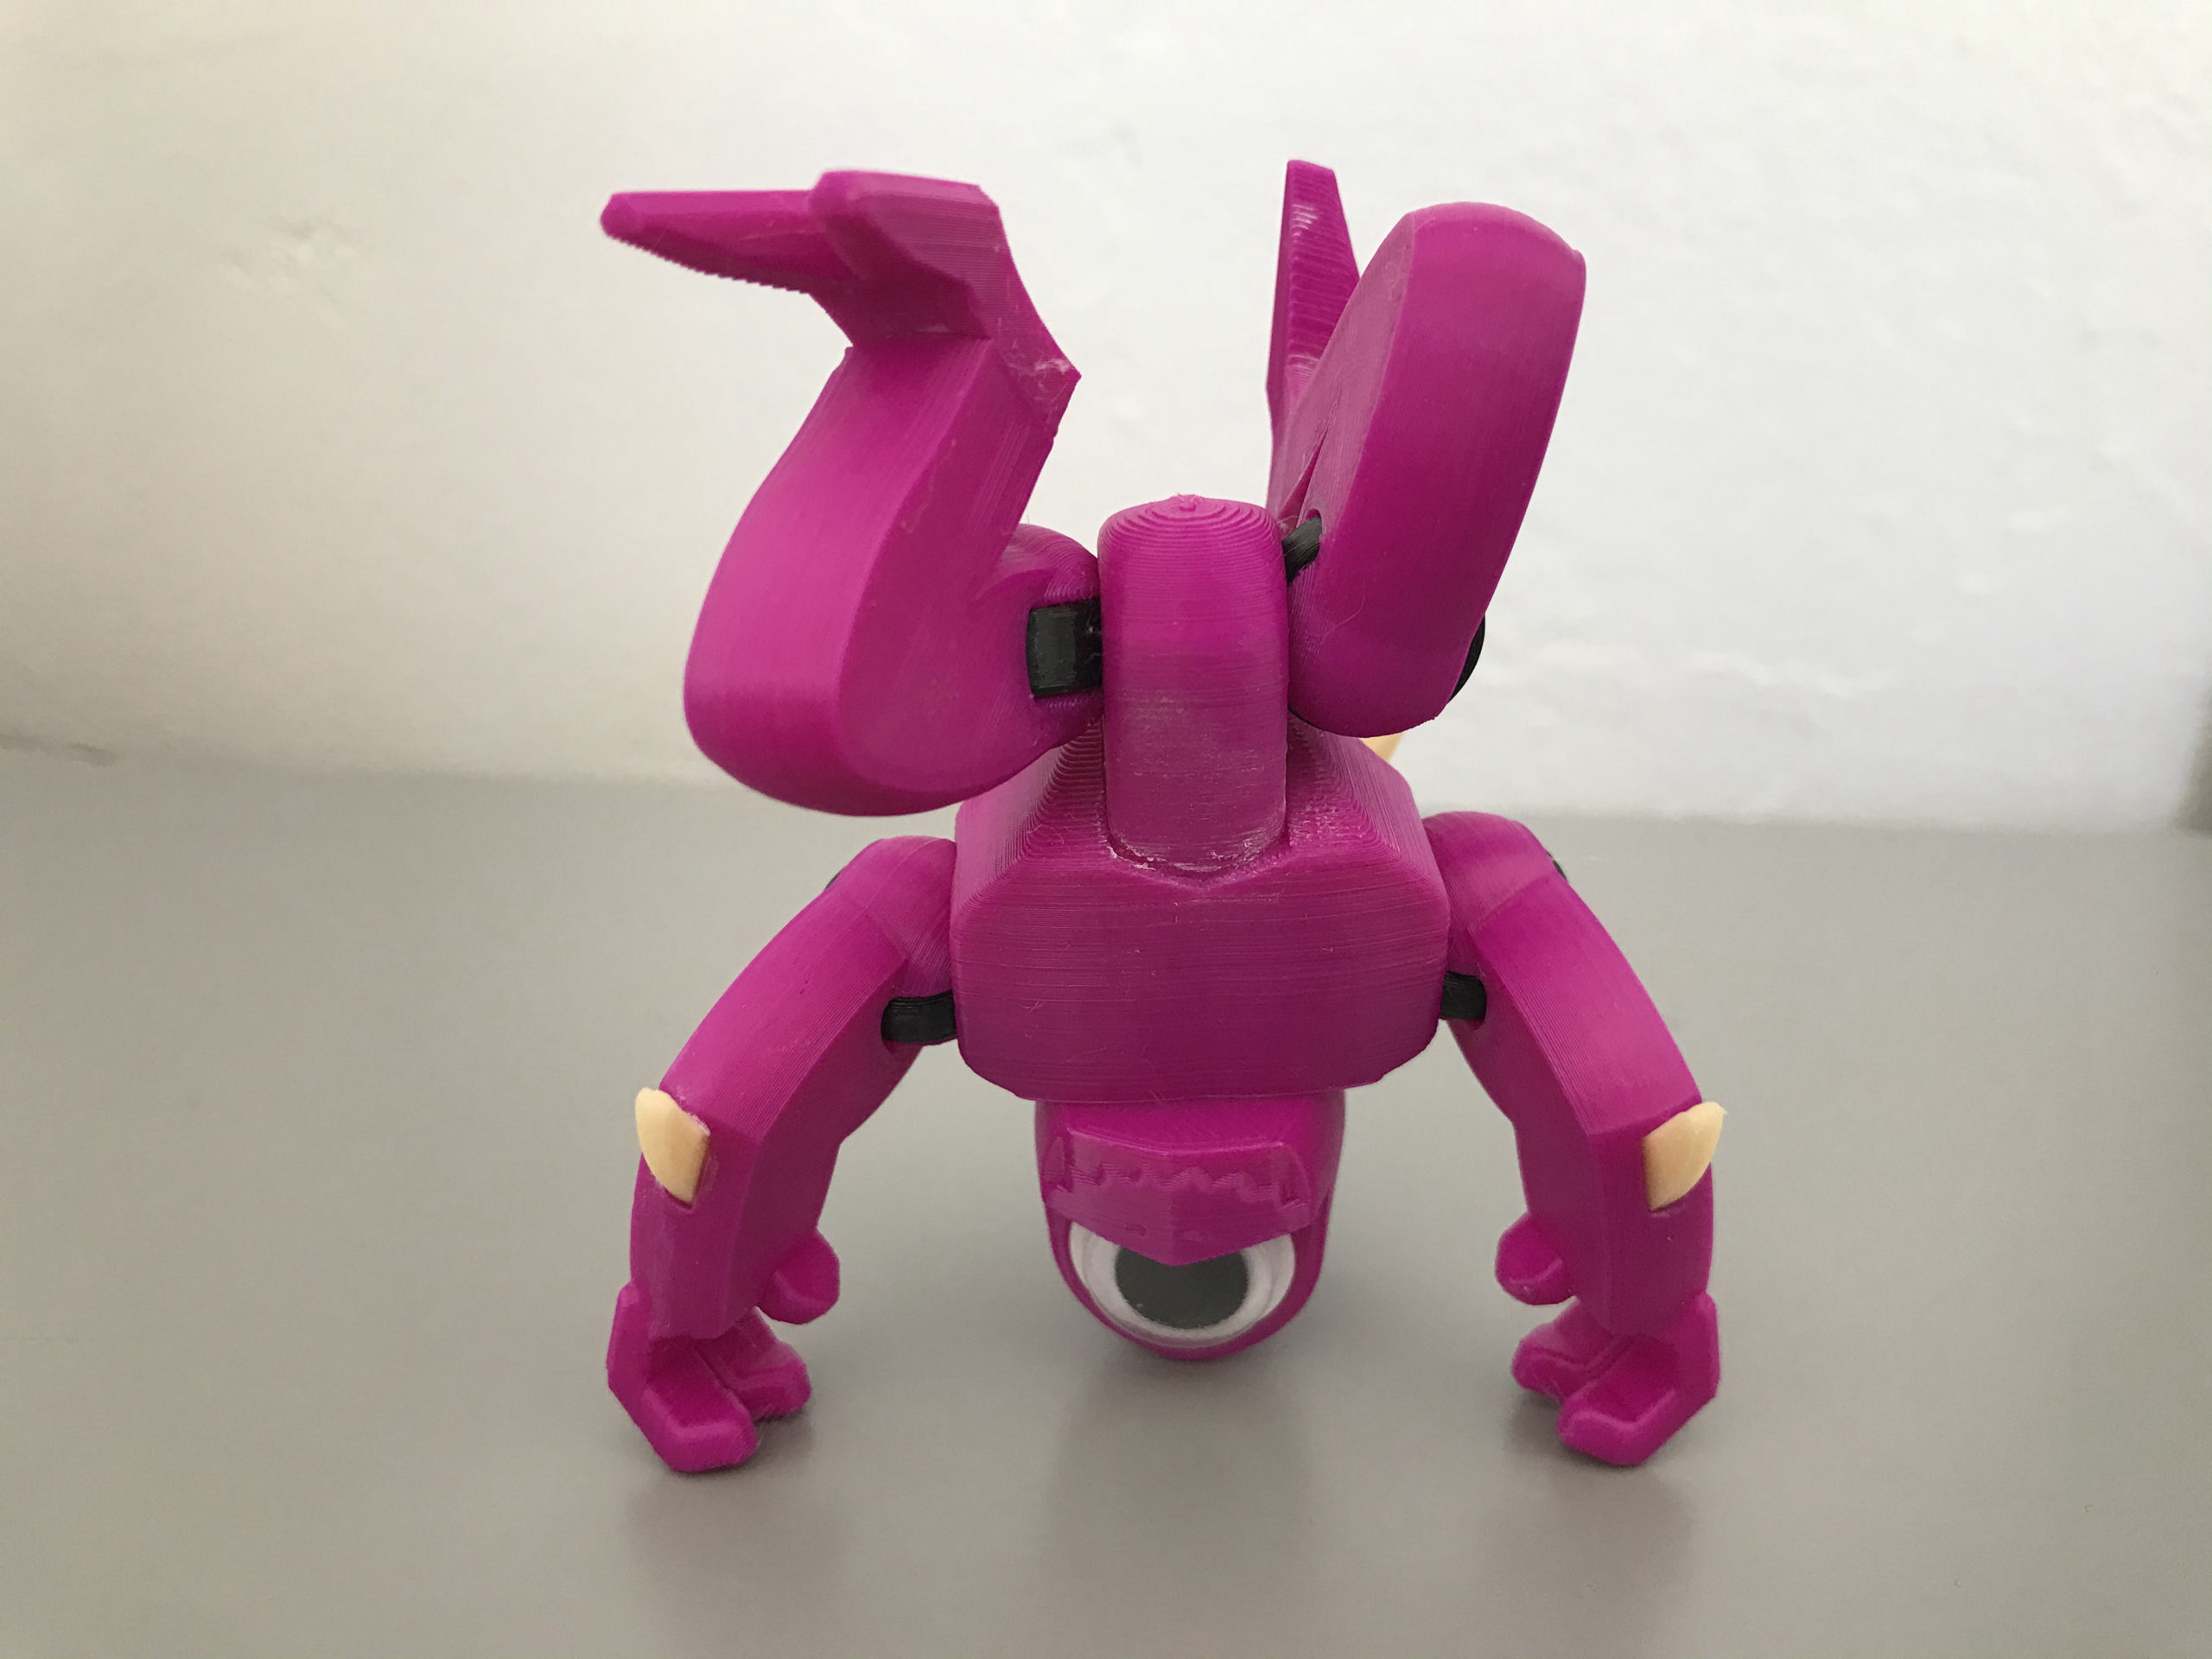
Press-fit Nothic-Spike into the Nothic-UpperBody component as shown (x10). Use a little glue and/or needle nose pliers if necessary. Press-fit the Nothic-LowerBody component into the upper body assembly as shown. Use a little glue if necessary.

Press-fit the limbs and head joints into the corresponding sockets of the body assembly.

Glue the 15mm googly eye in the corresponding section of the face.

5. Kill Some Adventurers
With kindness! Maybe make a nice broth with that bone.


Also, in case you are wondering, this little critter is scaled/compatible with the TMNT designs from last year as well. The articulated flex joint is almost exactly the same across the board, with only a slight variation in the body-mating features that should not cause any assembly issues if one were to mix them up.
Files
Click the Download button below for a zip file with all the components. And if you want to use the articulated flex joint in your own creations, or feel the need to make modifications, I’m including a separate download for the native FreeCAD file of that design.
Files are available under the Creative Commons BY-NC-SA license
Like what you’re seeing here? Leave me a comment down below, follow me on Twitter @DragonMtnDesign, and/or say “hey” if you see me or my work out around on the internet.
Wear a mask and get vaccinated if you can. Every day we get closer to the end of this pandemic.