Legend of Zelda – The Four Sword (and Belt)
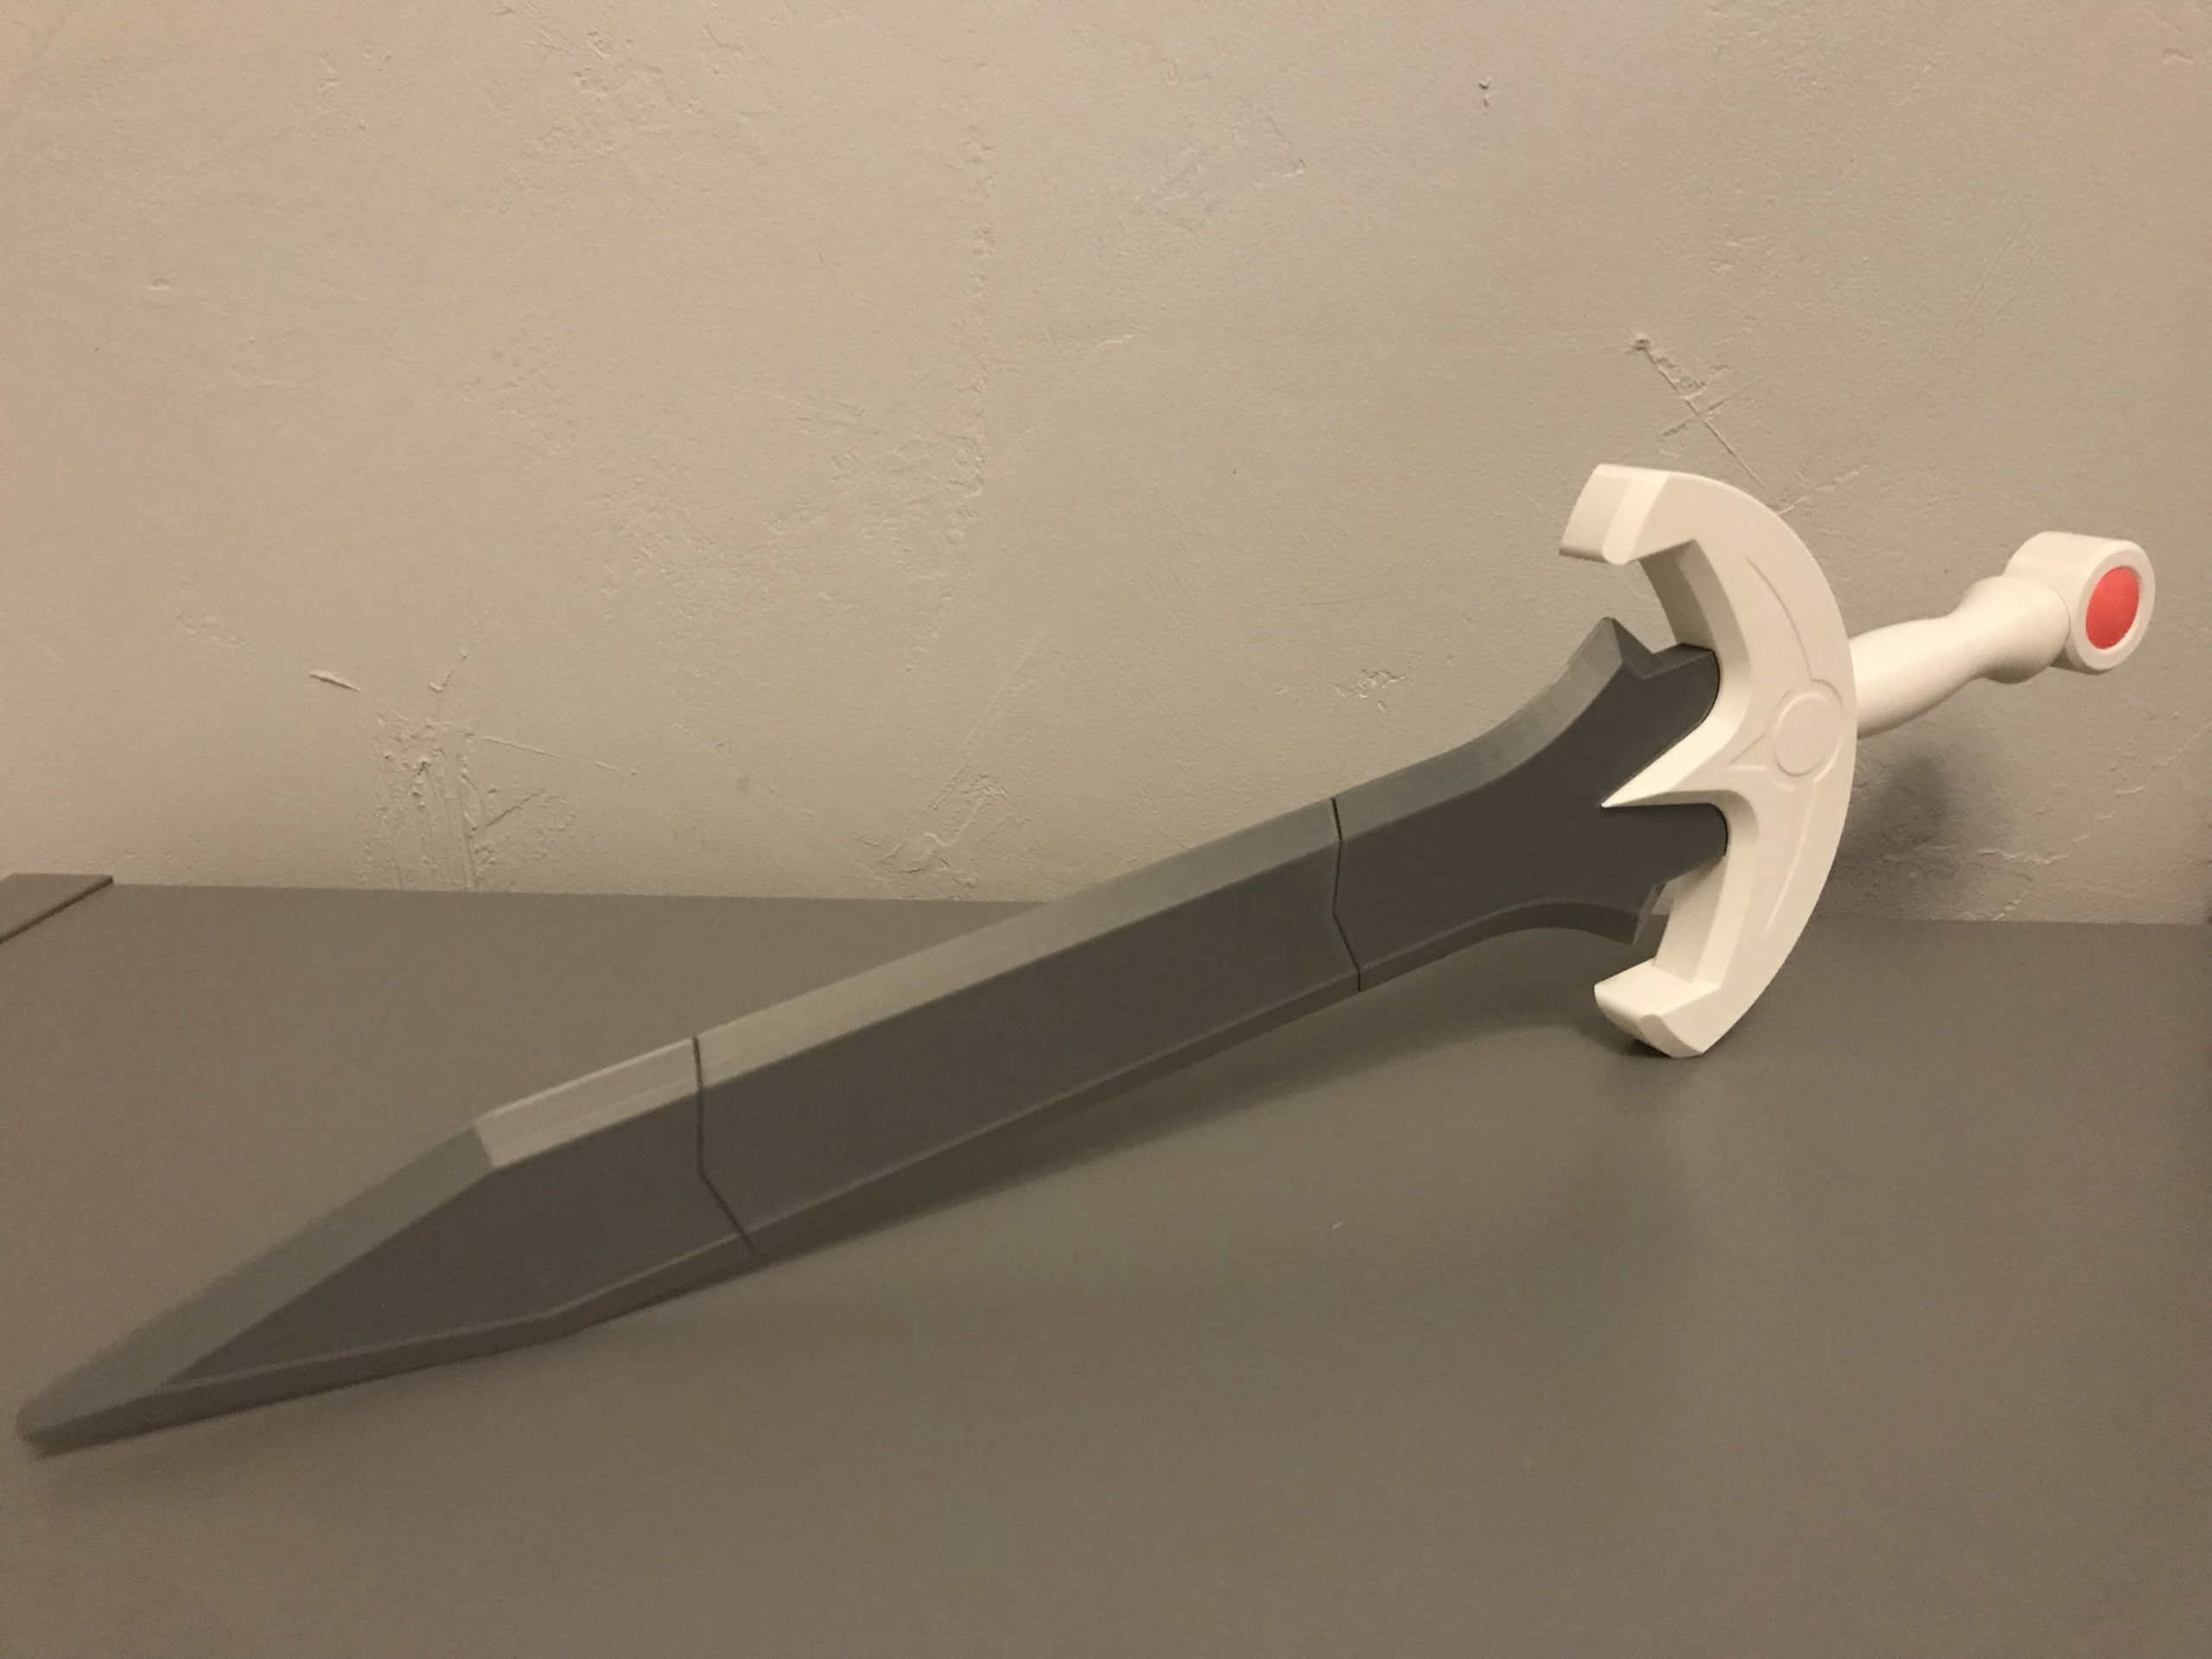
I’m way behind on sharing this, as we are on the edge of December, and two sets were made as part of the Halloween costumes for my kids. Better late than never!
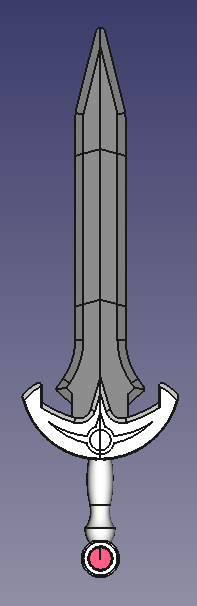
Design Notes
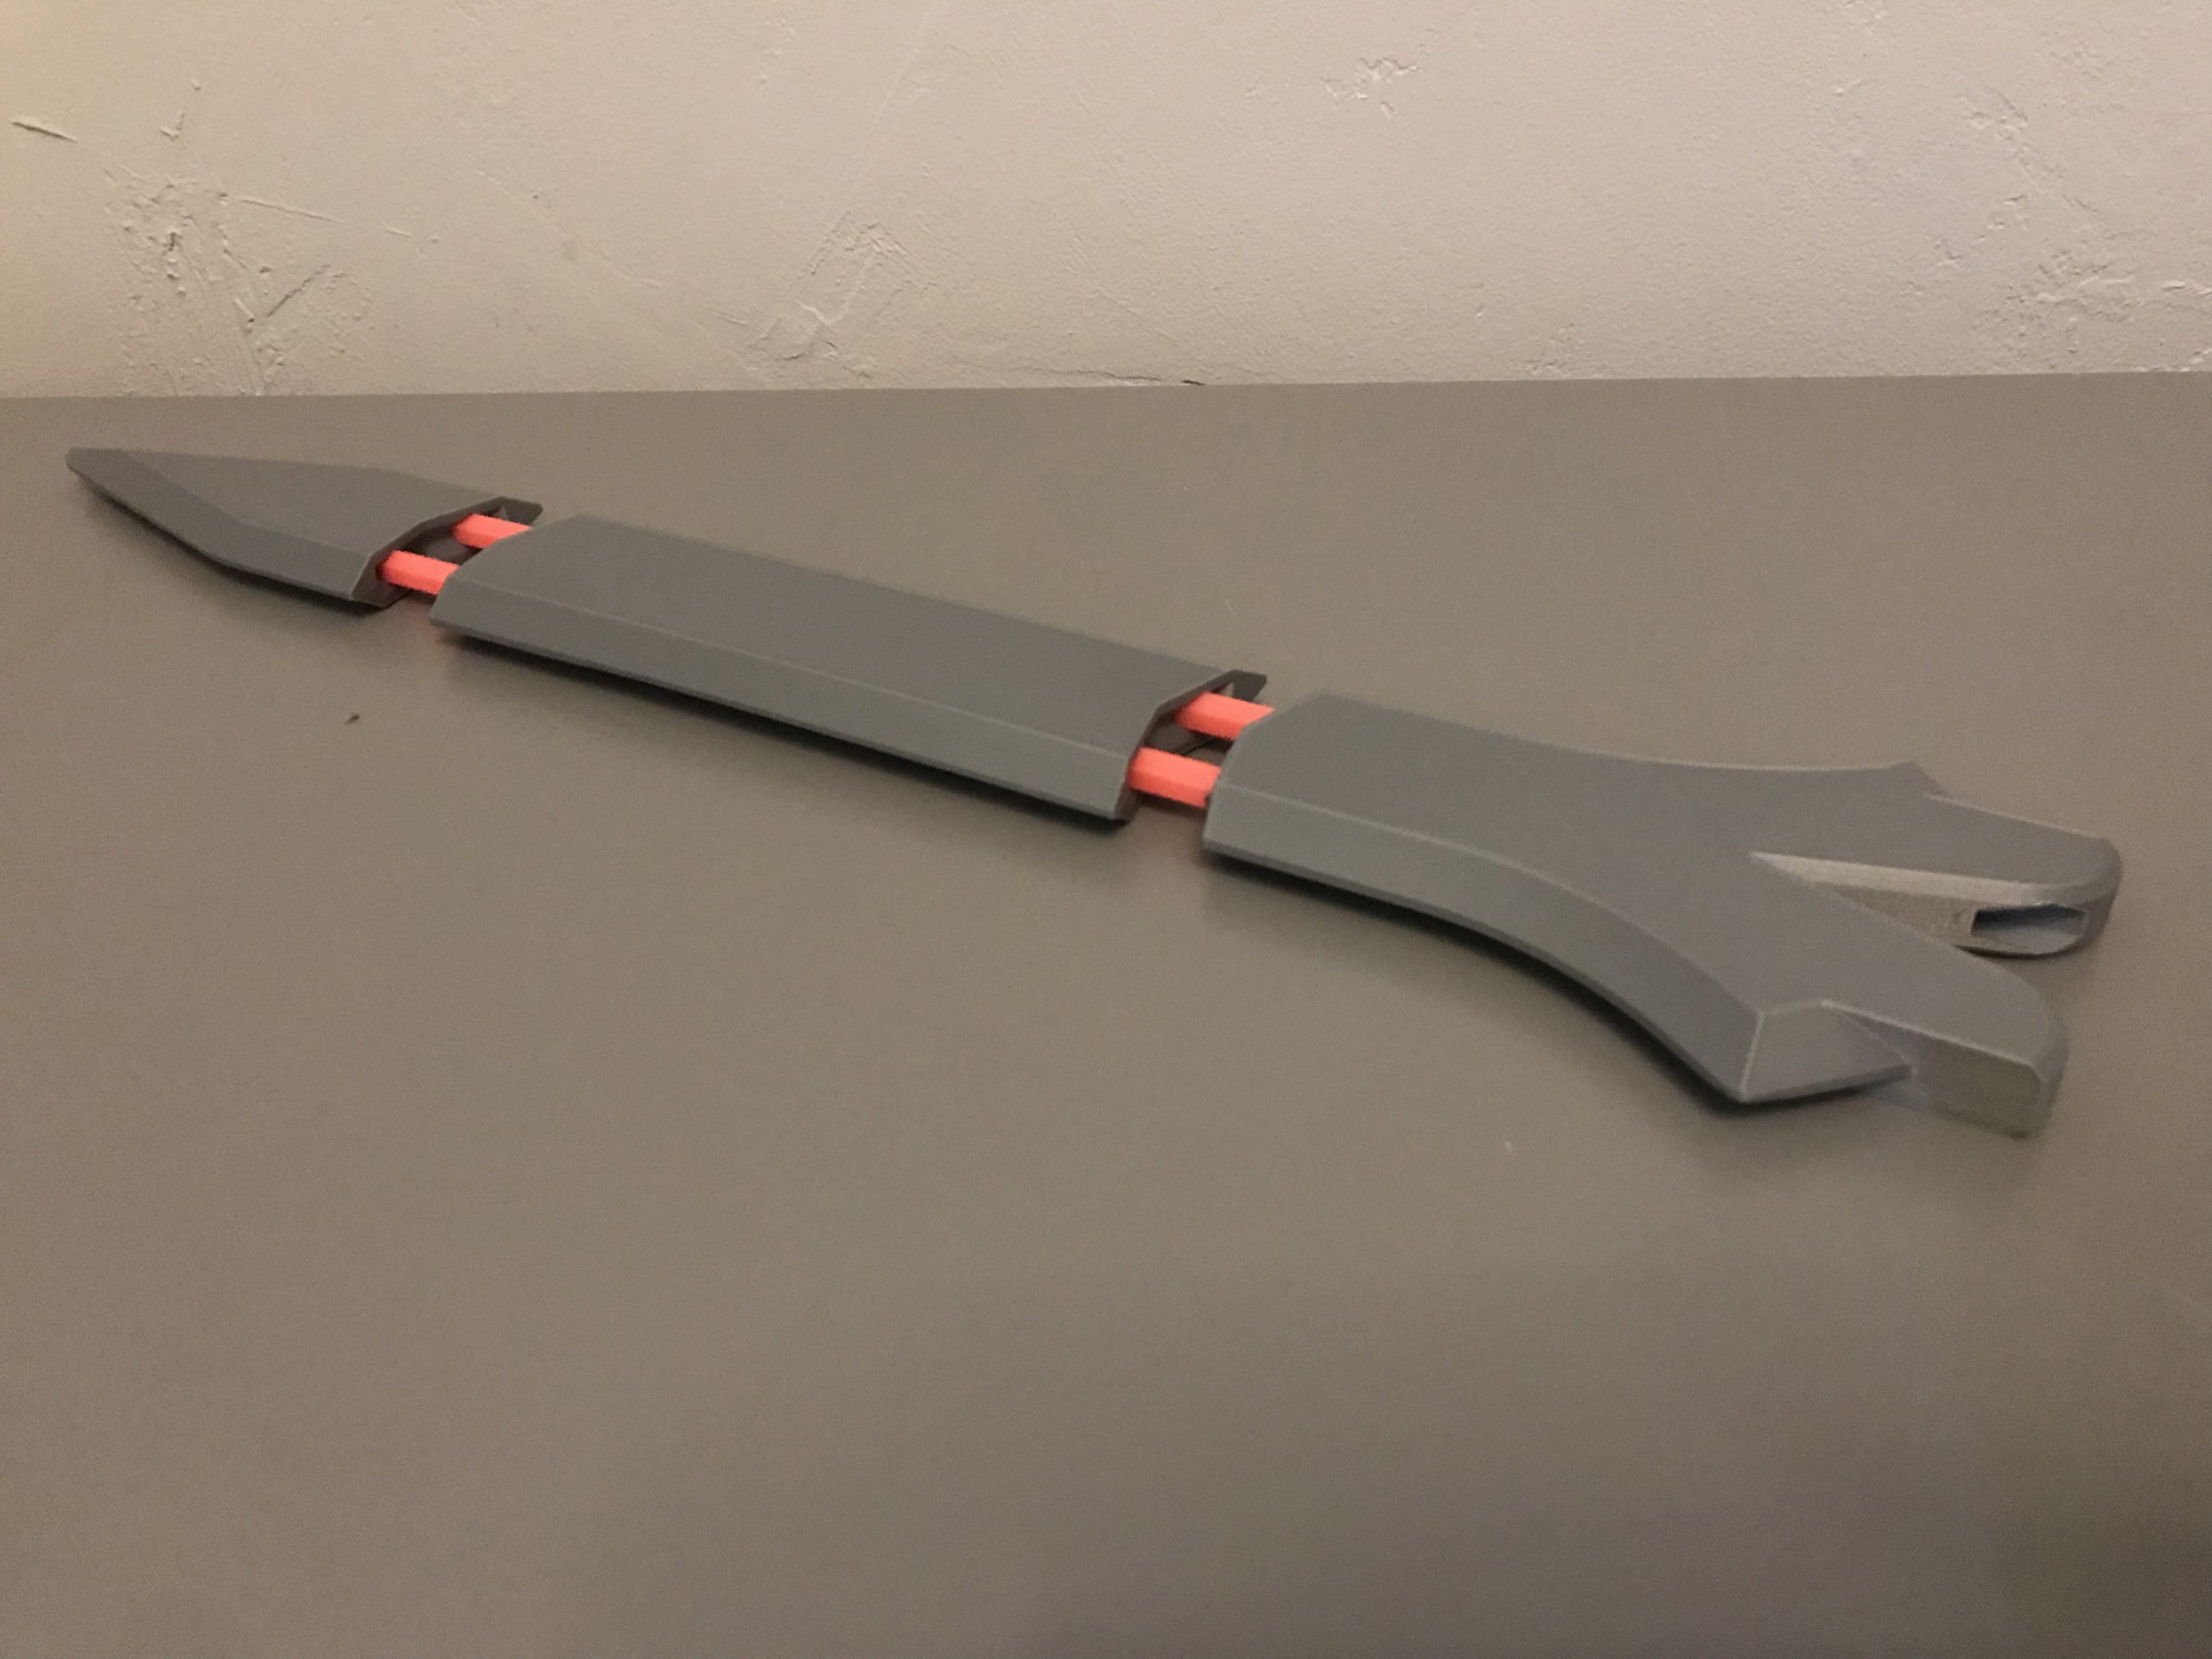
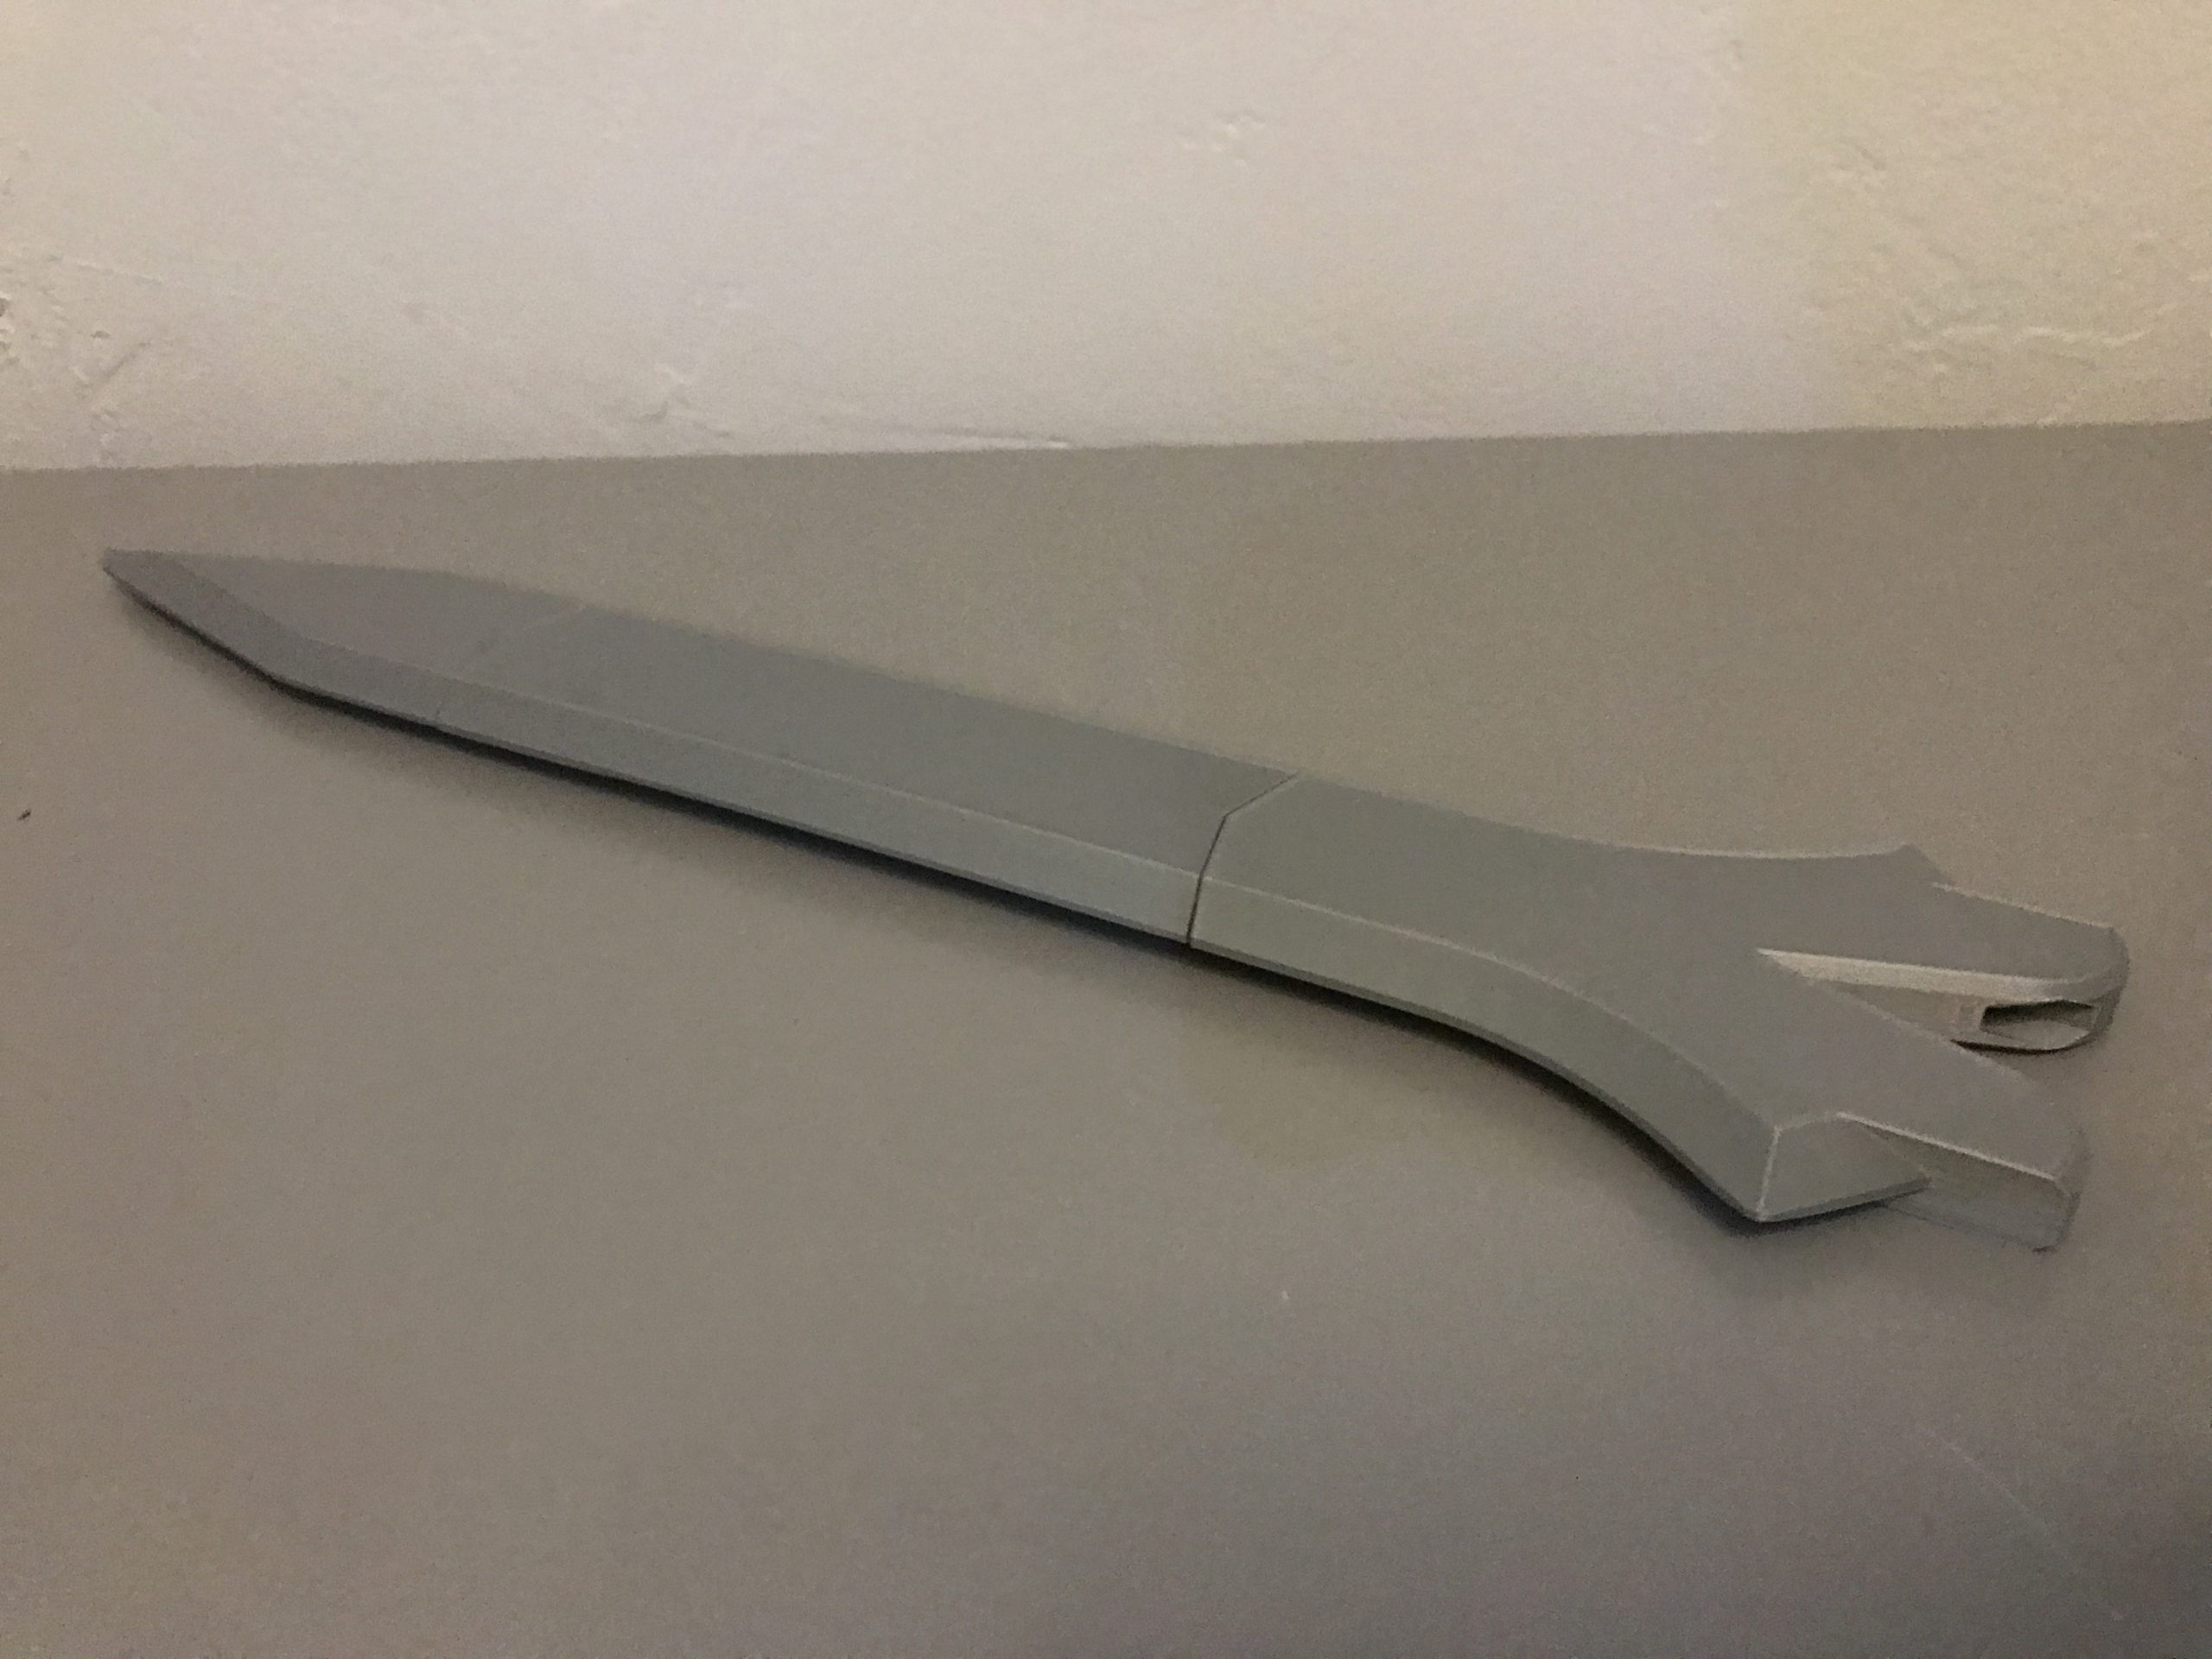
Designed in FreeCAD v0.19 and printed on my Prusa Mini. An image of The Four Sword was used to get a rough idea of the shape, and various modifications were made for fit, function, and printability. Aside from having to redo bits for proper scaling, this was probably one of the most straightforward projects I’ve done in FreeCAD. The blade is parted out into three sections in order to fit on the Prusa Mini. An added benefit of making it this way is that if a longer blade is desired, print out two (or more) of the center section and a couple more of the joining pins.
Parts List
If making a belt from scratch, that material will be needed. I picked up some 1.5″ x 2yd Belting/Strapping material from my local JoAnn’s.
Helpful Tools
Super Glue
Scissors (for belt)
Lighter (for belt)
Needle/Thread (for belt)
1. Print out Parts
Files can be found toward the bottom of the page.
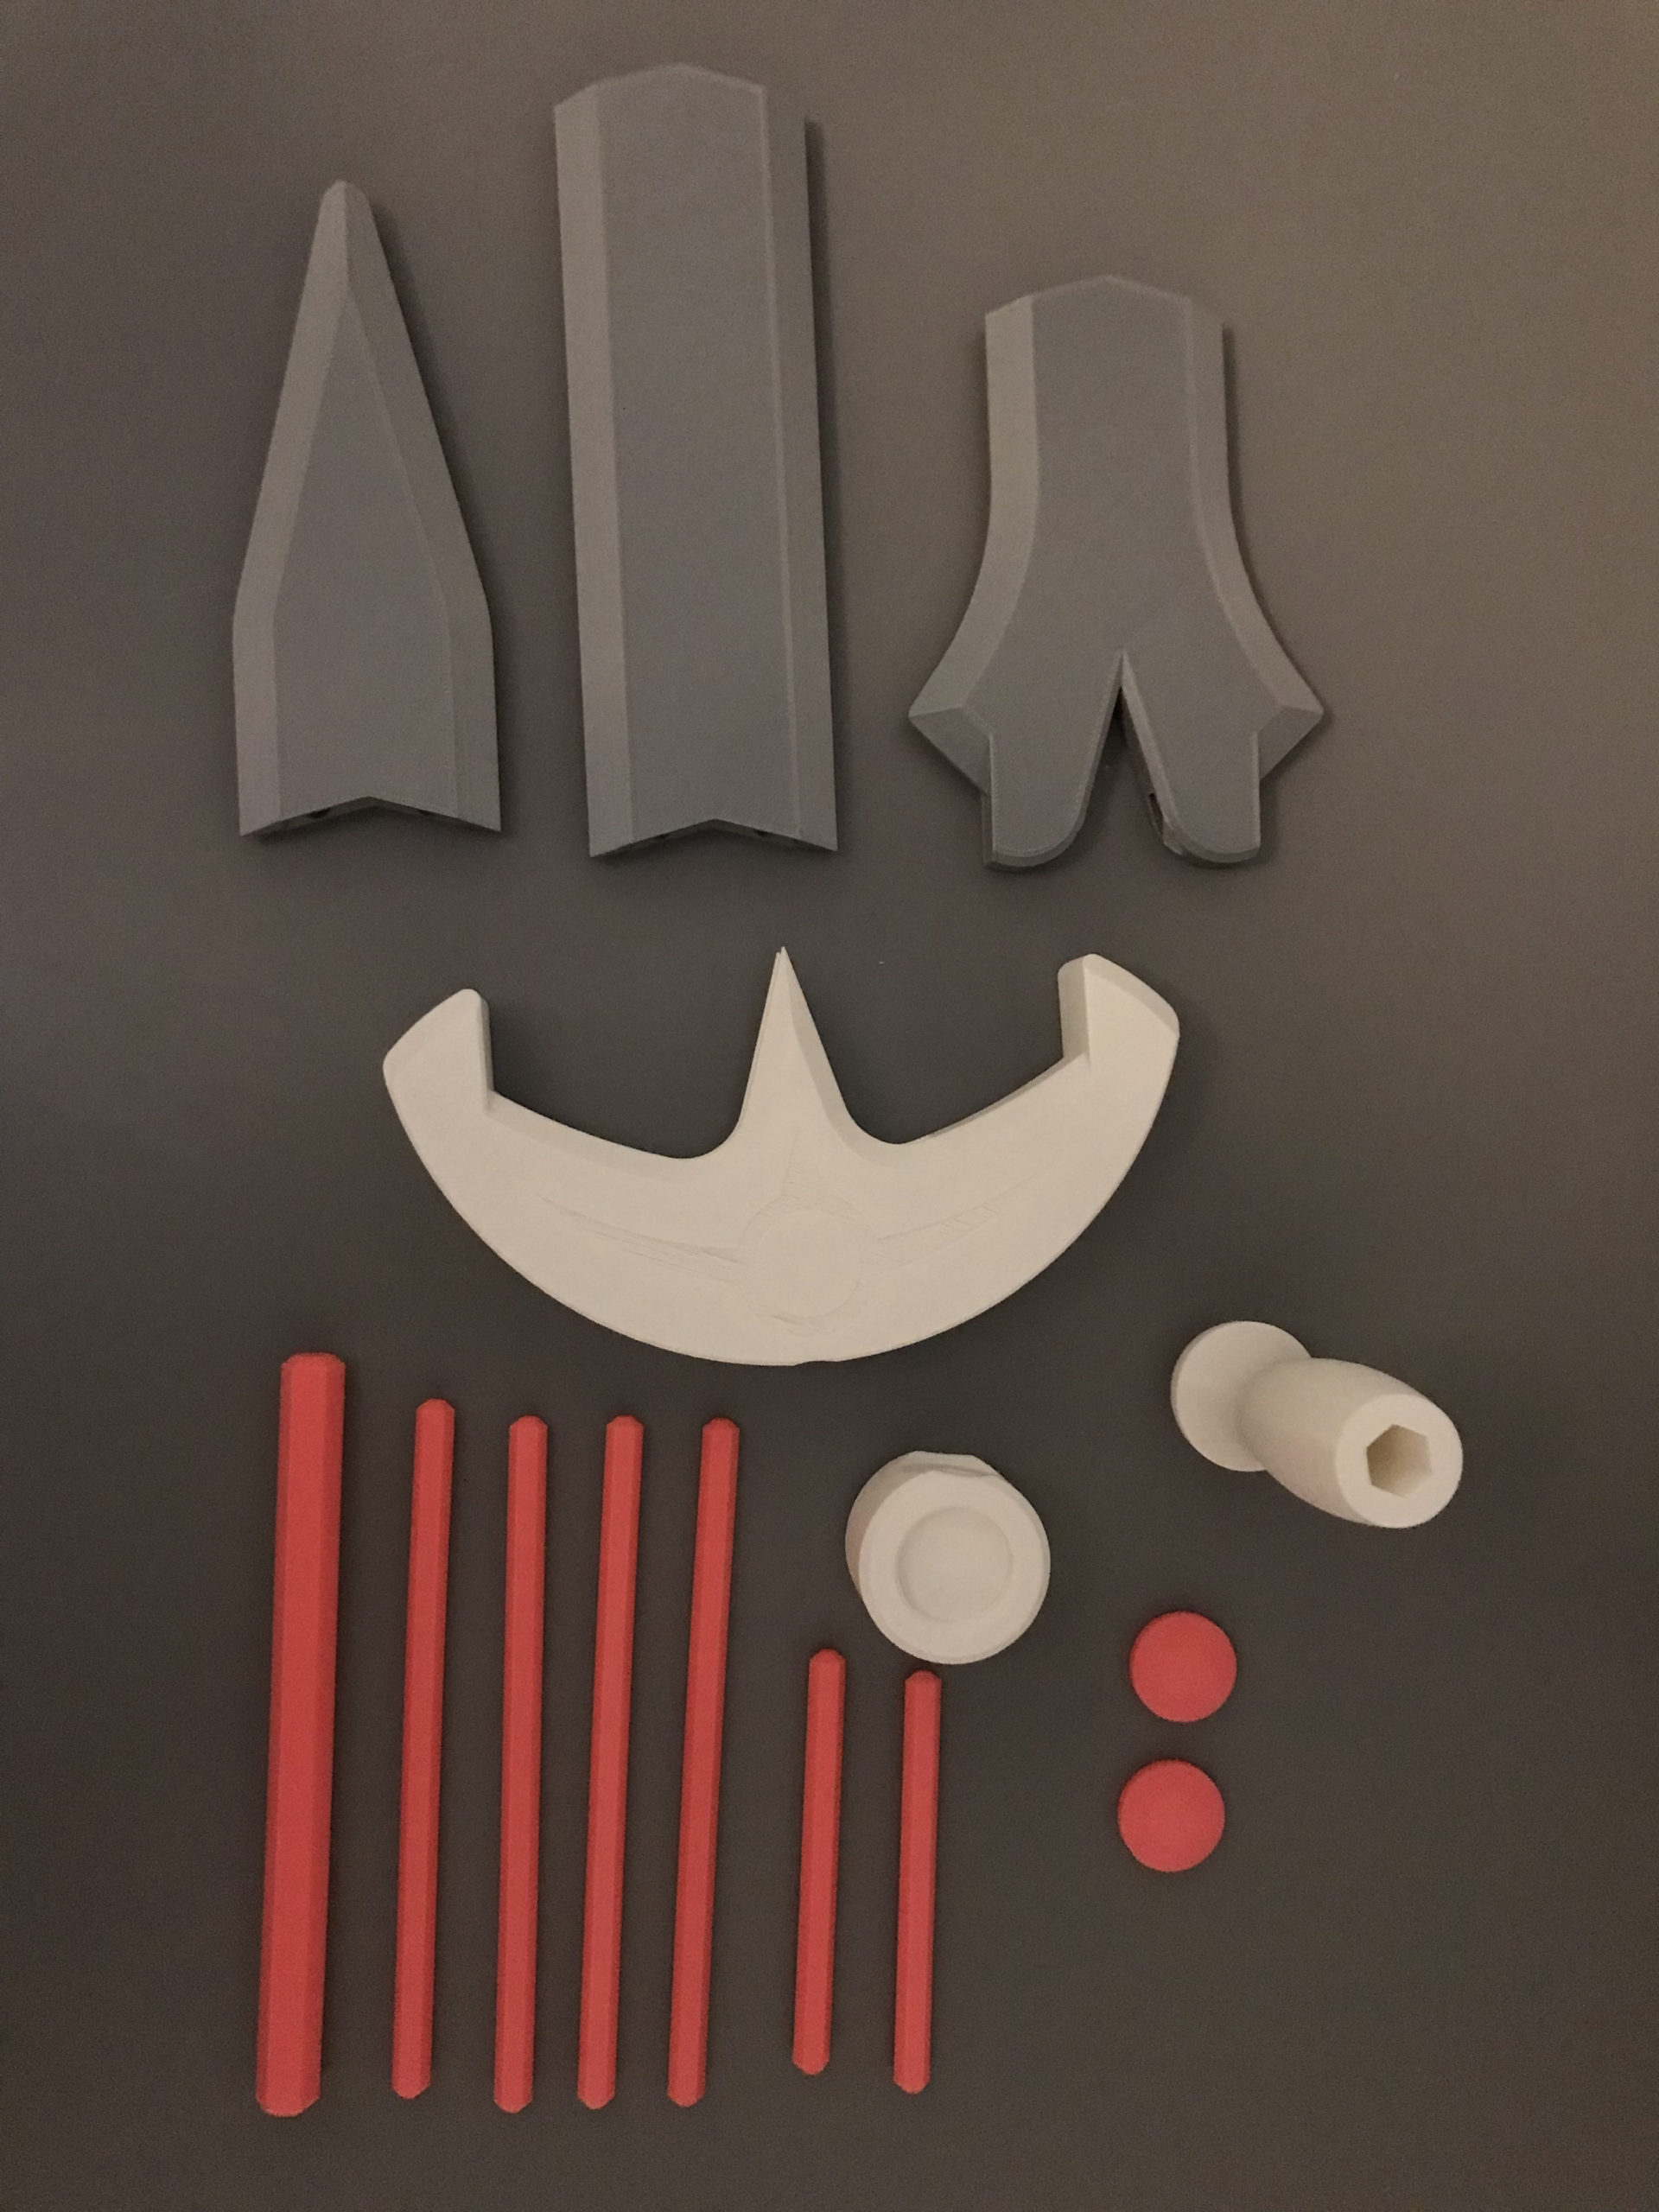
TFS-BladeBase, TFS-BladeMiddle, TFS-BladeTip, TFS-CrossGuard, TFS-Jewel, TFS-Pommel (x2)
Material: PLA
Infill: 10-15%
Supports: No
Brim: No
TFS-HiltHandle
Material: PLA
Infill: 20-25%
Supports: No
Brim: No
TFS-BladePin (x4), TFS-HiltBladePin (x2), TFS-HiltPin, Triforce Belt Buckle (optional – not pictured above)
Material: PLA
Infill: 50%+
Supports: No
Brim: No
2. Assemble Blade
Press-Fit the TFS-BladePin components into TFS-BladeBase, TFS-BladeMiddle, and TFS-BladeTip as shown. Use glue as necessary.
3. Assemble Hilt
Press-fit the TFS-HiltPin with TFS-CrossGuard, TFS-HiltHandle, and TFS-Pommel as shown. Use glue as necessary.

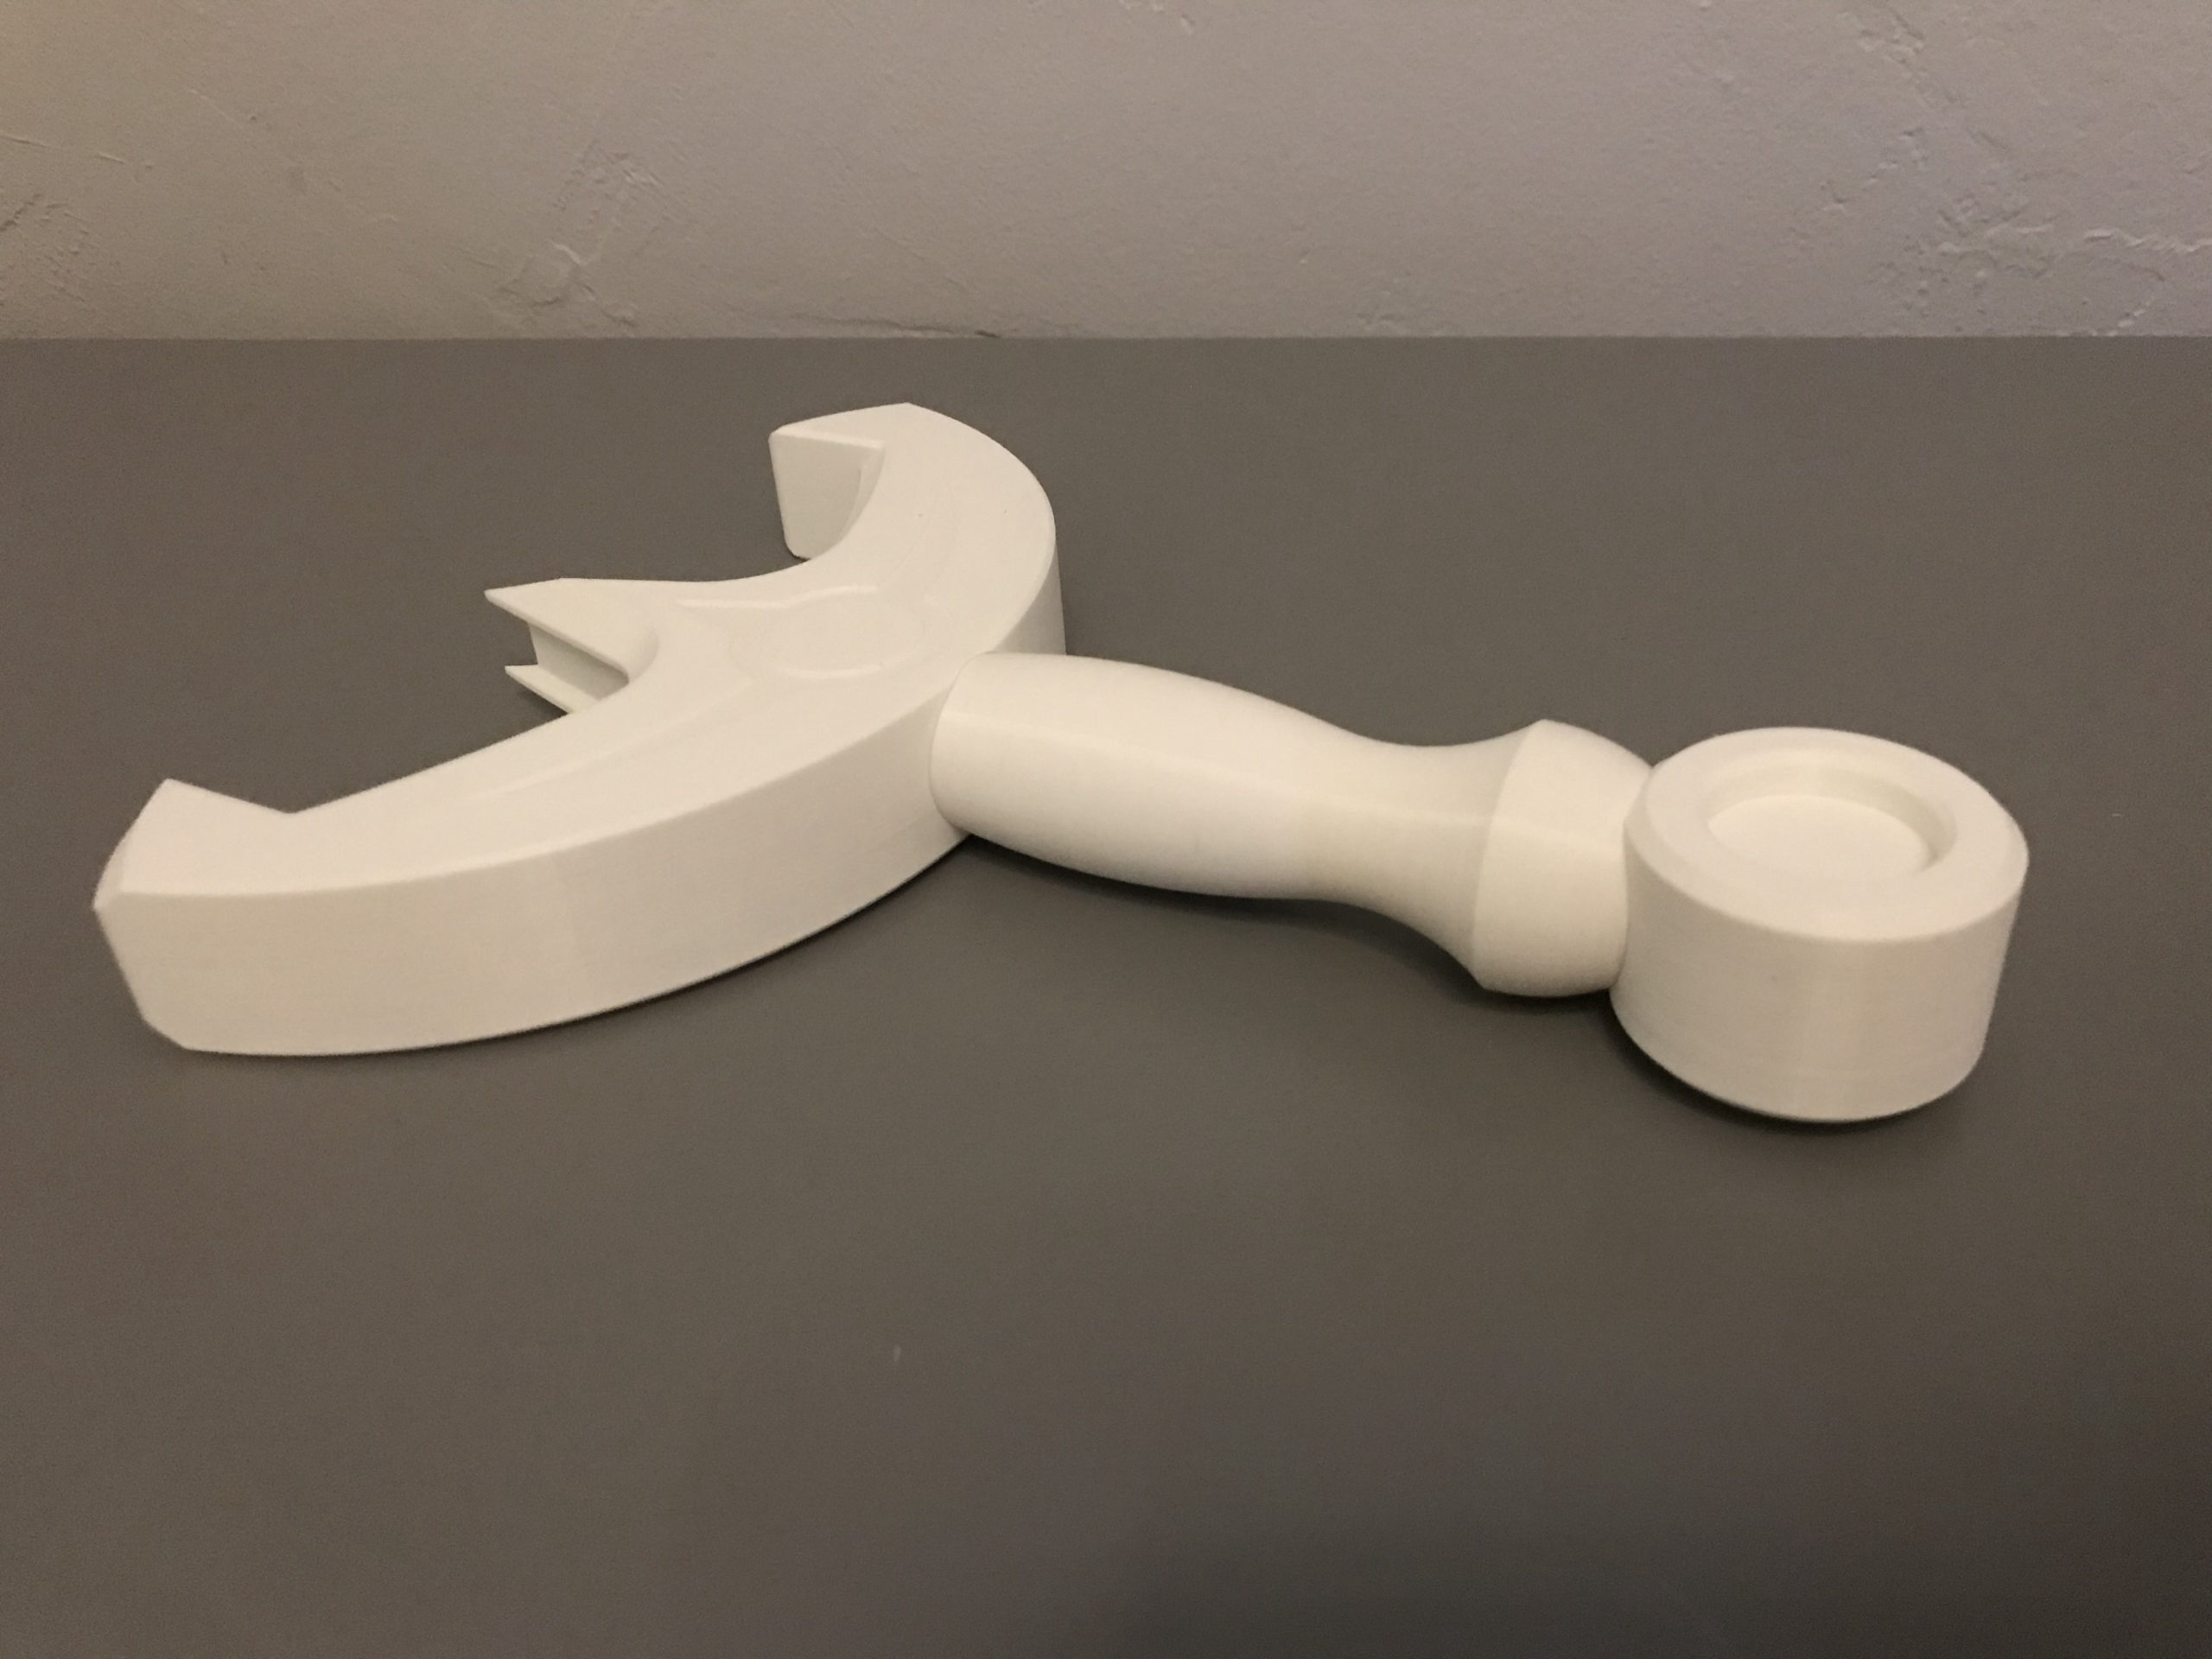
Press-fit and glue TFS-Pommel into the pommel (x2).

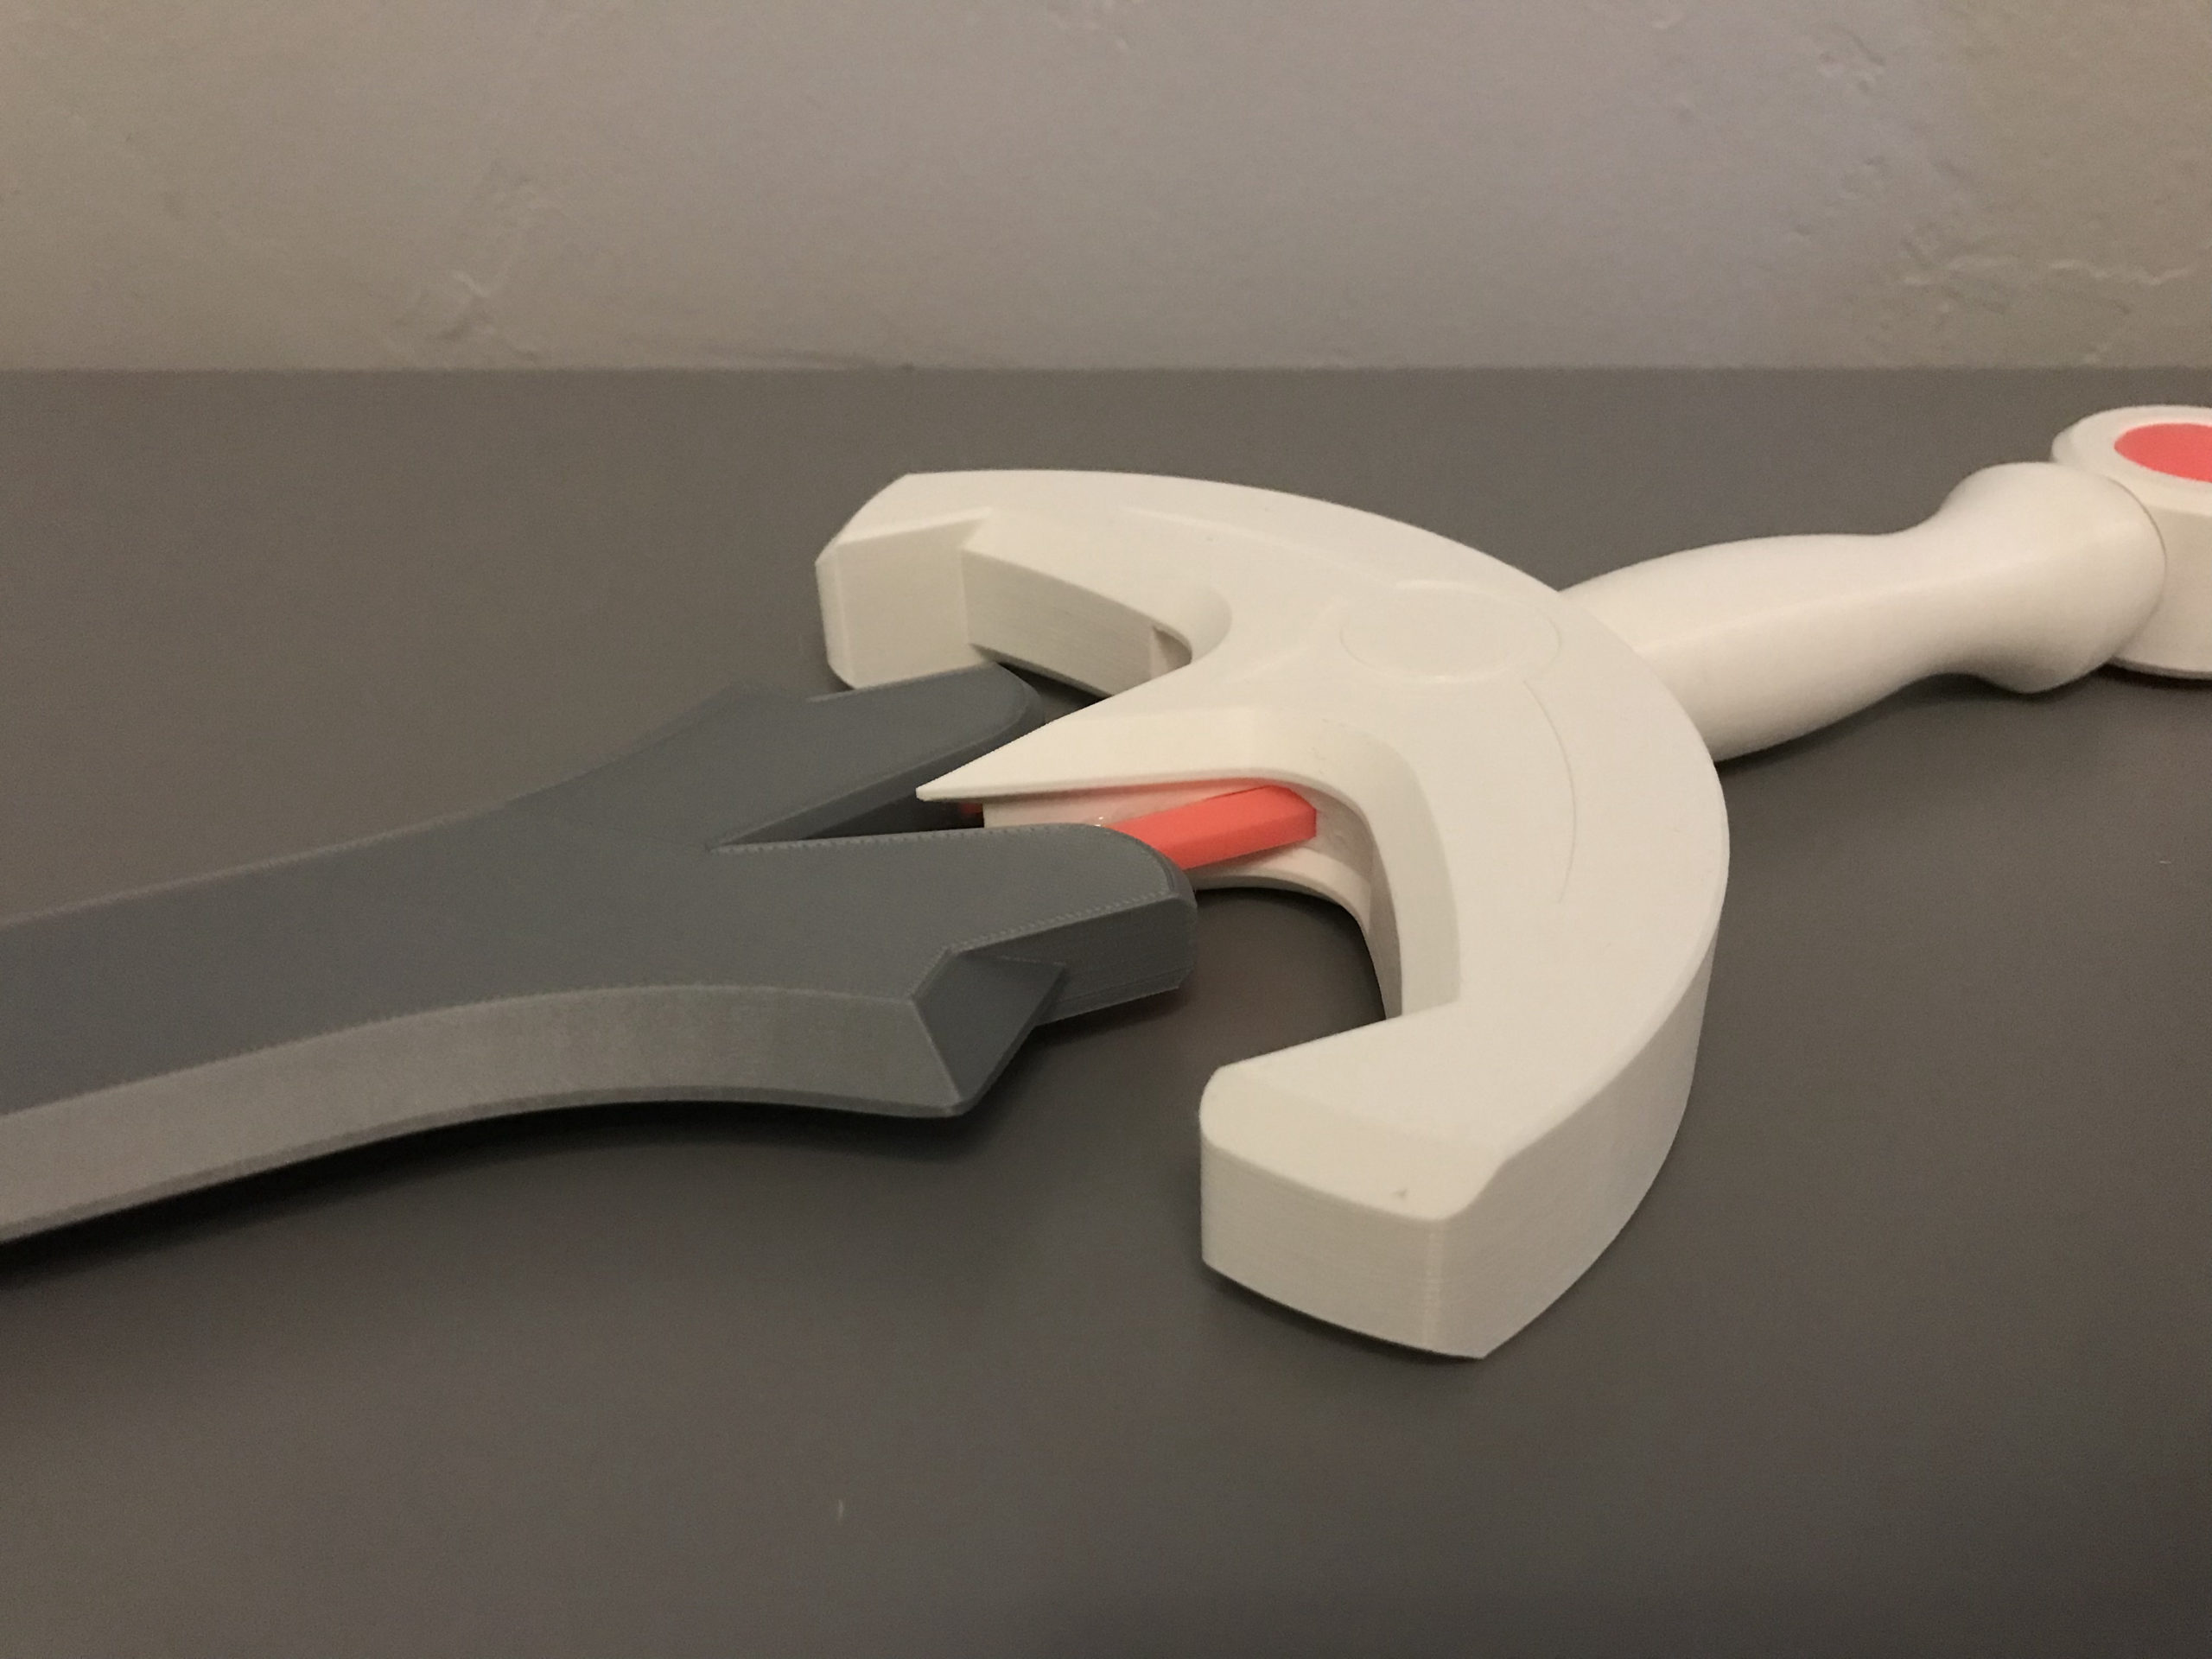
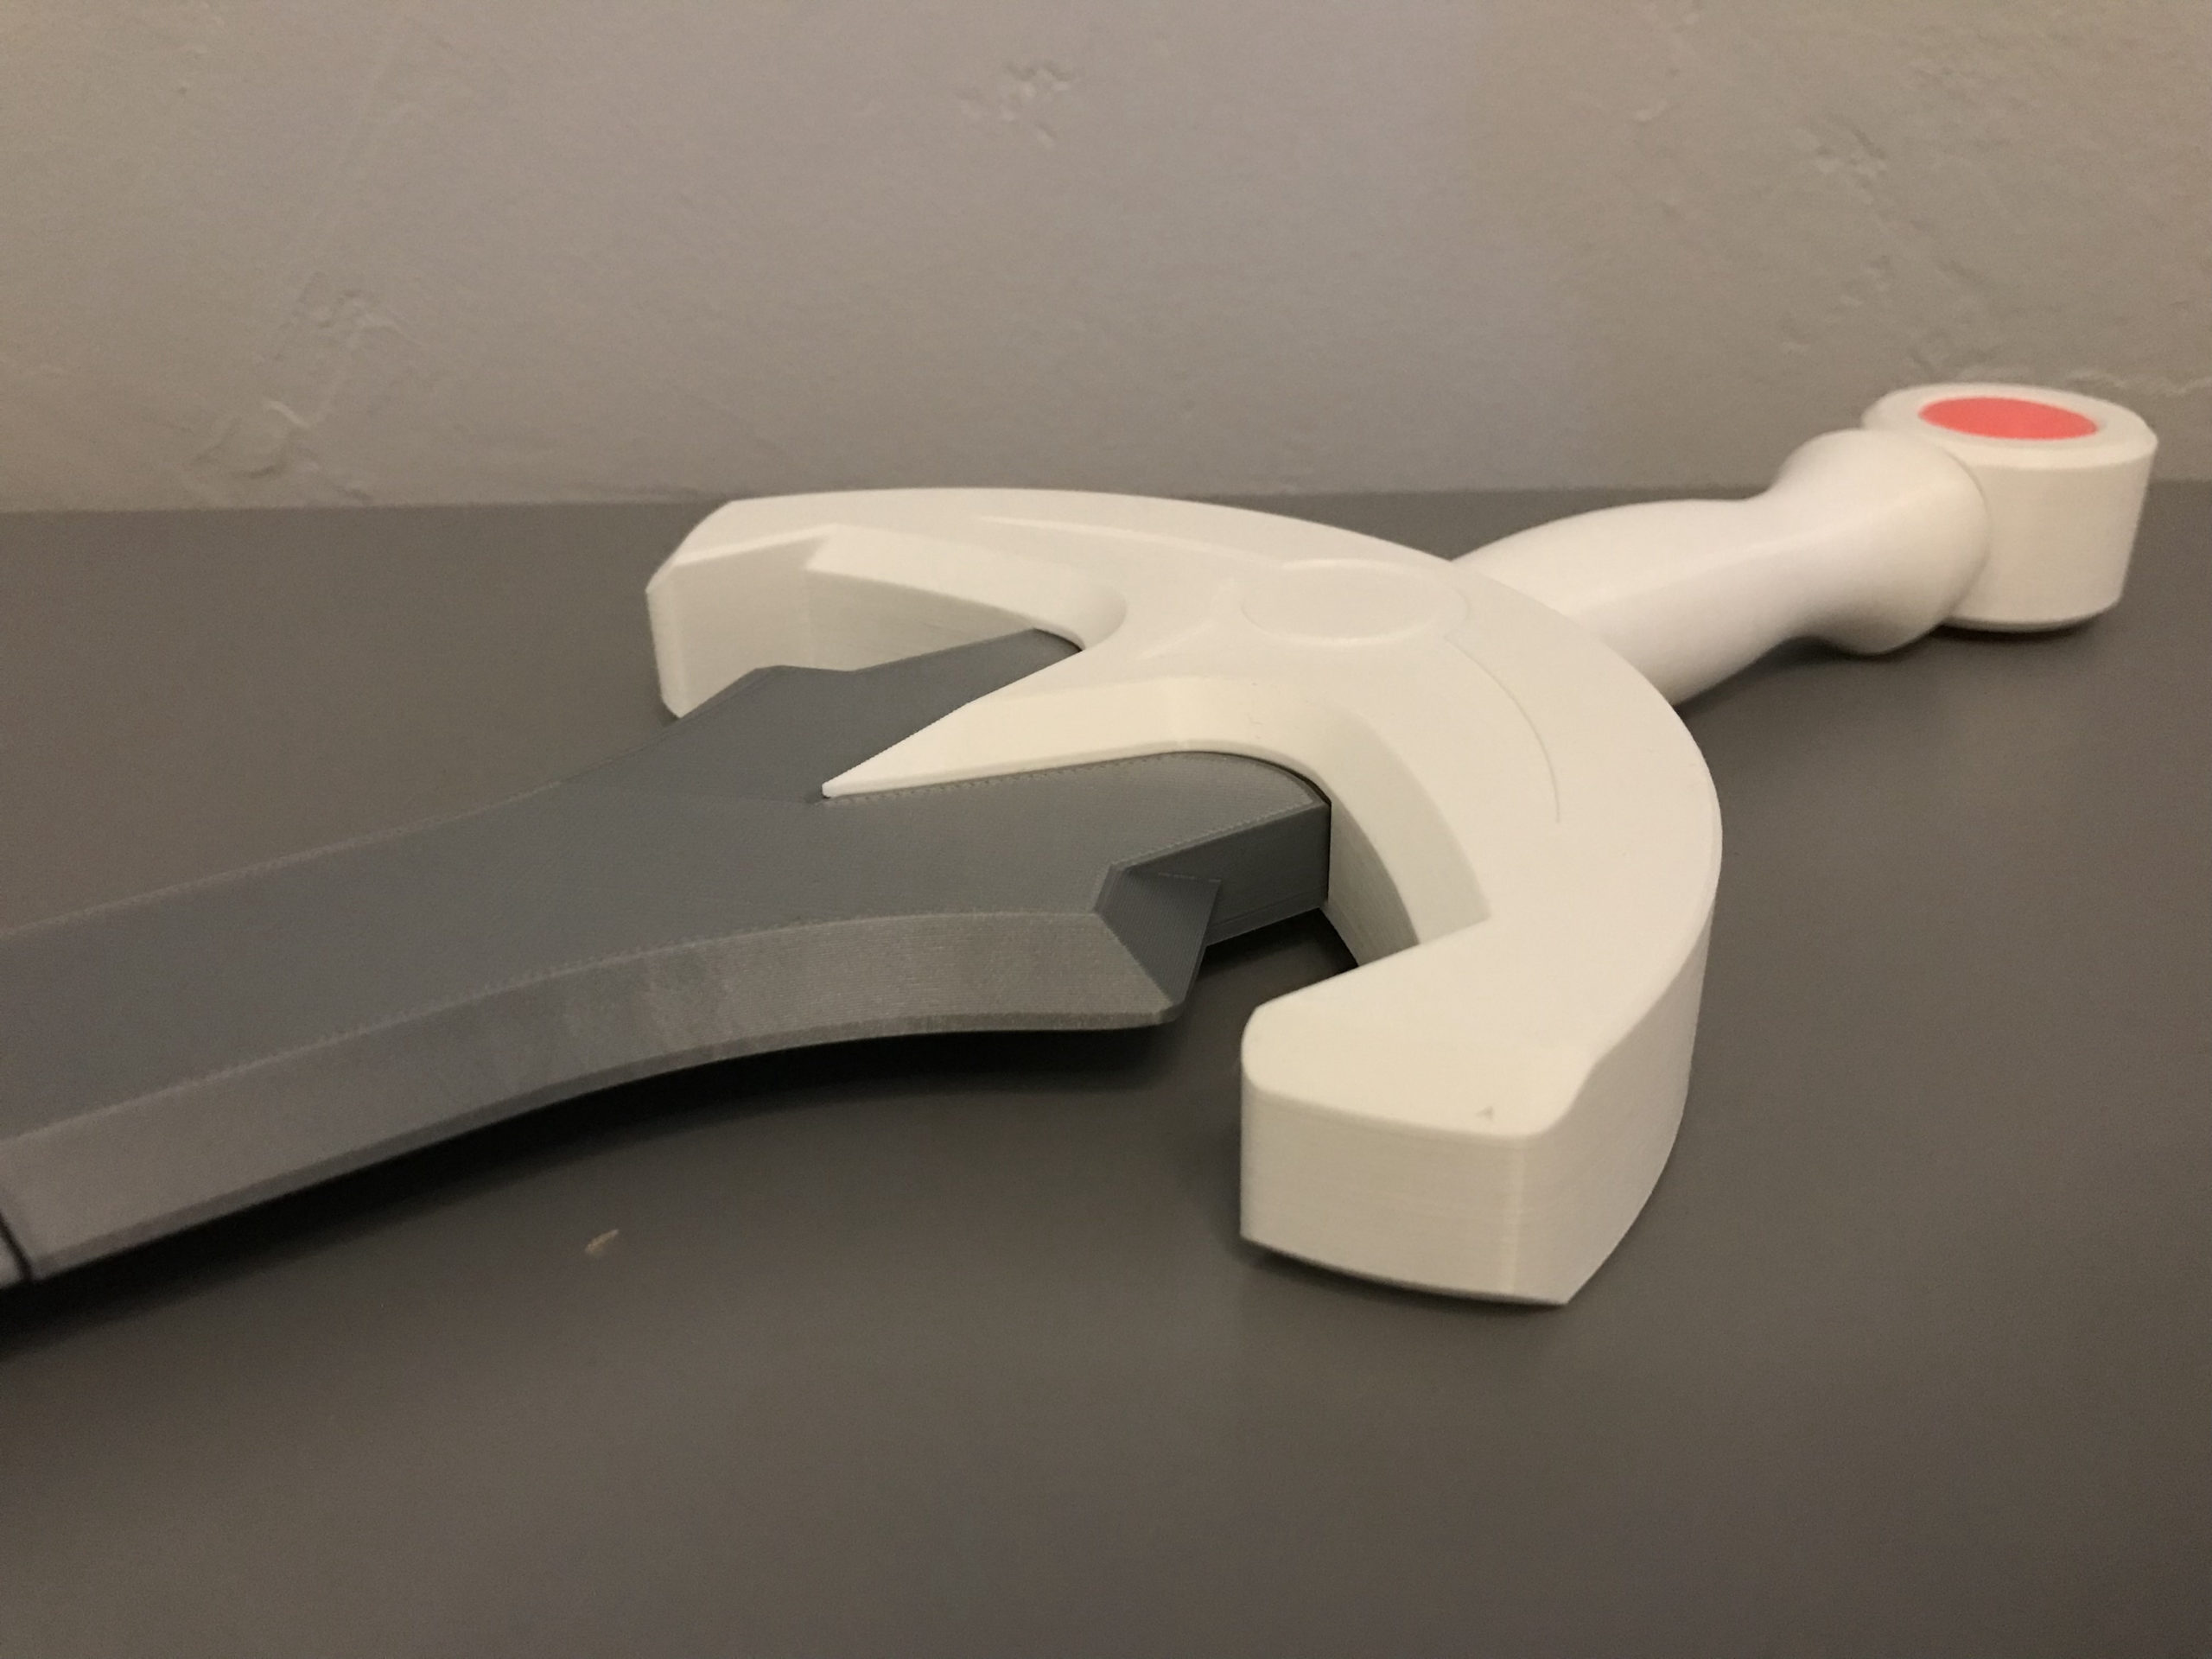
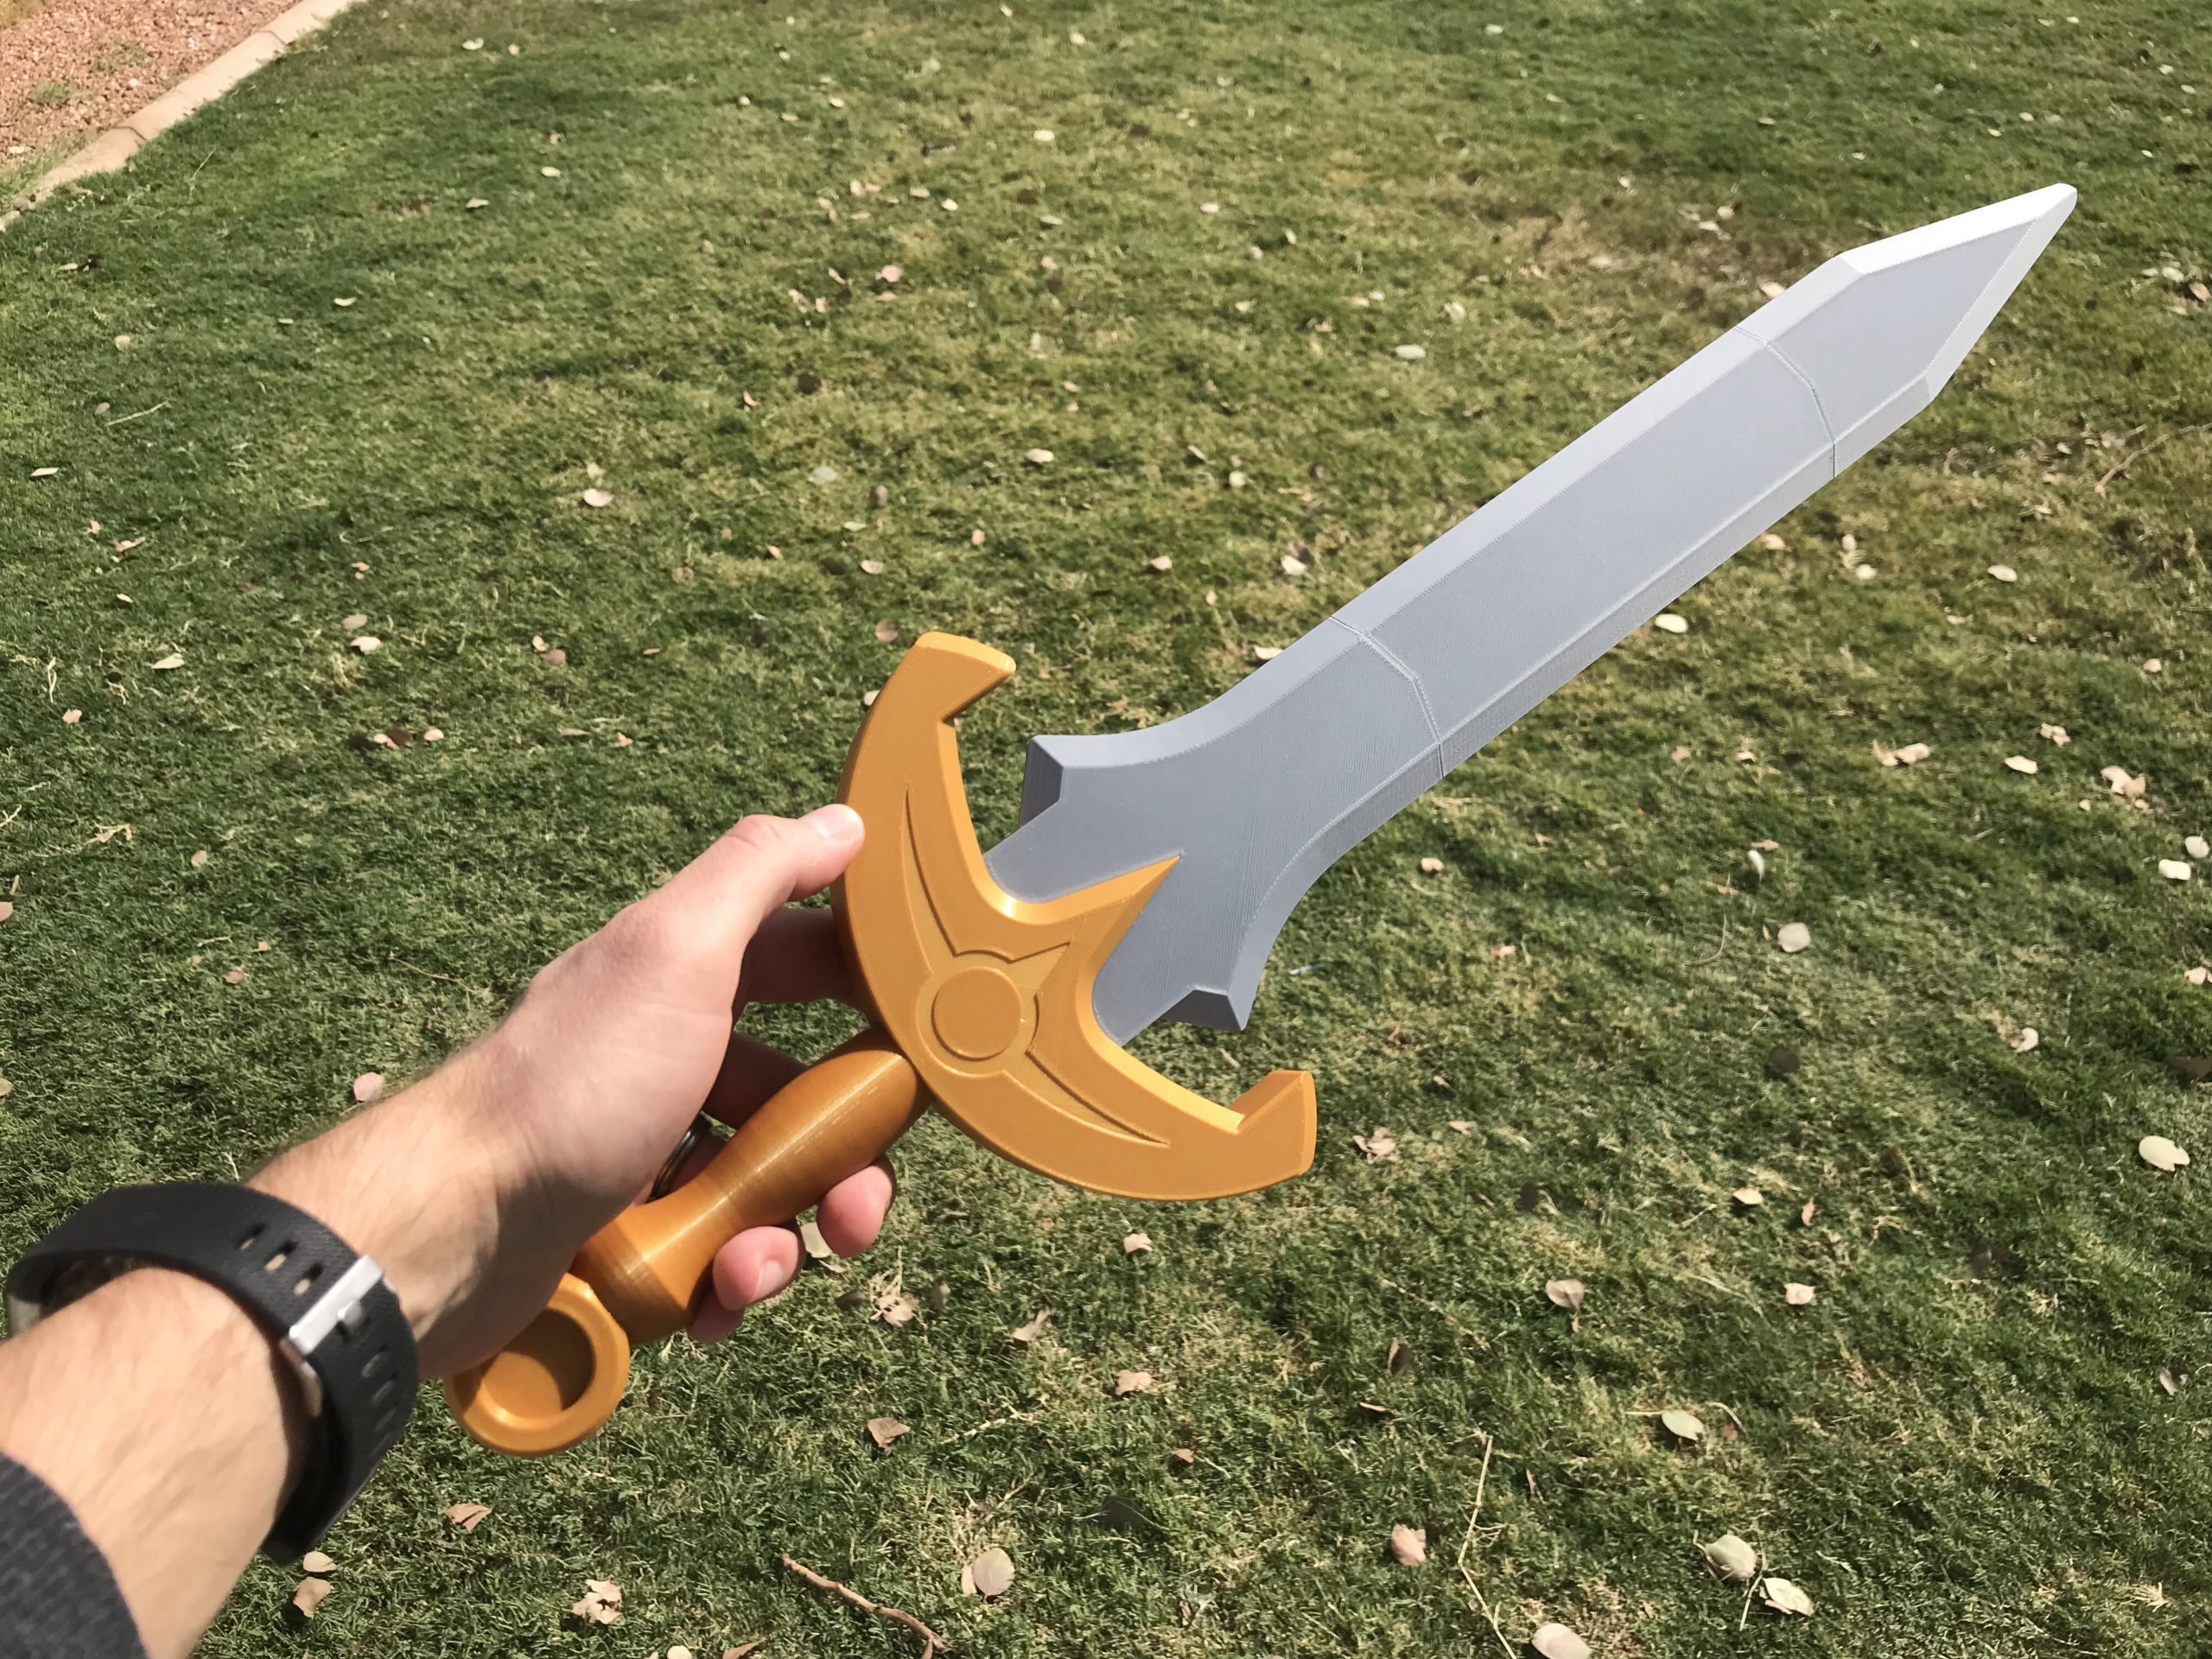
4. Join Hilt to Blade
Press-fit TFS-HiltBladePin between the hilt and blade assemblies. Use glue as necessary.
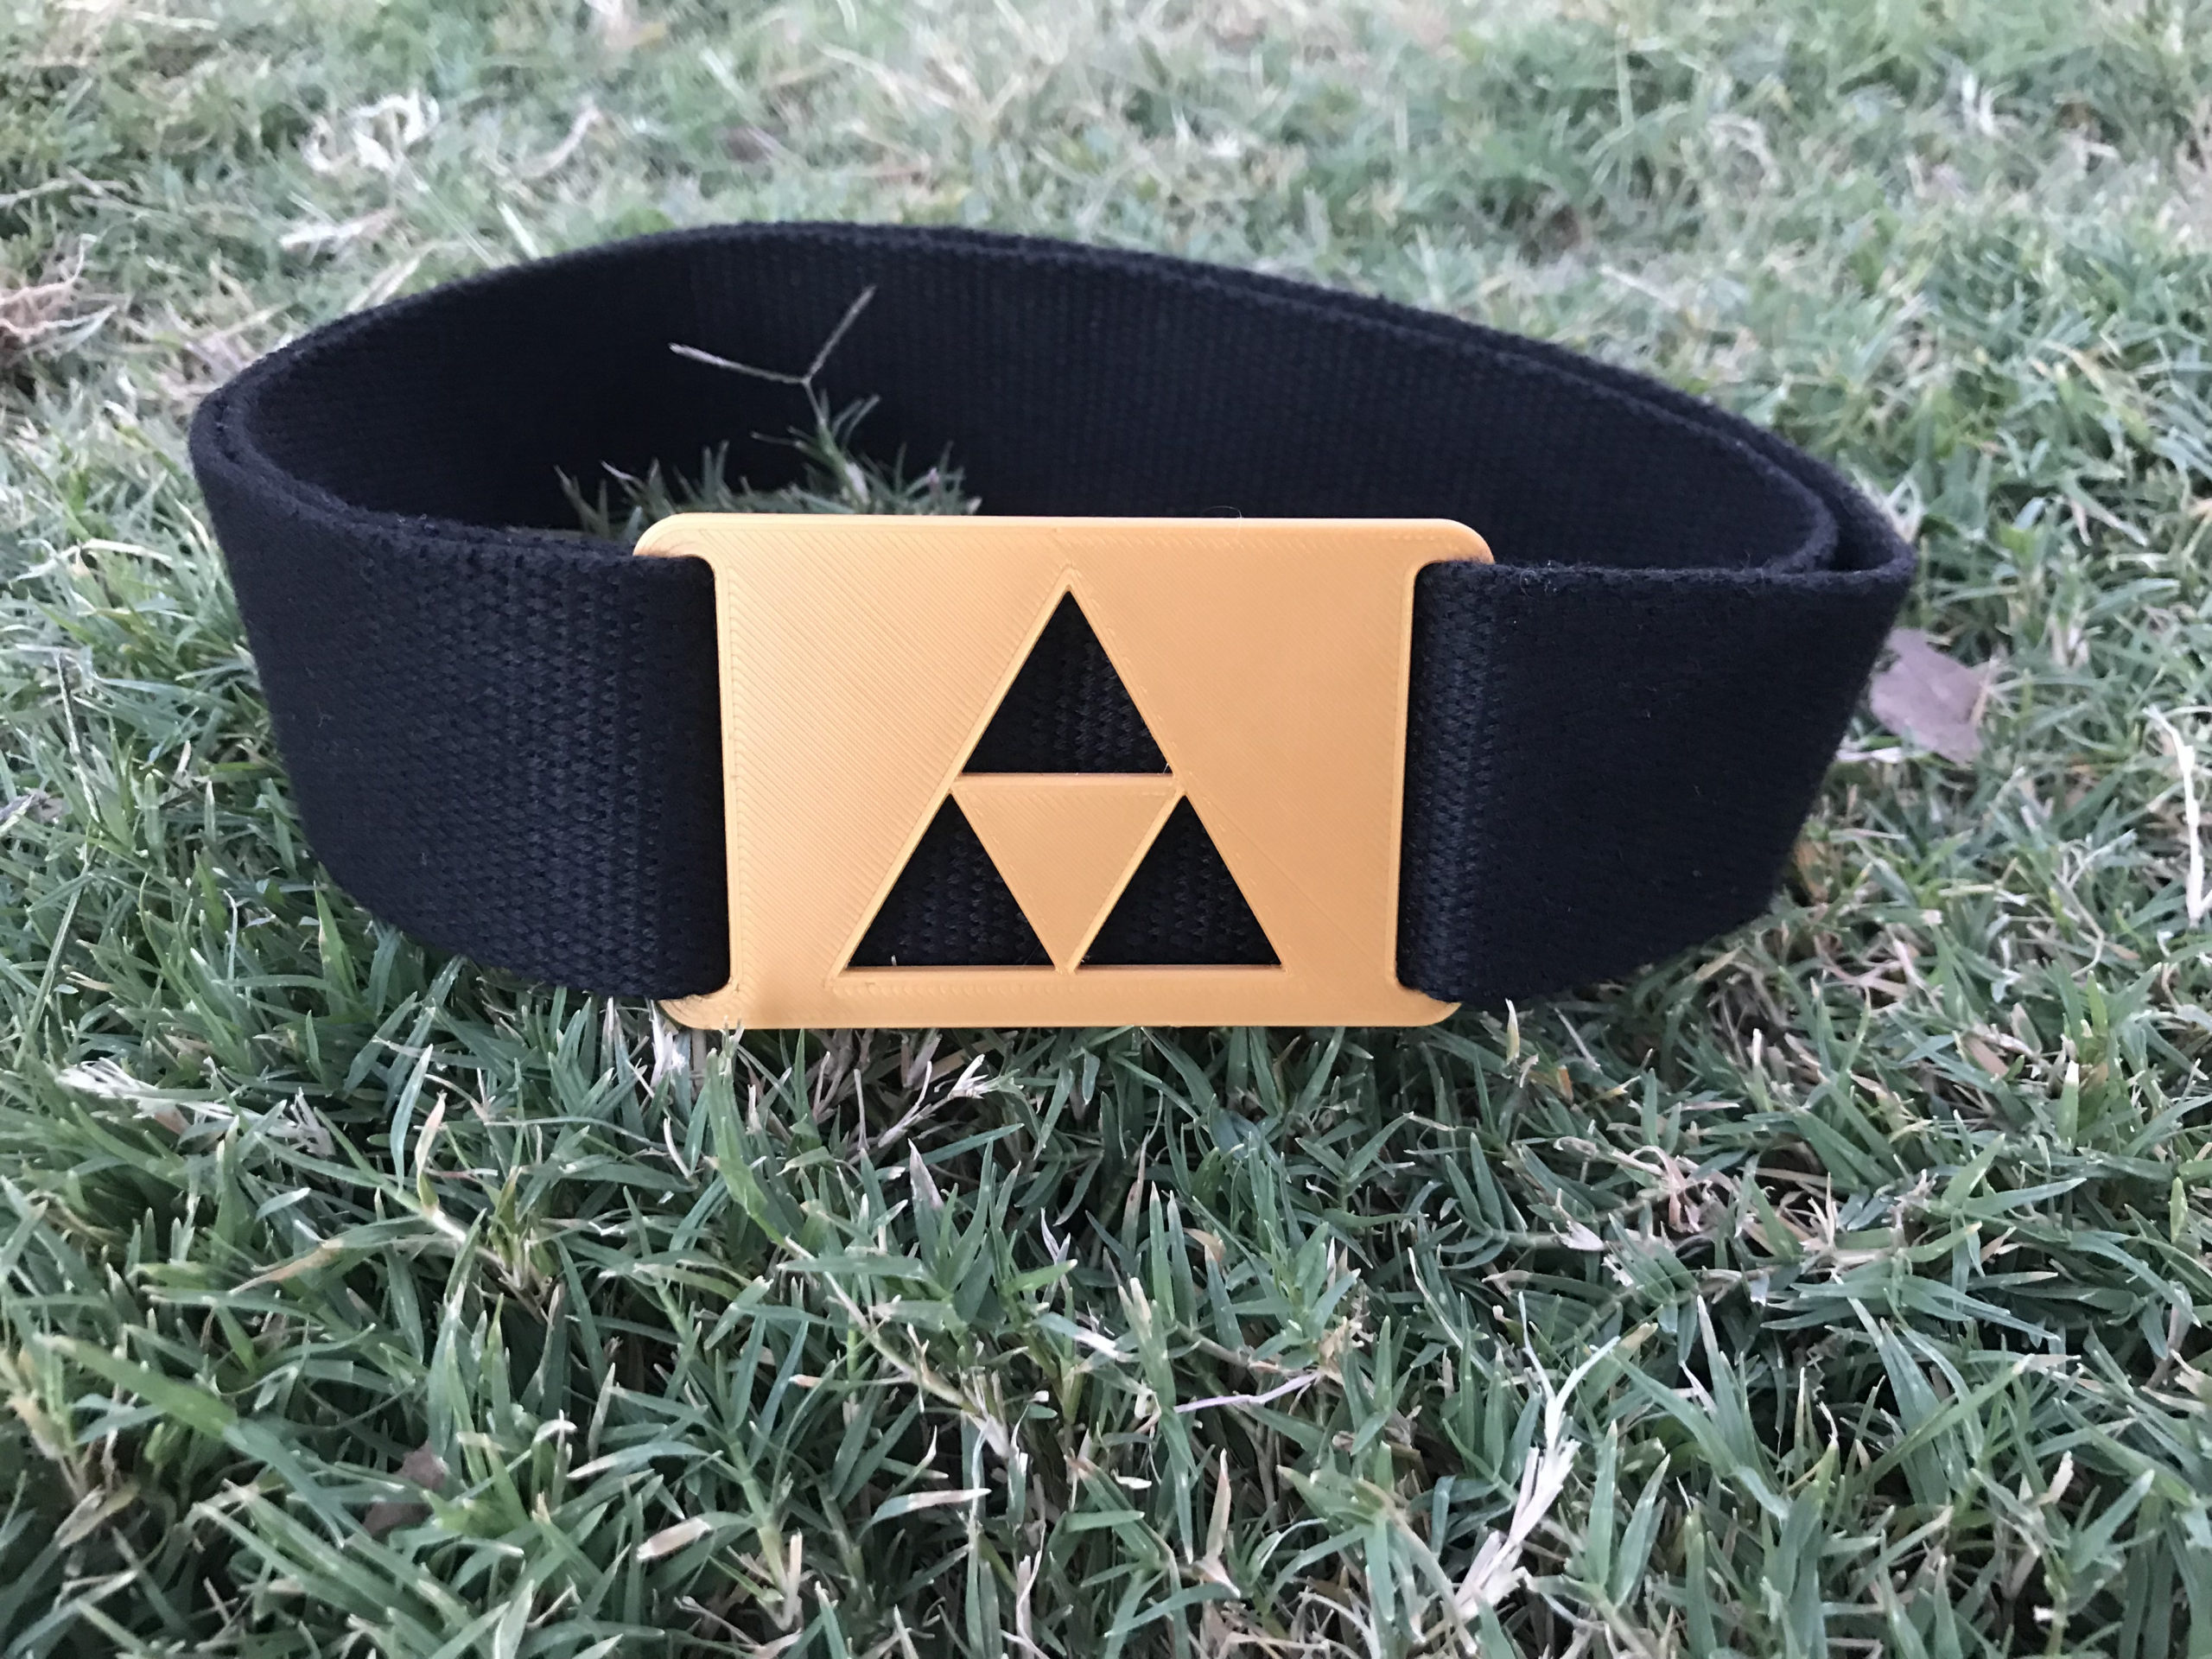
5. Belt (Optional)
Cut the belt material to the required length. If the material is a Nylon or Polyester webbing, use a lighter (or equivalent) to melt the edge and prevent fraying.
Tightly fold over the cut/melted edge once and sew securely in place.
Weave through the belt buckle and wear
6. HIYAAH!
Villains and ceramic pots beware!
To really top things off, I found a great tutorial for hats on YouTube.
Files
Click the Download buttons for zip folders
Files are available under the Creative Commons BY-NC-SA License.
Like what you’re seeing here? Leave me a comment down below, get vaccinated if you can, follow me on Twitter @DragonMtnDesign, and/or say “hey” if you see me or my work out around on the internet.