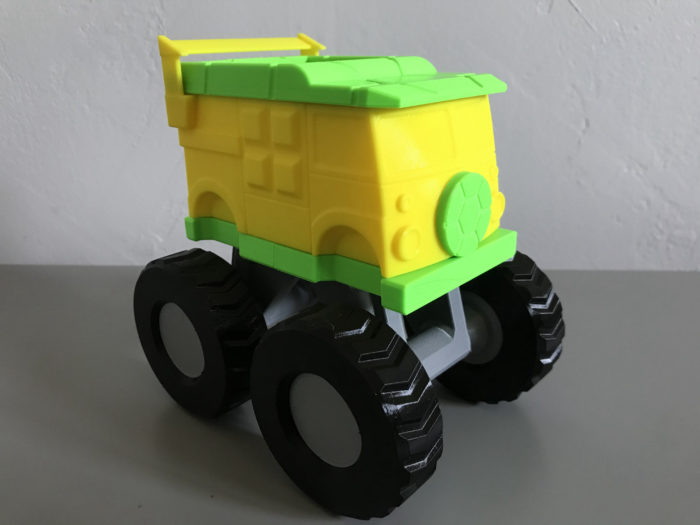
TMNT Mini Party Wagon Monster Truck
Never expected this word salad to be a project title, and yet here we are.
First, an apology: At the end of 2019, for the first time ever, I created a list of projects/goals I wanted to accomplish in the new year. This haughty action upset the natural balance and has doomed us to the reality we now find ourselves in. Real sorry about that, friends!
All jokes aside, a full-scale TMNT Party Wagon started earlier this year was on that list, and while I still hope to complete it at some point, sometimes you start on a project, and it takes a variety of wild turns. In this instance, I was well into the project when life’s challenges and struggles sapped my motivation, and time ran out to complete it before my son’s birthday.
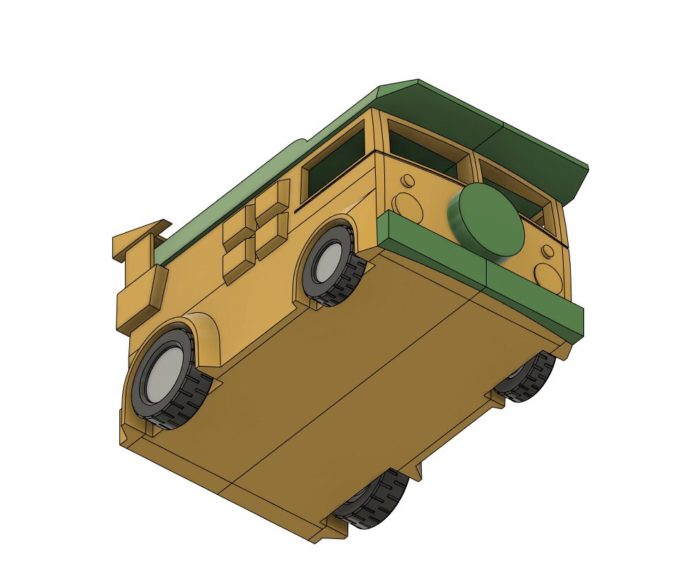
However, when my wife took the kids up north to escape the heat for a few days, inspiration hit me like a train when I realized how much he still absolutely loves the TTTTruck that was designed and printed for his last birthday, and that I had just enough time to develop and print a mini Party Wagon at a similar scale.
Design work took a solid day, as did printing. It was finished just before joining them in the cooler mountain air, and I presented it as a preview to his upcoming birthday. He and my daughter excitedly played with it for the rest of the trip, and at some point, it was determined by all of us that it would be even cooler if it was also a monster truck.
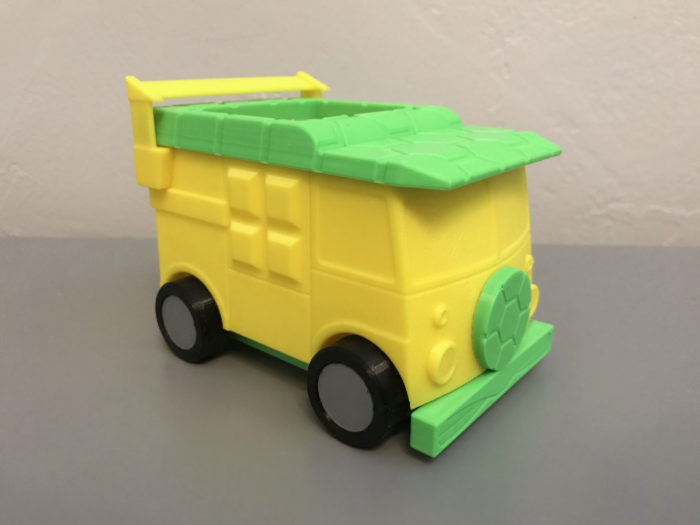
Boom. Just like that, the TMNT MPWMT (Mini Party Wagon Monster Truck) was born.
Alright, you’ve been patient enough. Let’s get on with the good stuff.
Helpful Tools
3D Printer / Printing service capable of working with flexible material
Hammer
Adhesive (but probably not)
1. Print out Parts
Direct download of files available at the bottom of the page.
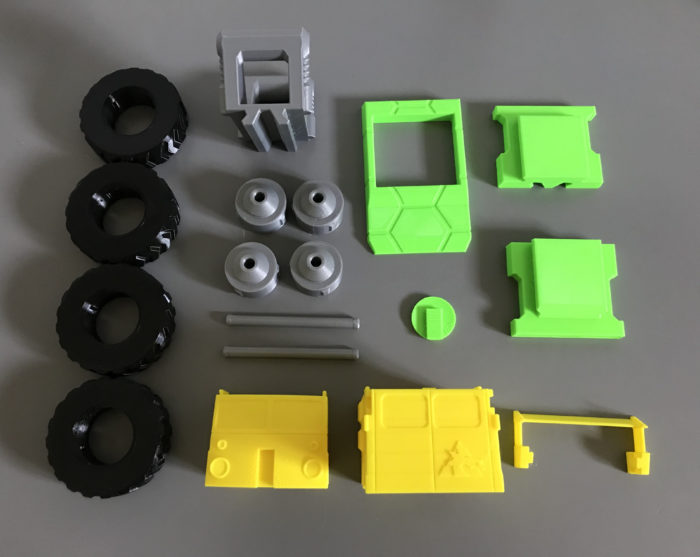
MPWMT-Back, MPWMT-BaseBack, MPWMT-Front, MPWMT-BaseFront, MPWMT-Roof, MPWMT-Spare, MPWMT-Spoiler, MPWMT-Extension, and MPWMT-Hub (x4)
Material: PLA
Infill: 15 to 20%
Supports: No
Brim: No
MPWMT-Axle (x2)
Material: PLA
Infill: 50% or higher
Supports: No
Brim: No
MPWMT-Tire (x4)
Material: Shore Hardness 98A Flexible TPU
Infill: 5 to 10%
Supports: No
Brim: No
Alright, I’m not going to lie. These parts are the same as the wheels on the TTTTruck.
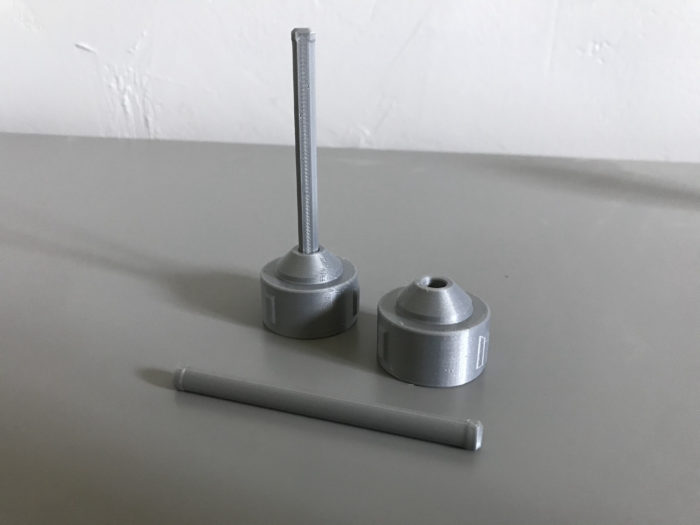
2. Hubs / Axles
Using a hammer, carefully tap MPWMT-Axle into MPWMT-Hub until it is fully seated (x2).
3. Extension
Slide the axle/hub assemblies into the holes of MPWMT-Extension (x2).
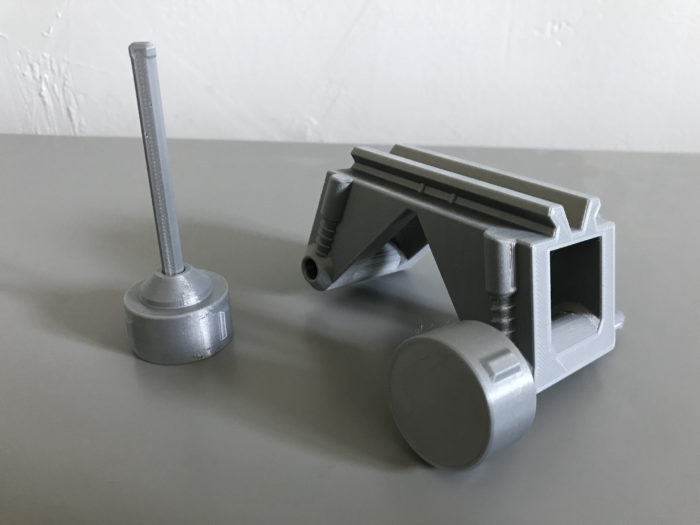
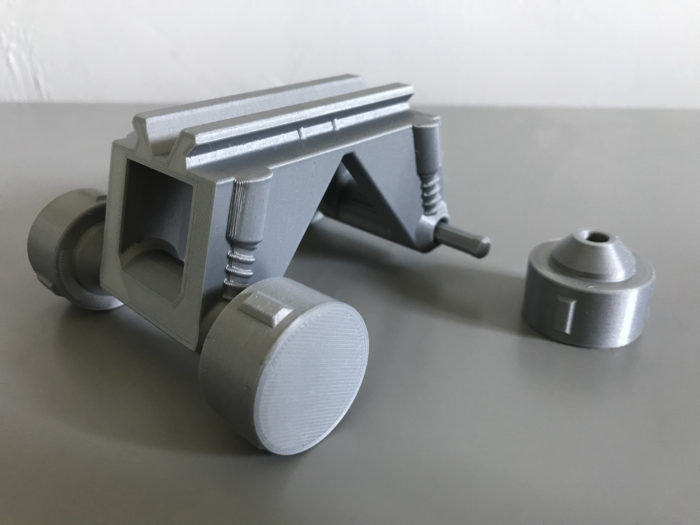
4. Hubs / Axles (again)
Once again using a hammer, tap MPWMT-Hub onto the exposed end of MPWMT-Axle (x2).
5. Base
Decide which end of the assembly will be the front and which will be the back. Press-fit MPWMT-BaseFront onto the “front,” and MPWMT-BaseBack onto the “back.”
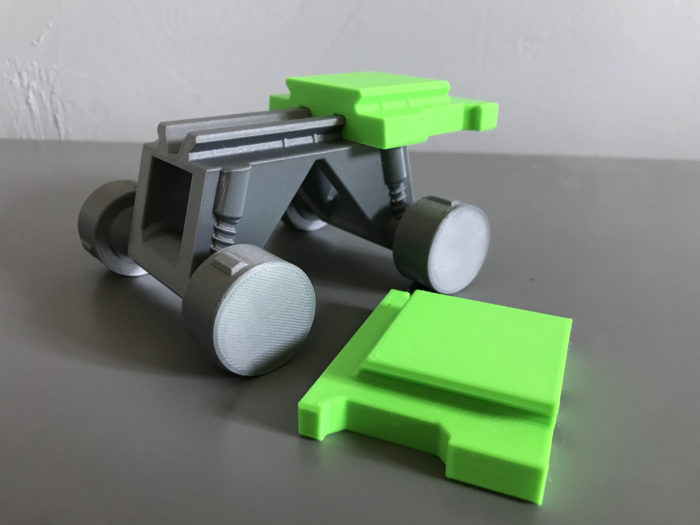
They will lock into place over the nodules.
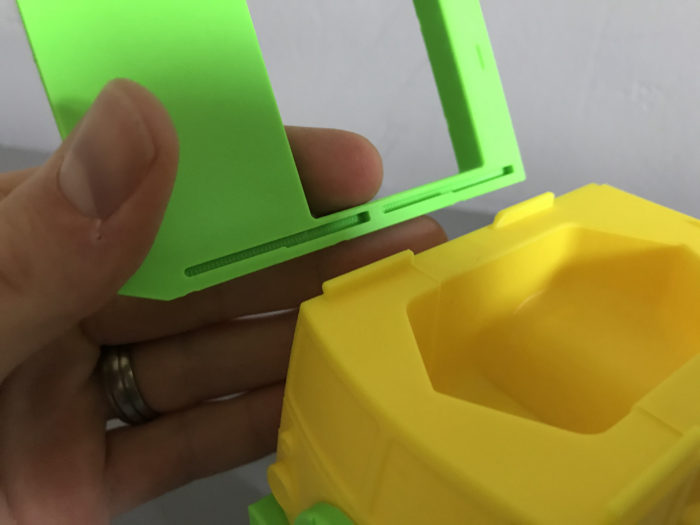
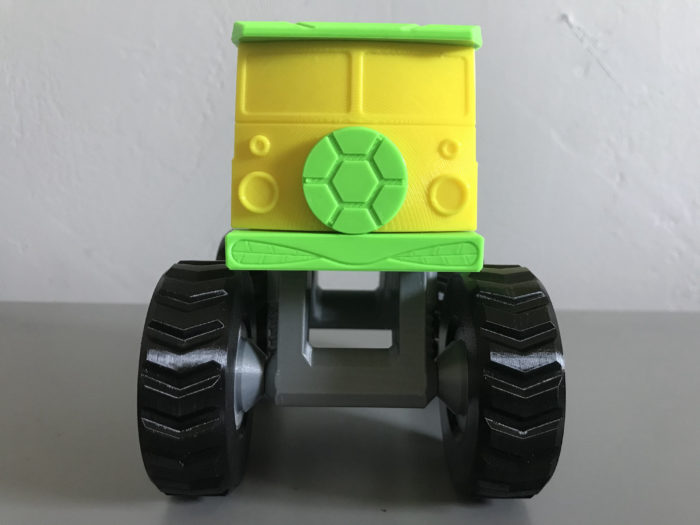
6. Front
Press-fit/slide MPWMT-Spare into the slot of MPWMT-Front as shown, and then press-fit that assembly onto the front of the base assembly as shown.
The components will lock into place over the nodules.
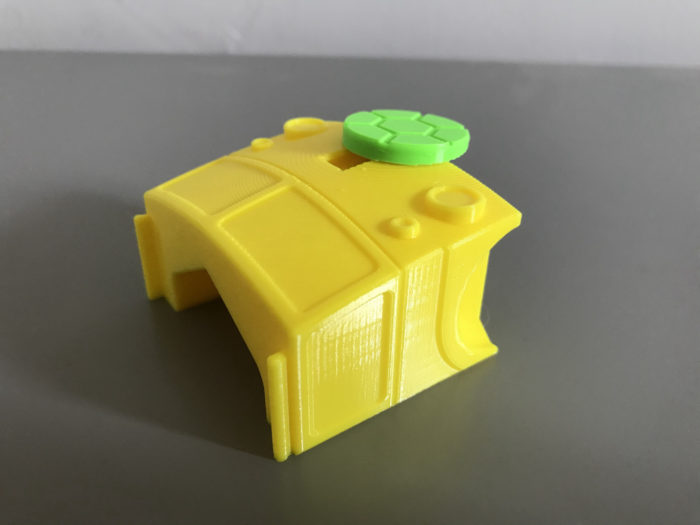
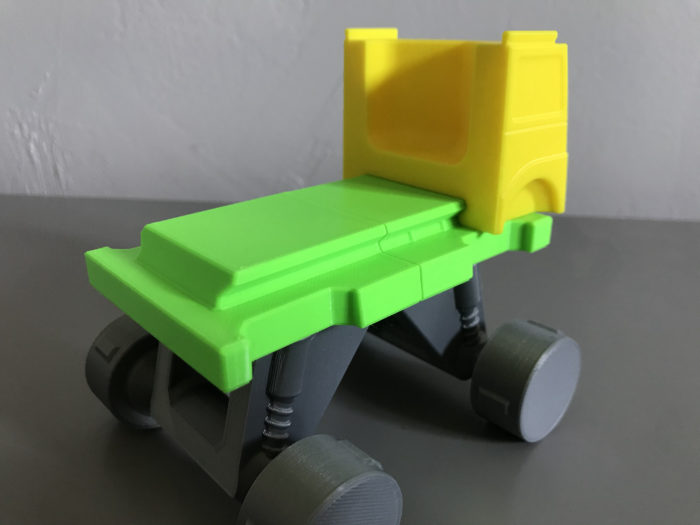
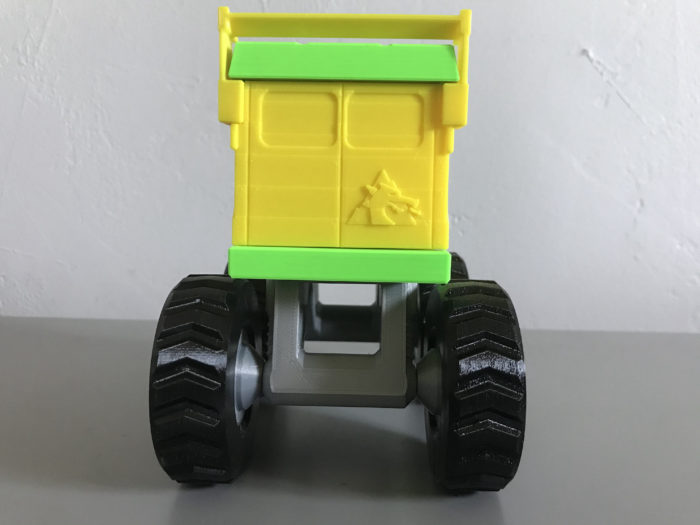
7. Back
Press-fit MPWMT-Back onto the back of the assembly as shown.
The component will lock into place over the nodules.
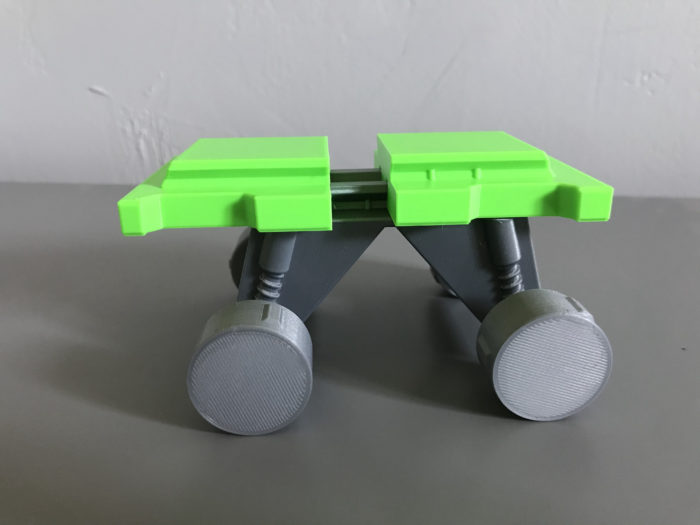
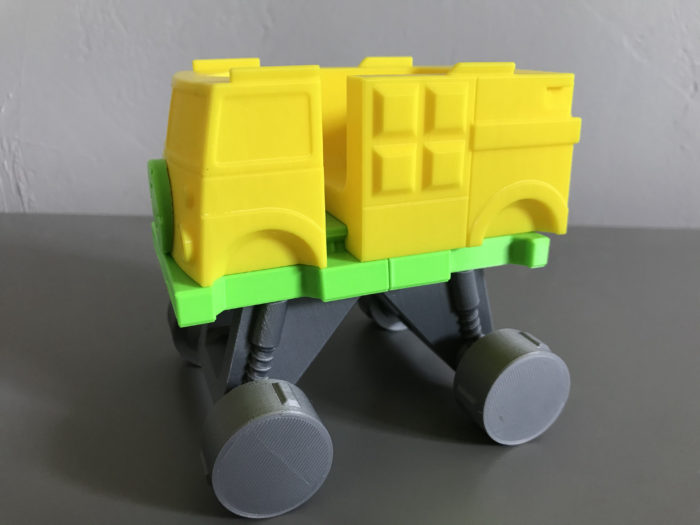
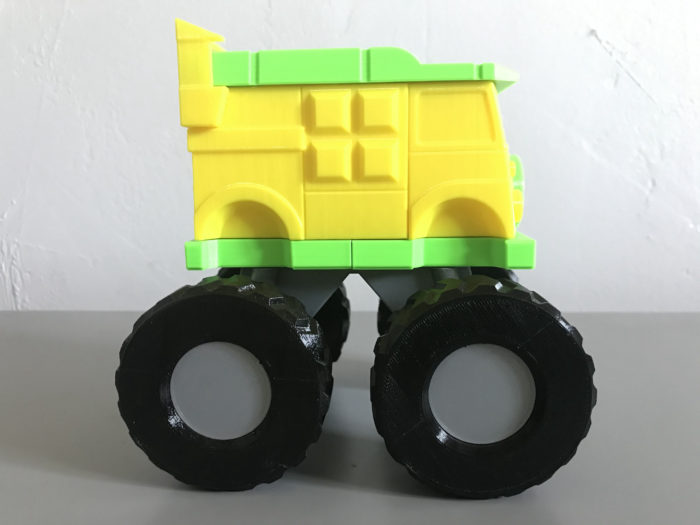
8. Roof
Fit the open segments of the MPWMT-Roof over the rails seen on the front and back components as shown.
Slide/press-fit the roof component back as shown. It will lock into place over the nodule.
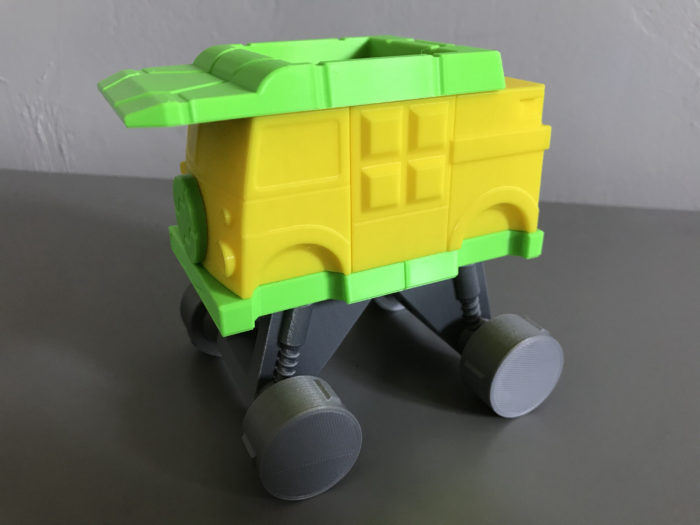
9. Spoiler
Press-fit MPWMT-Spoiler into the corresponding parts of the back of the assembly as shown.
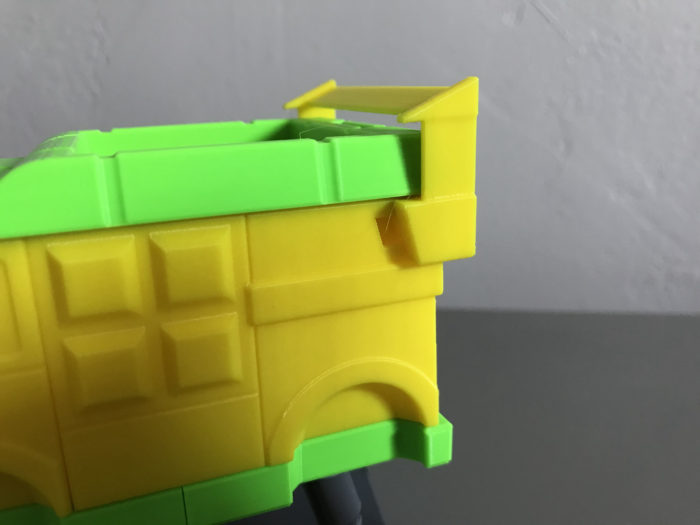
The component will lock into place over the nodules.
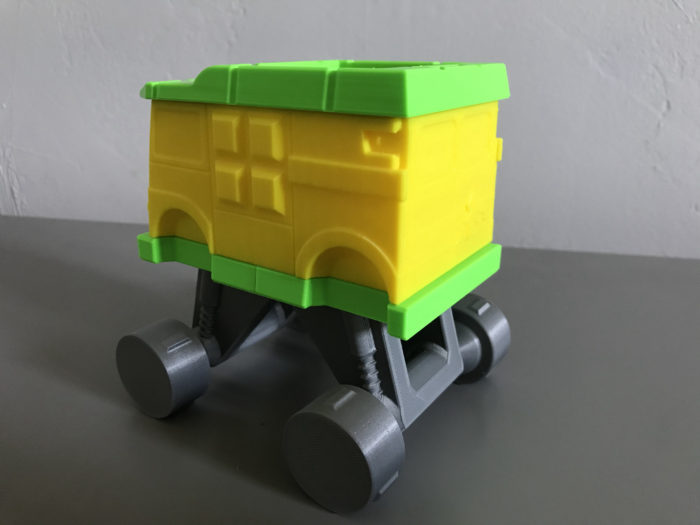
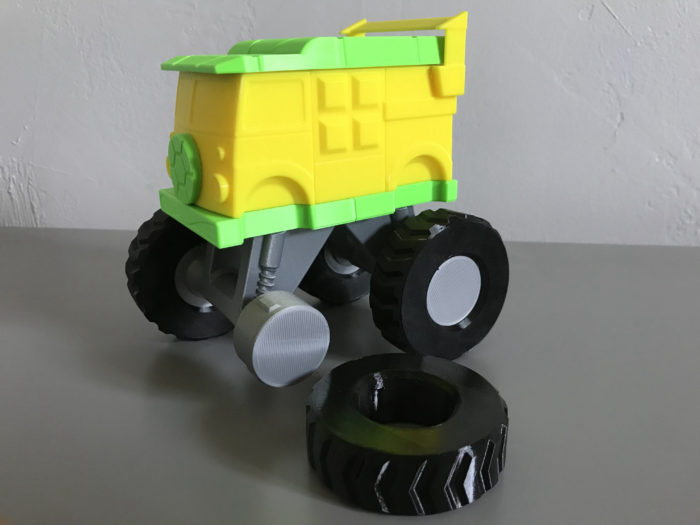
10. Tires
Line up the nodules on MPWMT-Hub with the recessed areas of MPWMT-Tire, and fit them over (x4).
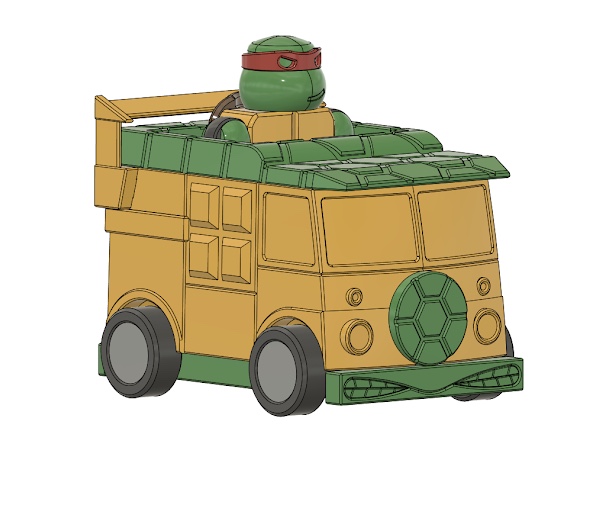
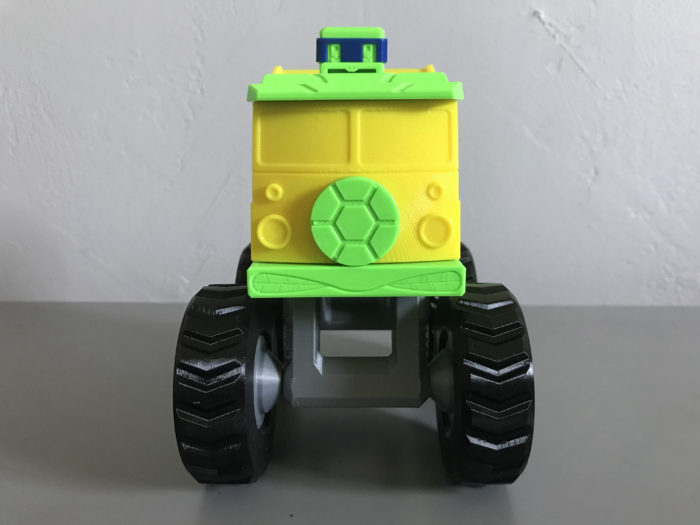
11. Cowabunga
Designed to fit one of the TMNT action figures that were designed earlier this year.
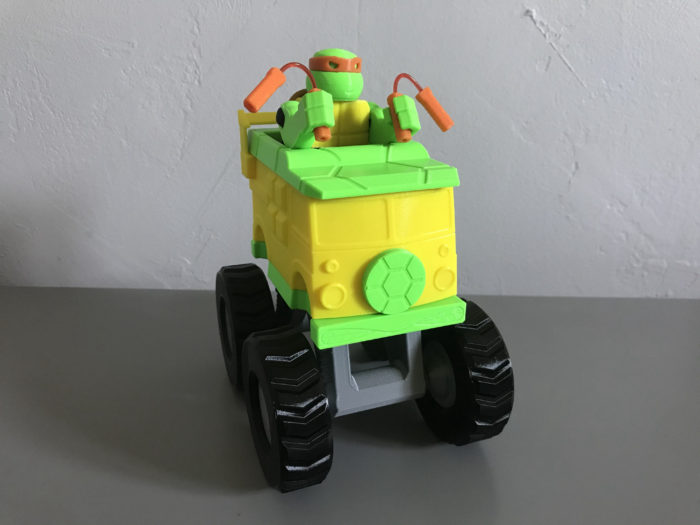
Can also fit a Ninja Squirtle.
Radical.
Files
Click the Download button below for a zip file with all the components.
Files are available under the Creative Commons BY-NC-SA license.
Like what you’re seeing here? Leave me a comment below, follow me on twitter @DragonMtnDesign, say “hey” if you see me or my work around on Reddit (u/DragonMountainDesign), and wear a mask when out and about to show others that you care about their well being.
2 Comments
This whole TMNT Series of printable toys you have going are awesome!!! The fact that you design them for ease of printing and predominantly no supports is even more impressive. My daughter and her friends love these, Thank you for making them.
Love the MPWMT, but kinda love the original preview version too. Any chance you’d release that one too?
Thank you for the kind words, Chris! I’m happy to hear that your daughter and her friends love them.
Unfortunately the original, full-scale version of the Party Wagon was far from finished when Autodesk made changes to their hobby version of Fusion 360 that would make completion a challenge. I currently have no short-term plans to pick that project back up and start from scratch in a new software, but I won’t rule out it ever happening.
Thank you again and take care!