Project Space Princess – Utility Belt [Redux]
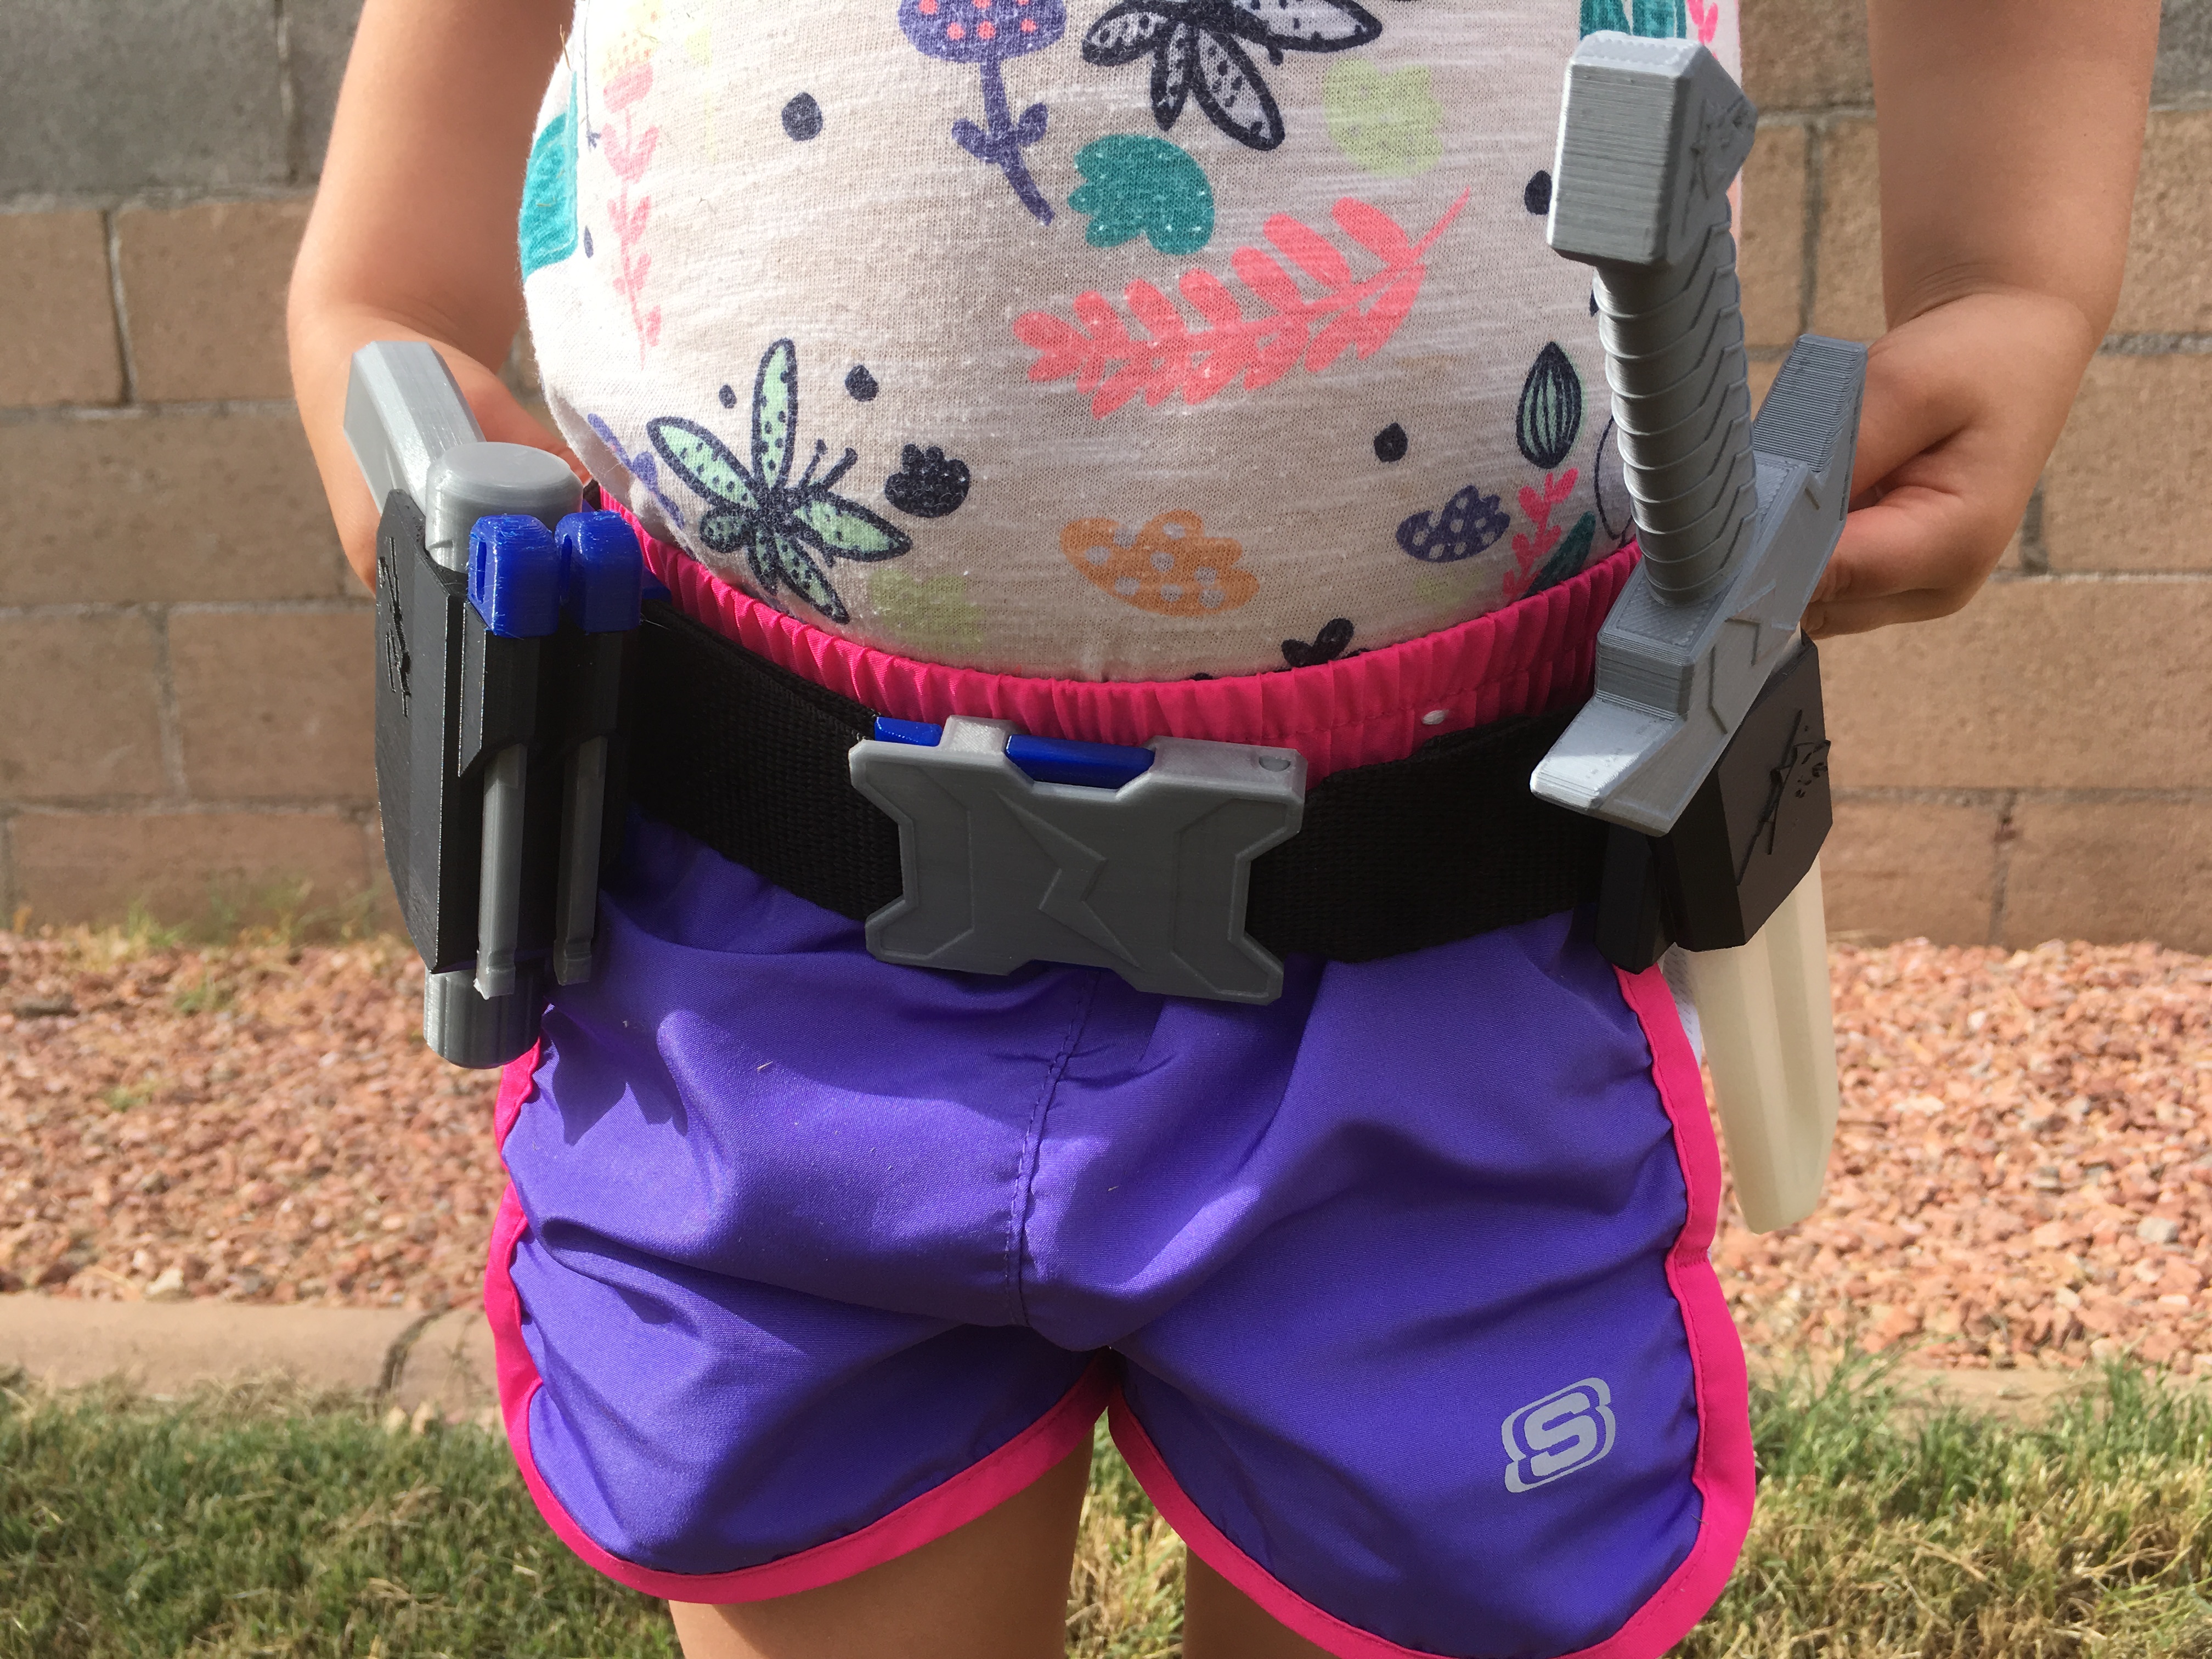
Yes, I have dabbled in a belt accessory before, but field tests with a toddler showed that it was more of an aesthetic rather than functional piece of hardware. A redesign was necessary in order to facilitate the important missions a Space Princess meets on any given day.
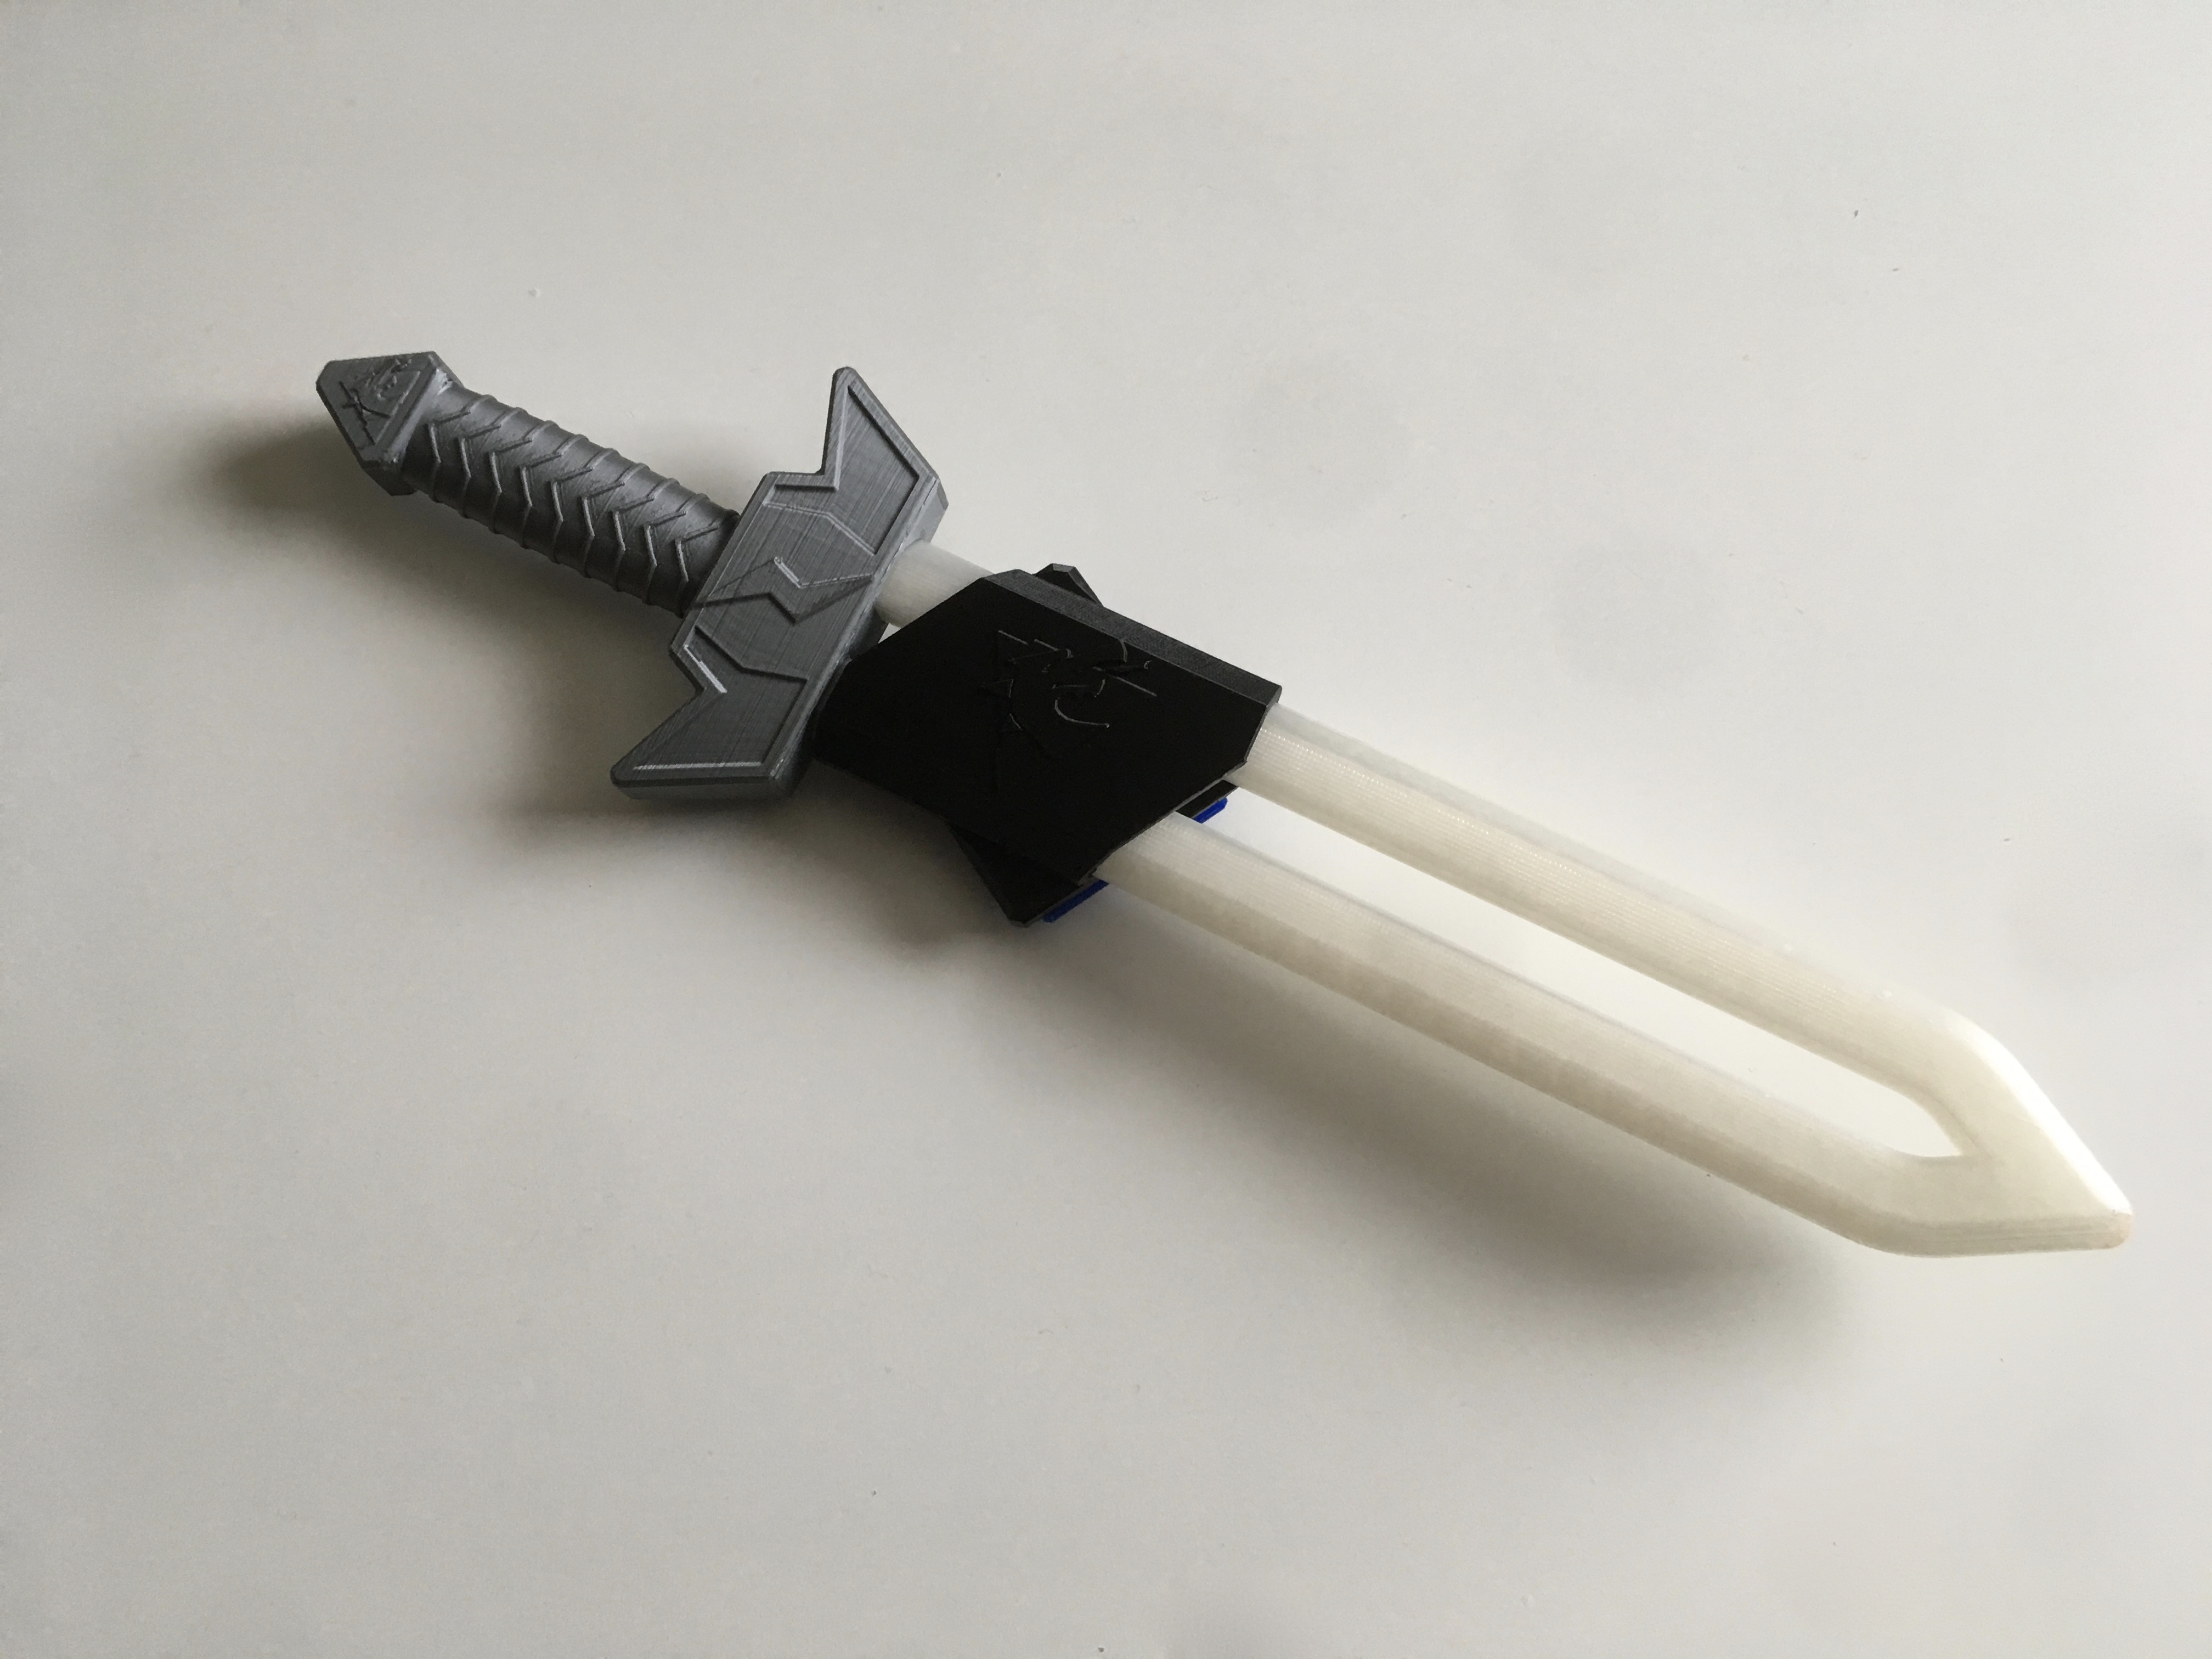
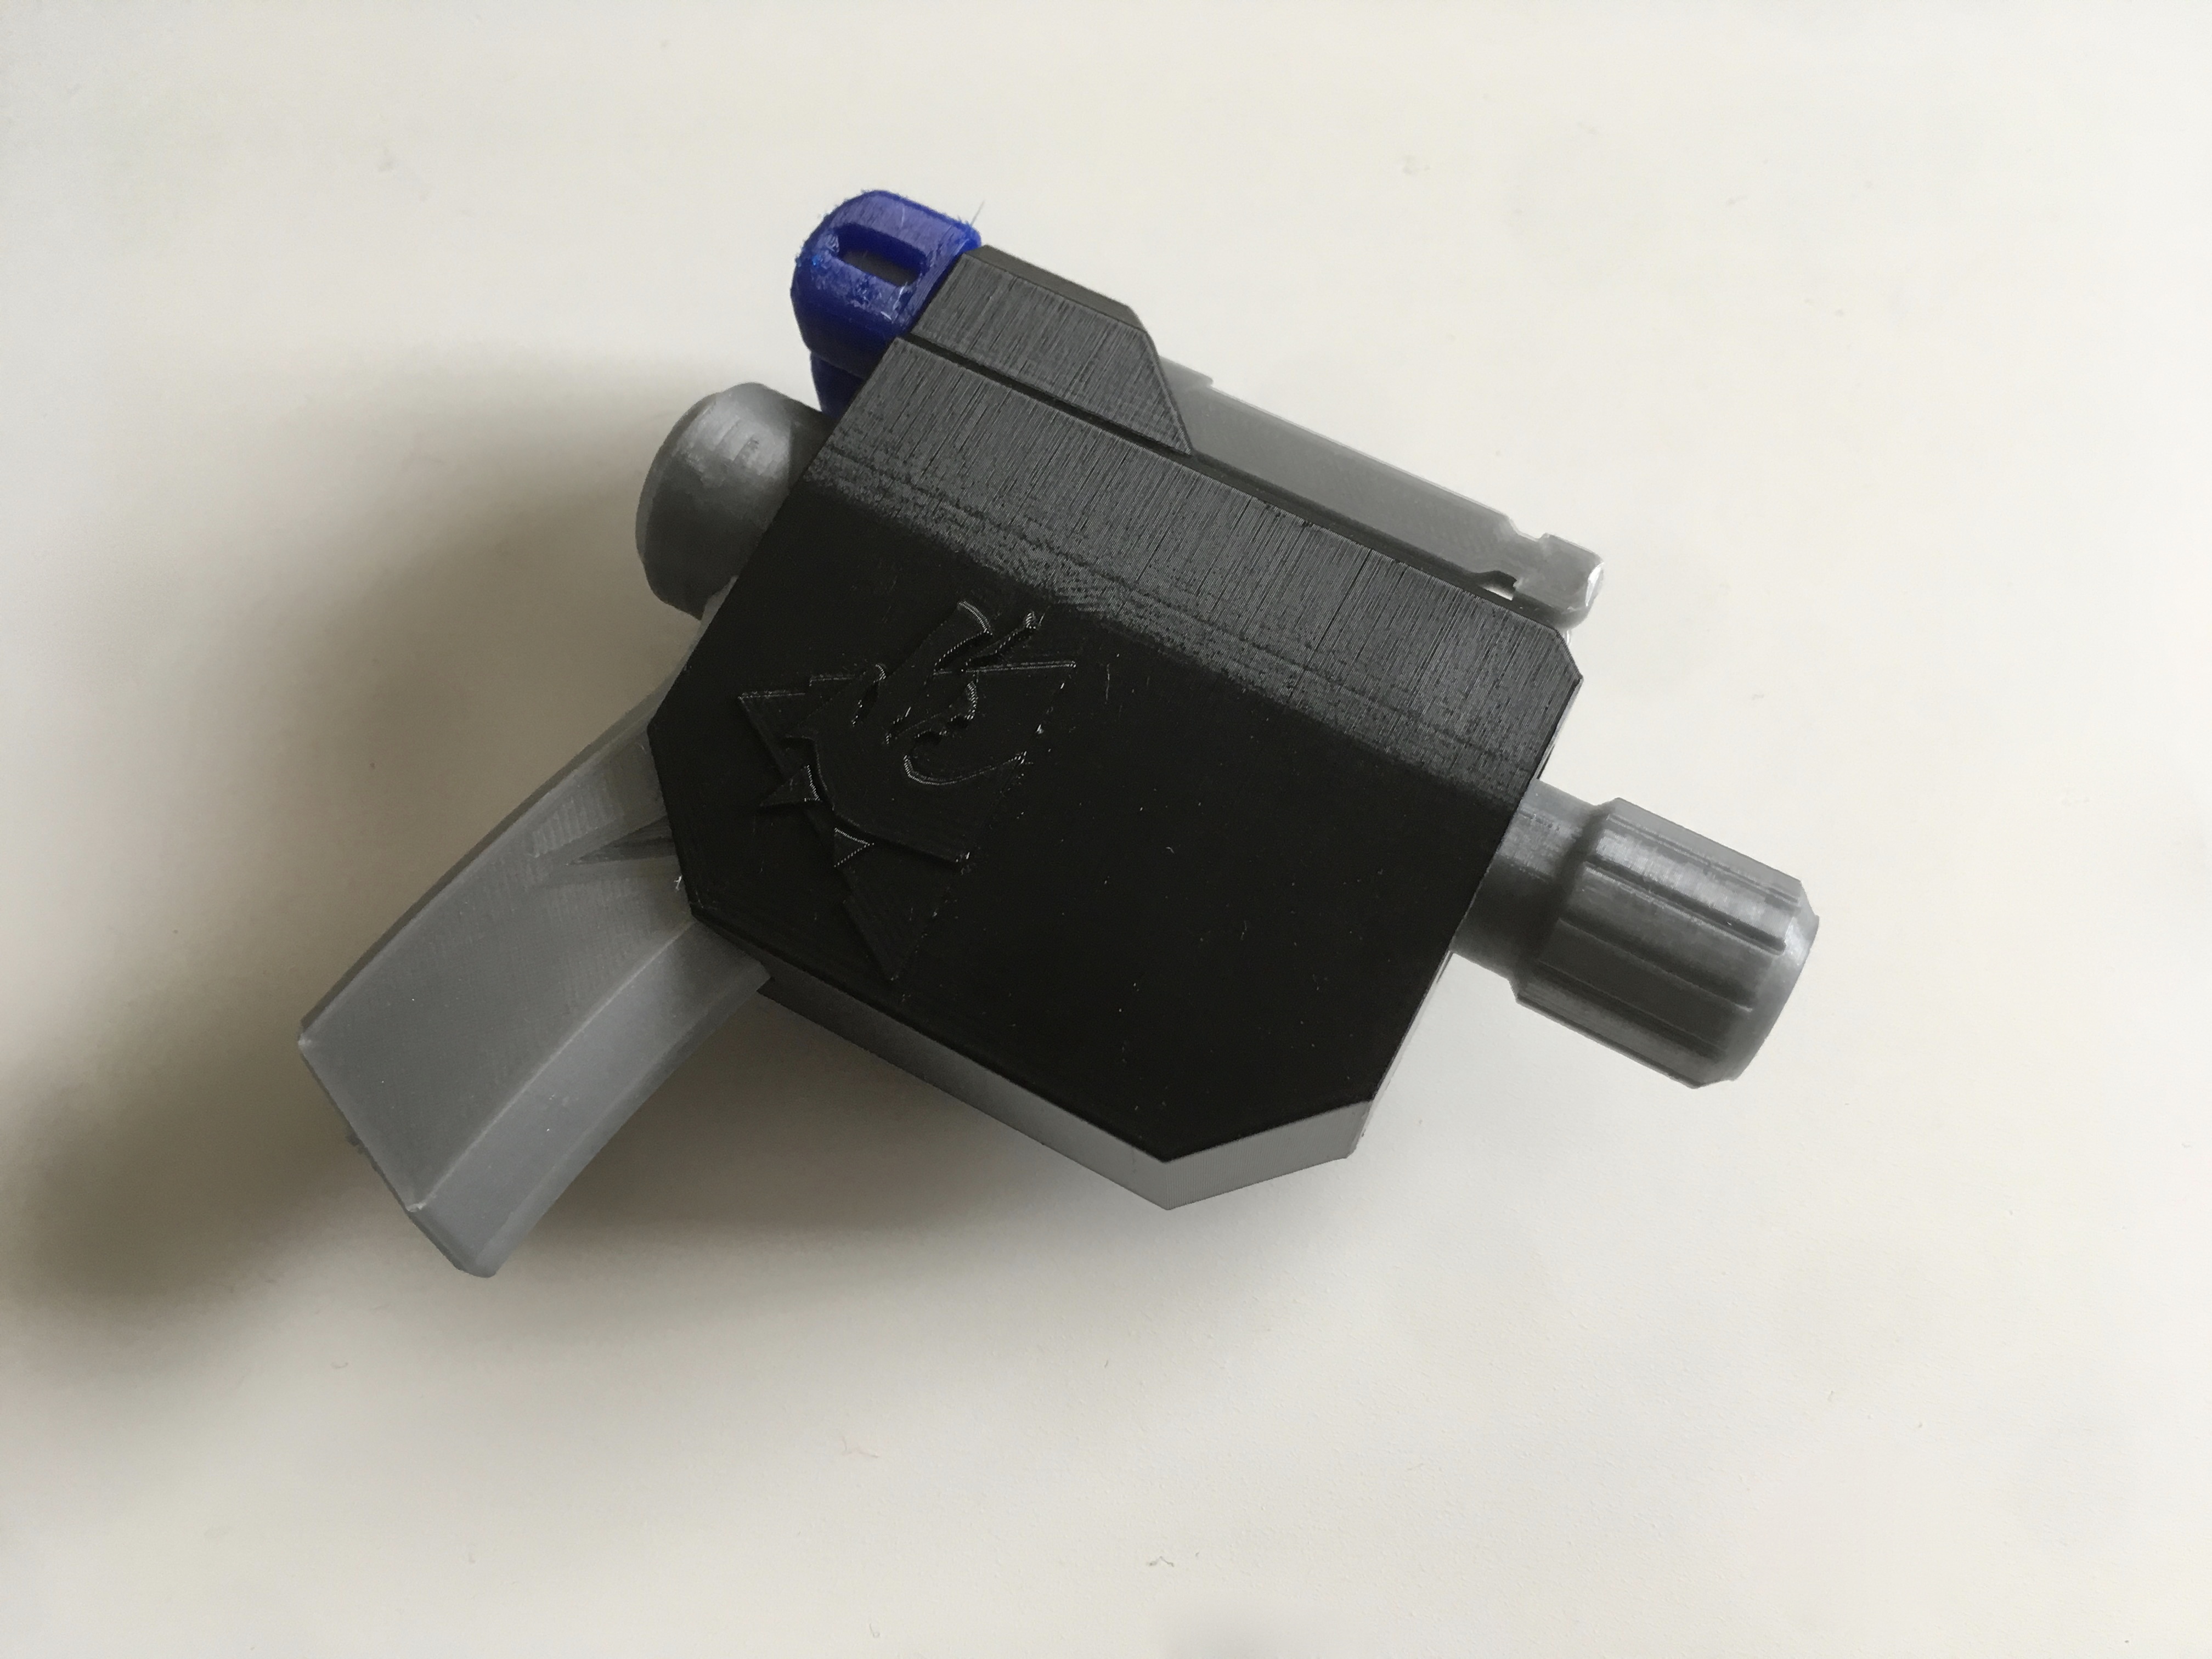
This utility belt comes with a holster for your Bolide Blaster and a scabbard for your Solar Sword. AND the modular attachment loop allows you to hold all of the things on a variety of mediums: other belts, pants, etc.
You have other gear you want to attach? Cool. HERE’s the native Fusion 360 file for you to use. HOWEVER, it’s designed to be printed in NinjaFlex SemiFlex, and I recently discovered that this specific material is no longer manufactured, so if you know of a suitable substitute, please use that (and forward the information along, please).
Anyway, onto the build!
Parts List:
If you’ve already made the previous version of the belt, you can easily convert that into this one. This time around we’re sewing the belt parts together instead of using the snaps, so if you’d rather do the snaps, the instructions are very similar to the old belt. Otherwise, grab the following:
1-1/2″ Lightweight Polypropylene – Strapworks (I bought 10′ of the stuff. You won’t need that much, but it is so inexpensive I didn’t care. Pick whatever color you want. There are lots of options.)
1-1/2″ Plastic Slide – Strapworks (x1 if you plan on sewing because it was easier than I expected, and looks pretty good)
Helpful Tools:
3D printer (or printing service capable of printing NinjaFlex SemiFlex)
Measuring Tape
Scissors
Sewing needle and thread
E6000 glue
Lighter
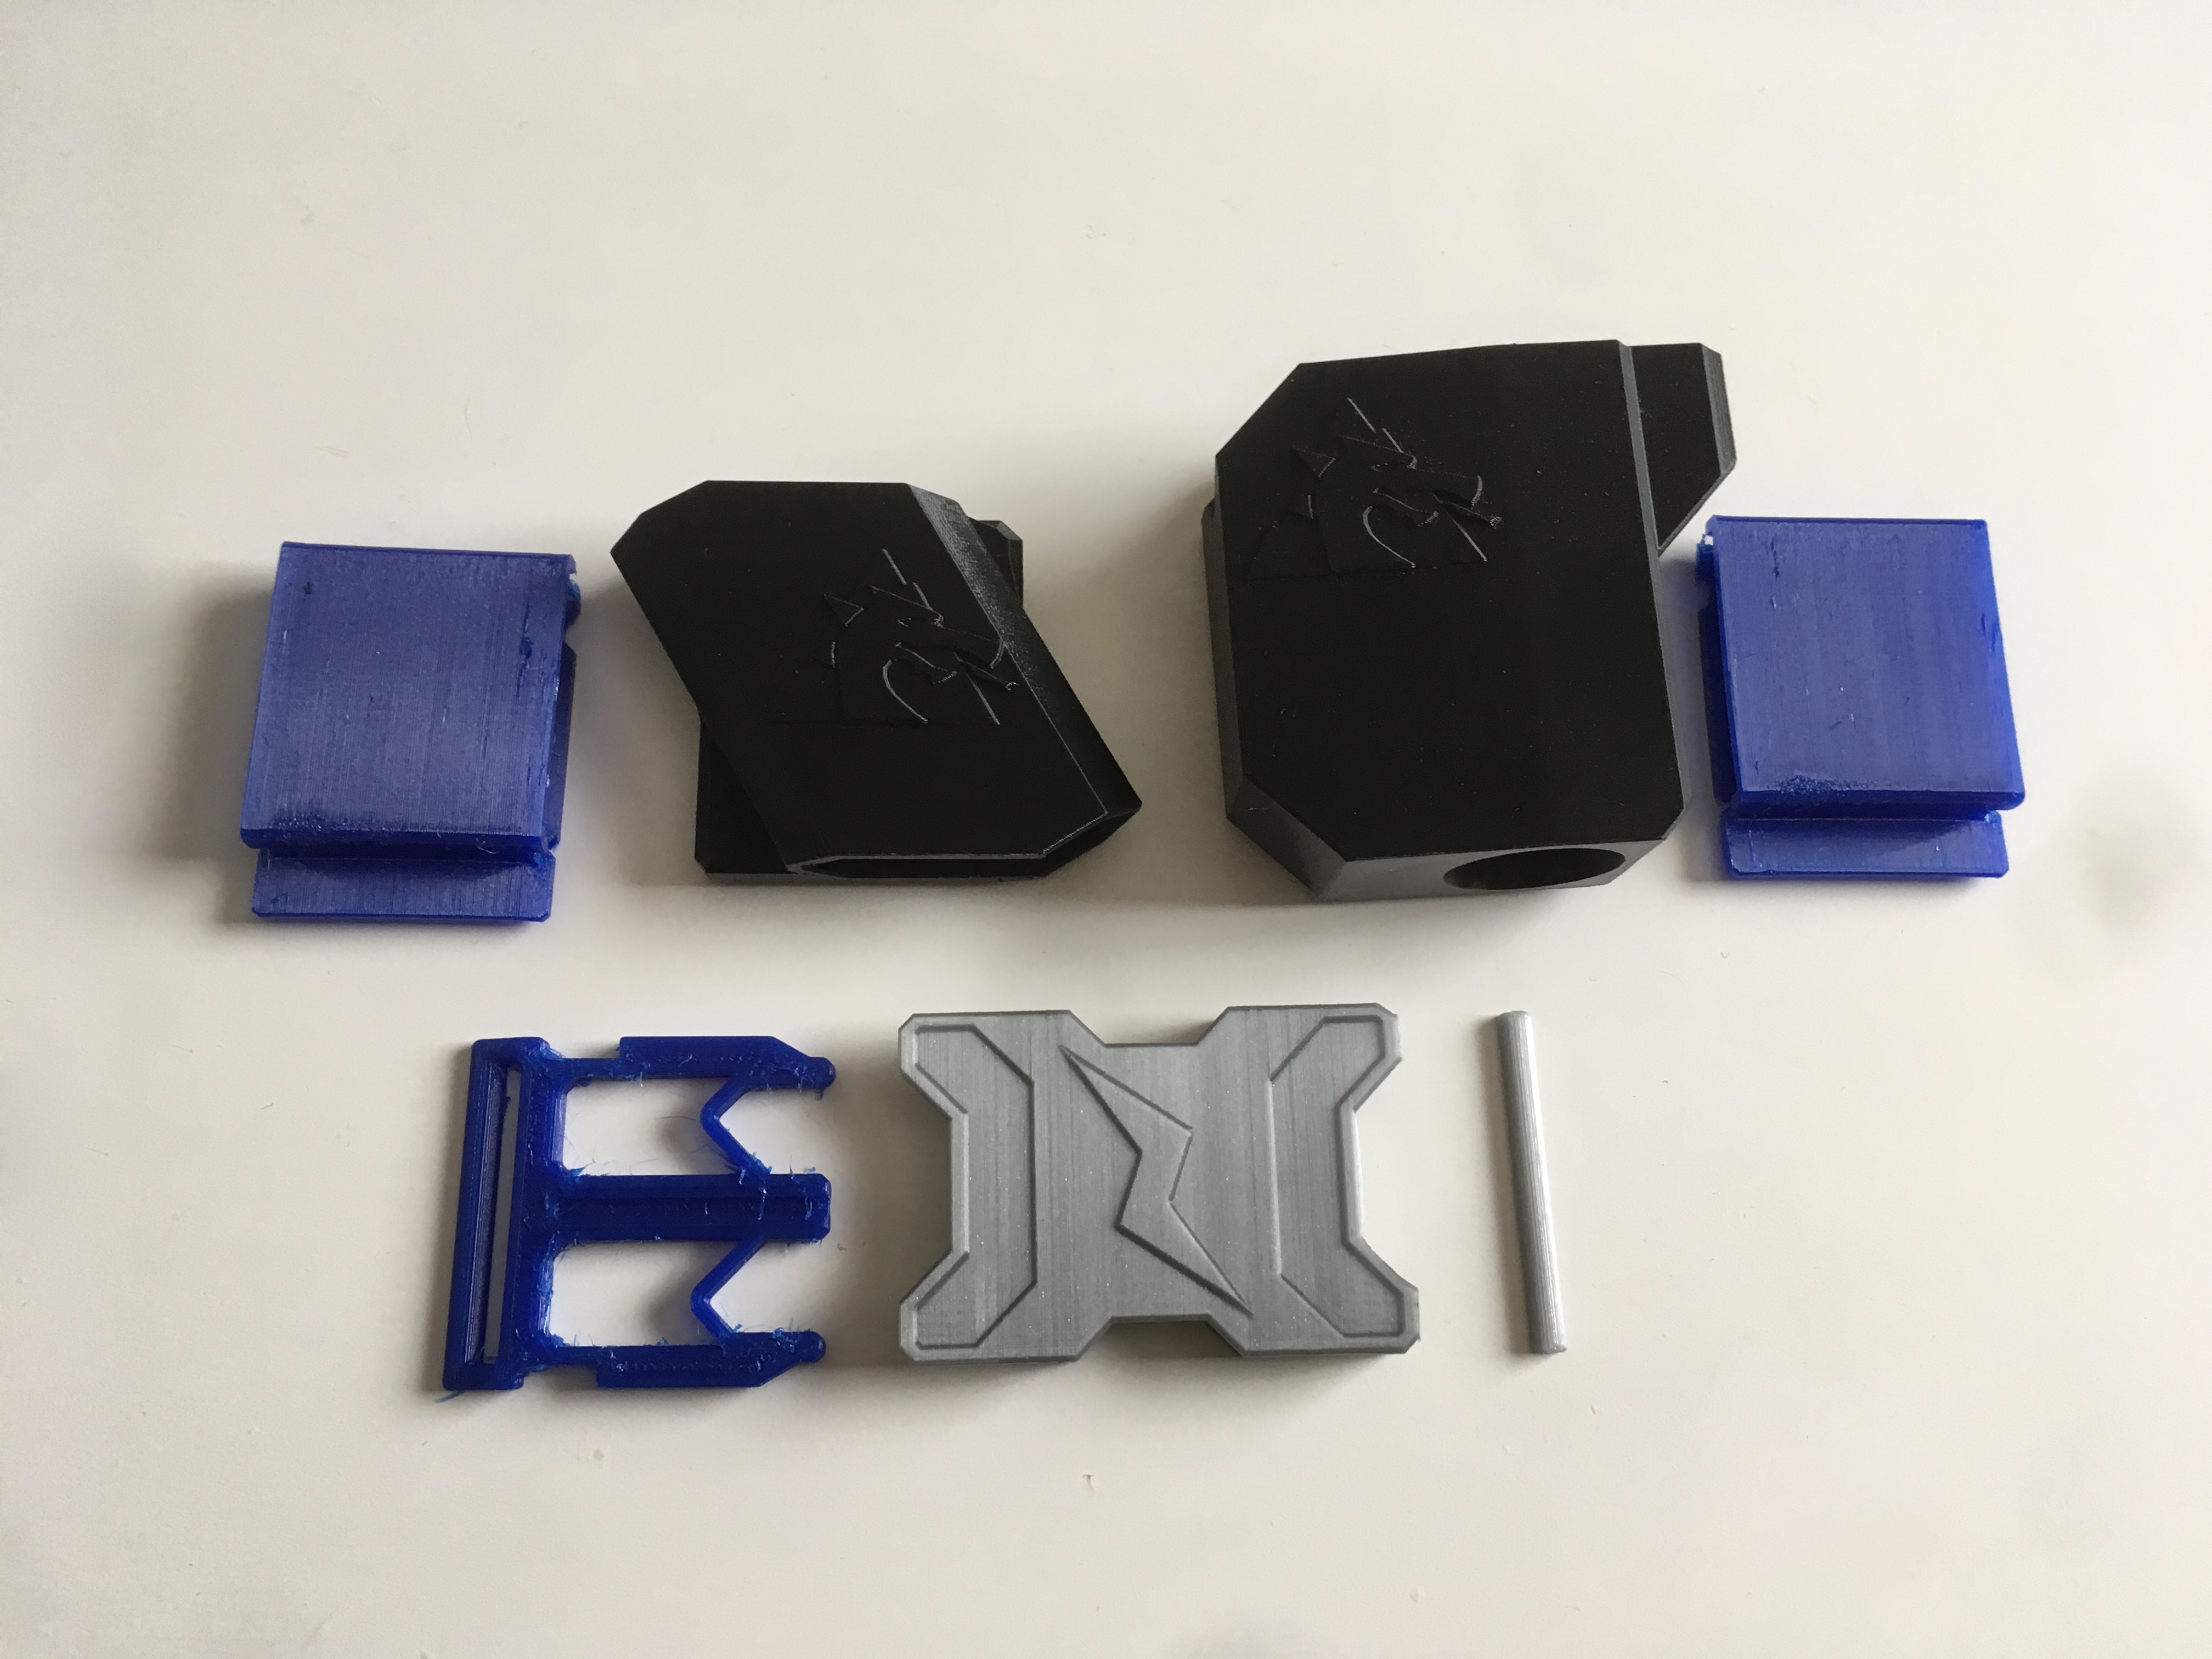
Print Out Parts
Files are all on MyMiniFactory.
March 2020 UPDATE: Files can be downloaded directly from this site at the bottom of the page. They are also available on Prusa Printers!
Material: NinjaFlex Semiflex (RIP) for the UB-Clip, and UB-BeltLoop. Everything else is PLA.
UB-Face
Infill: 40% or more
Supports: Depending on the orientation of your print, yes.
Brim: Yes.Everything else
Infill: 20%
Supports: No
Brim: NoBuild the Bolide Blaster Holster
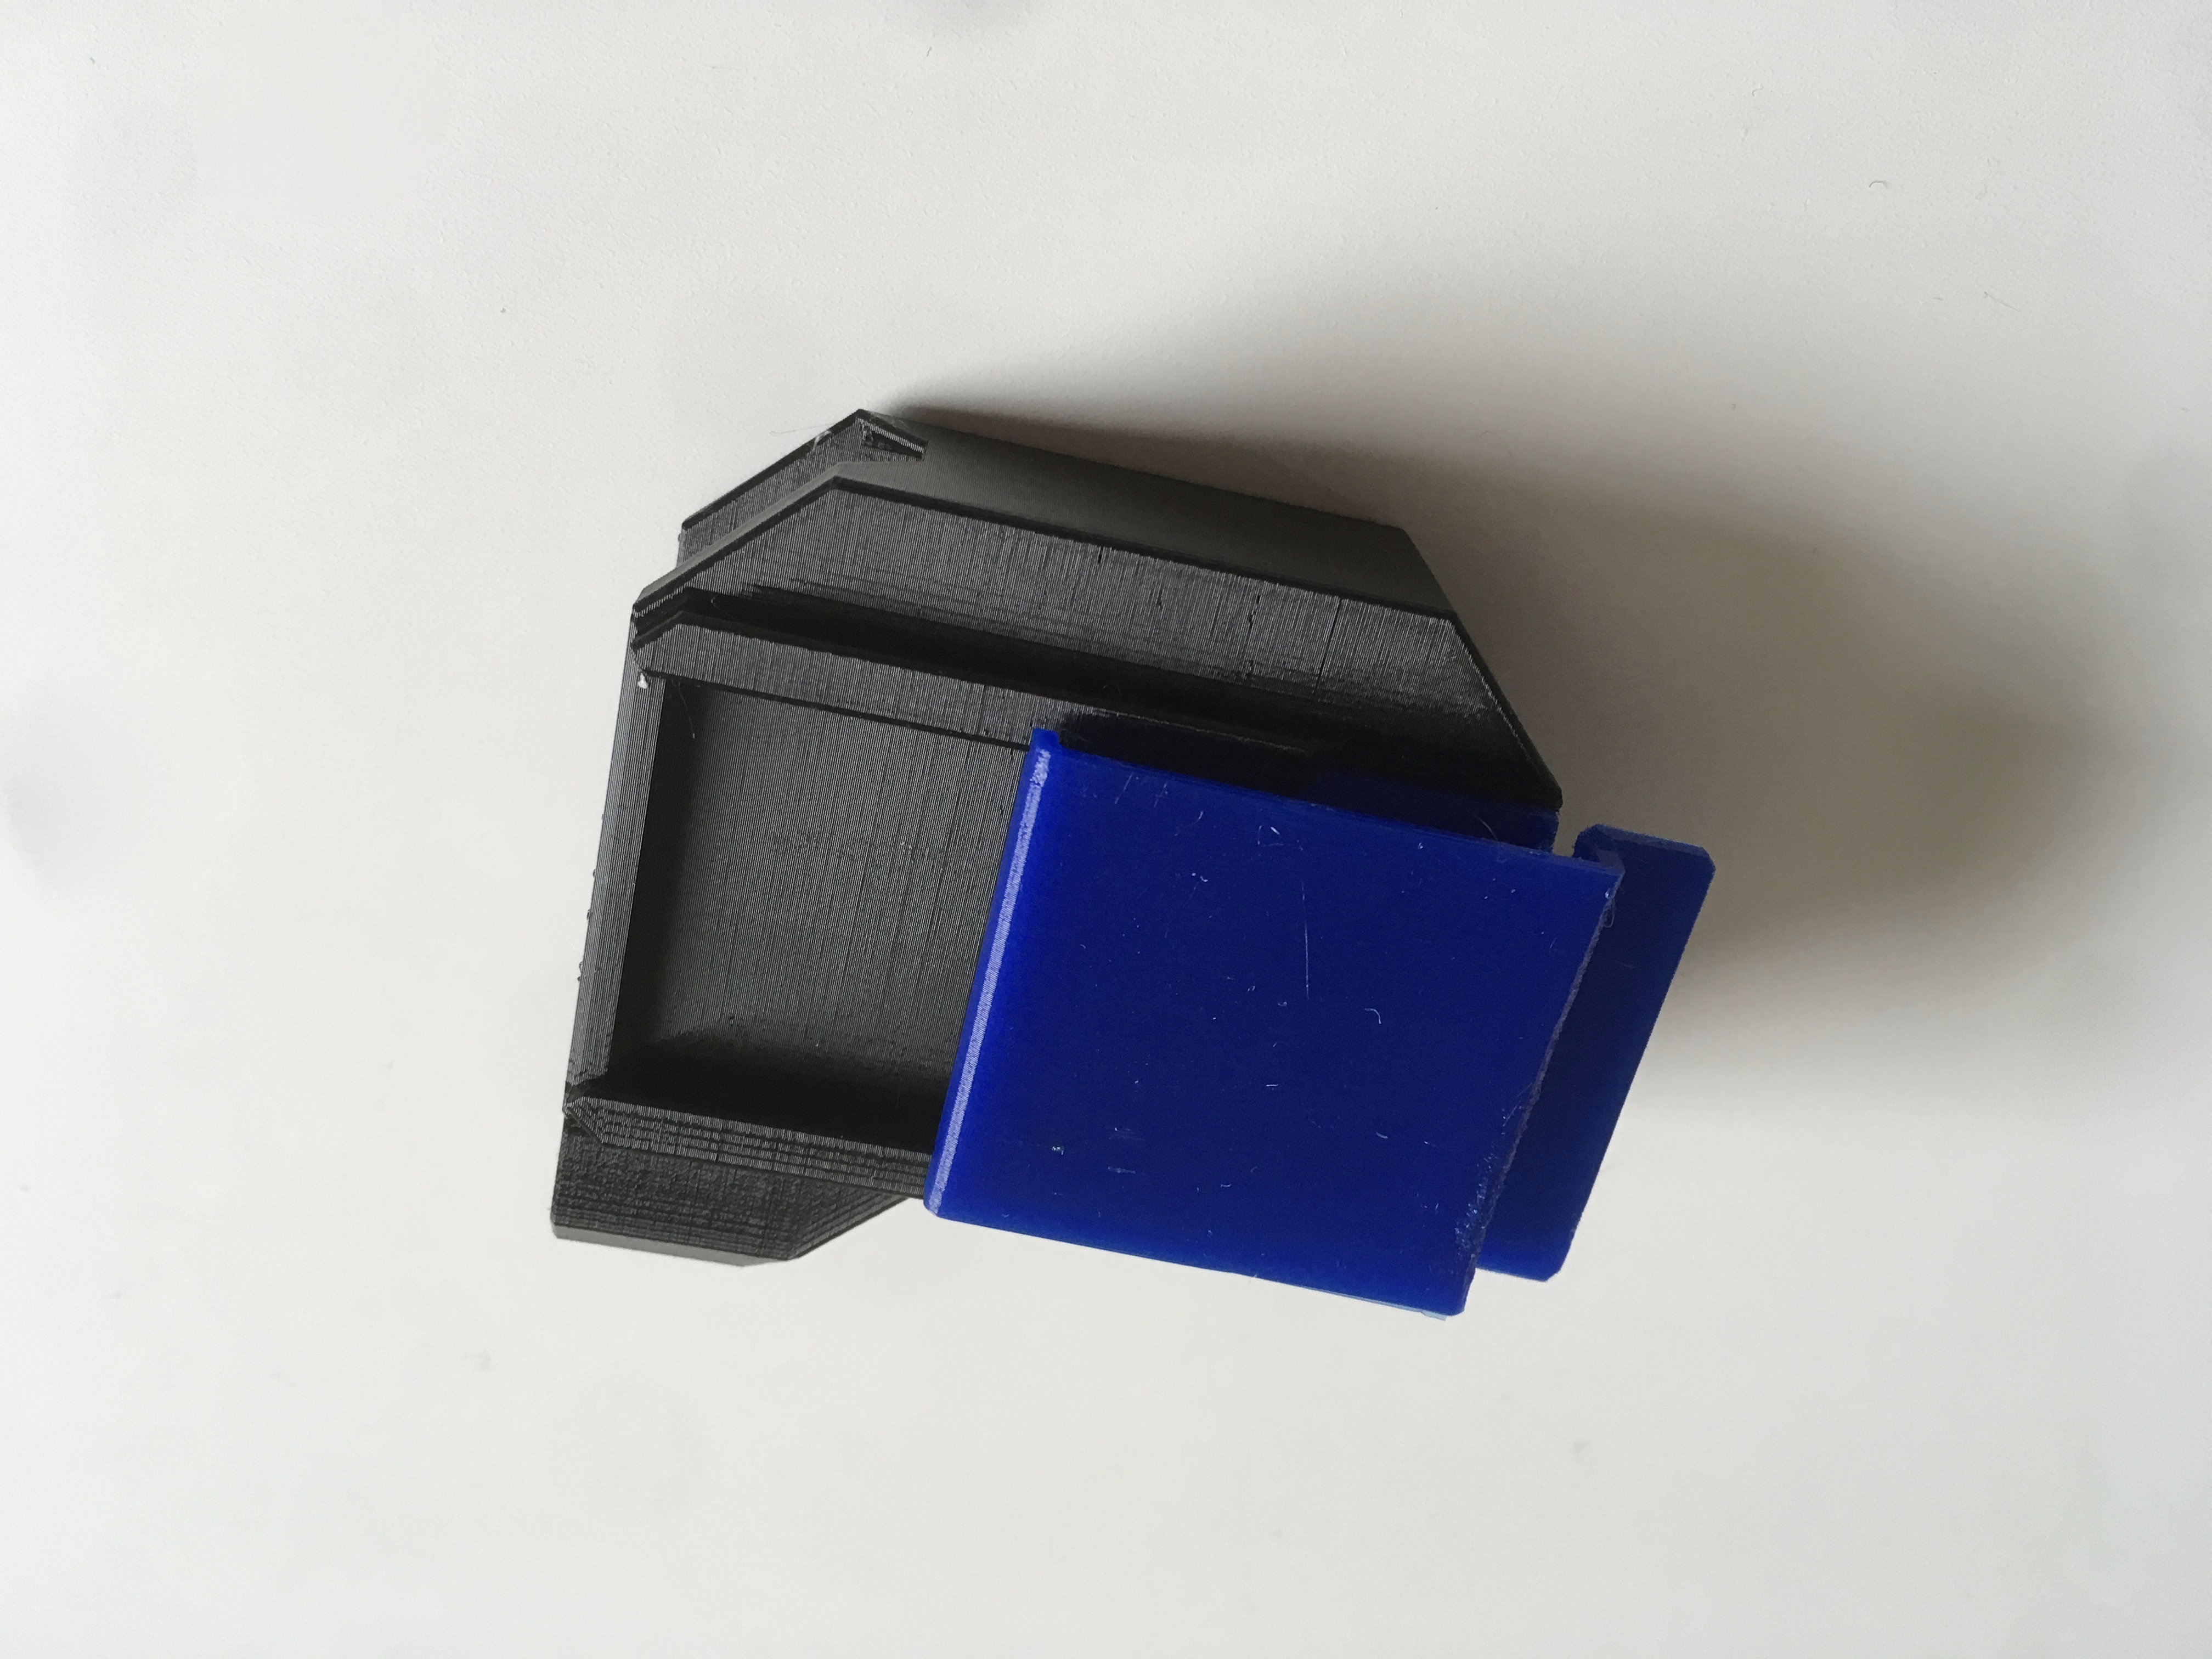
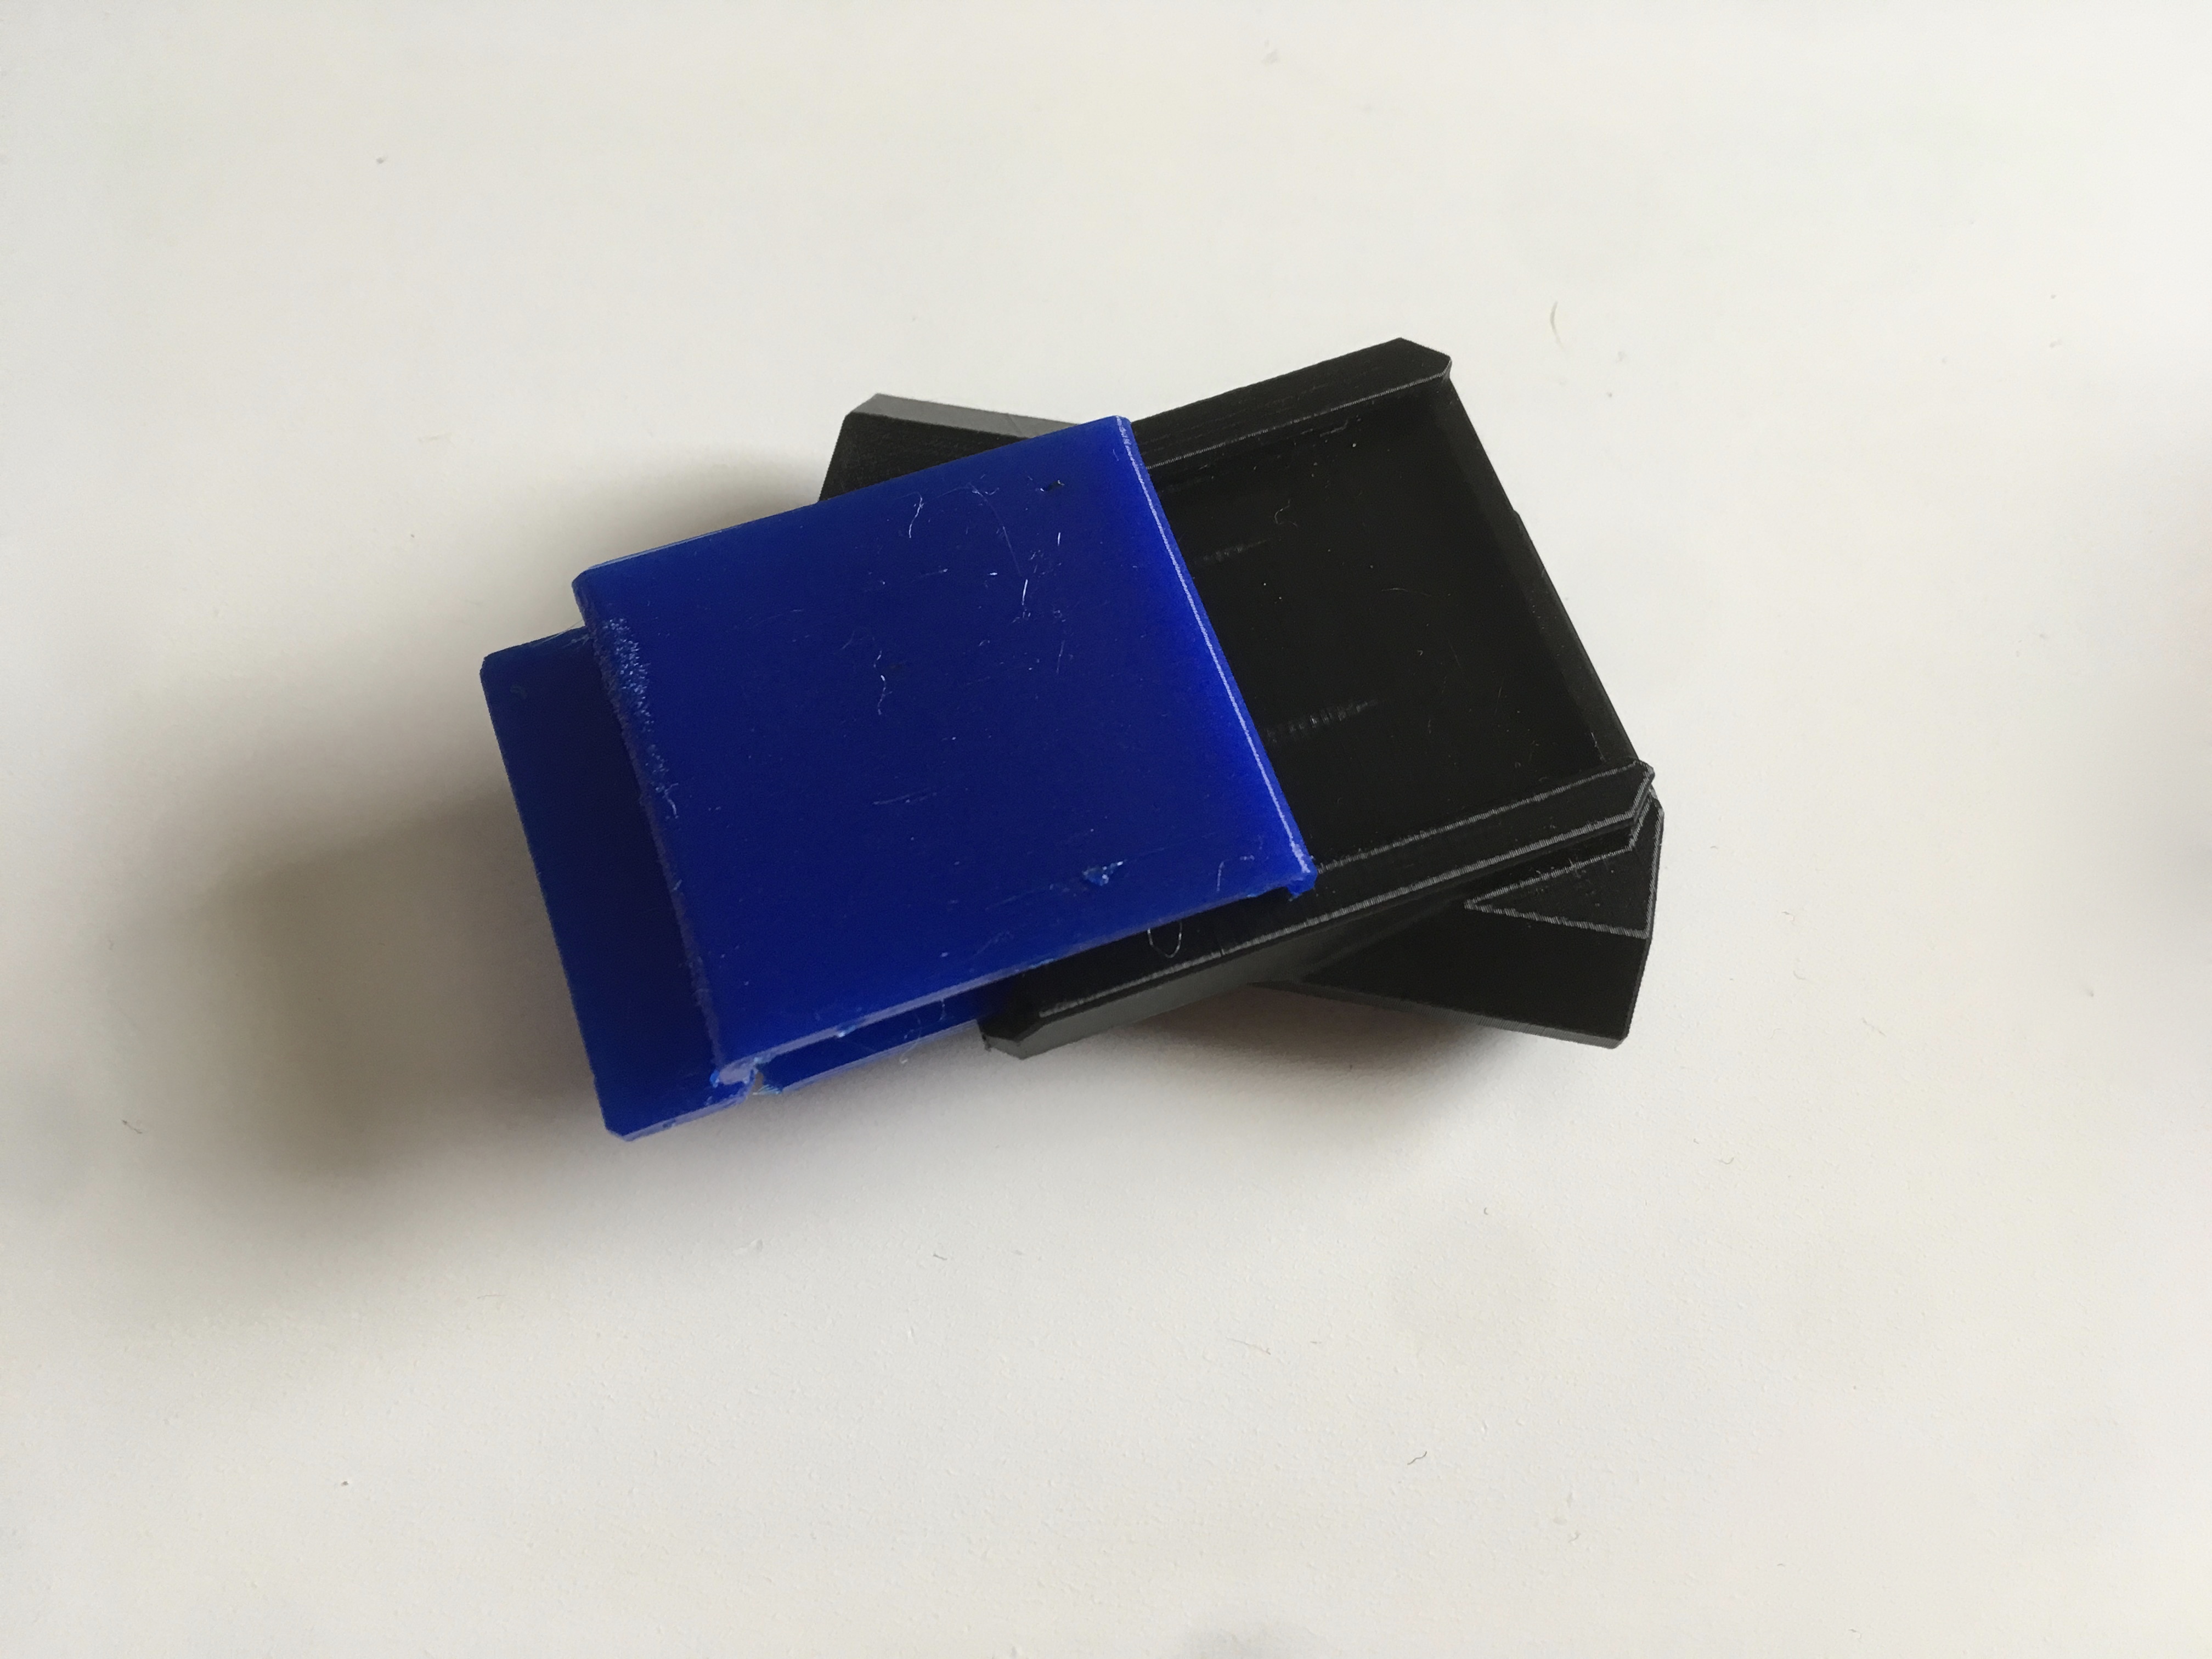
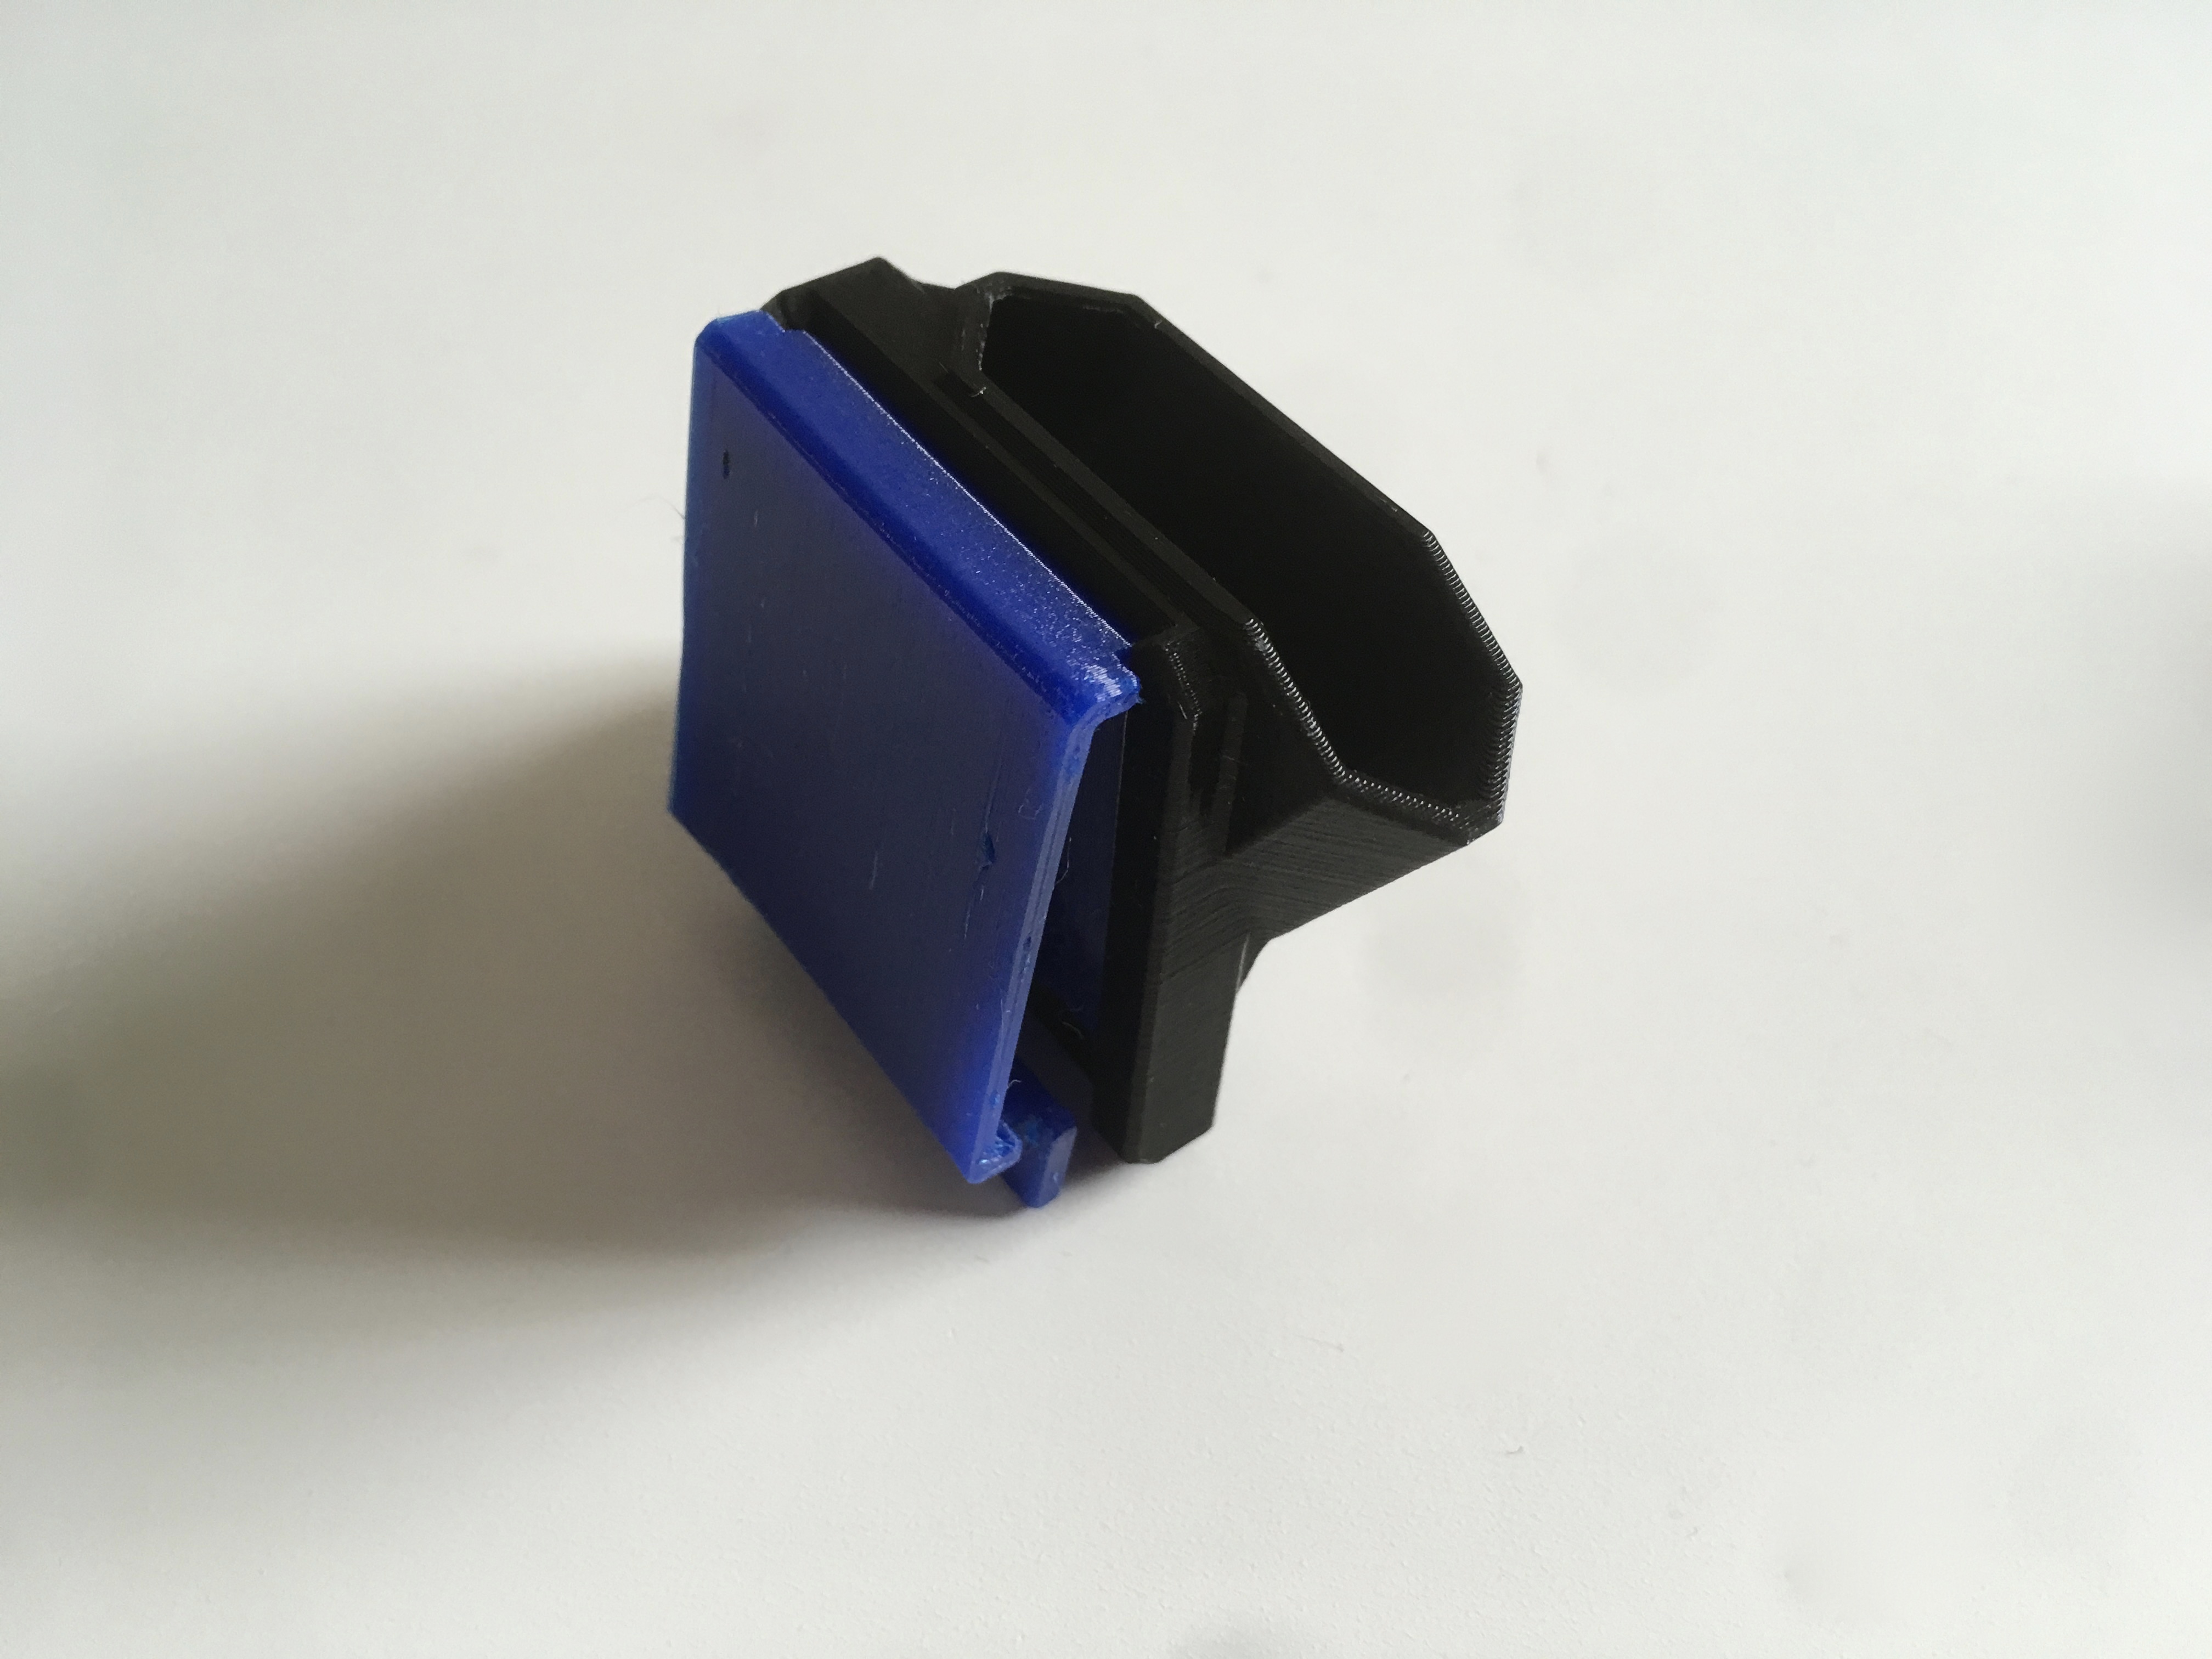
Take the UB-BeltLoop and slide it into the BB-Holster as shown. Make sure UB-BeltLop fully snaps into the features of BB-Holster. It may be tight, but you don’t want stuff falling off the belt, now do you?
Build the Solar Sword Scabbard
Exact same process, but with SS-Scabbard.
Assemble Belt Buckle
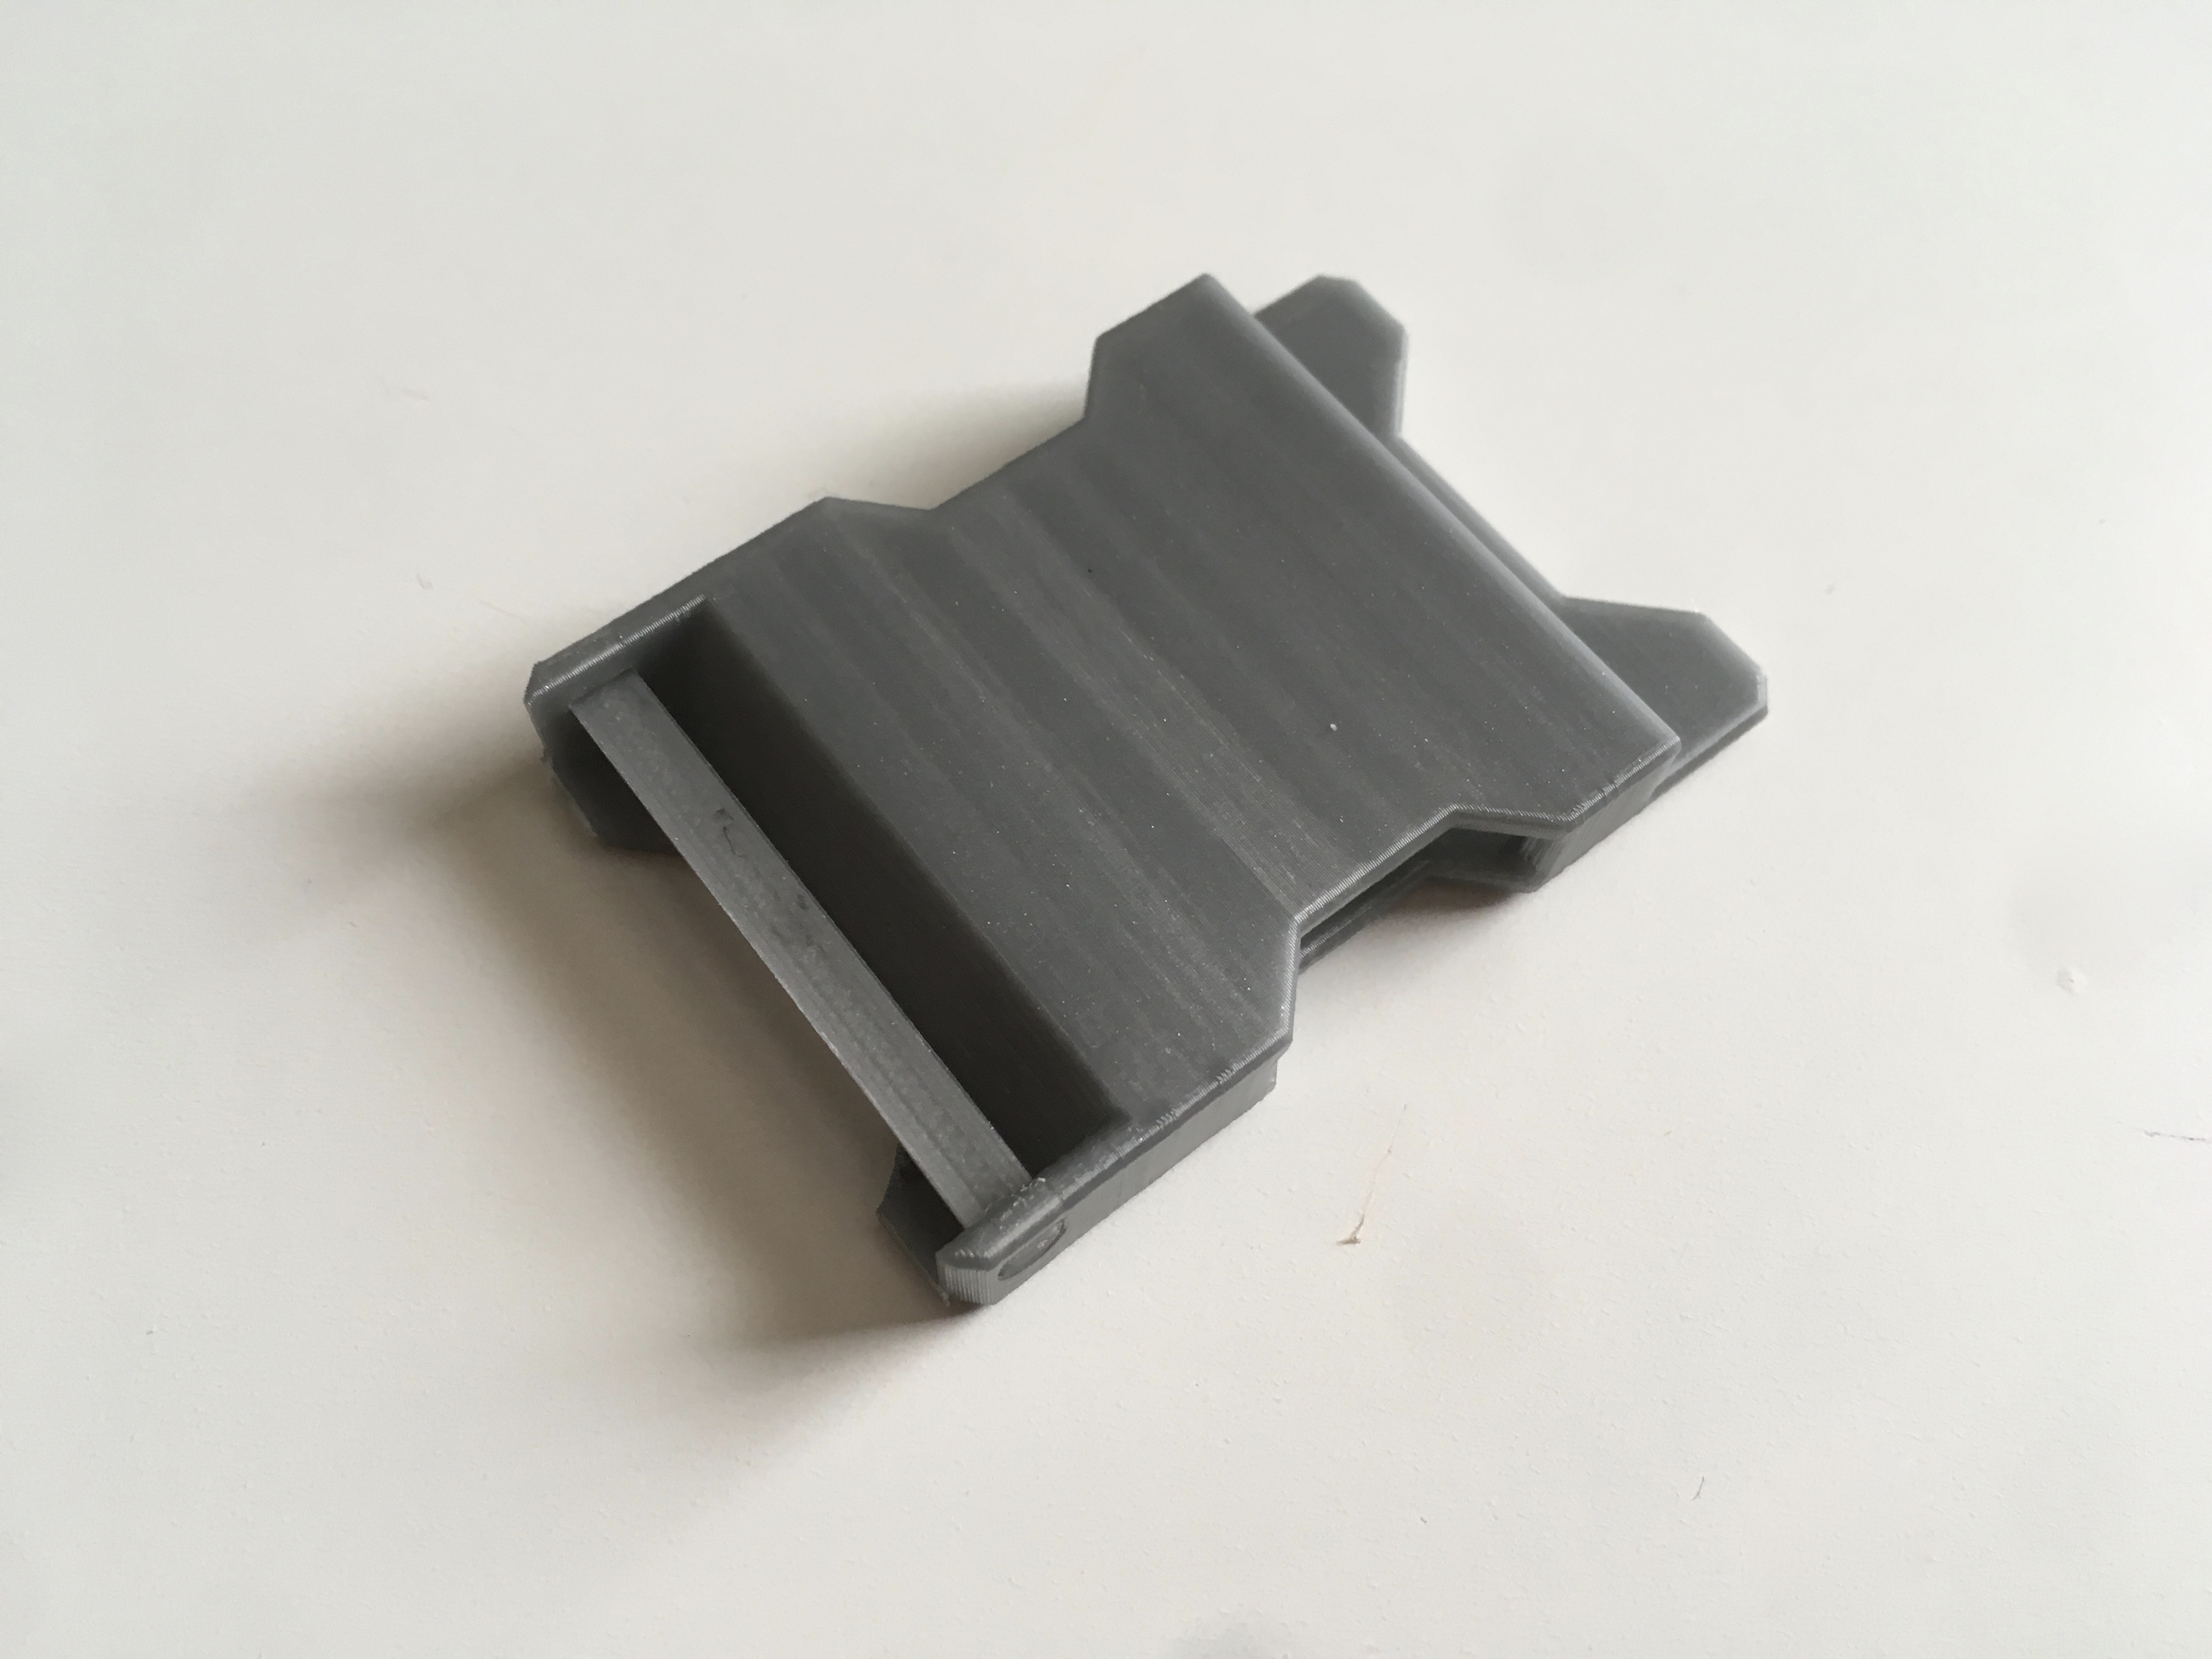
Press the UB-Pin into the UB-Face component as shown. Secure using a little glue if necessary.
Measurements
Using the tape measure, wrap it around the waist of your subject. Add around 12″ or more to that number (same as with older design).
Prep Belt Material
Using scissors and a lighter, straight-cut the belt material to length, and melt the edge to prevent fraying.
Attach Buckle to Belt
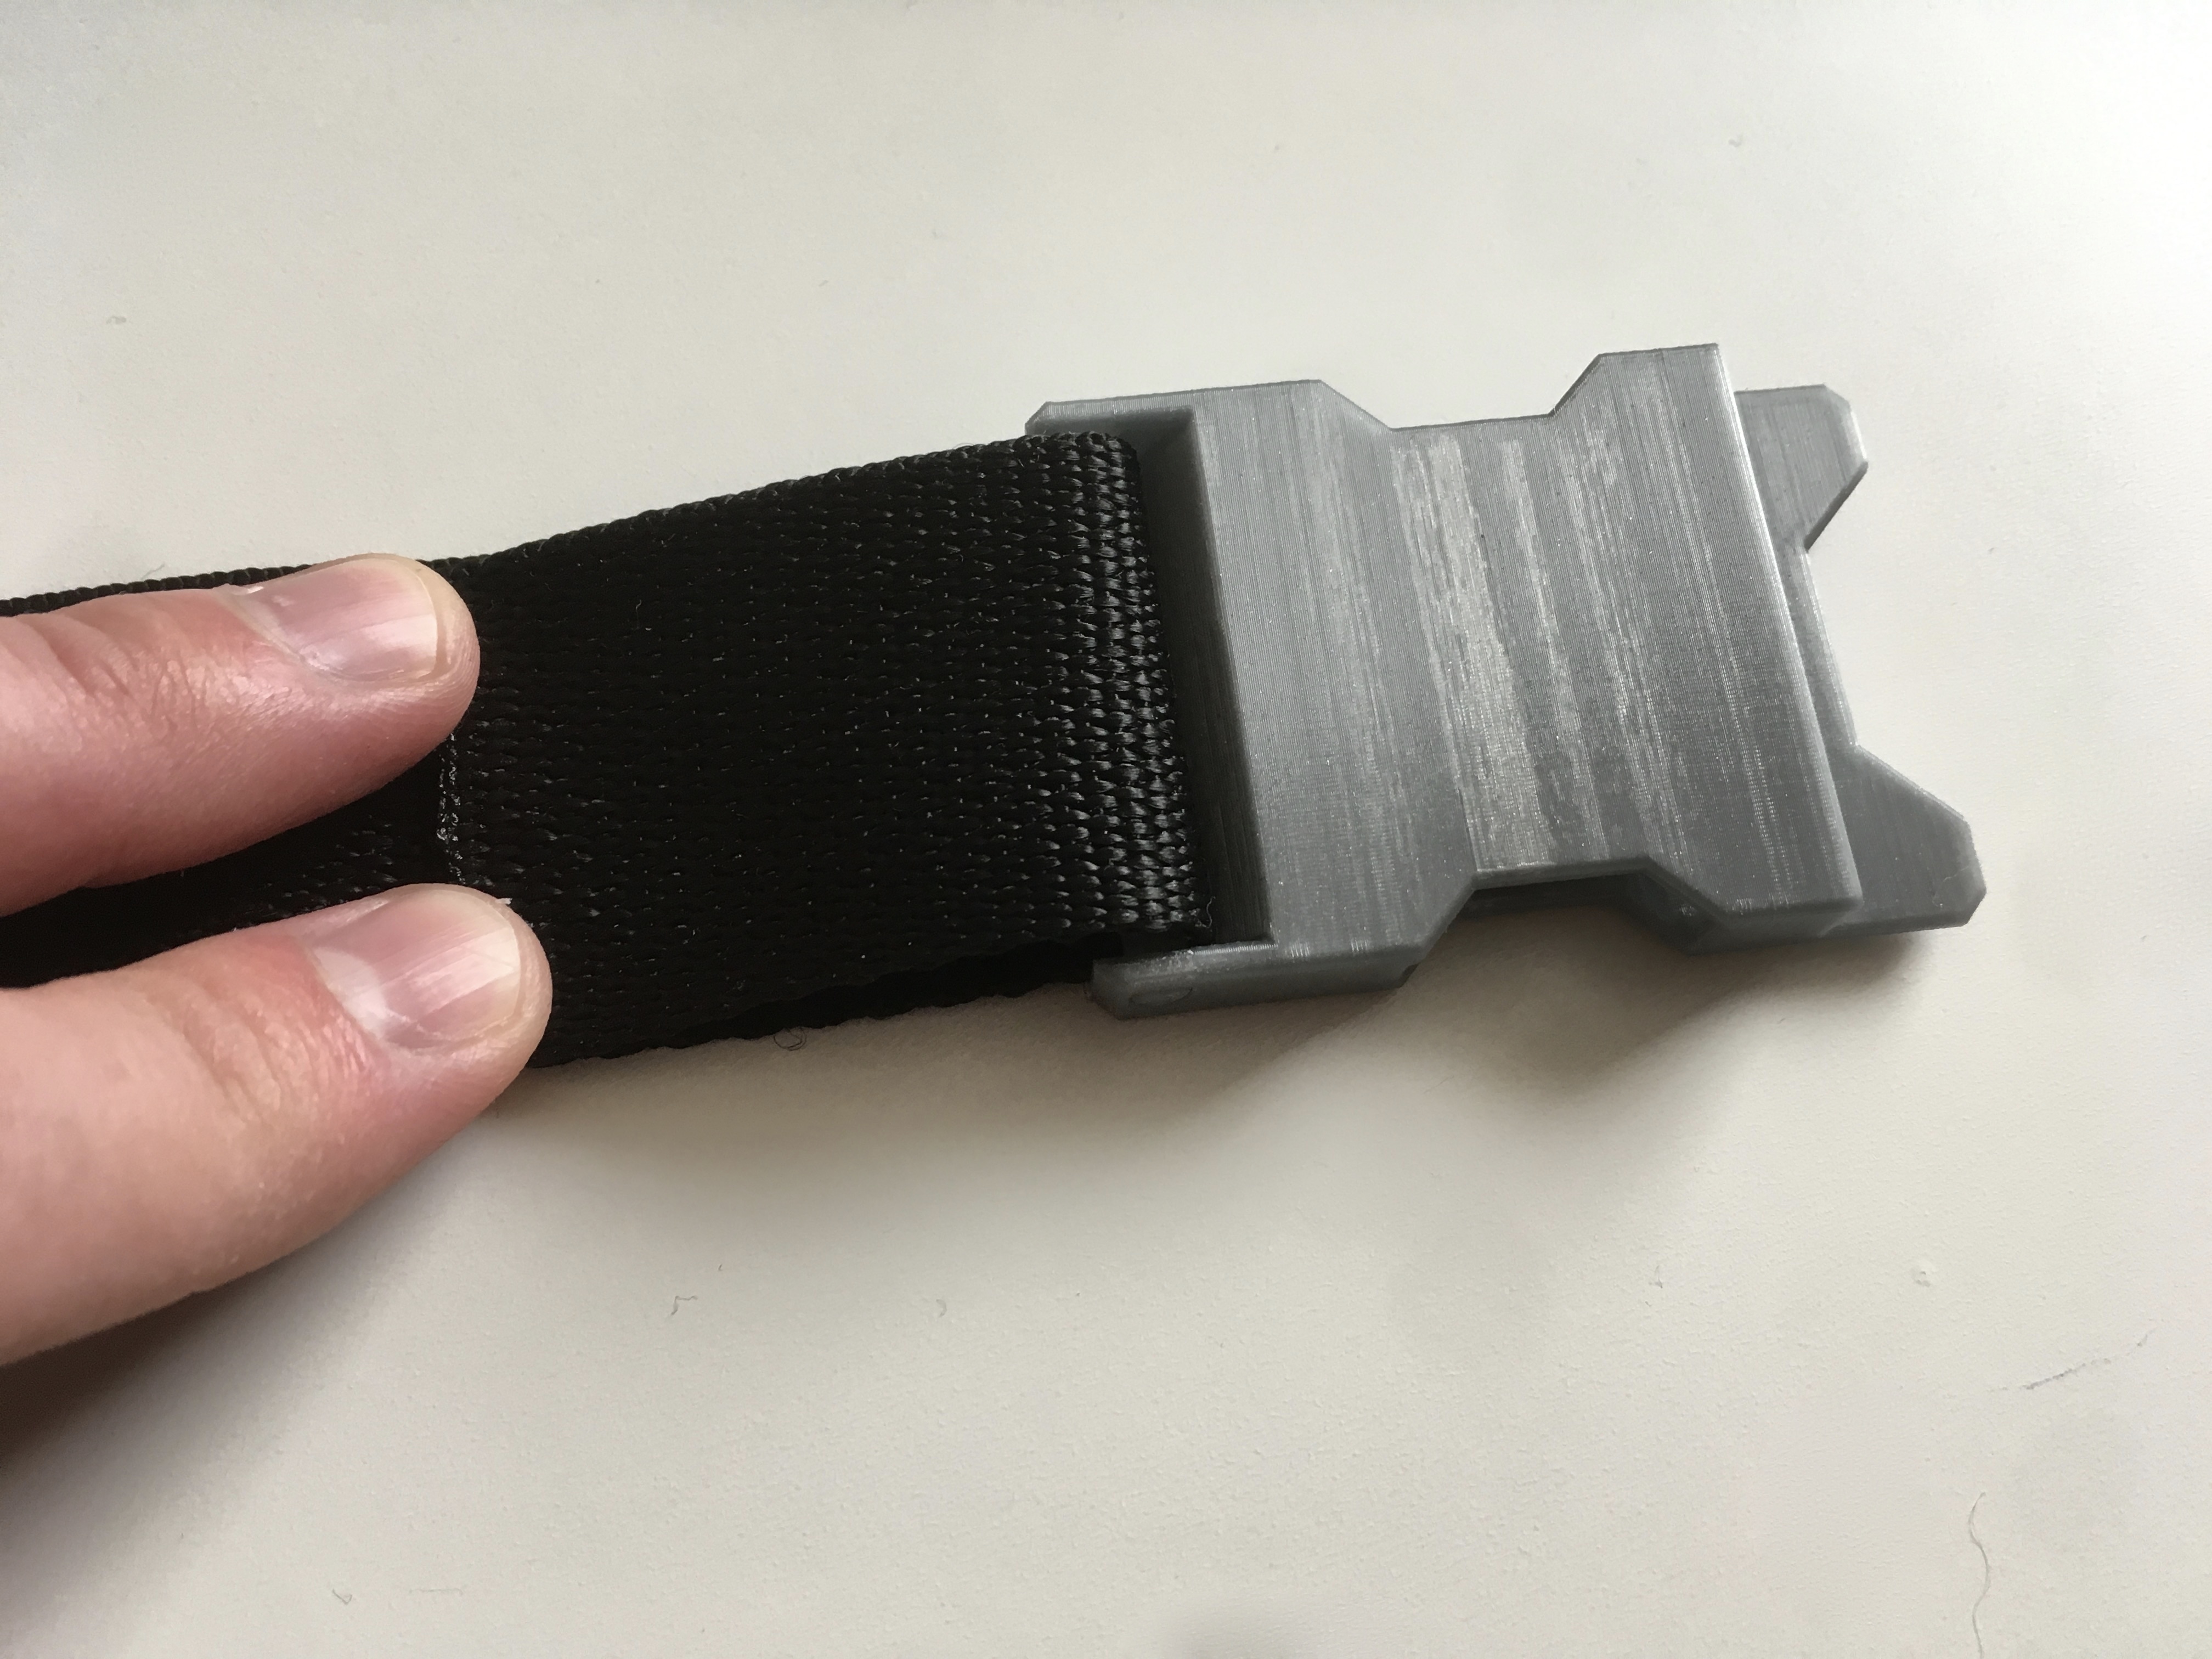
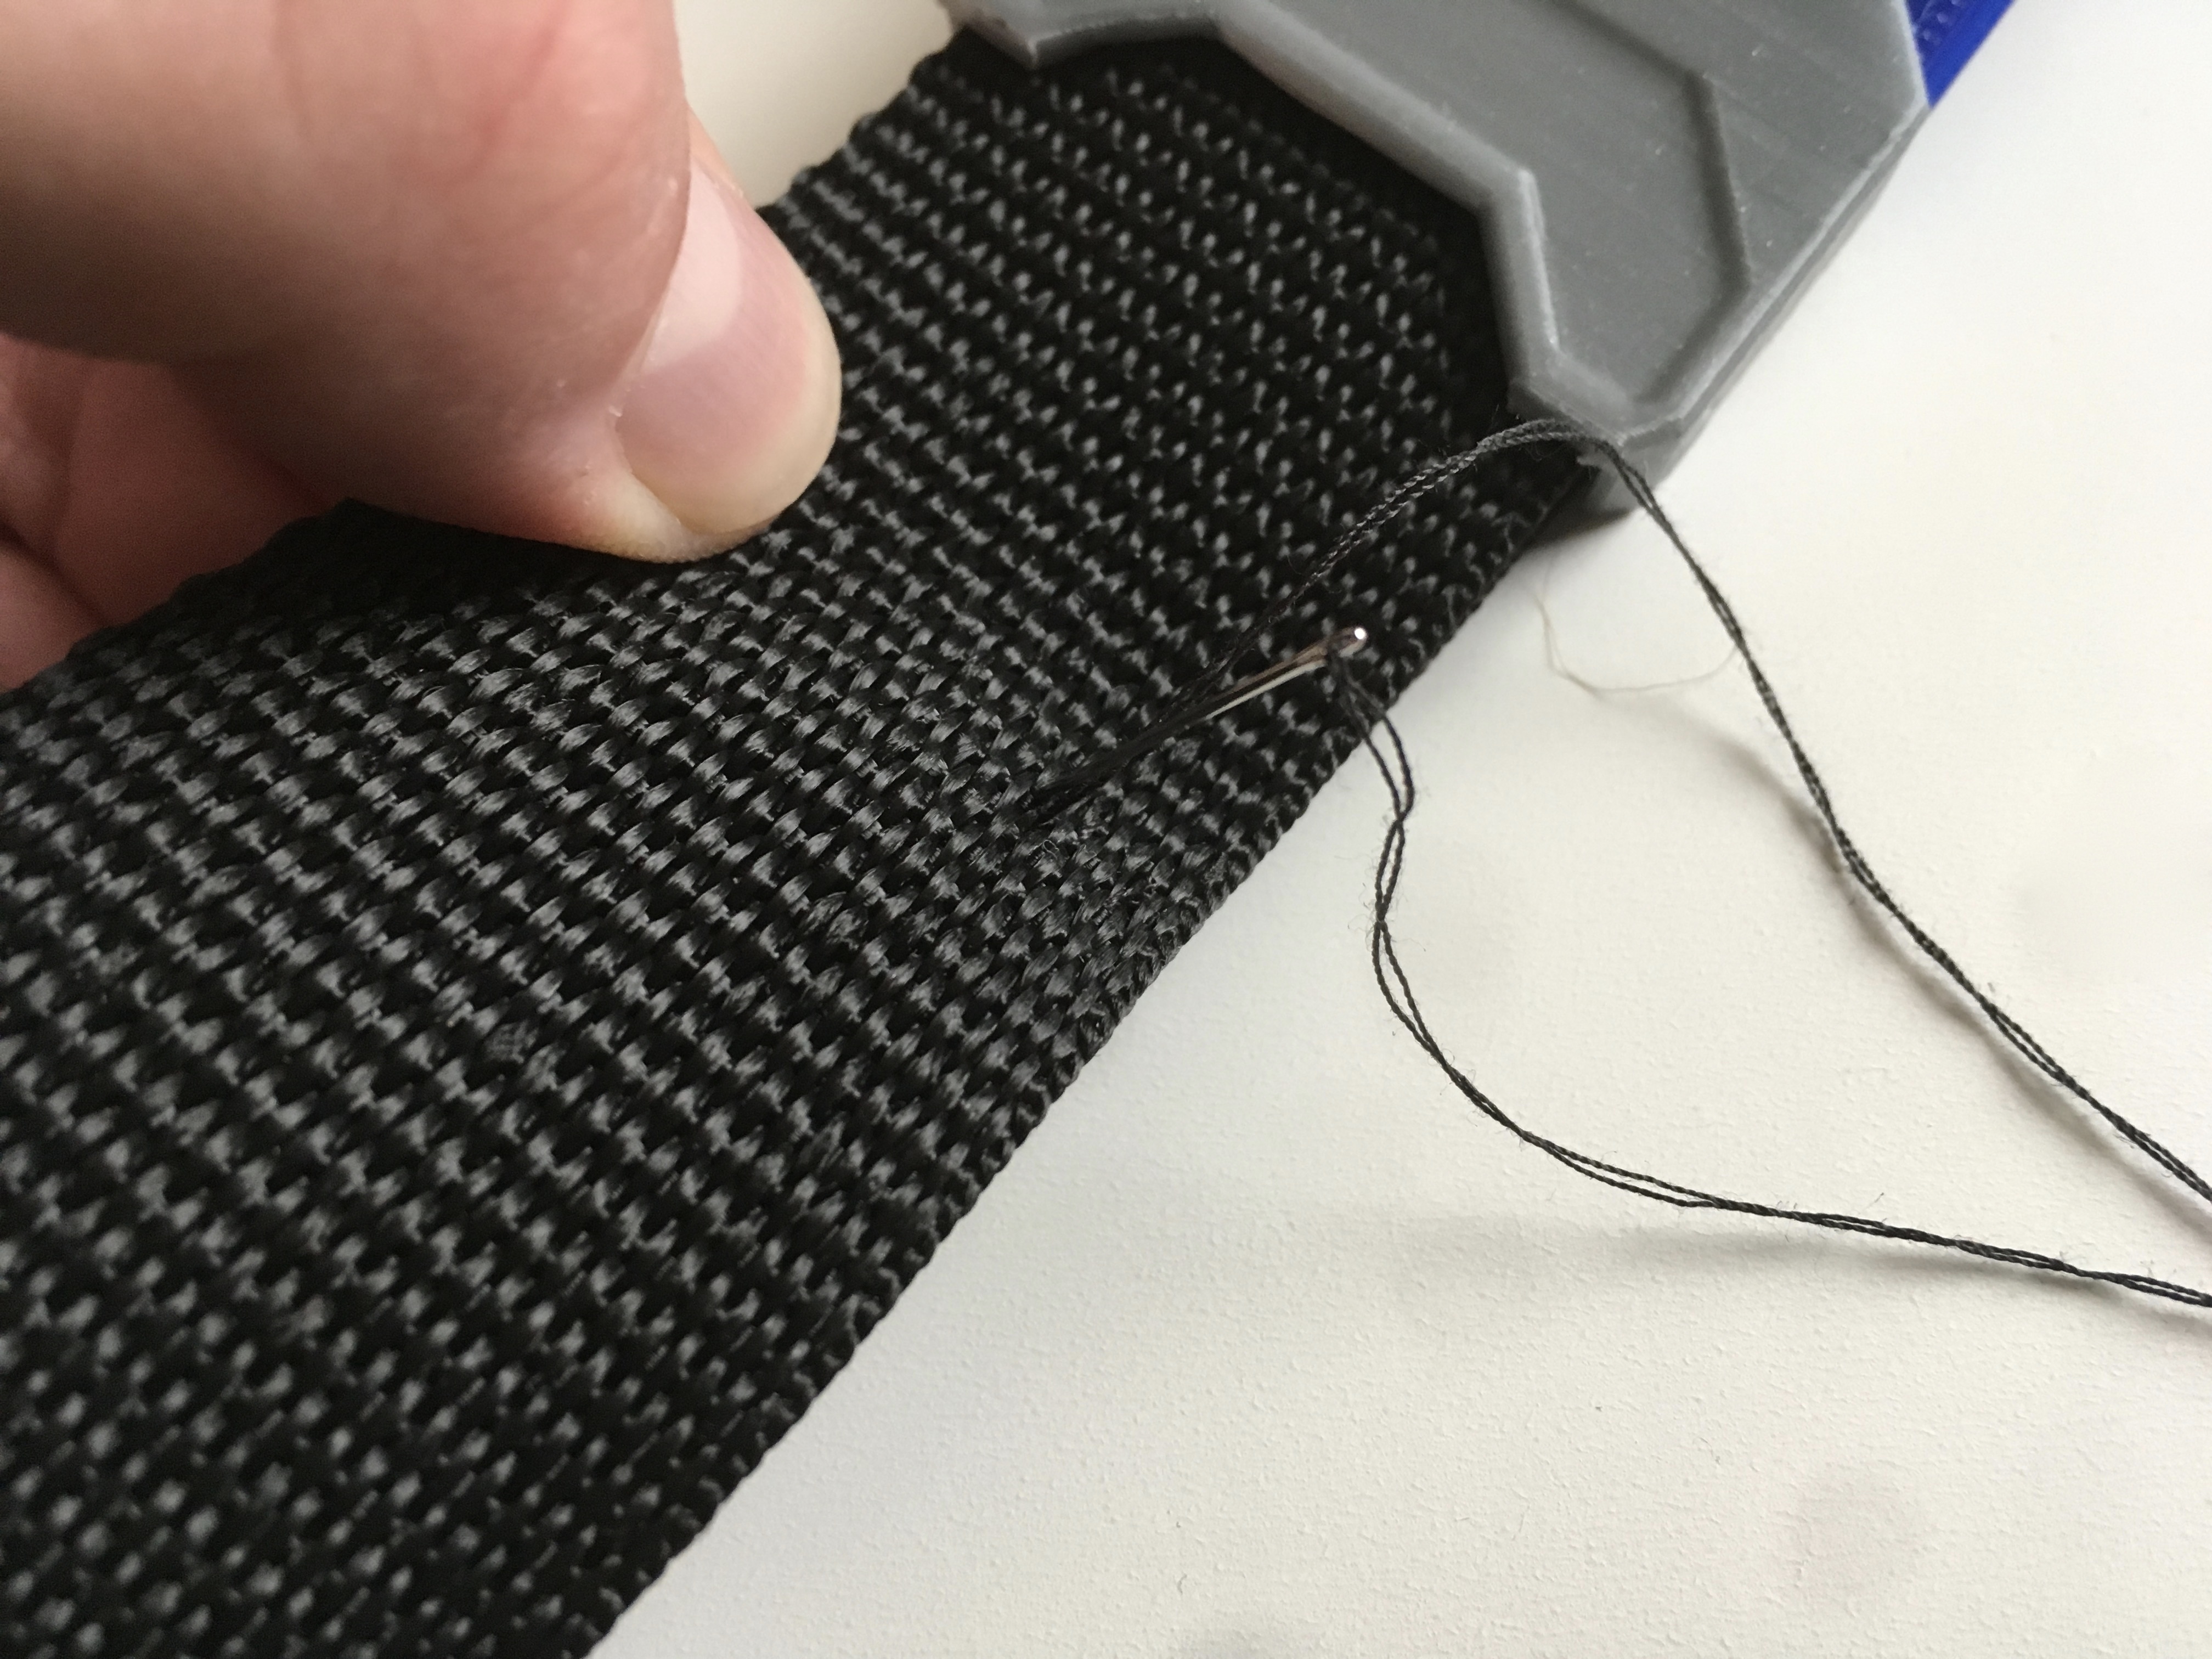
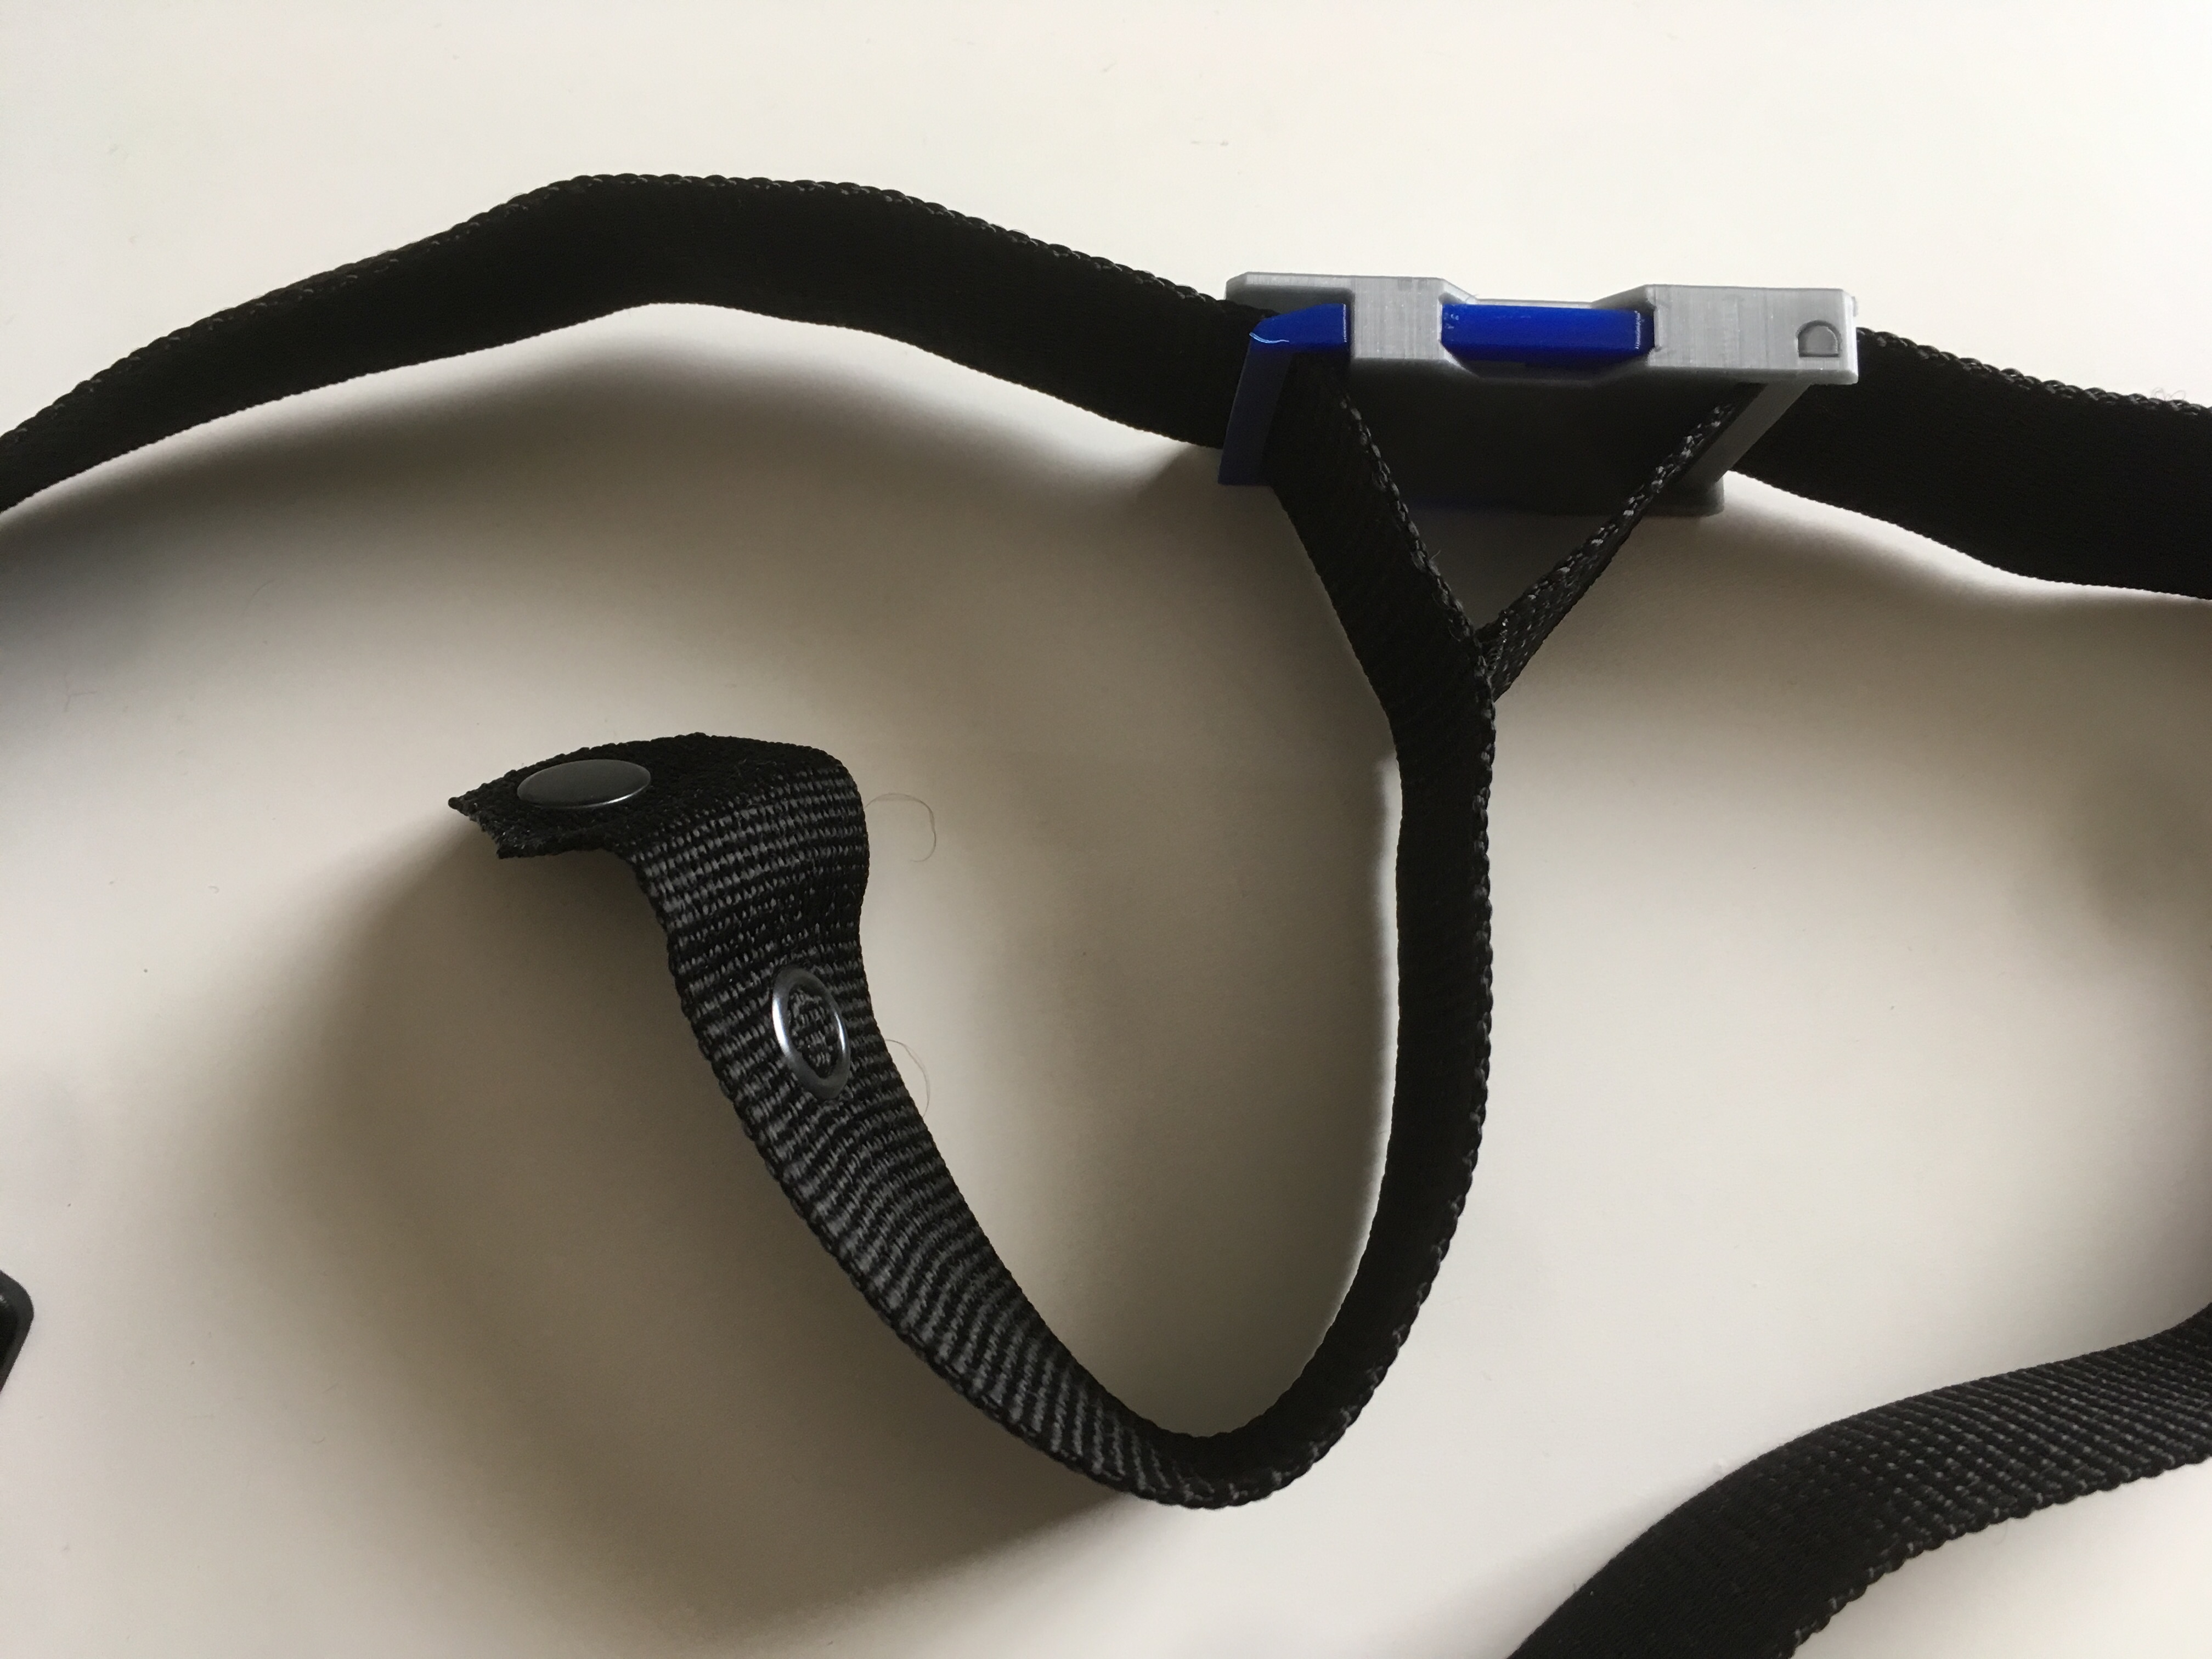
Weave the belt material through the buckle as shown. Using a needle and thread, sew the edge of the belt to the side it’s overlaying. Try to make small loops similar in size and position of the weave of the belt to minimize visual discrepancies.
Attach Clip to Belt
Weave the other end of the belt material through the purchased slide and the clip (in the same way as the old belt). Sew the end through the slide in the same way as the other end (or use snaps… pretty clear I did on this end).
Suit Up and Save the Galaxy!
Attach the Bolide Blaster and Solar Sword and you’re ready to go!
Now that we’re through this, I’m going to go ahead and remind you that the holster and scabbard fit pretty well on any 1 1/2″ belt…
Like what you’re seeing here? Give me a follow on twitter @DragonMtnDesign where things sometimes happen. I’m also on Reddit (u/DragonMountainDesign), so if you happen to see me around there, “Hey.”
.
.
.
March 2020 UPDATE: Files are available here! Click the Download button below for a zip file.
Files are available under the Creative Commons BY-NC-SA license.
