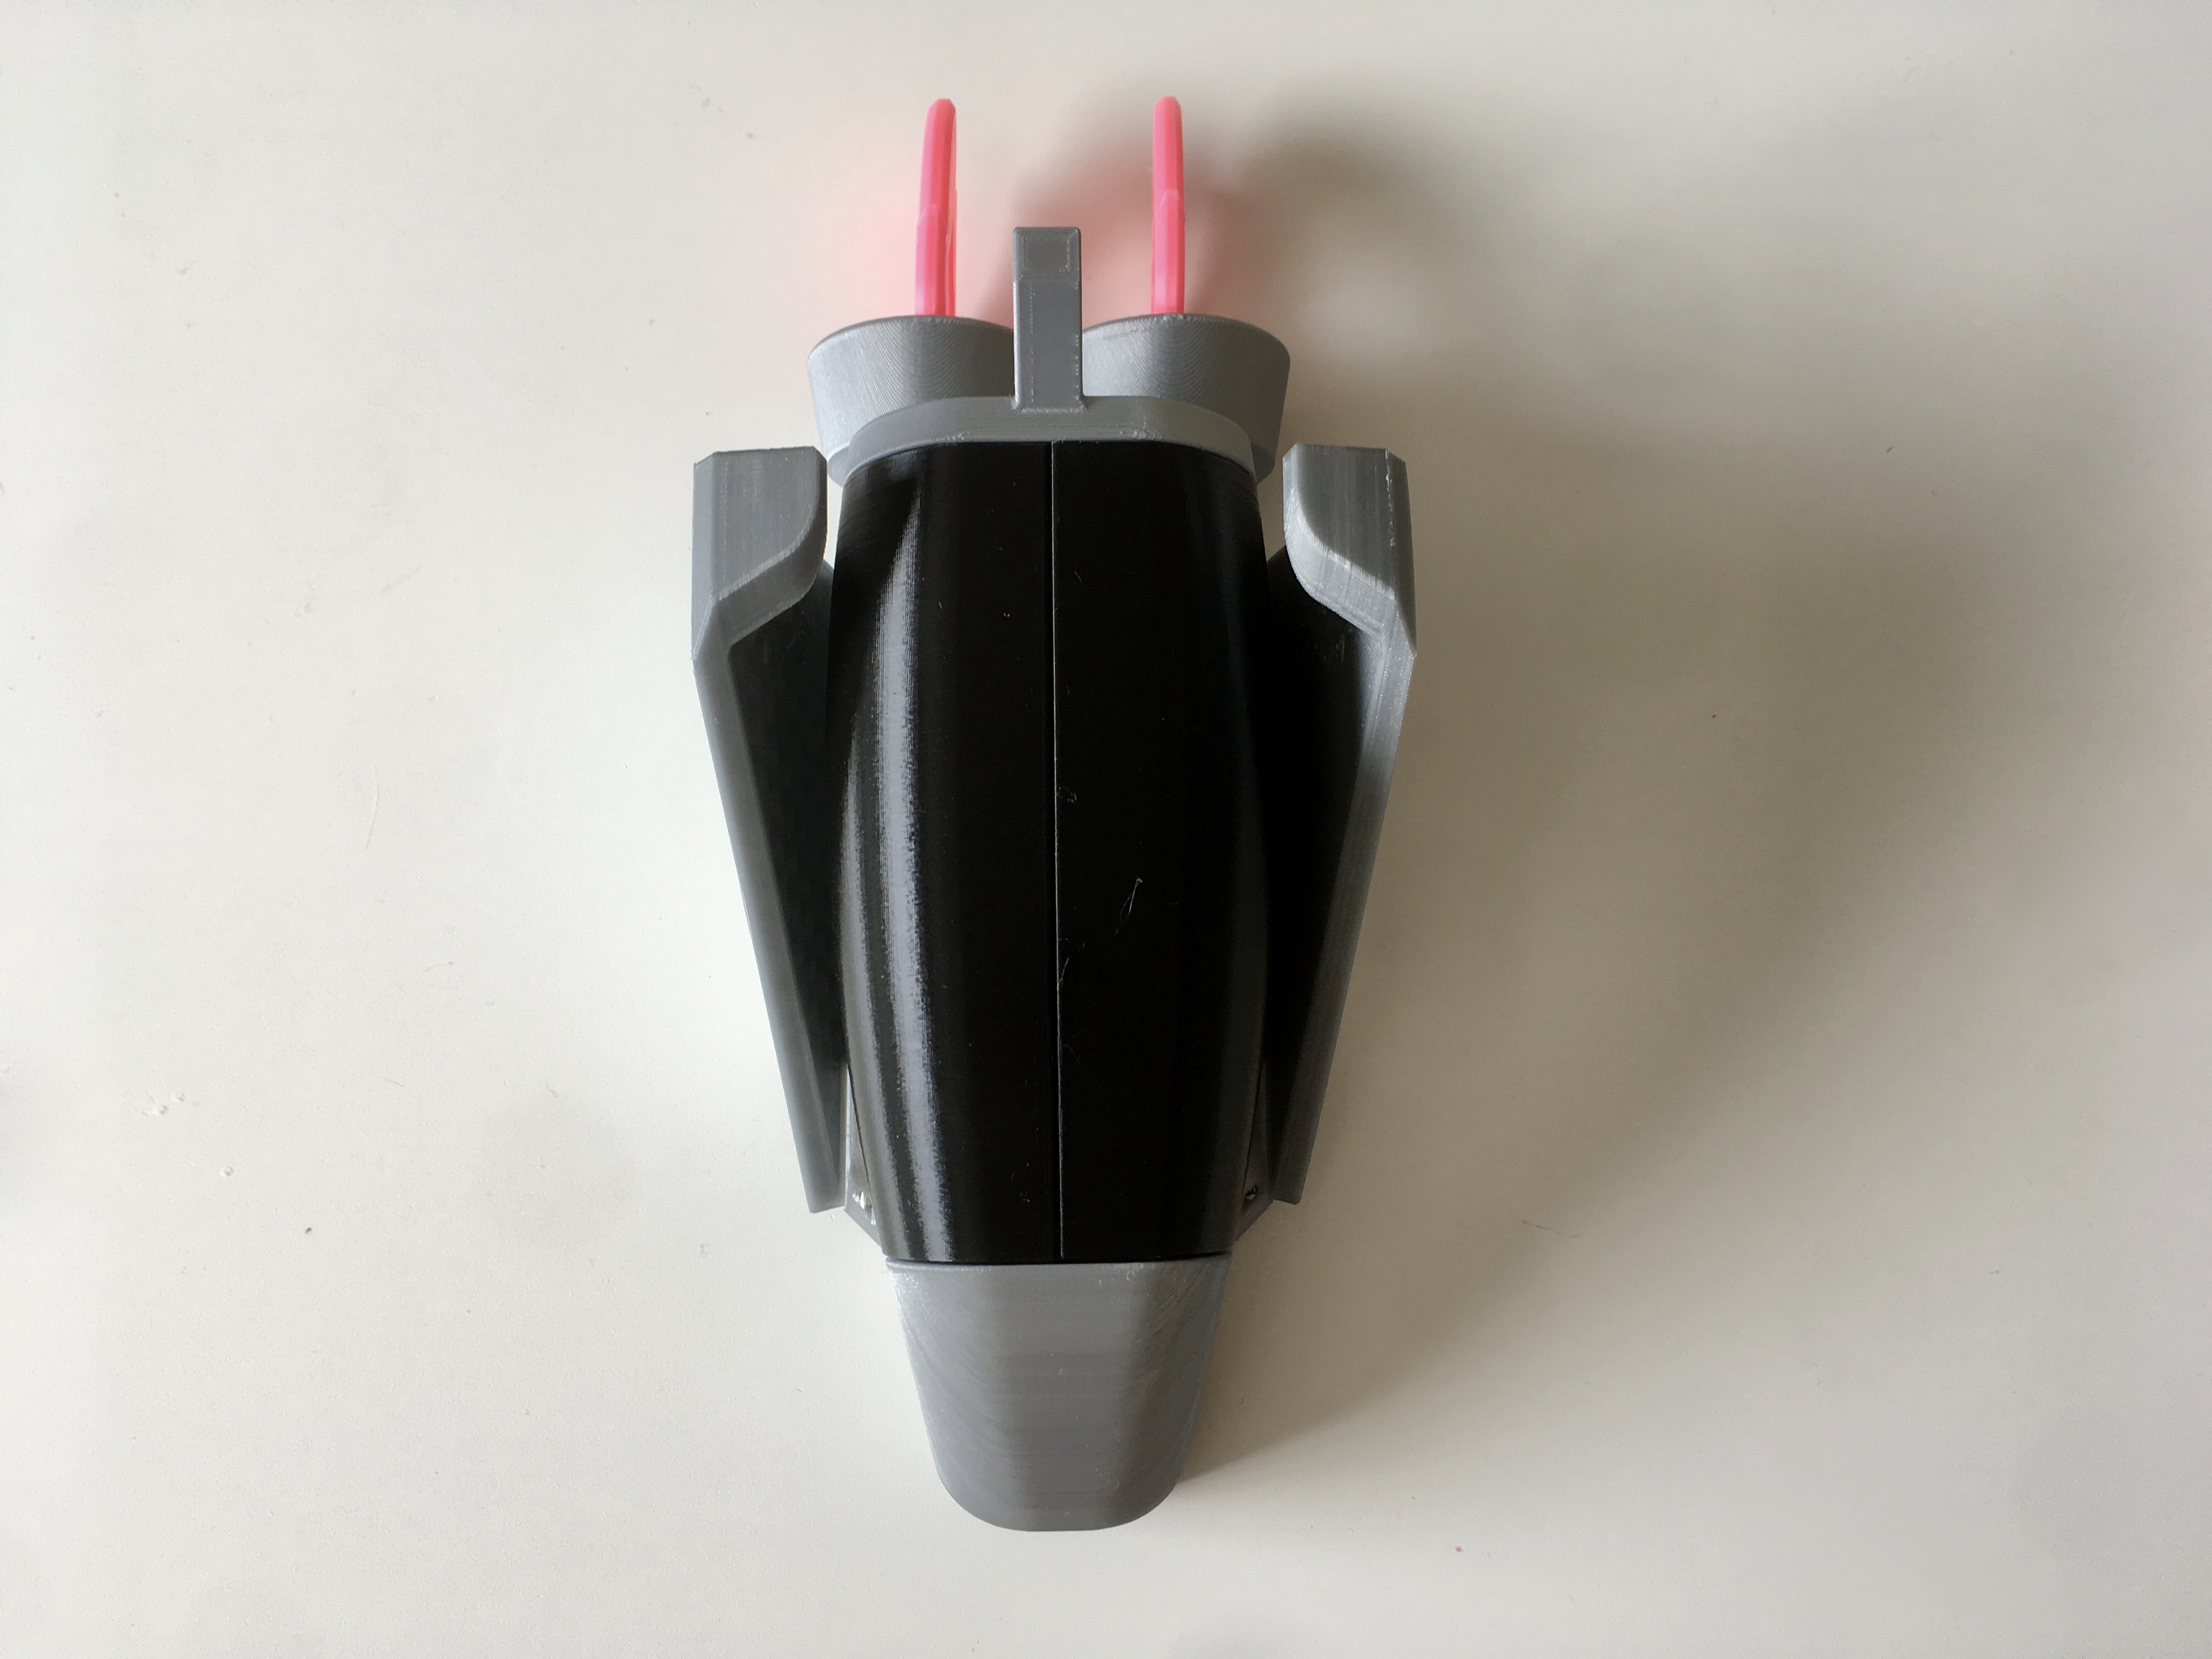
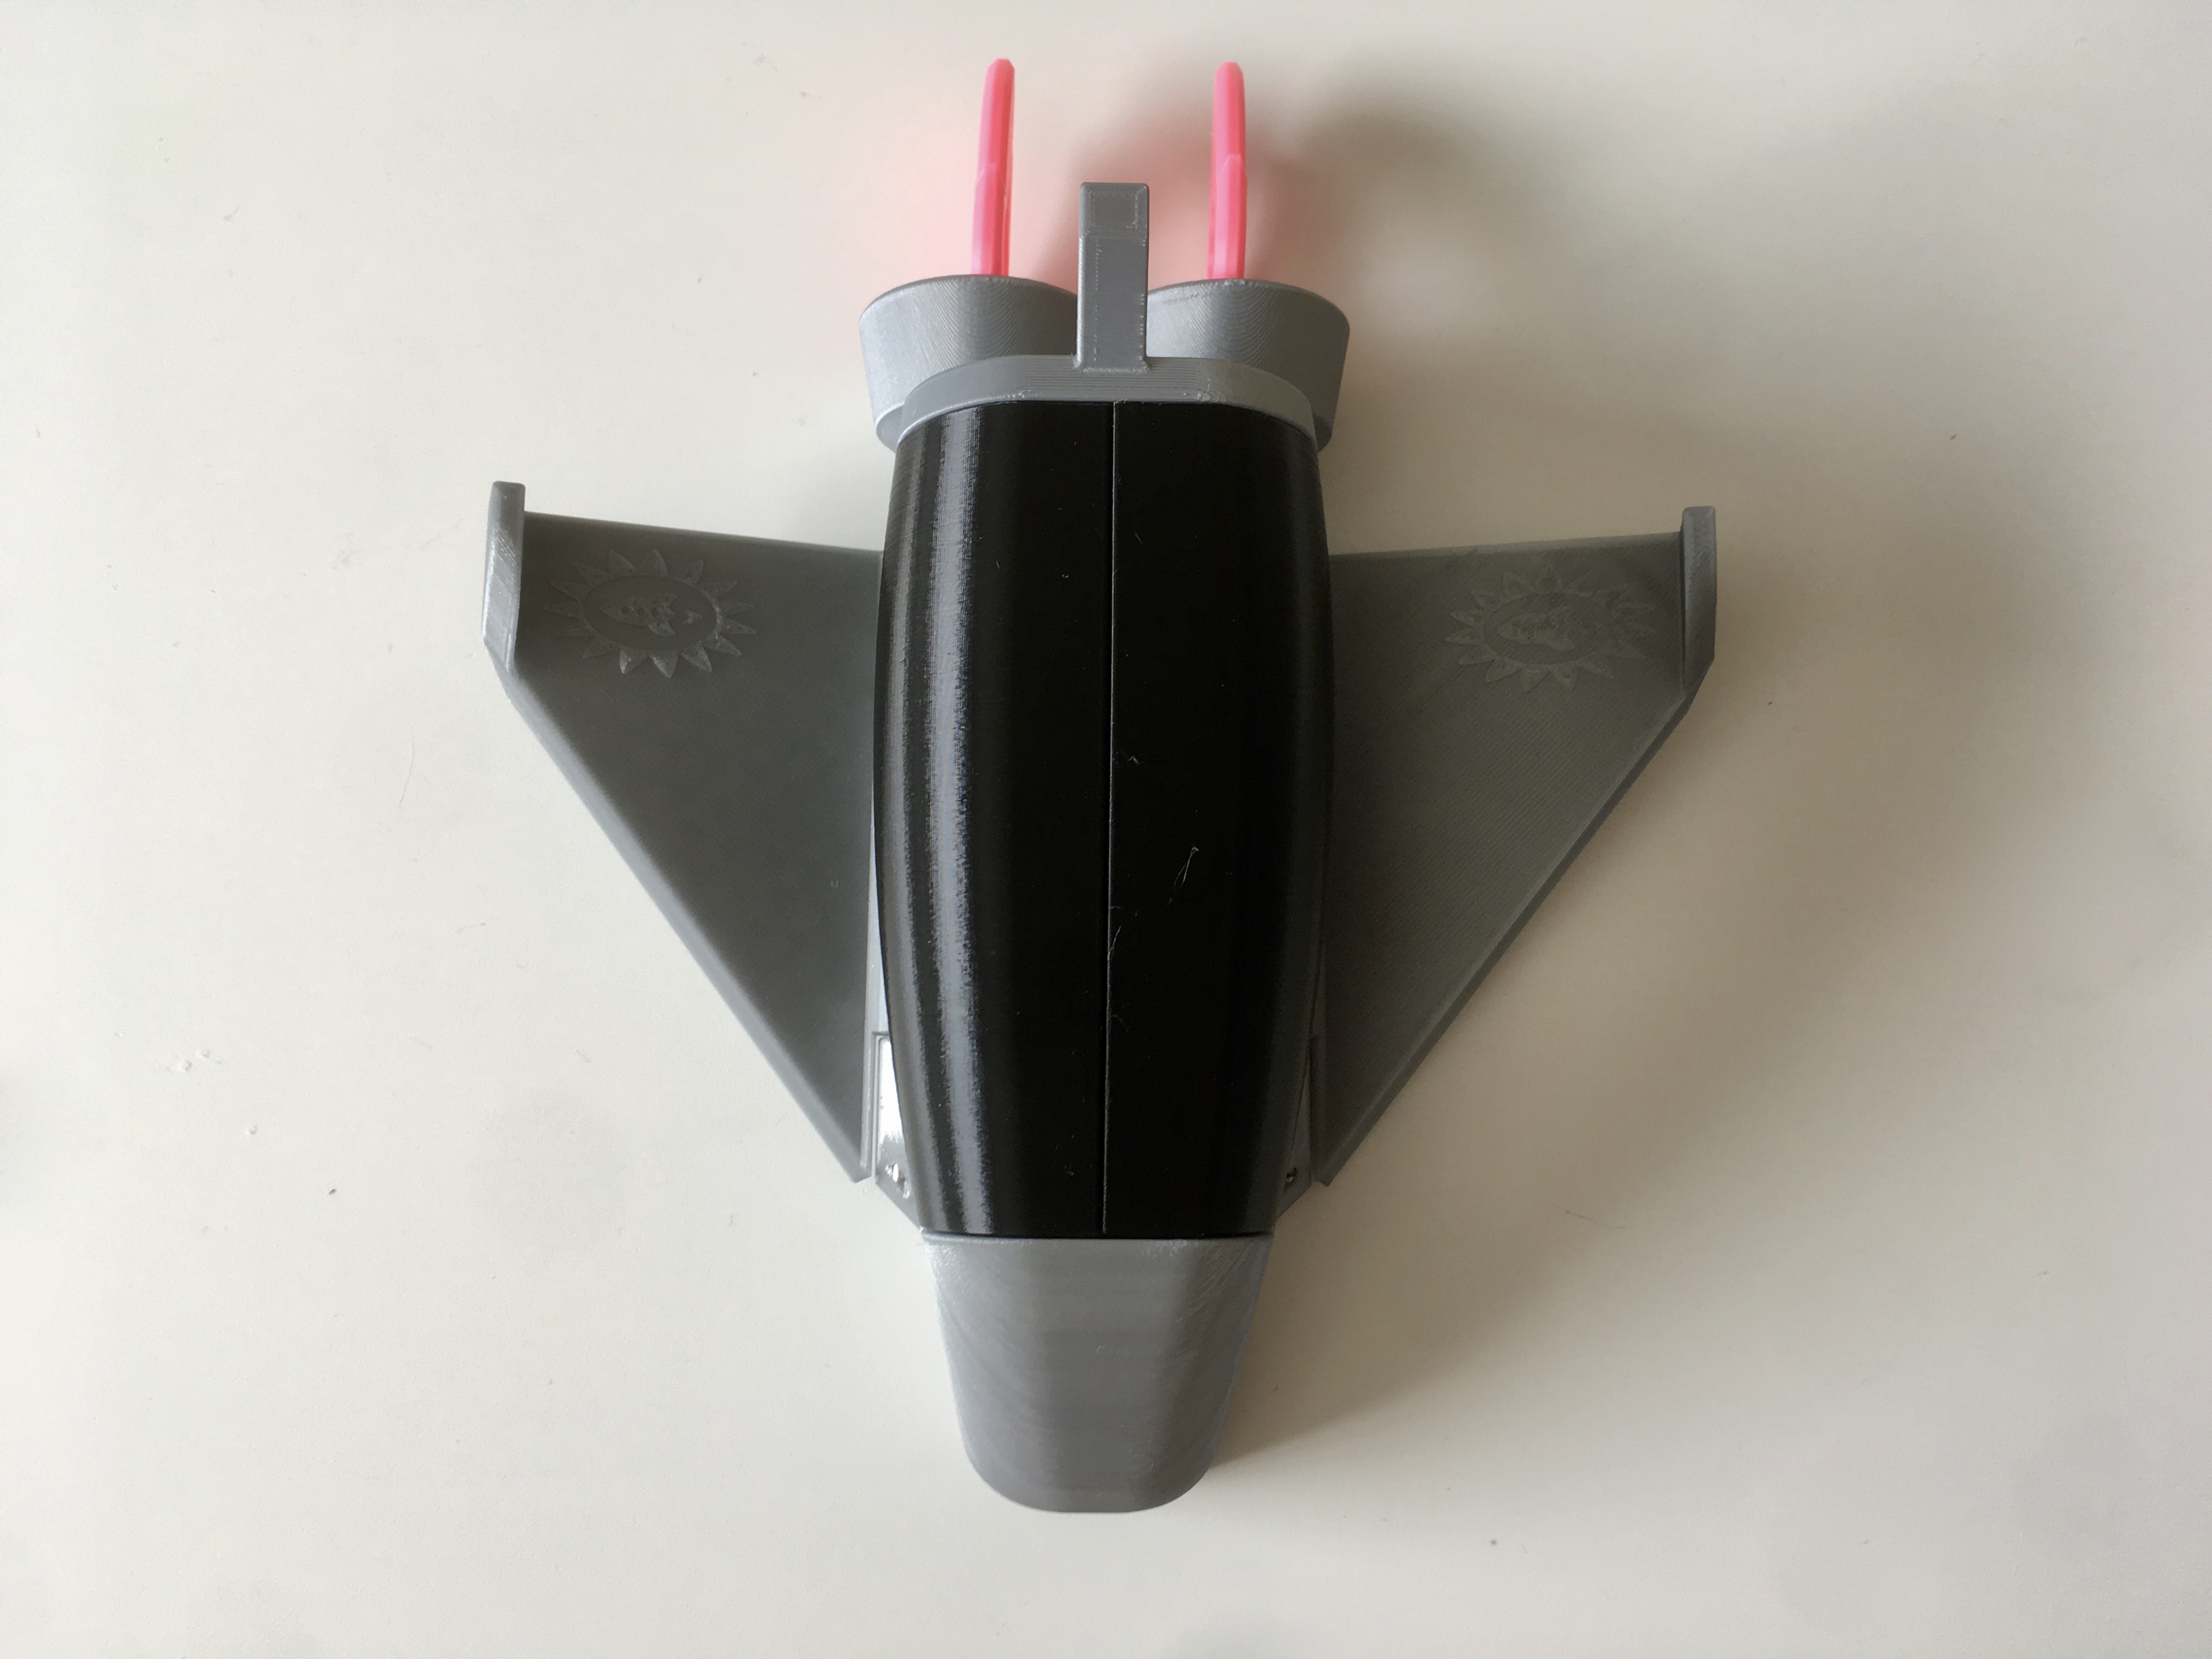
The Space Porter
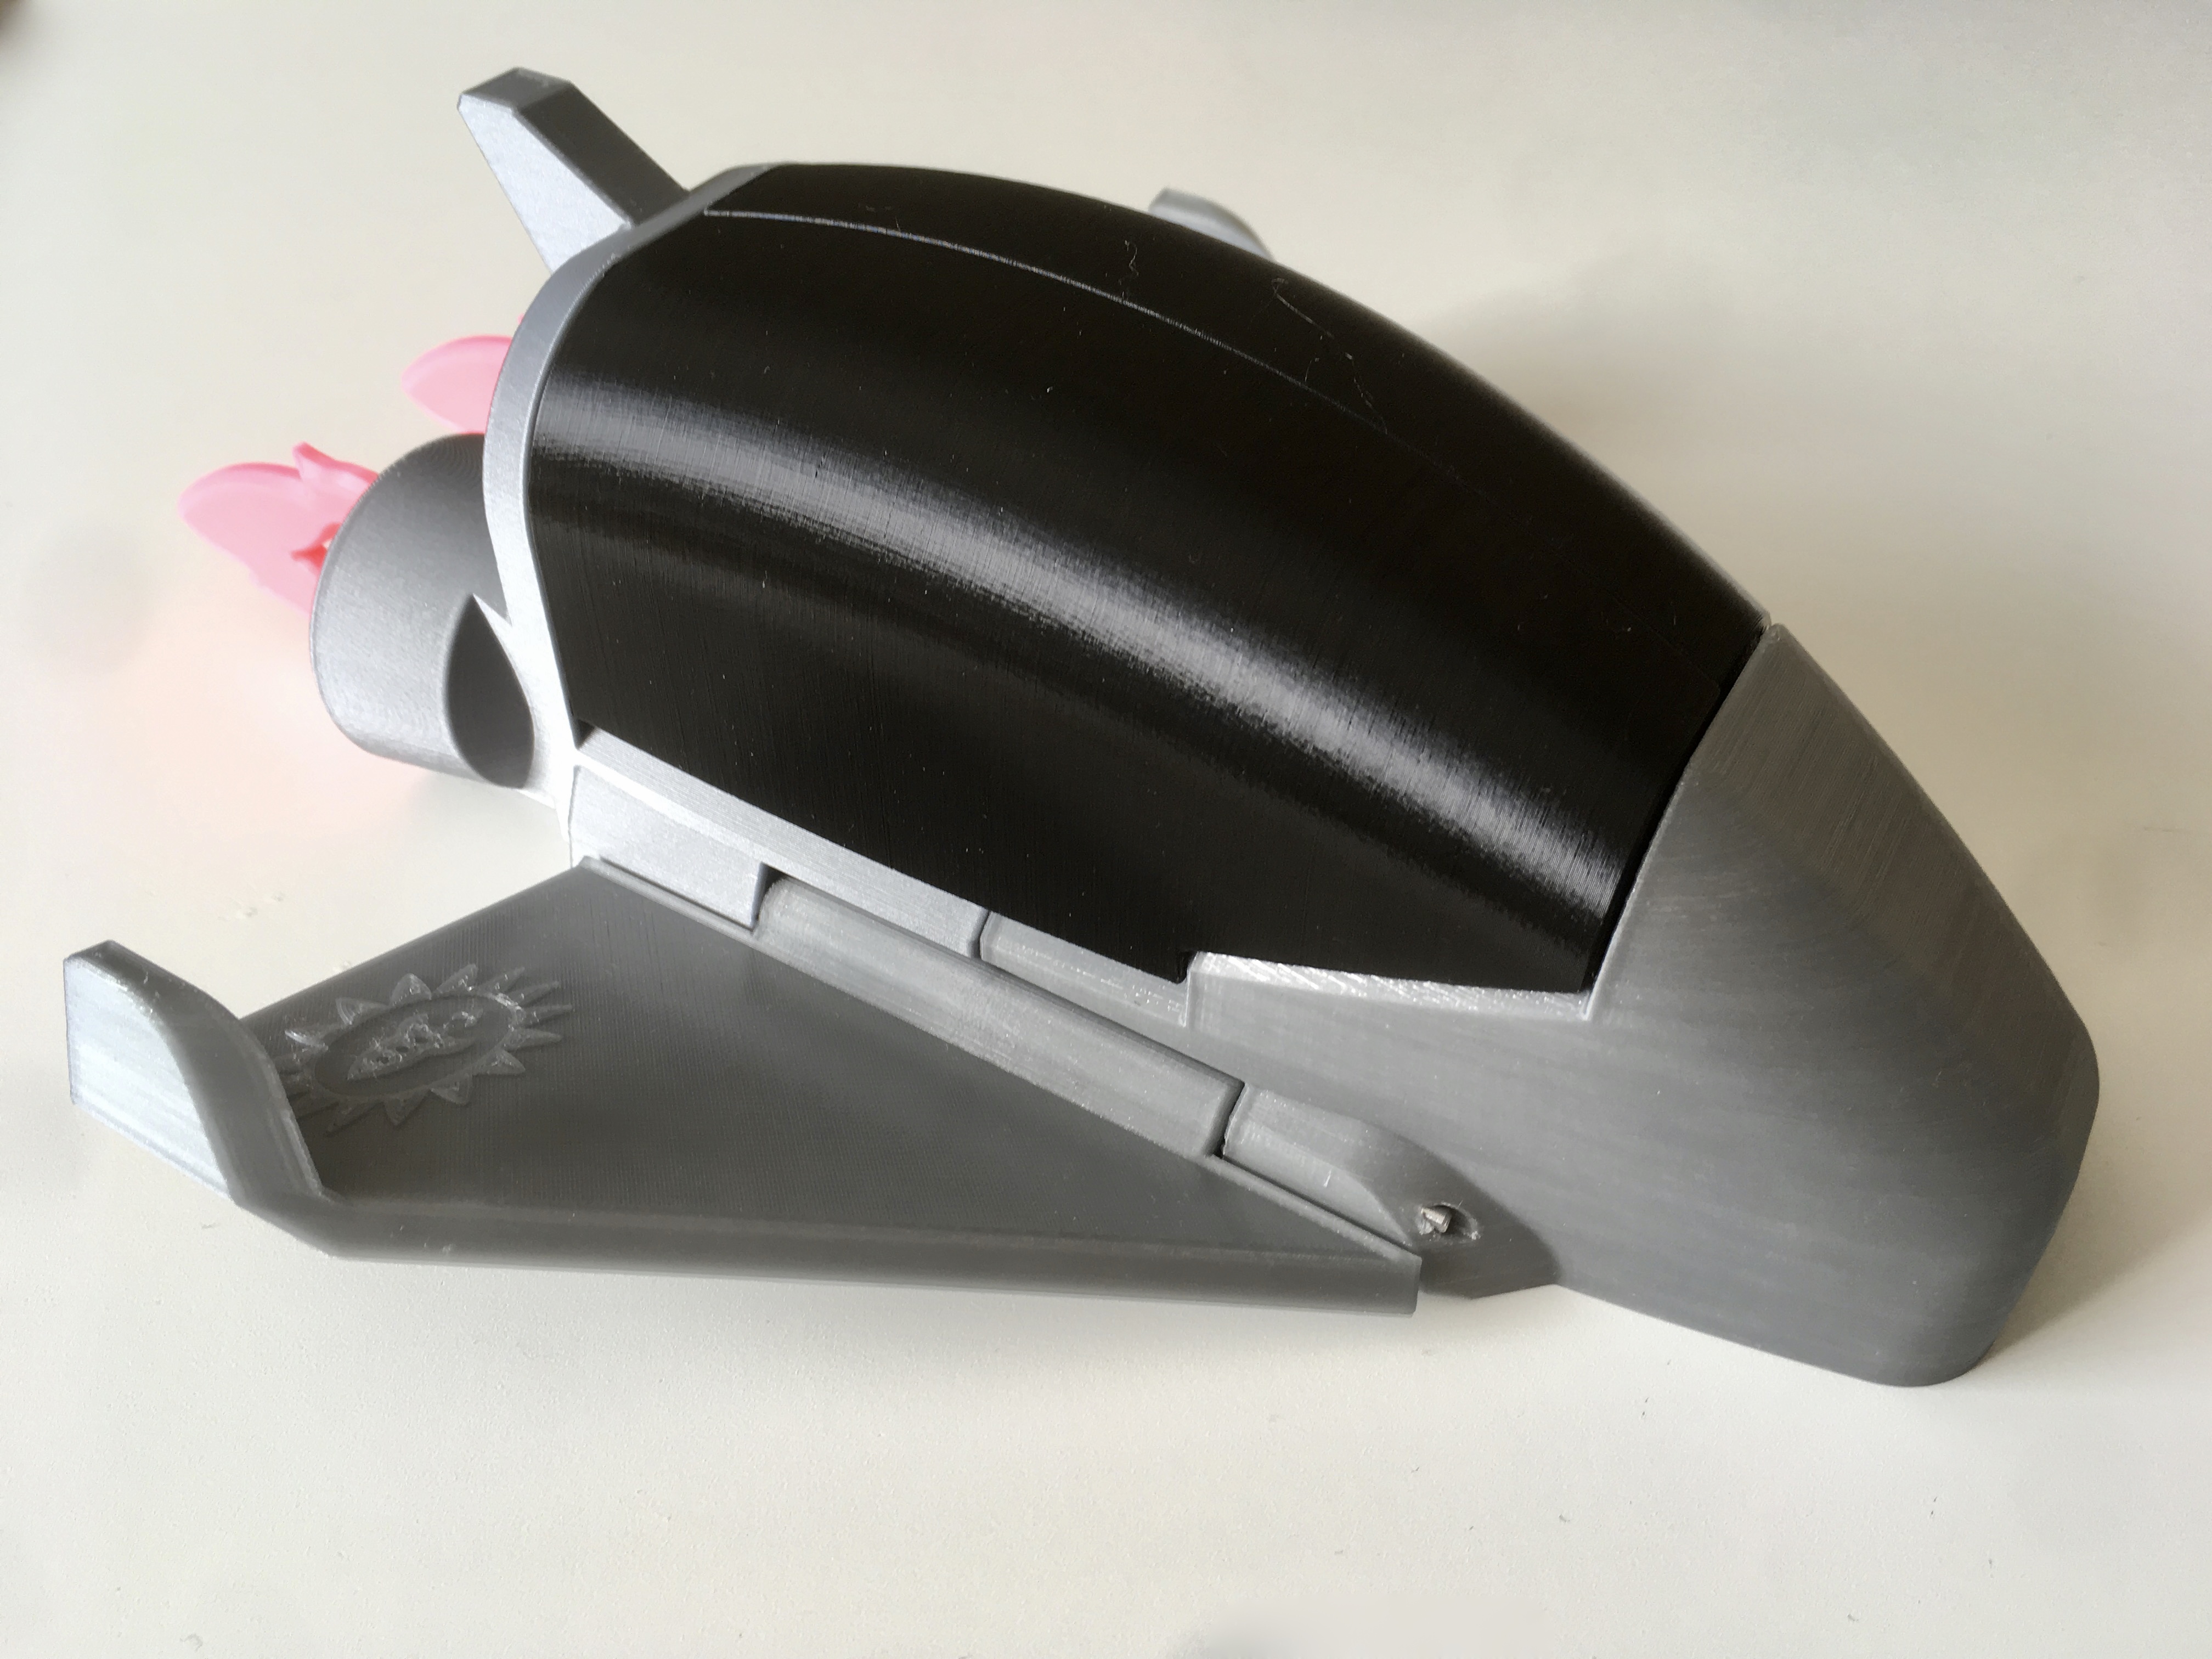
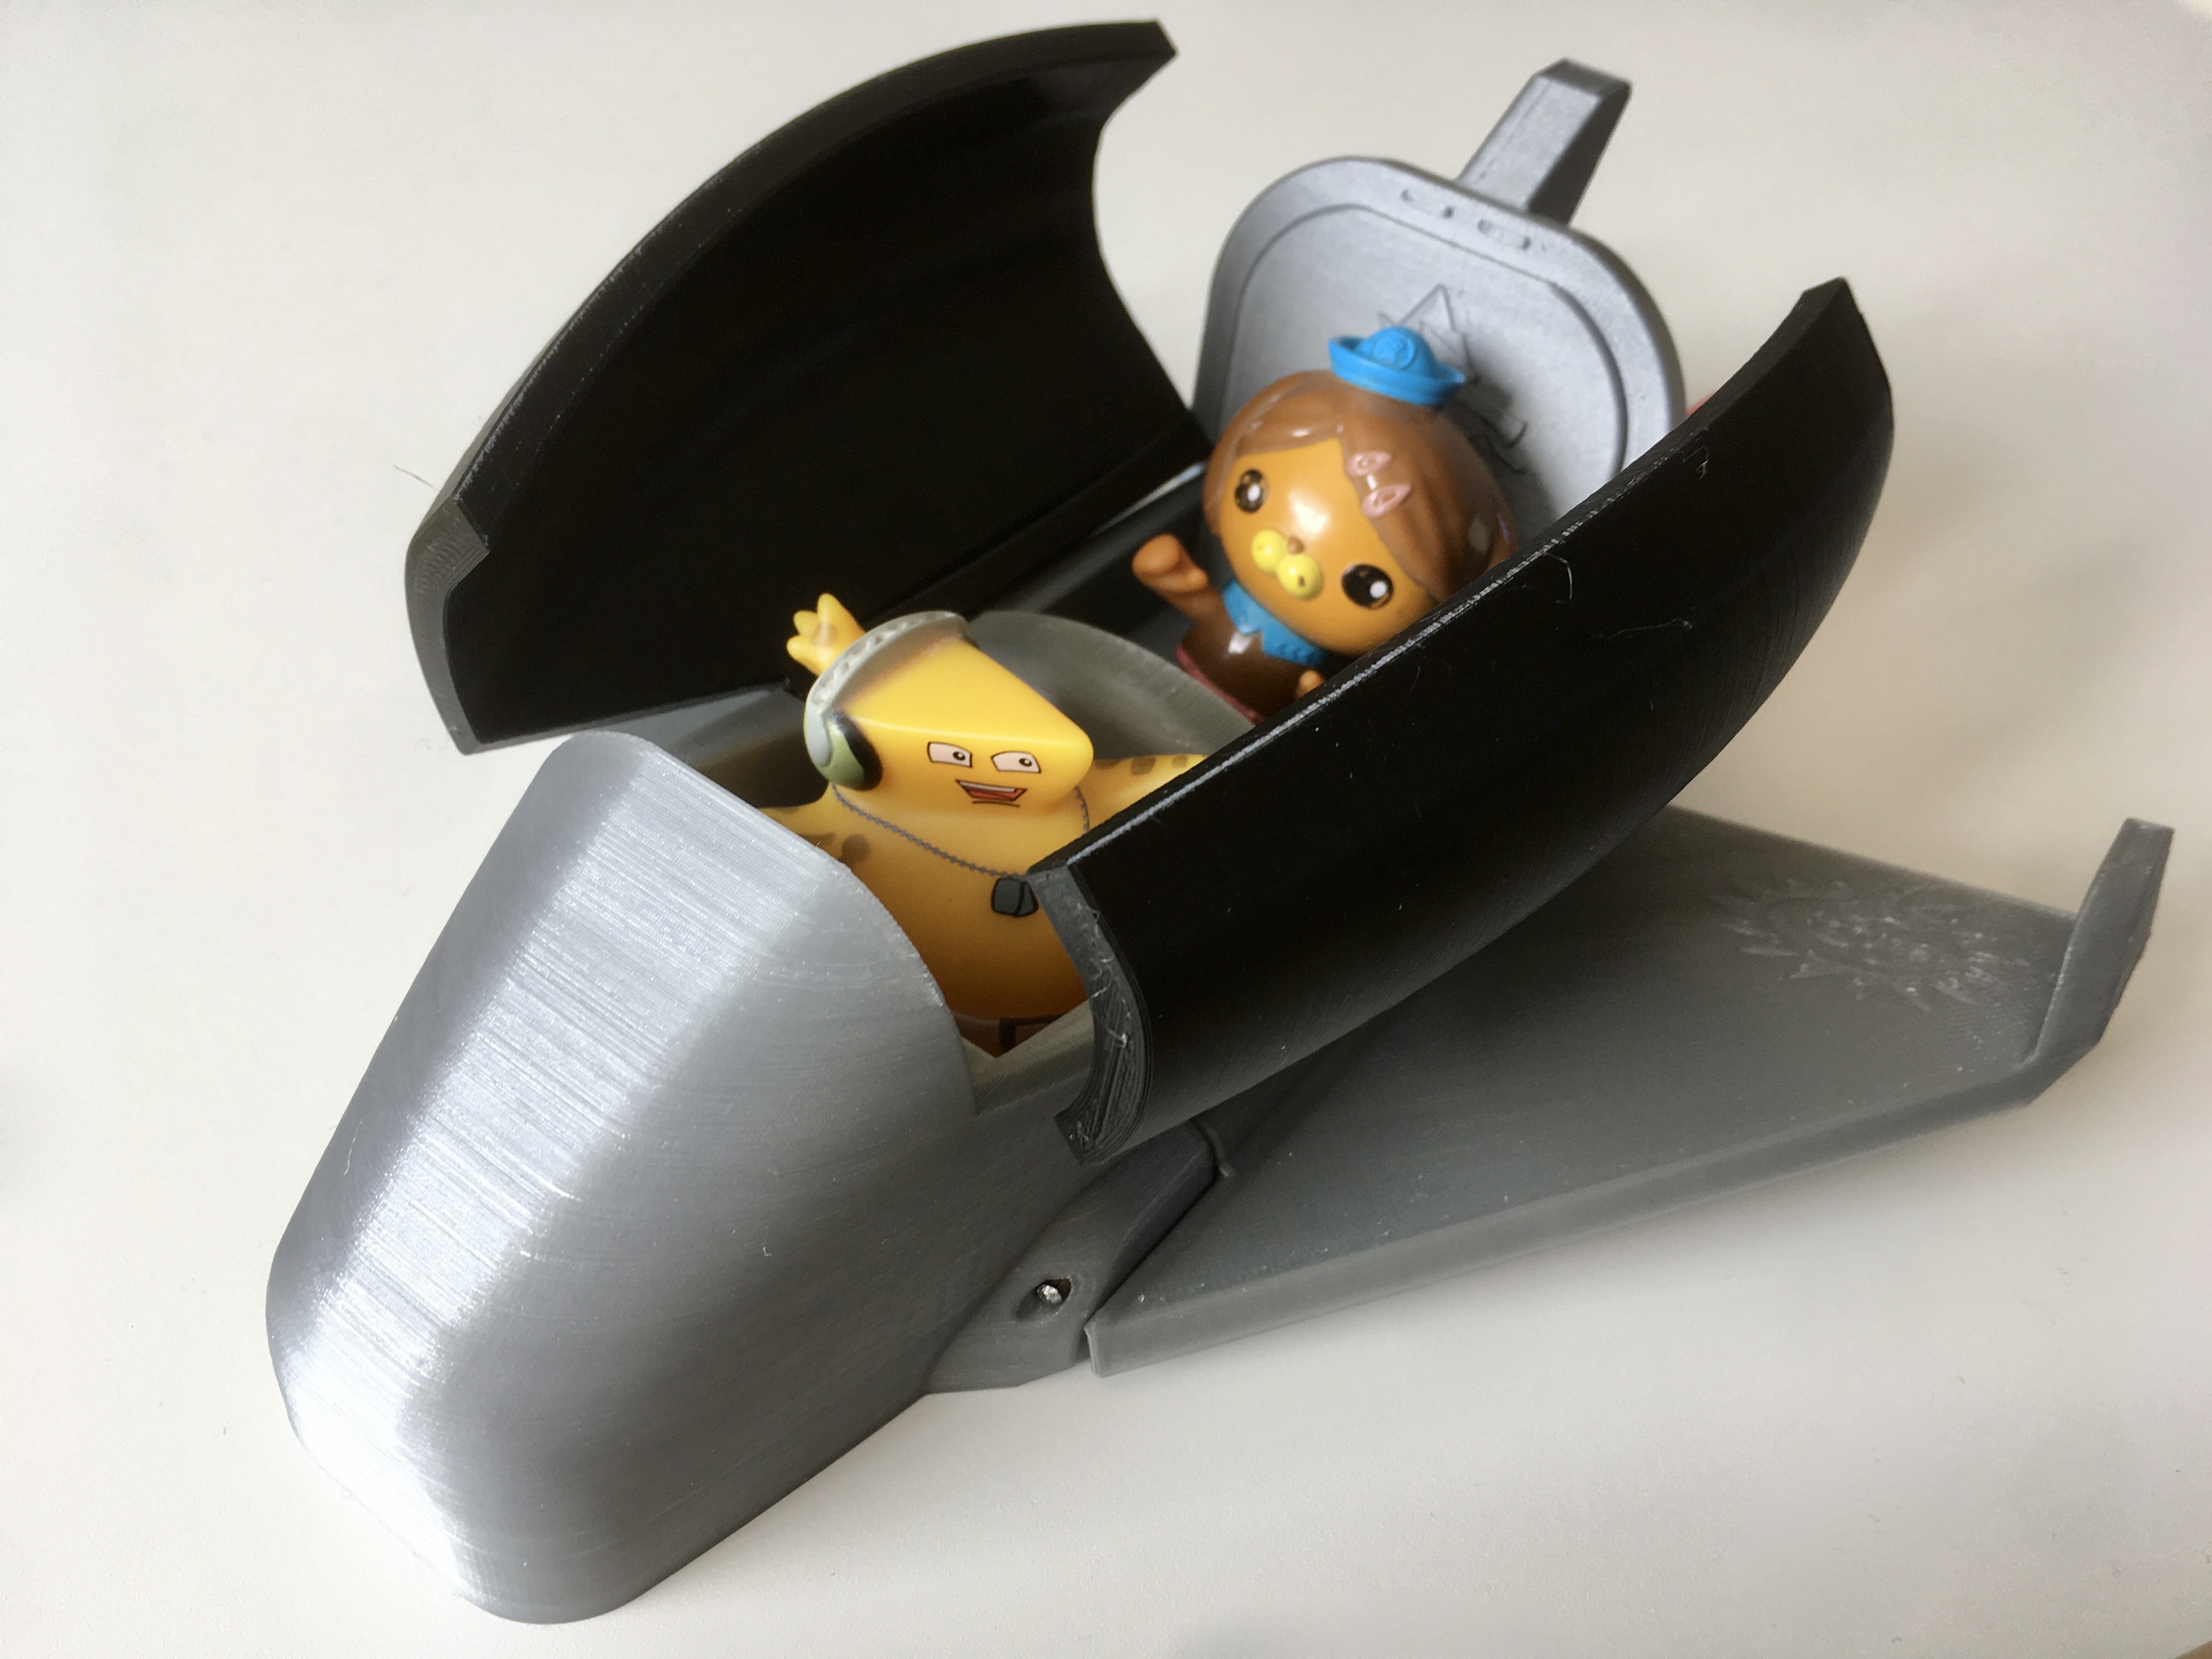
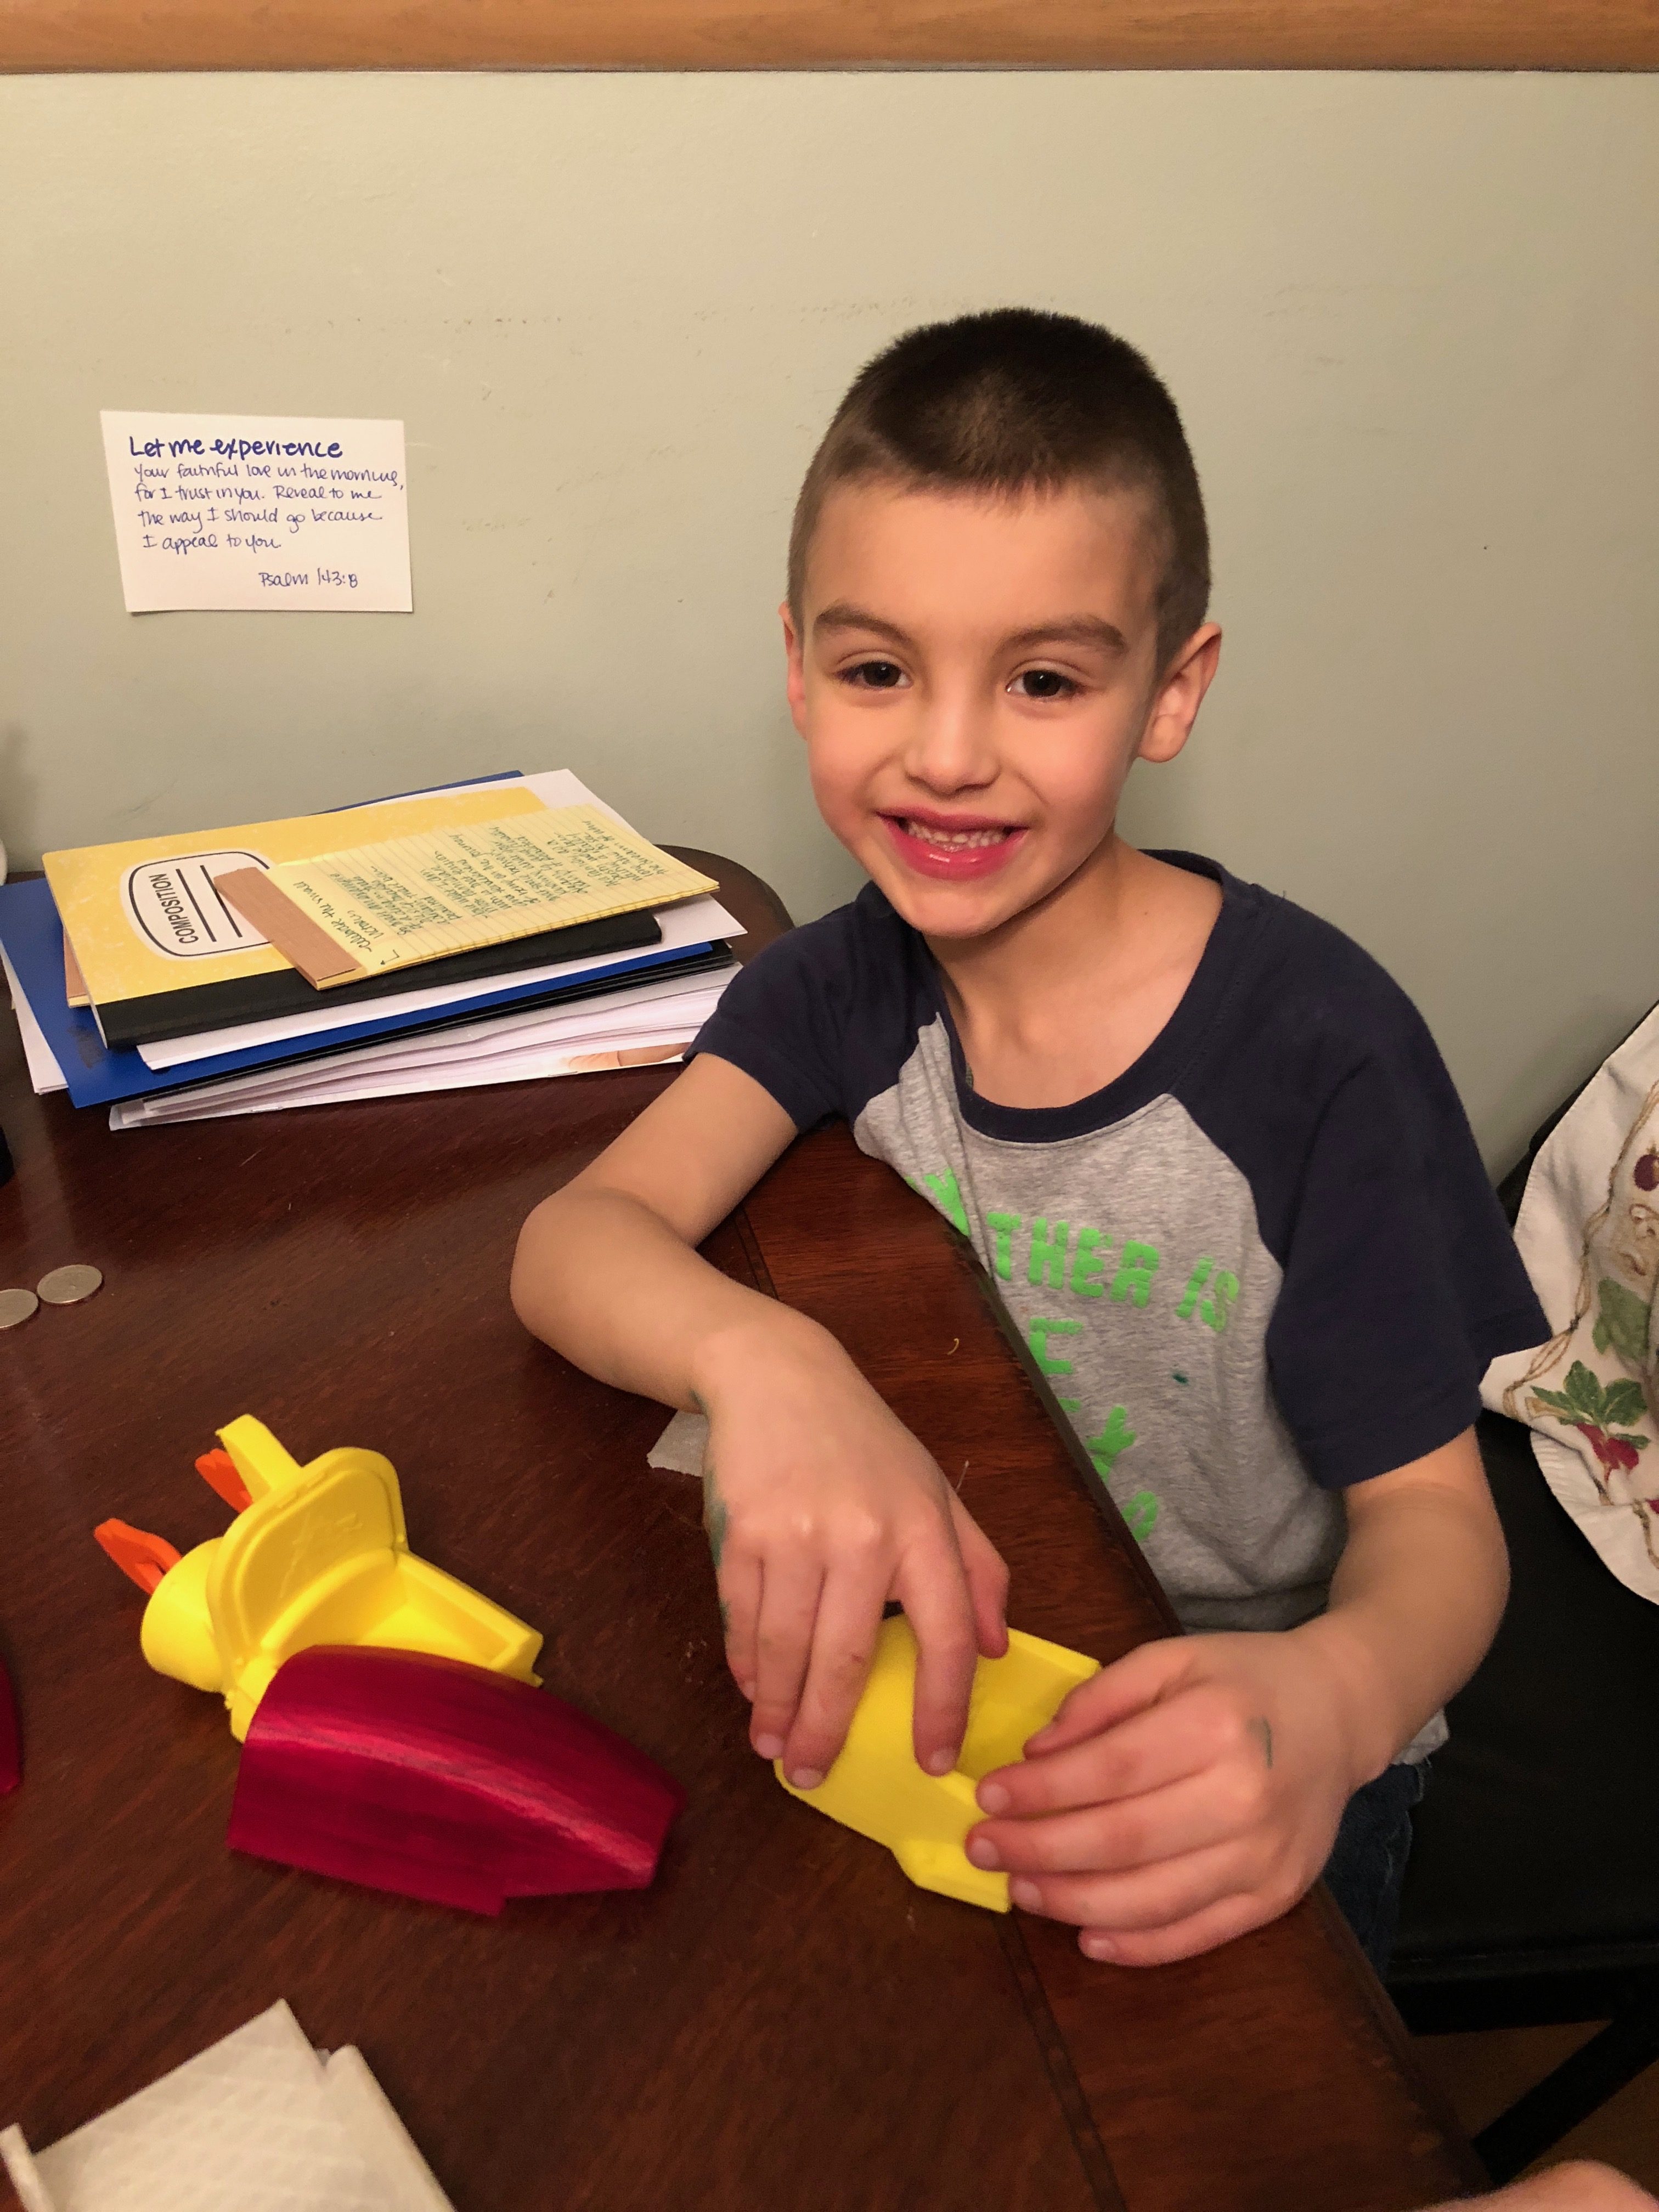
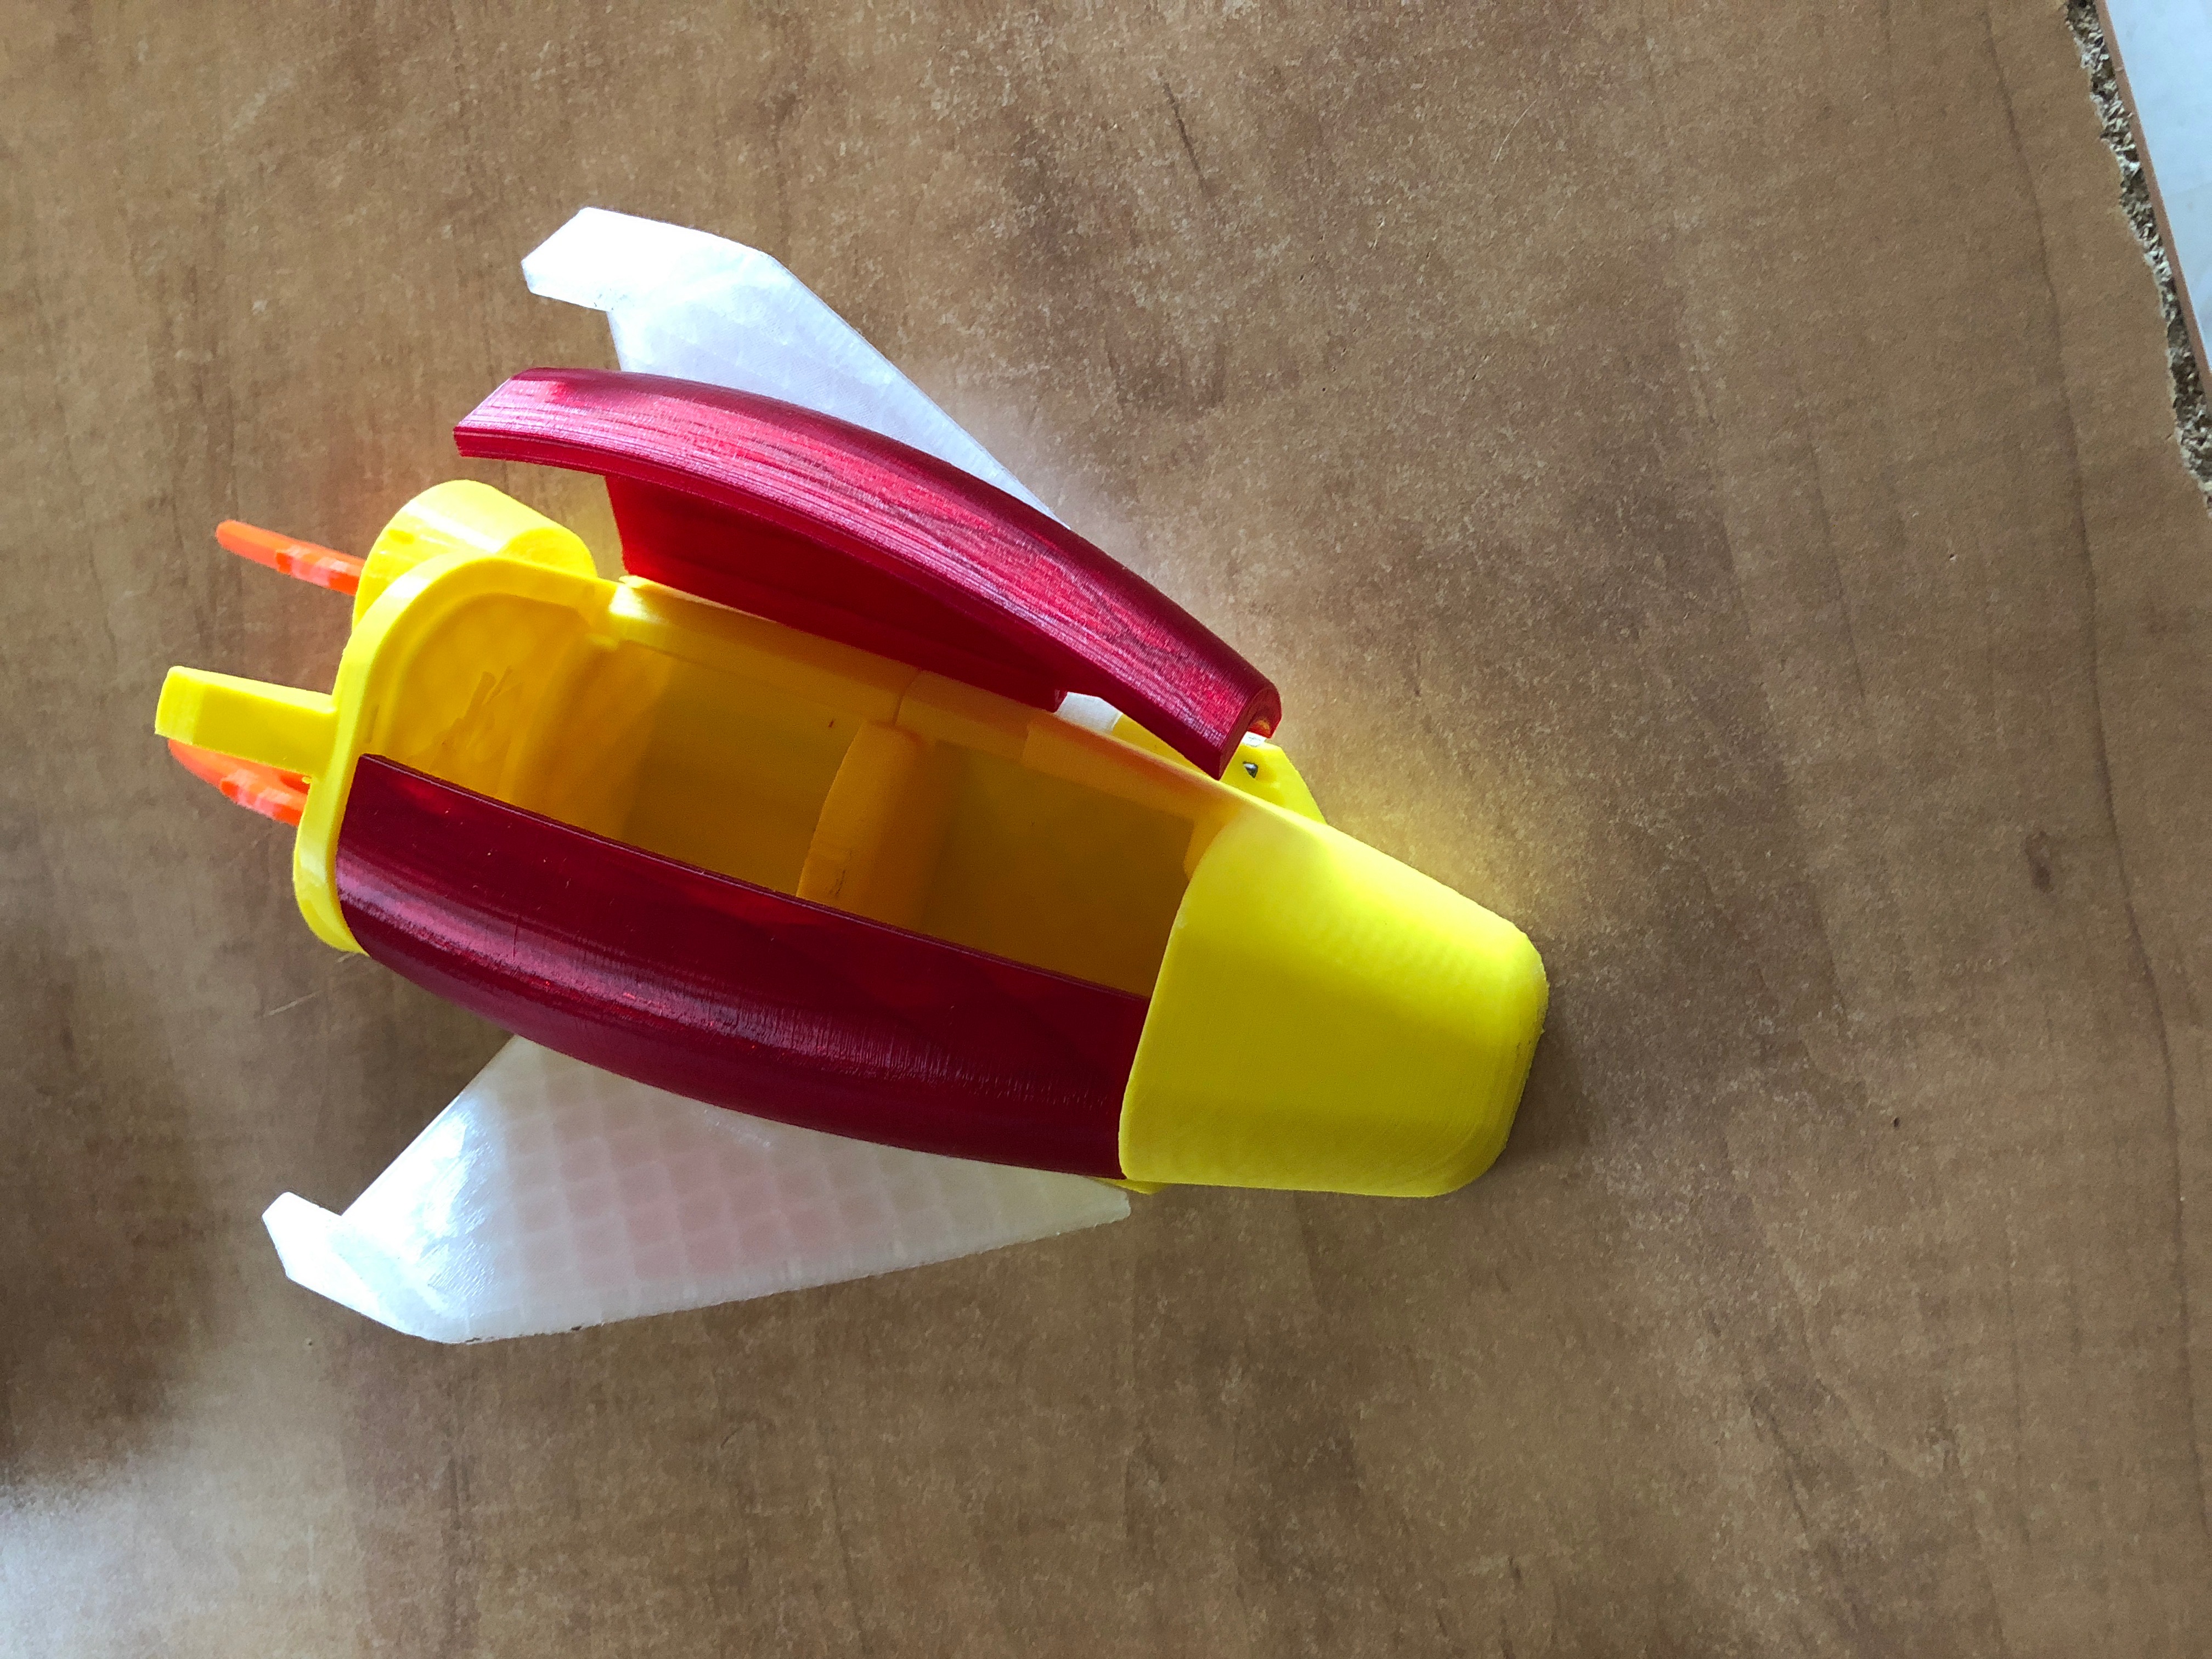
Successful first collaboration with my six-year-old nephew Noah!
This past Christmas, he and his brothers received the Cheekymandos TechMech (among a couple other items), and as my sister tell me, he was totally blown away that designing and making custom toys was even an option (I received not one, but TWO separate thank-you notes from him). After a few conversations with her, I mentioned that I’d be more than happy to work with him on a project.
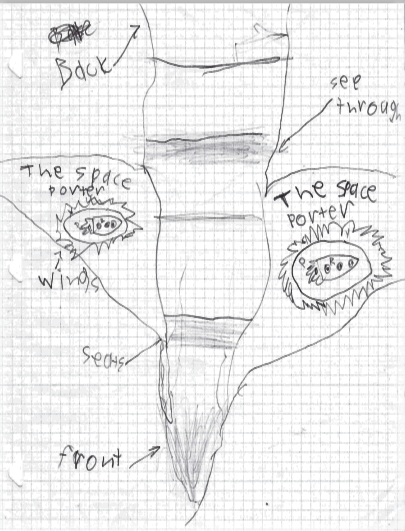
He jumped at the opportunity, drew up the plans, and assumed the mantle of Project Manager. After a few Skype meetings covering design feasibility, construction, color, and what was “kinda ruining the design,” The Space Porter was born!
Parts List:
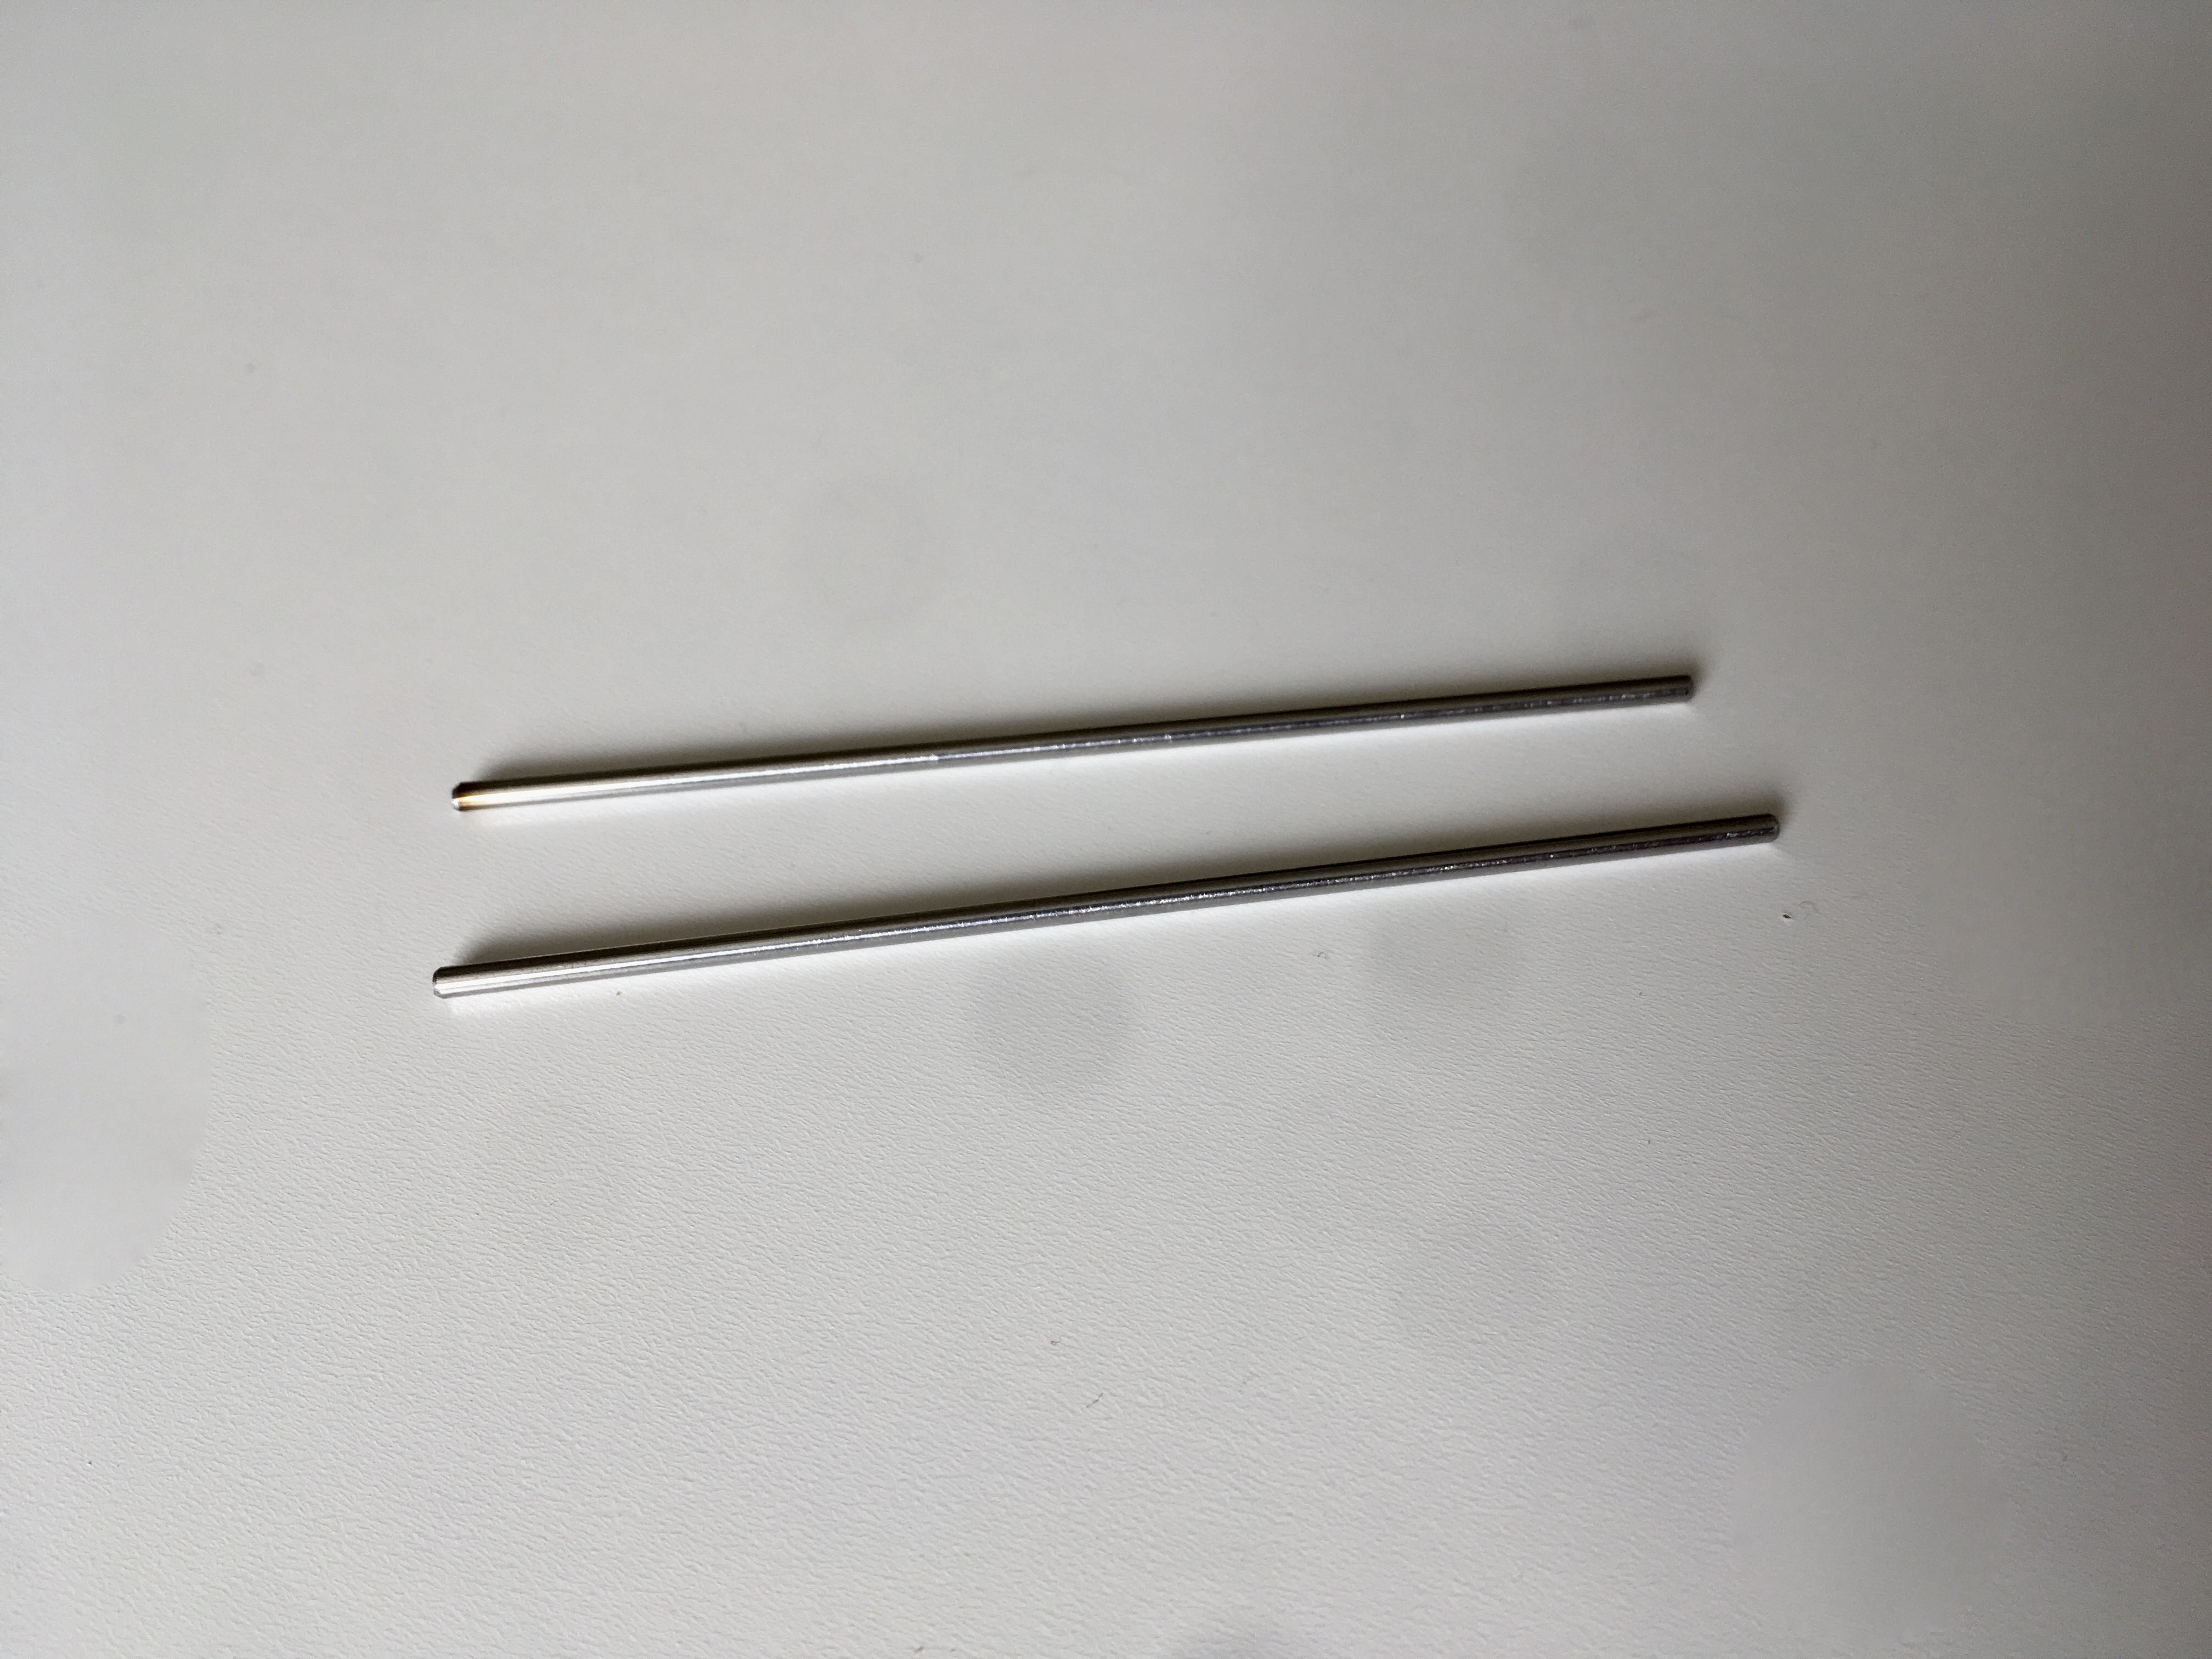
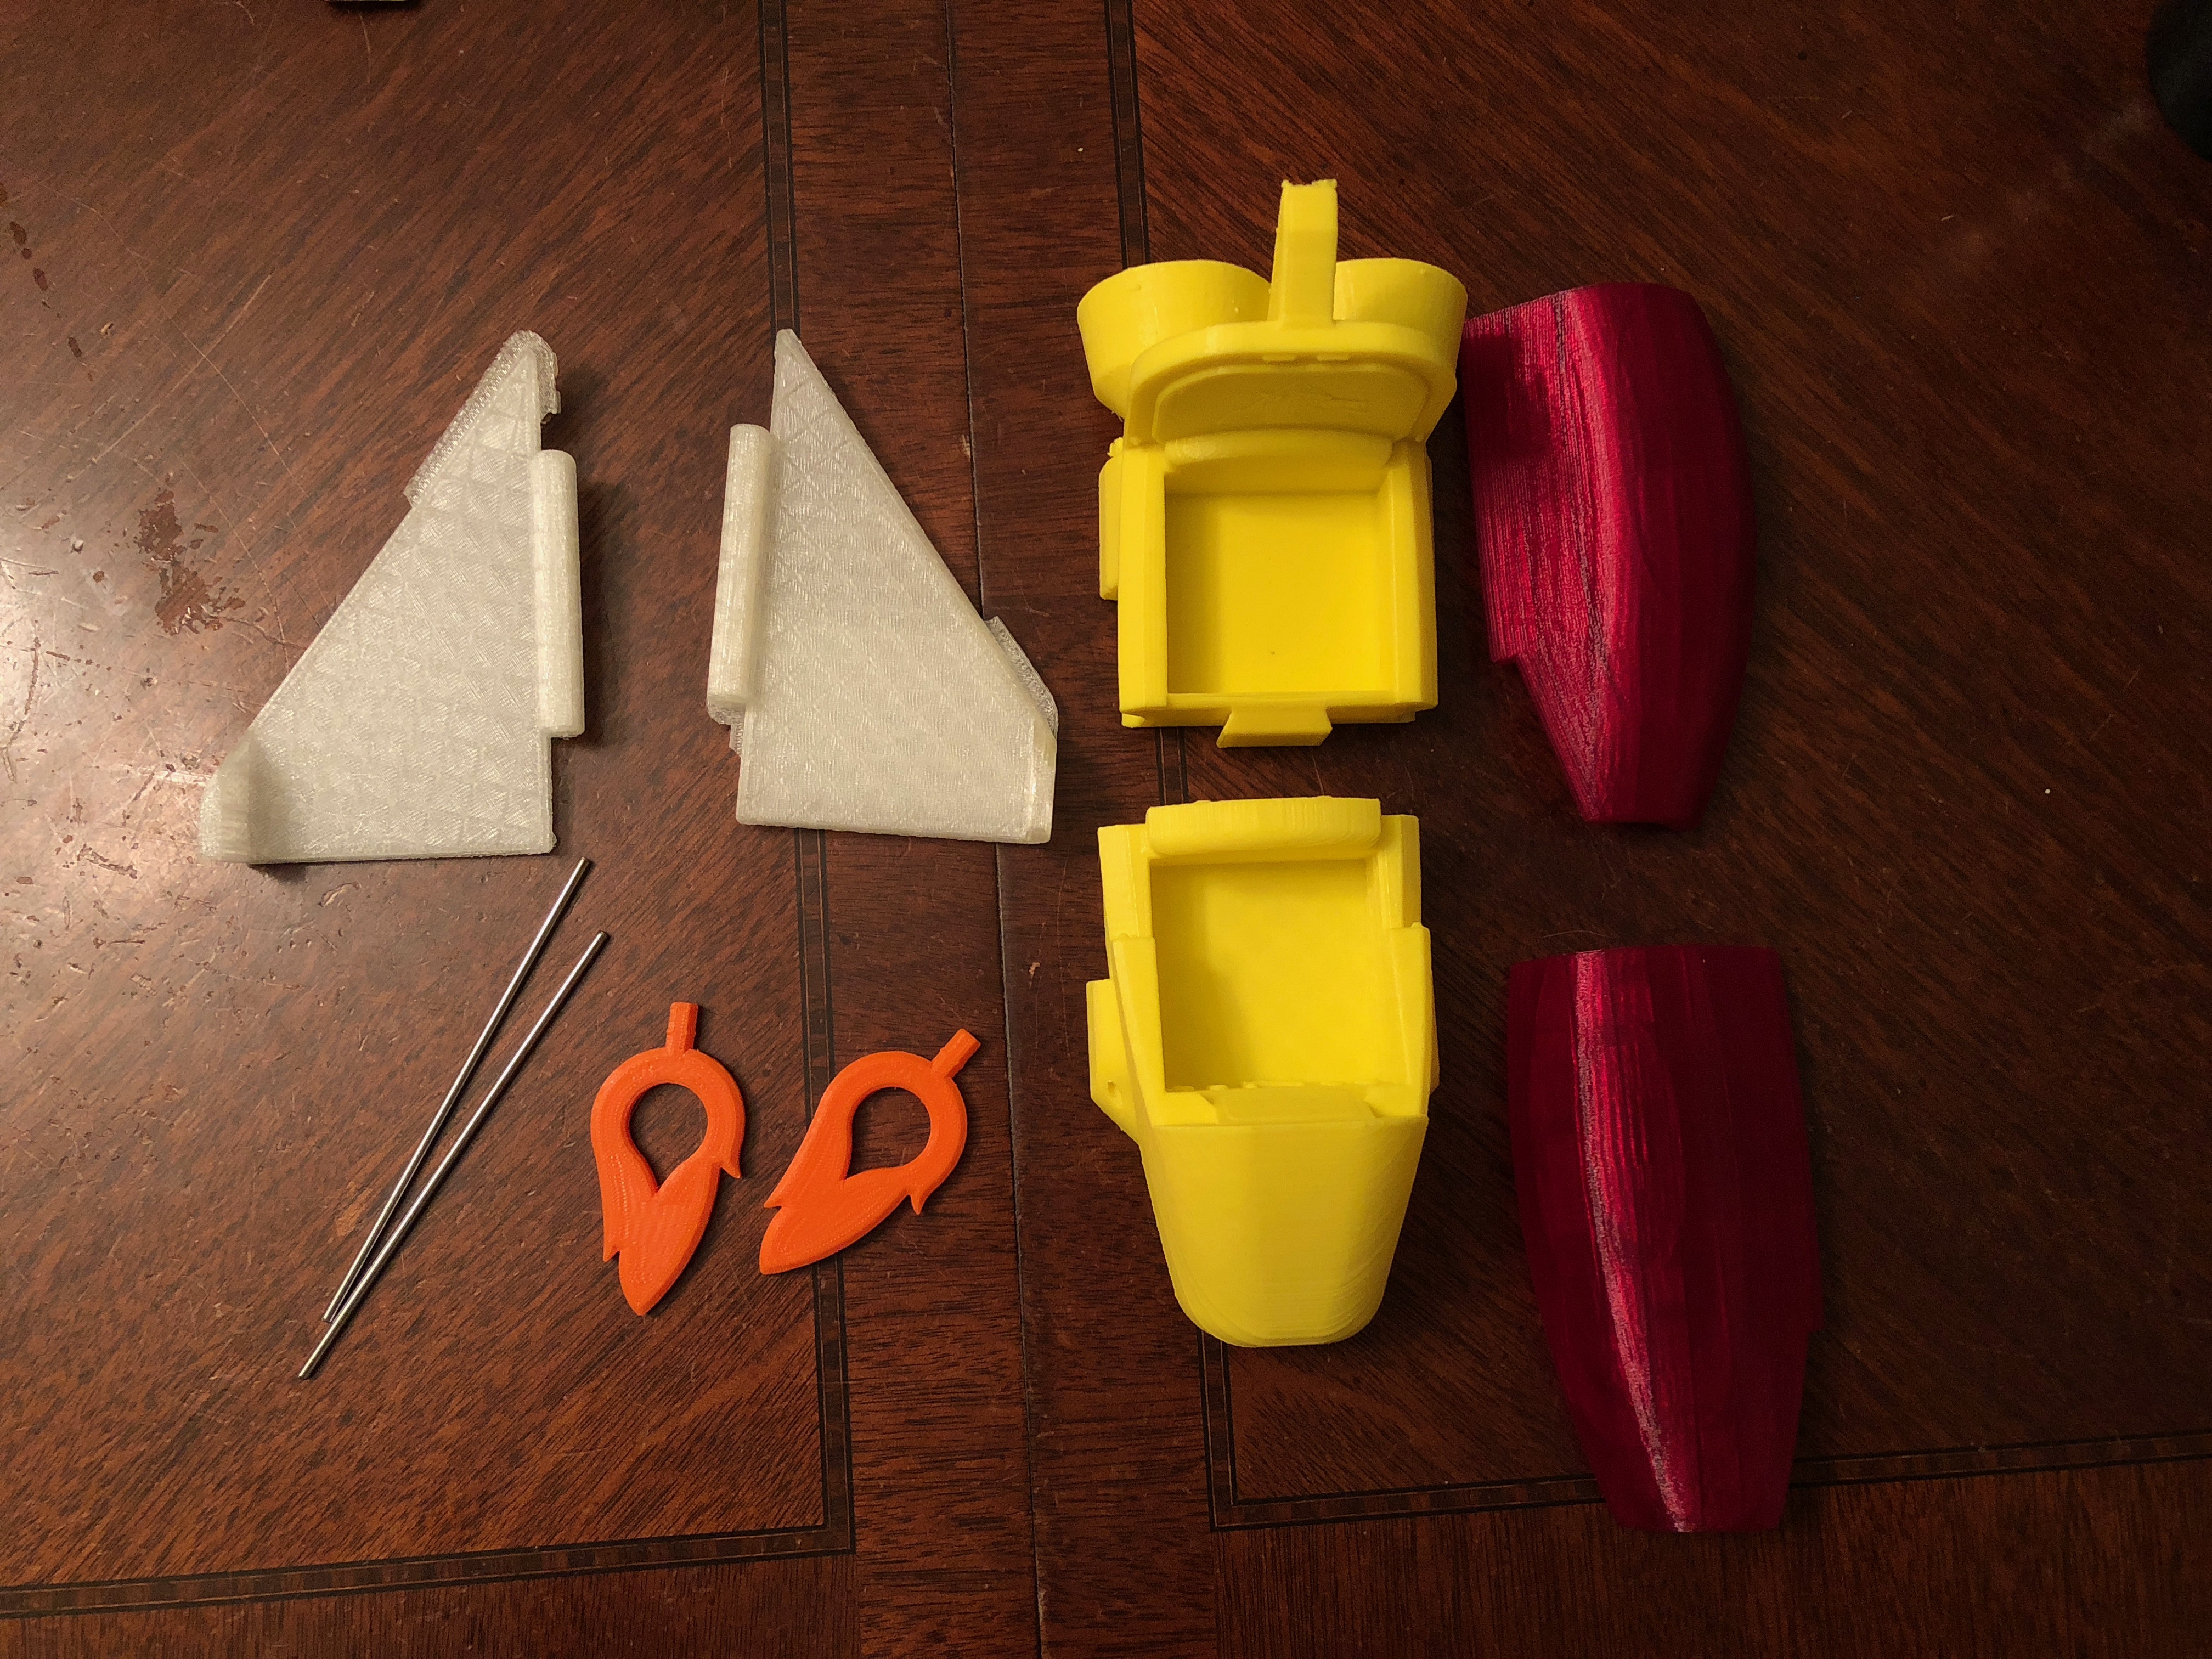
0.0990″ OD x 3′ Long Steel Rod – McMaster 8893K136
Helpful Tools:
3D Printer (or printing service)
Dremel
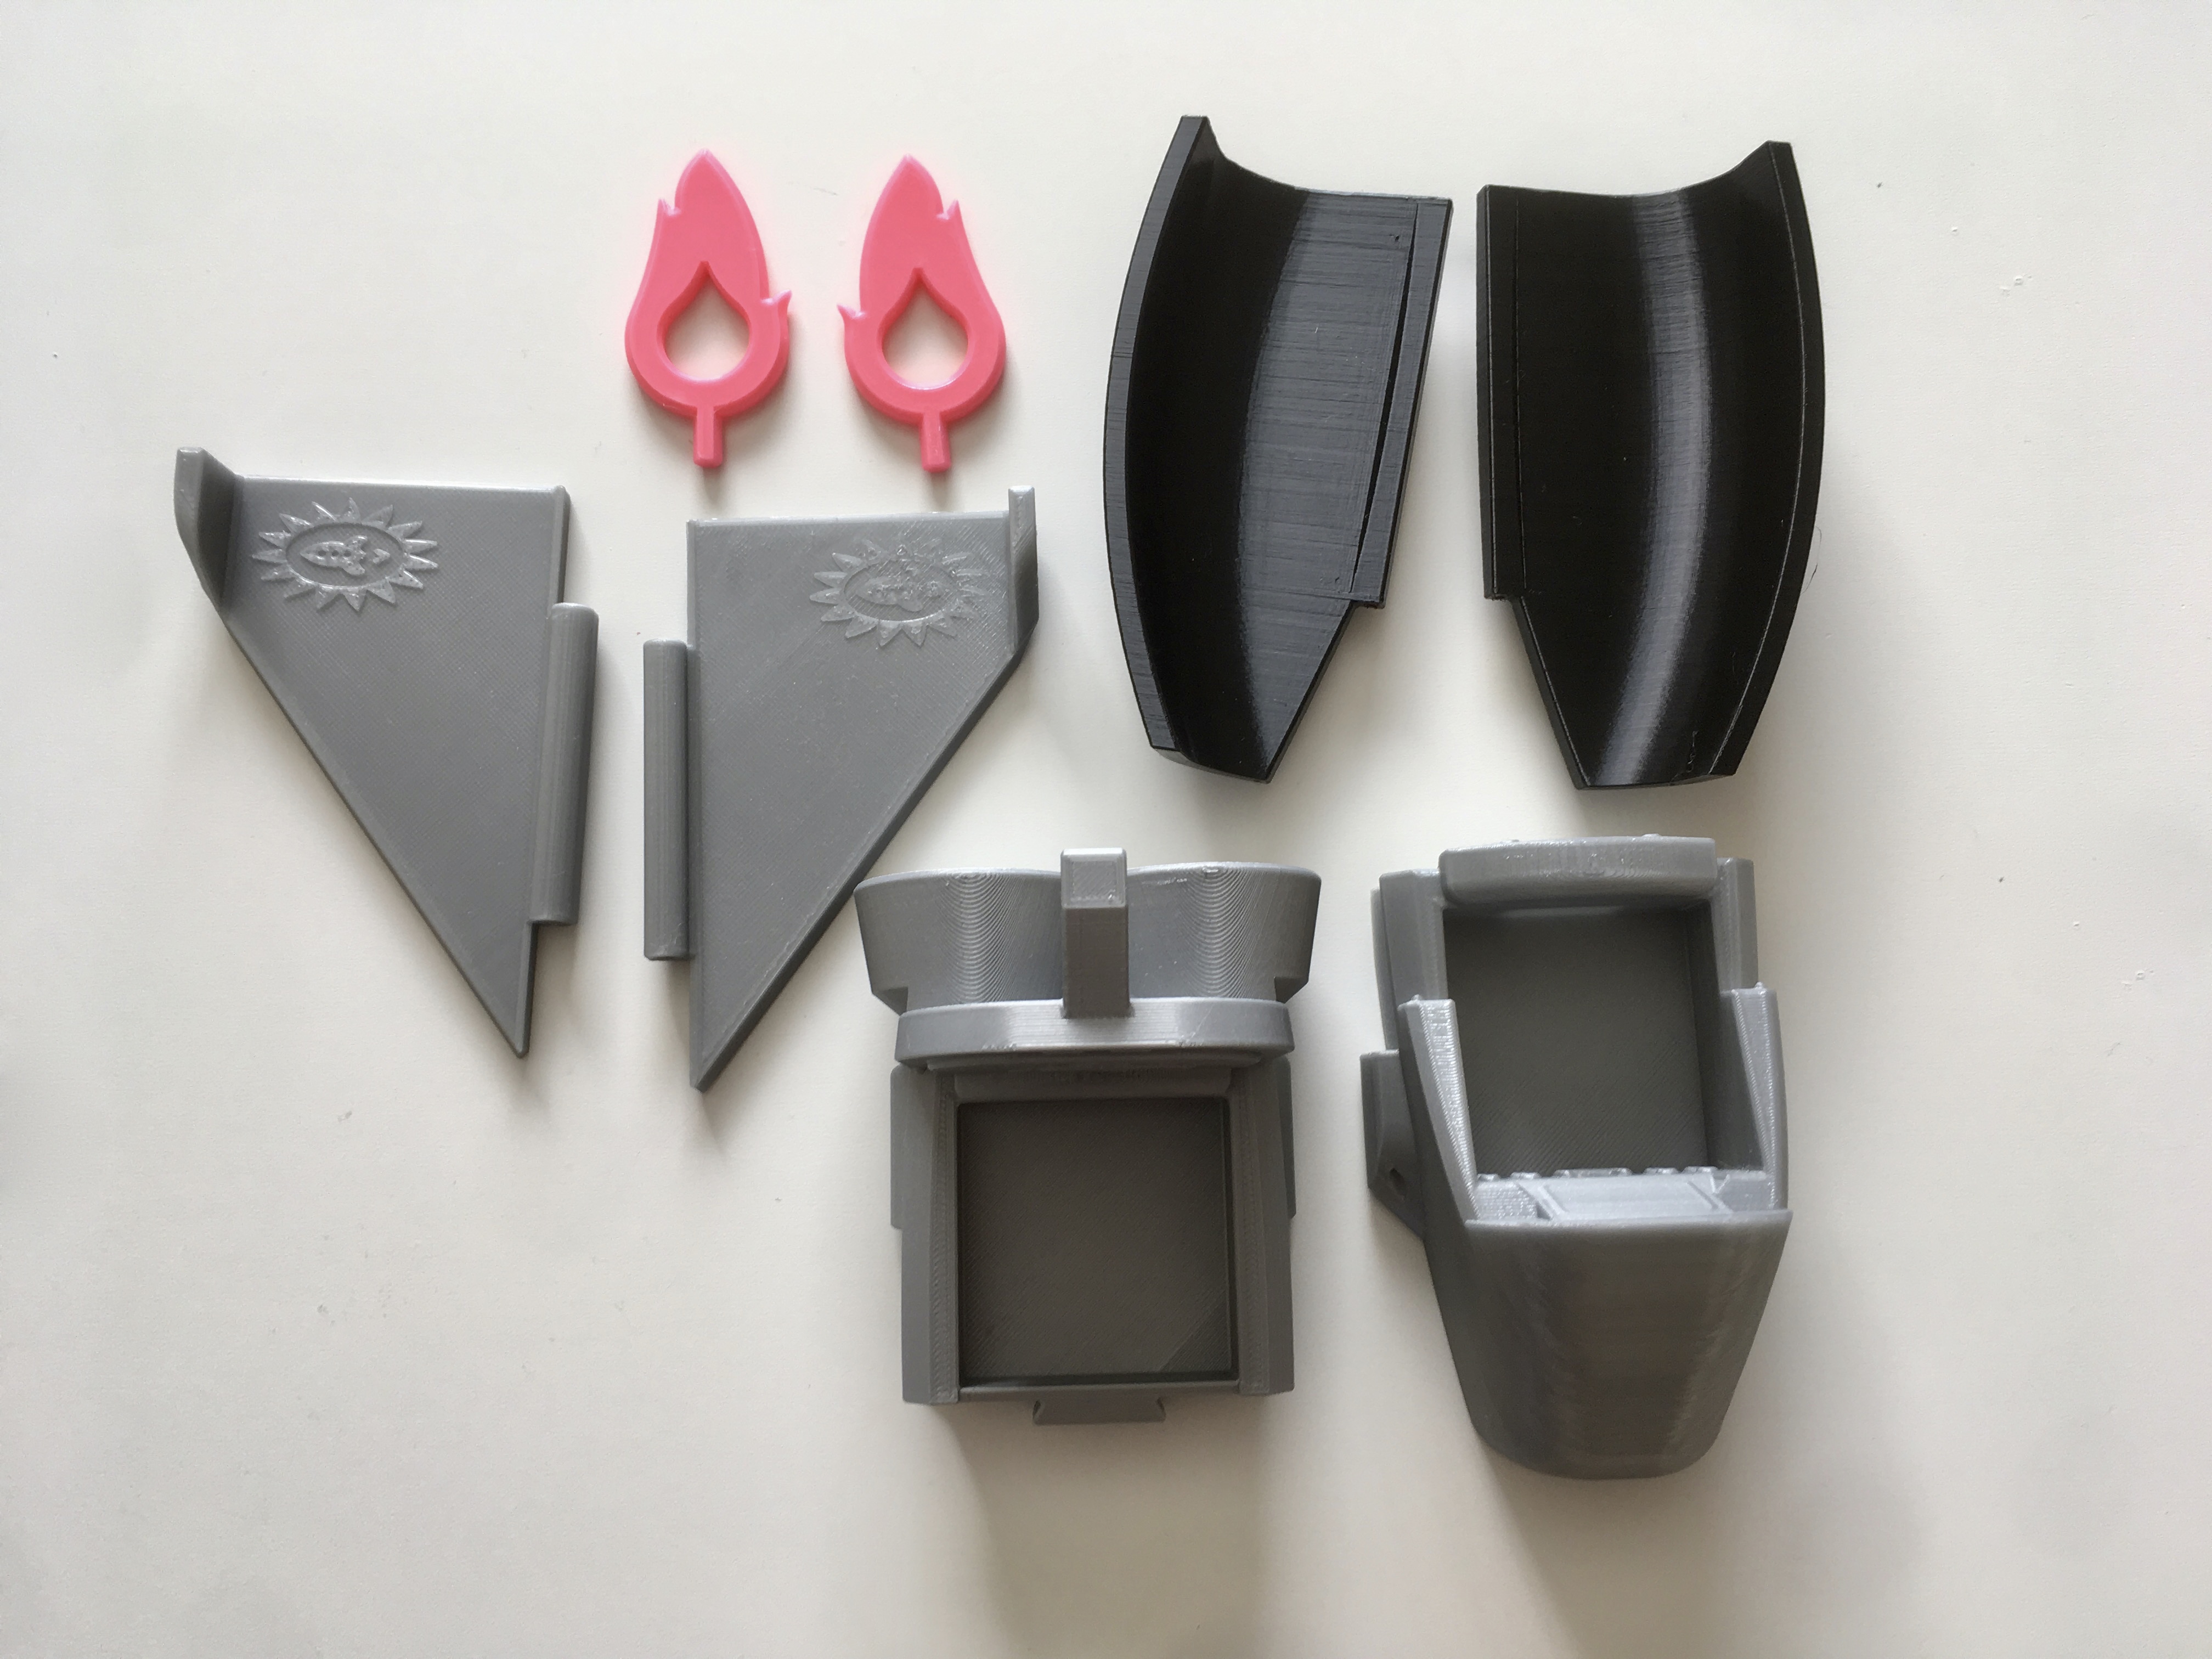
Print out Parts
Files can be found on
Thingiverse,YouMagine,Cults3D, and MyMiniFactory.4/11/2018 UPDATE: Consolidating the number of places hosting the files. More changes to come, but they’re still available for free.
March 2020 UPDATE: Files can be downloaded directly from this site at the bottom of the page. They are also available on Prusa Printers!
Material: PLA for everything.
Infill: 15% to 20%
Brim: Only for SP-WindscreenA and SP-WindscreenB
Supports: Not necessary.Main Body
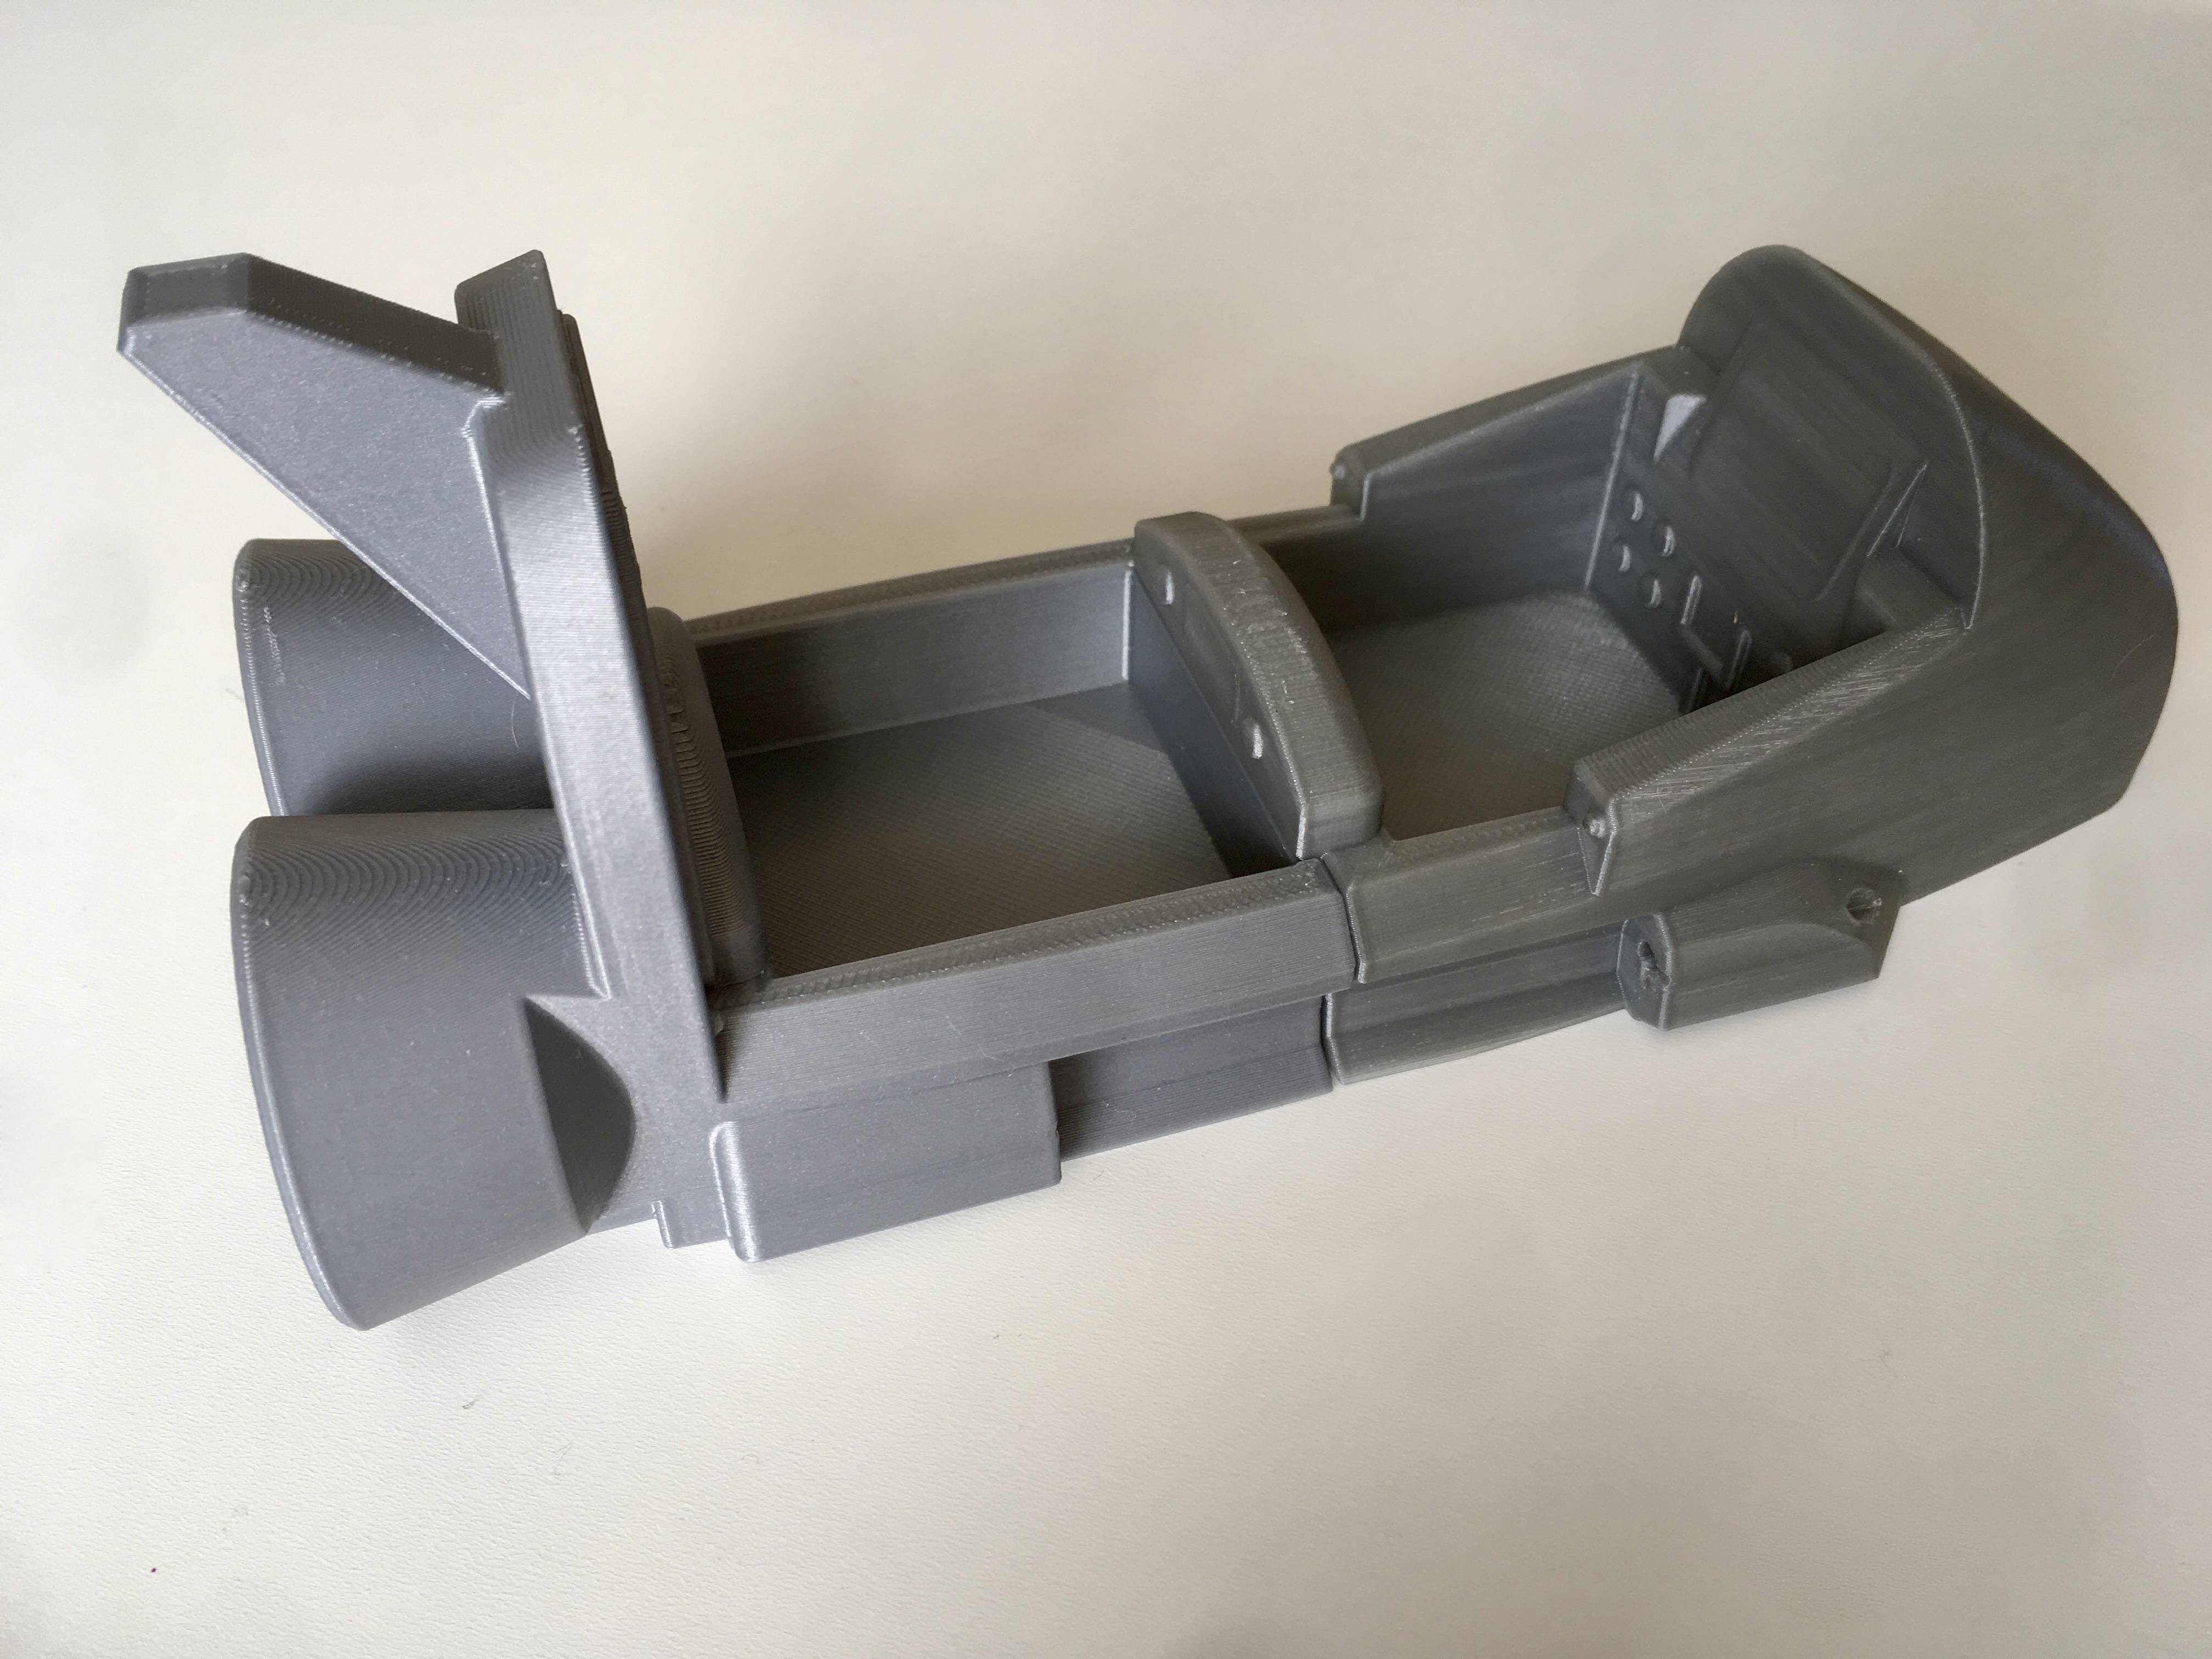
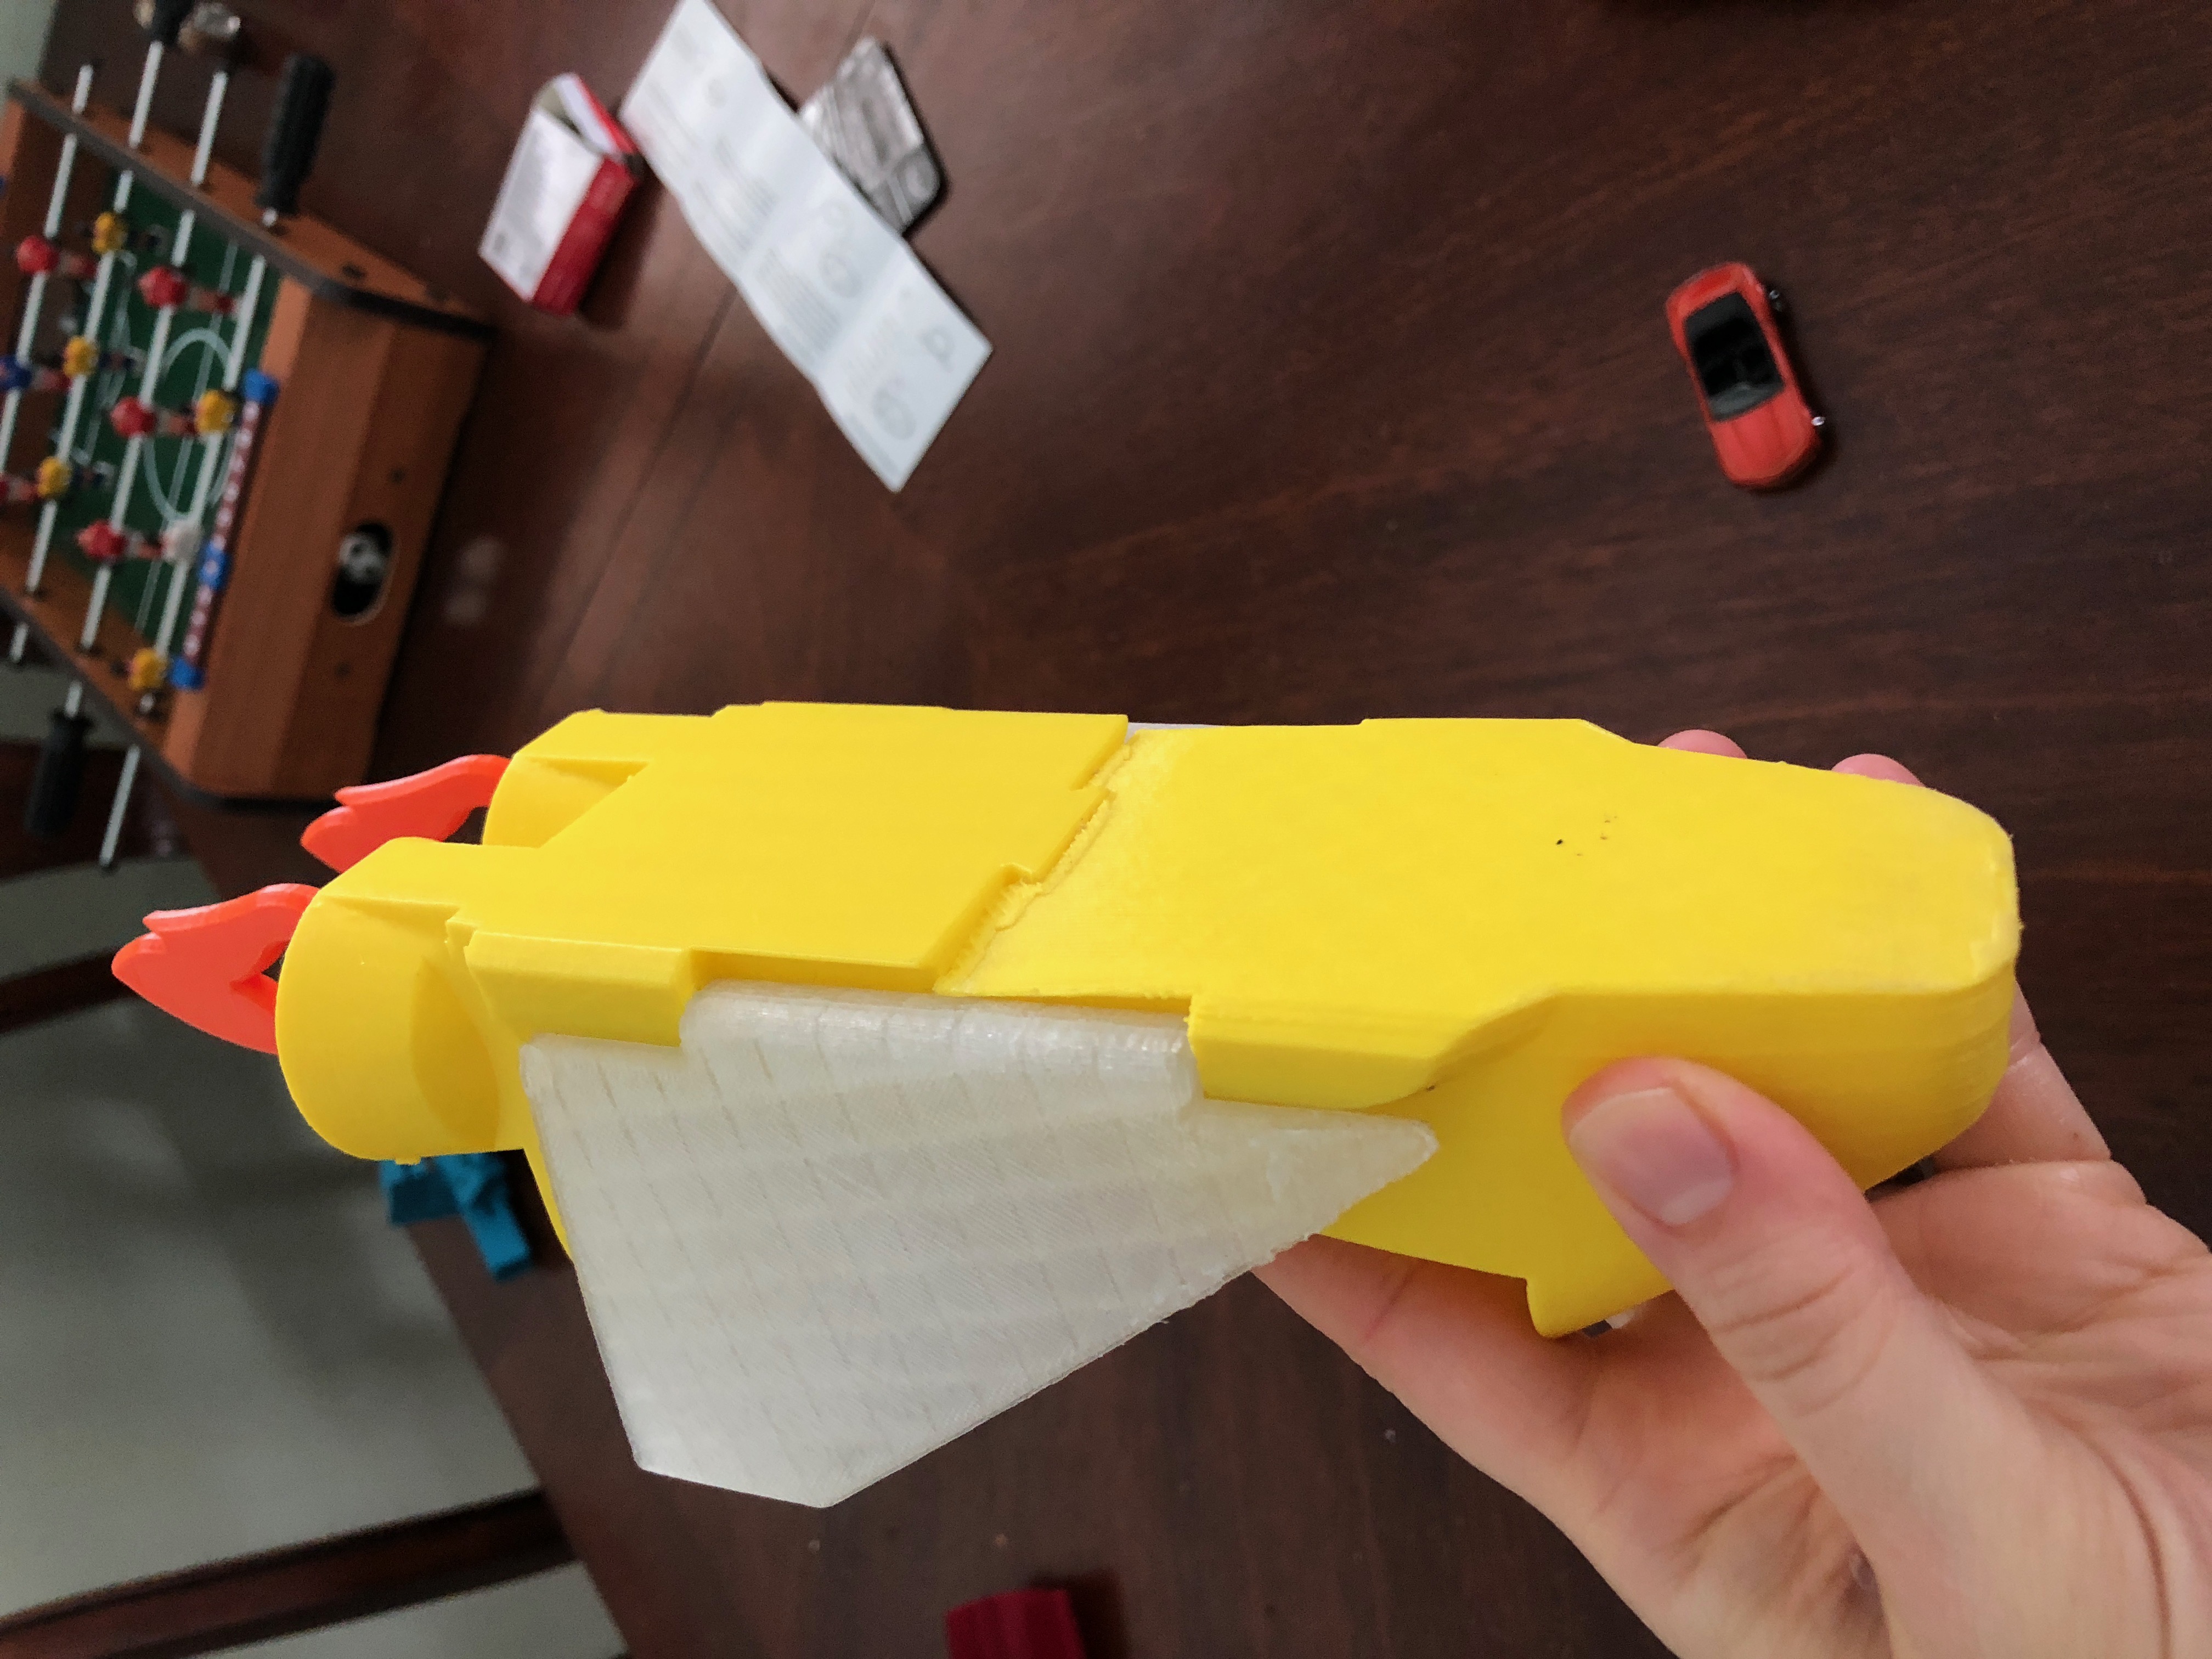
Press-fit SP-Front and SP-Rear together.
Cut Wing Pins
Using a dremel, cut two ~107mm long sections from the steel rod. Deburr and chamfer the edges.
Wings
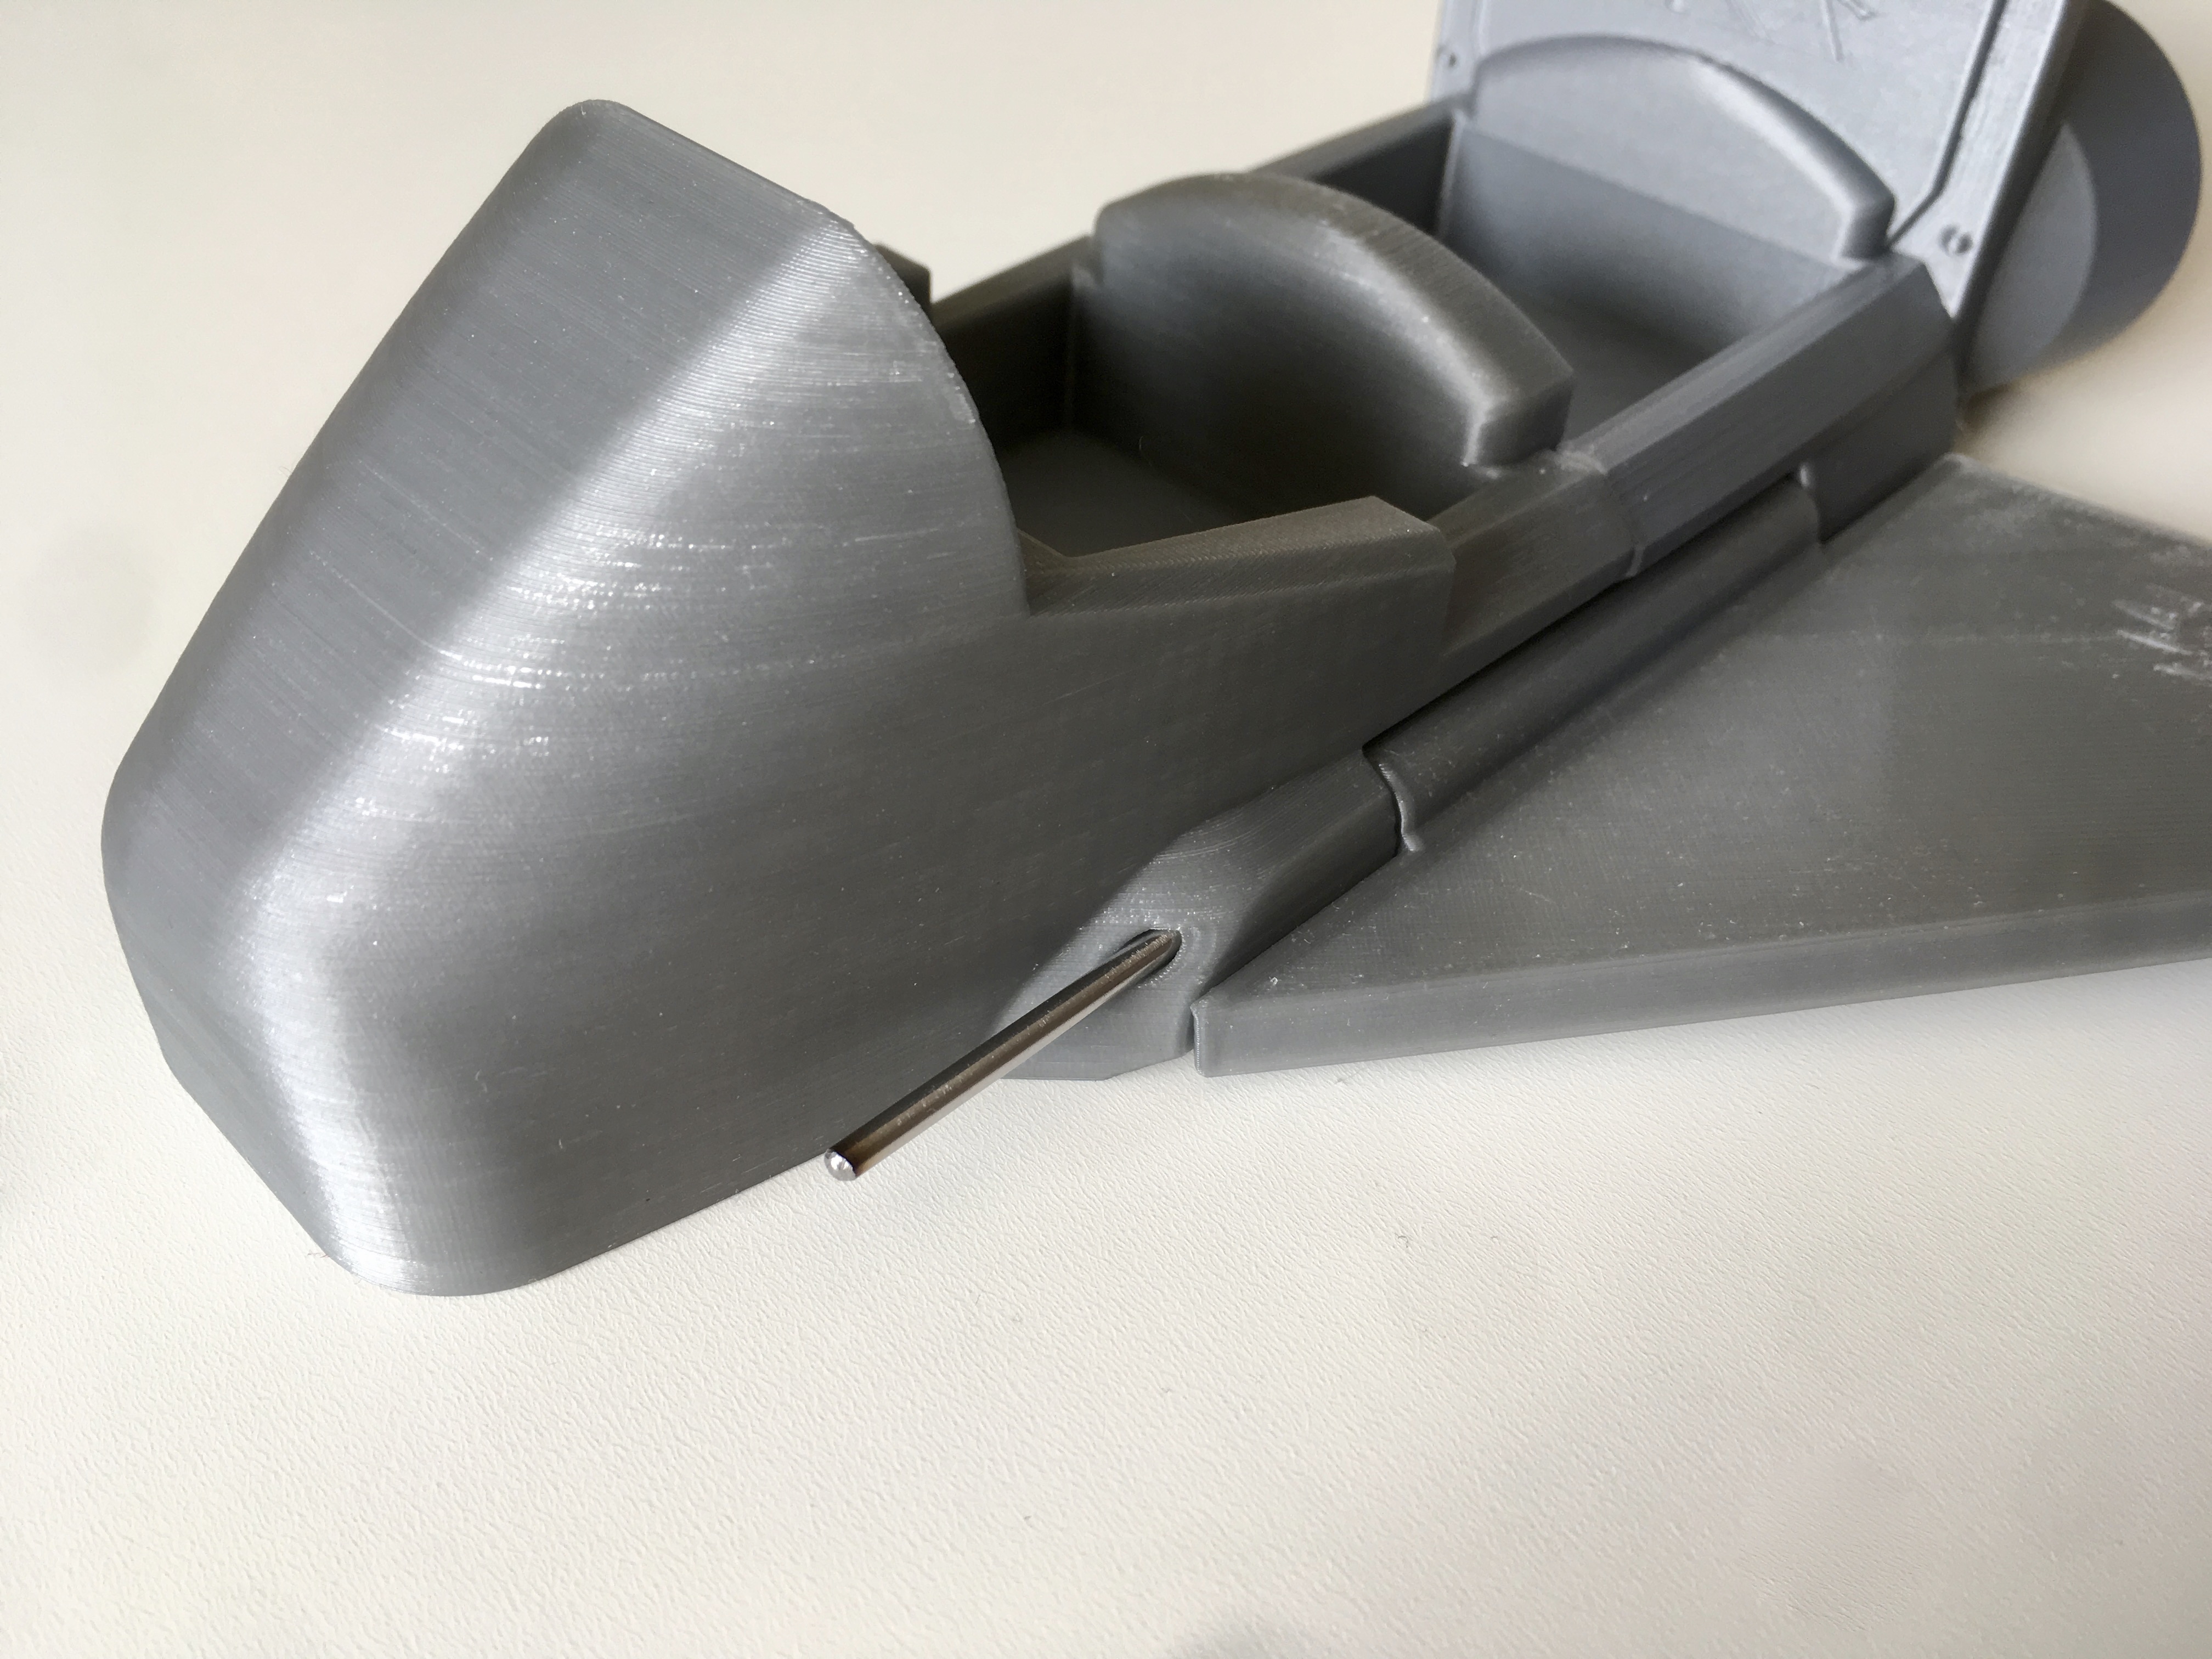
Fit SP-LeftWing and SP-RightWing into the assembly and secure them by inserting the cut steel rods.
Windscreen
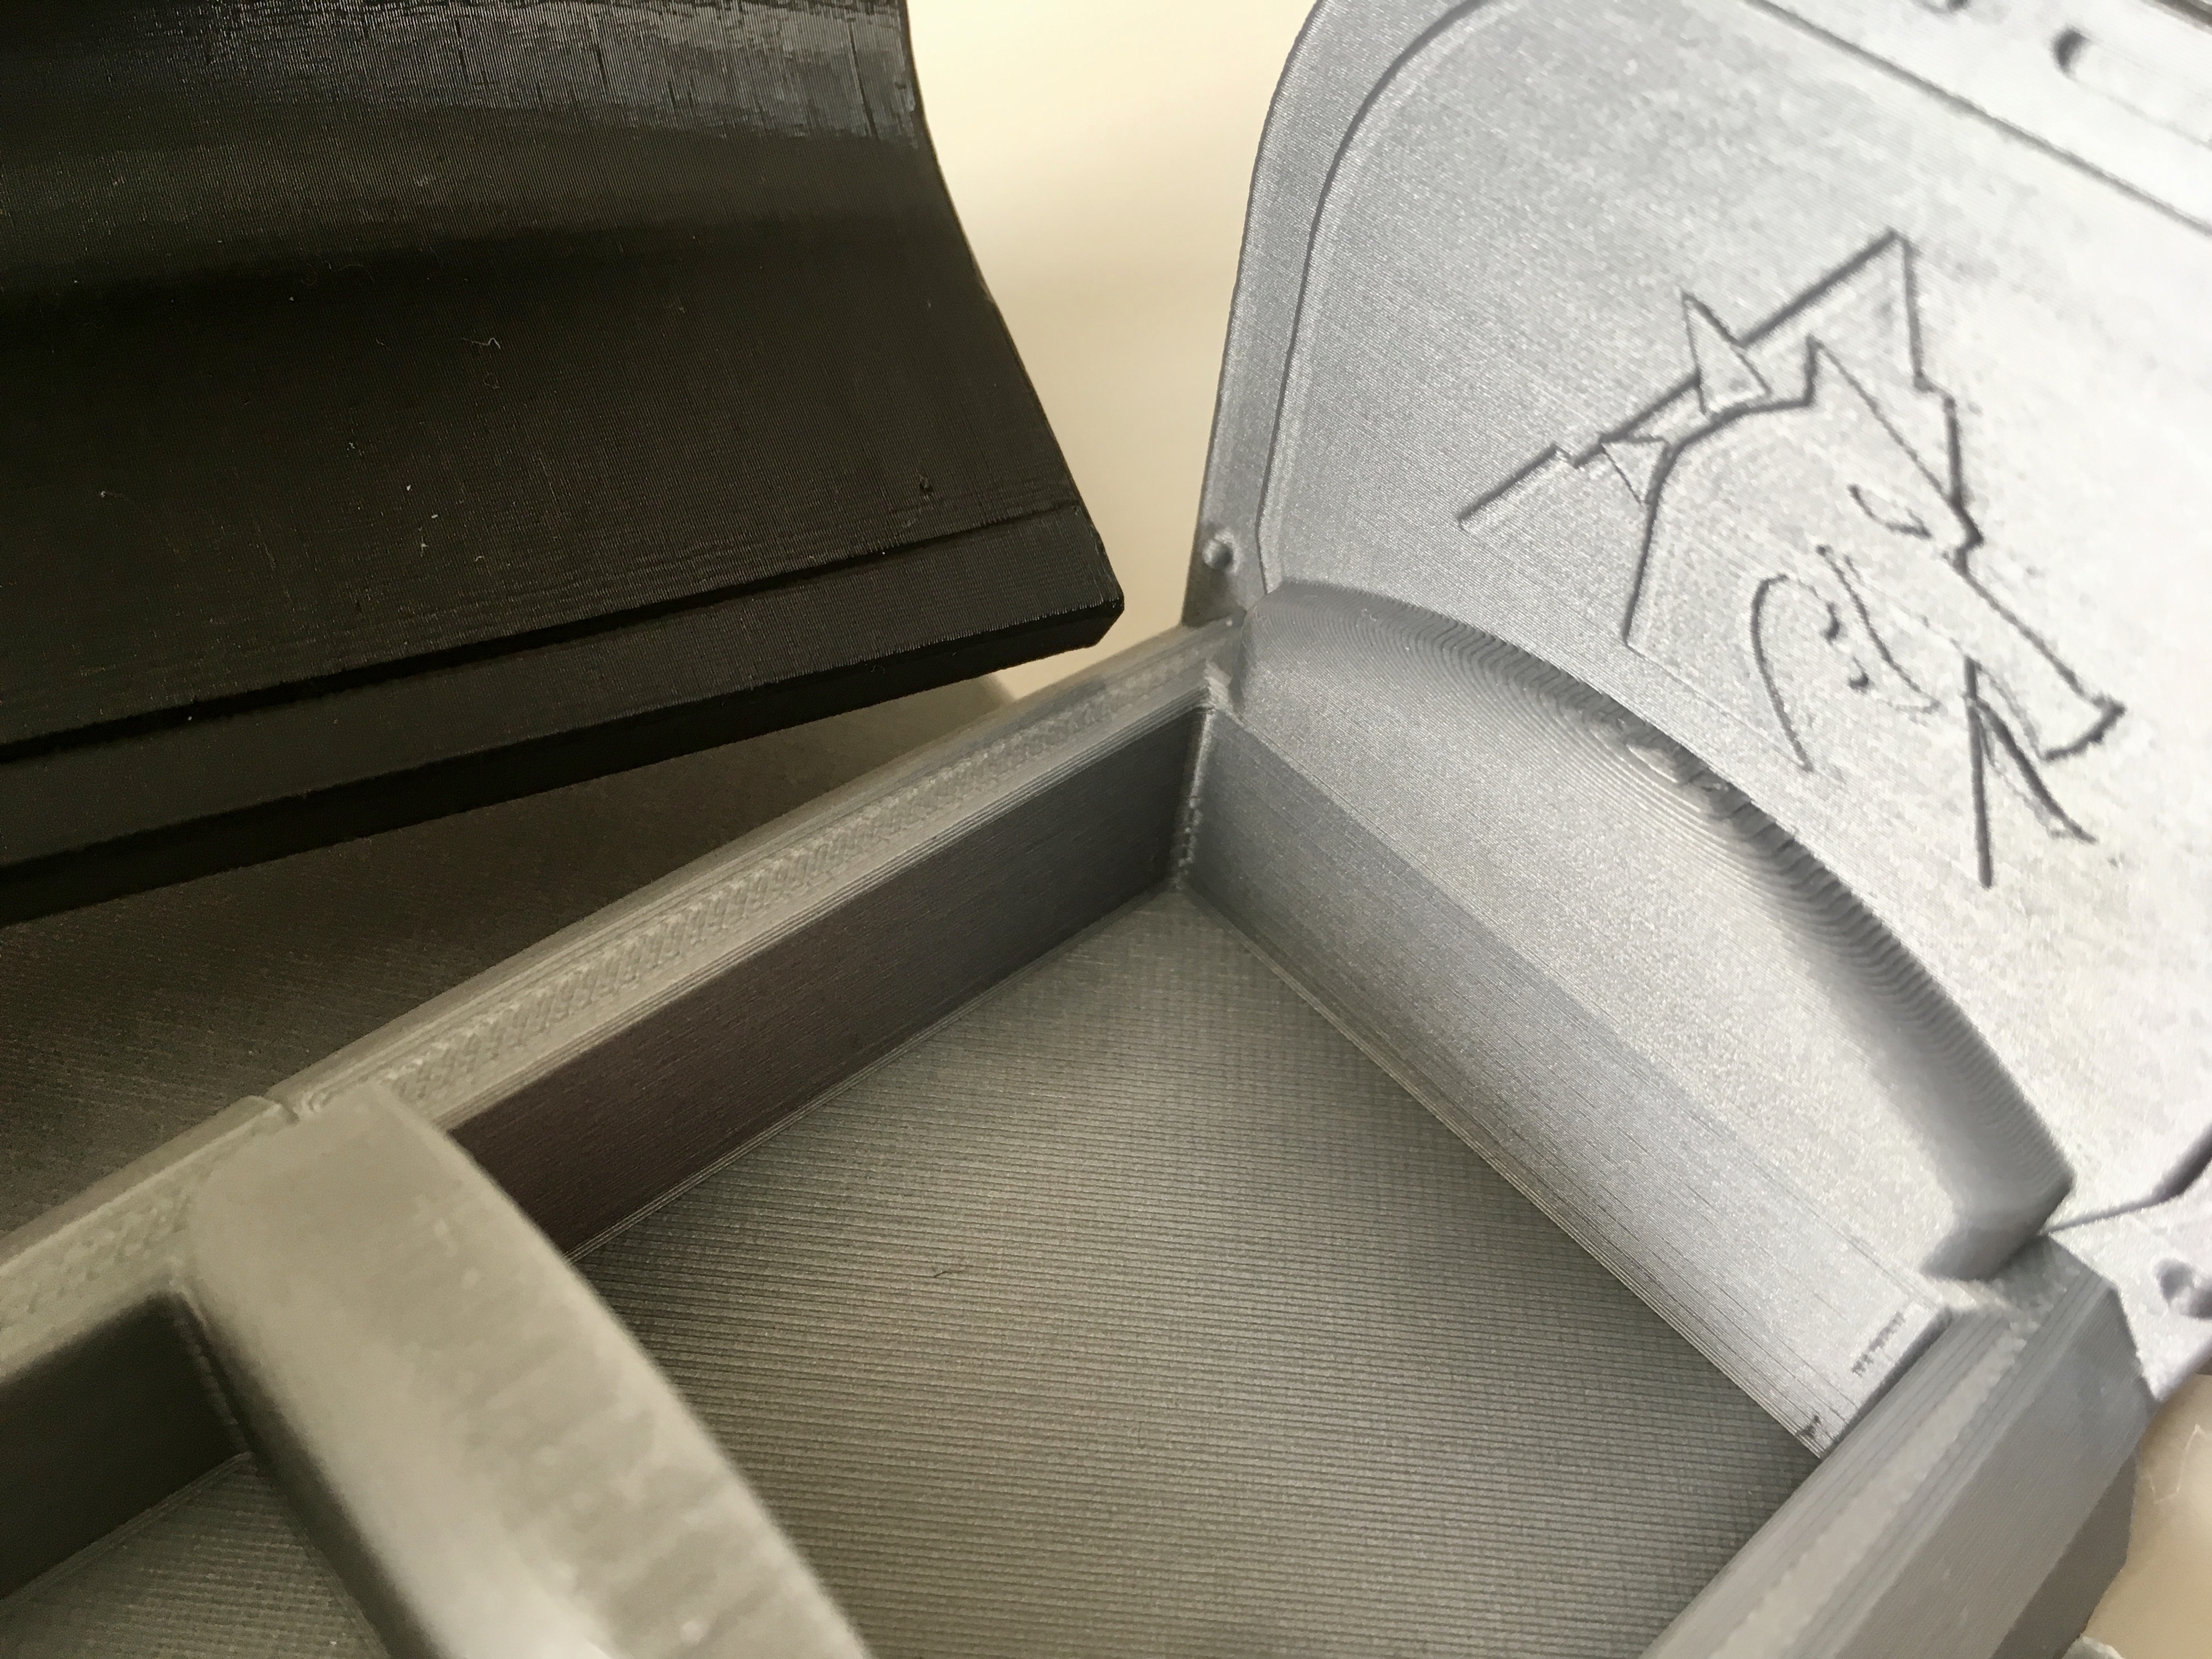
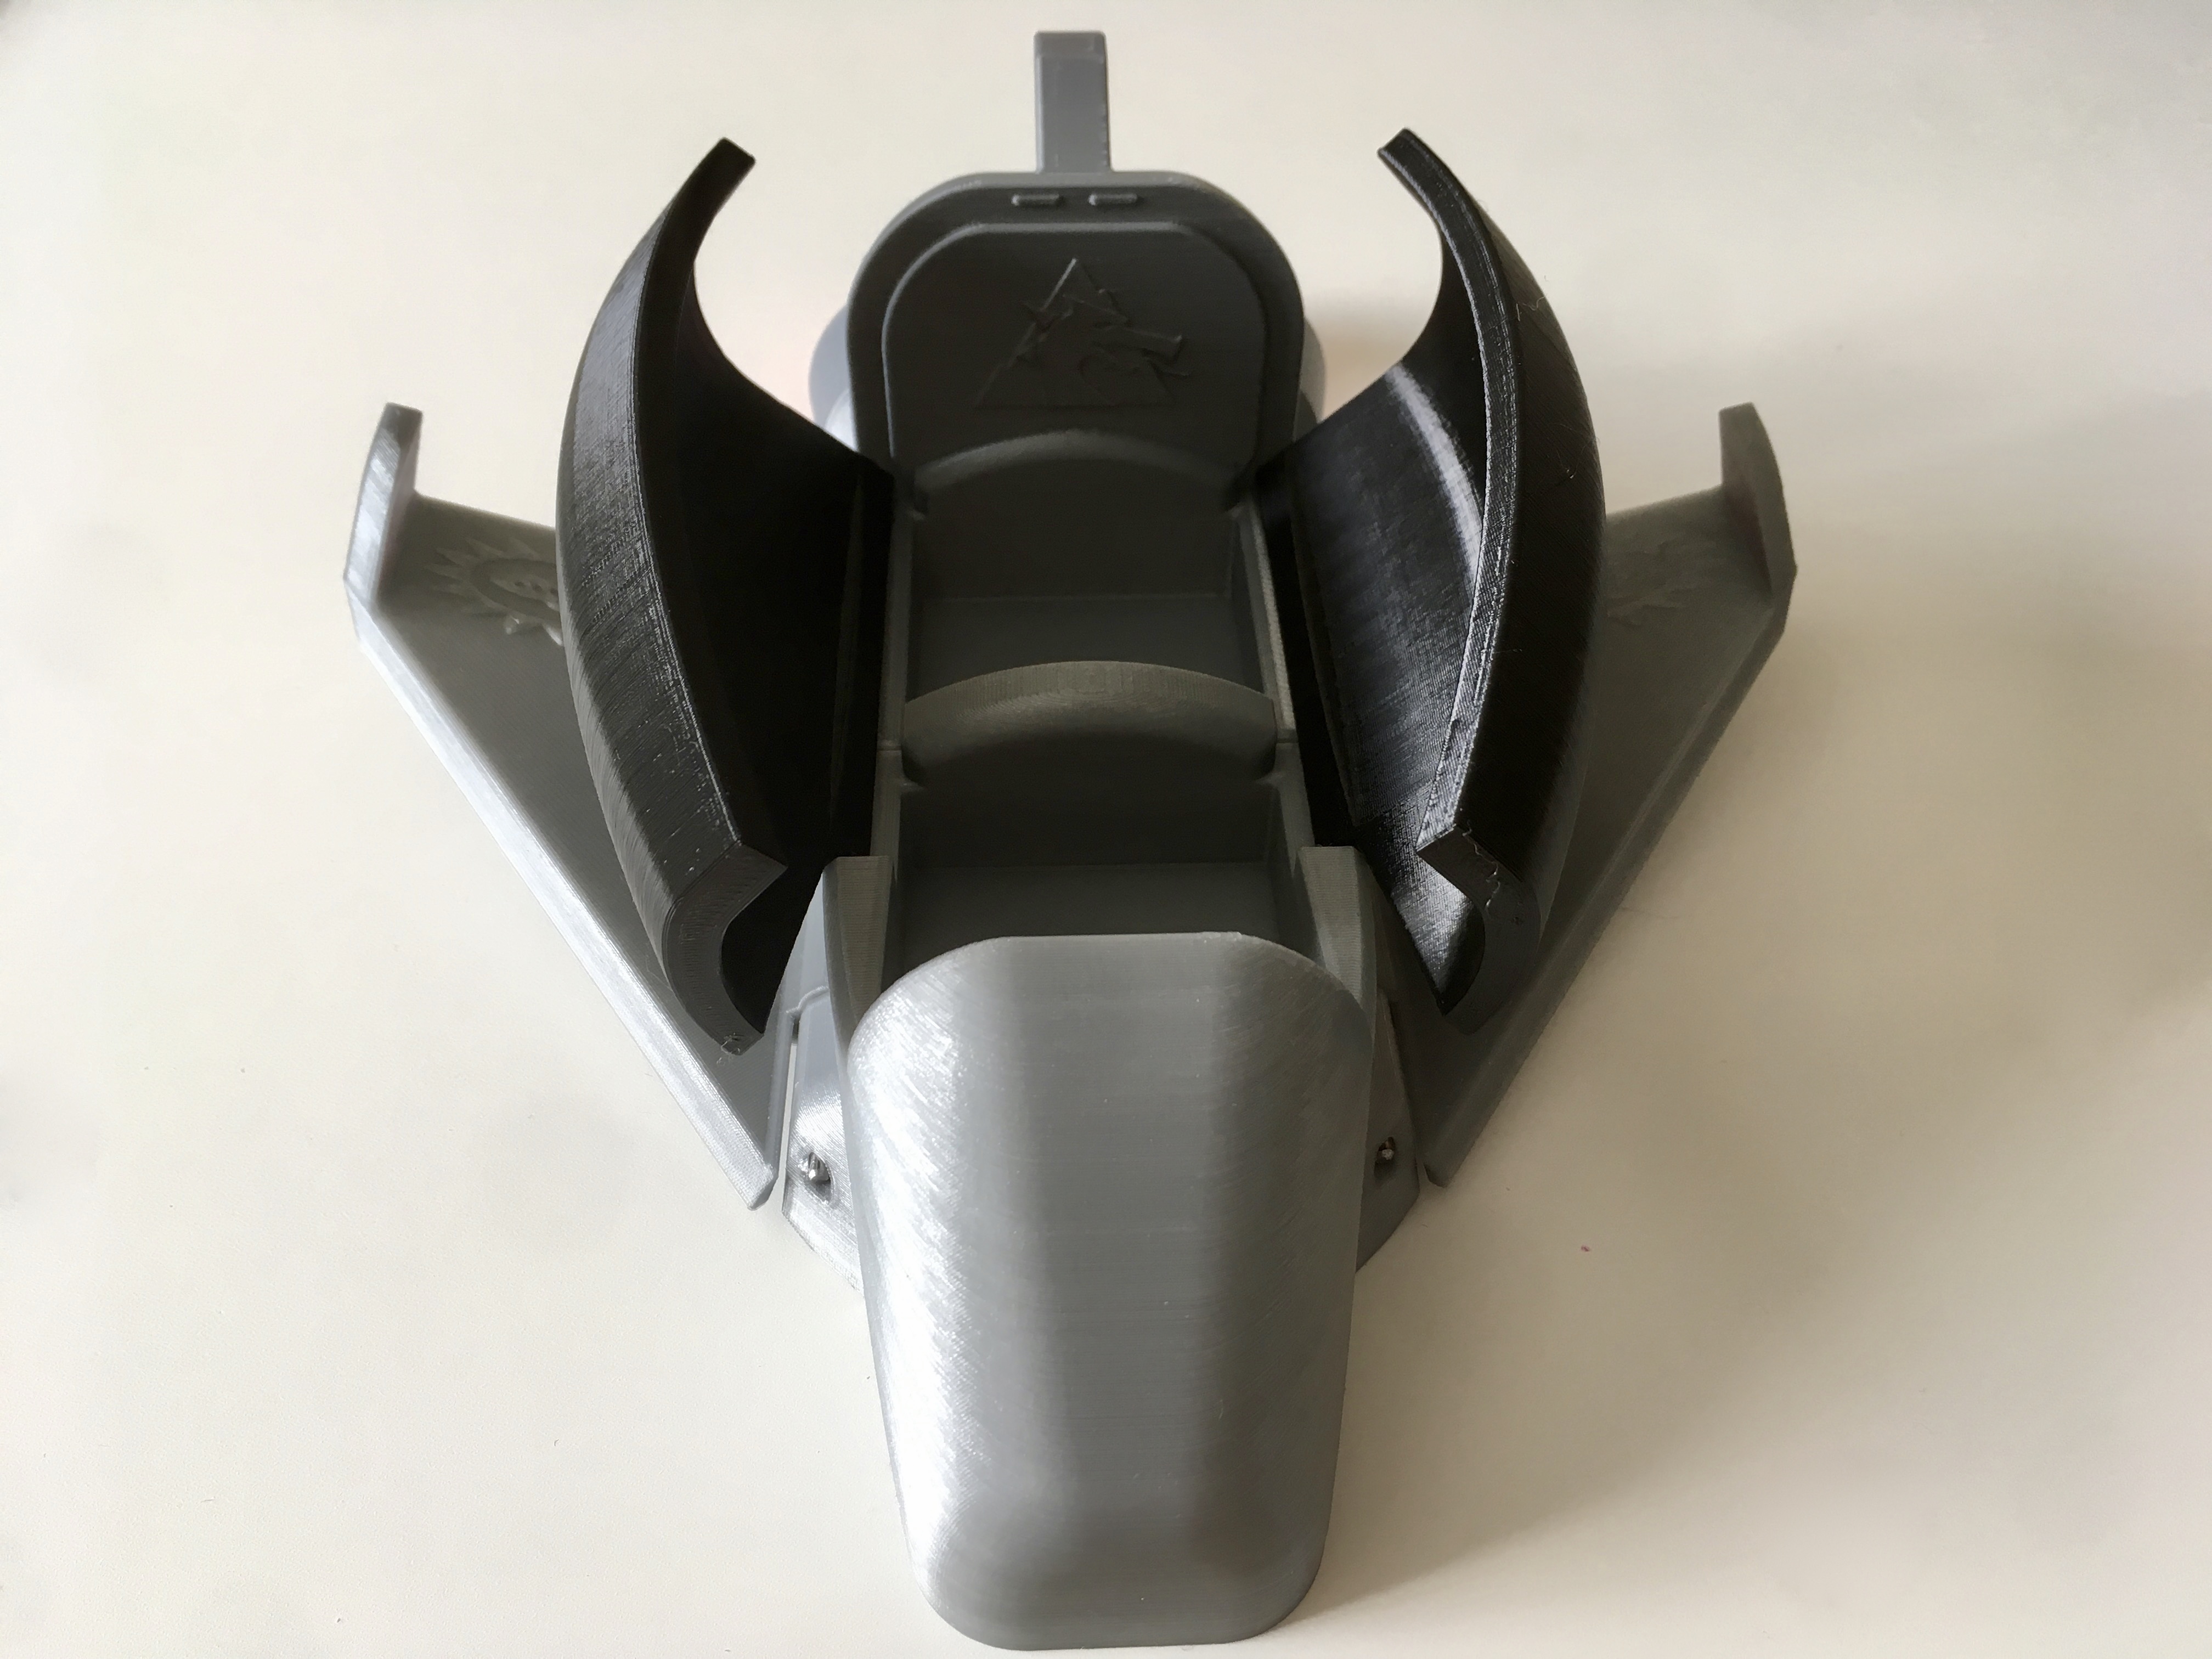
Fit SP-WindscreenA and SP-WindscreenB onto the pivot points of the assembly.
Flames
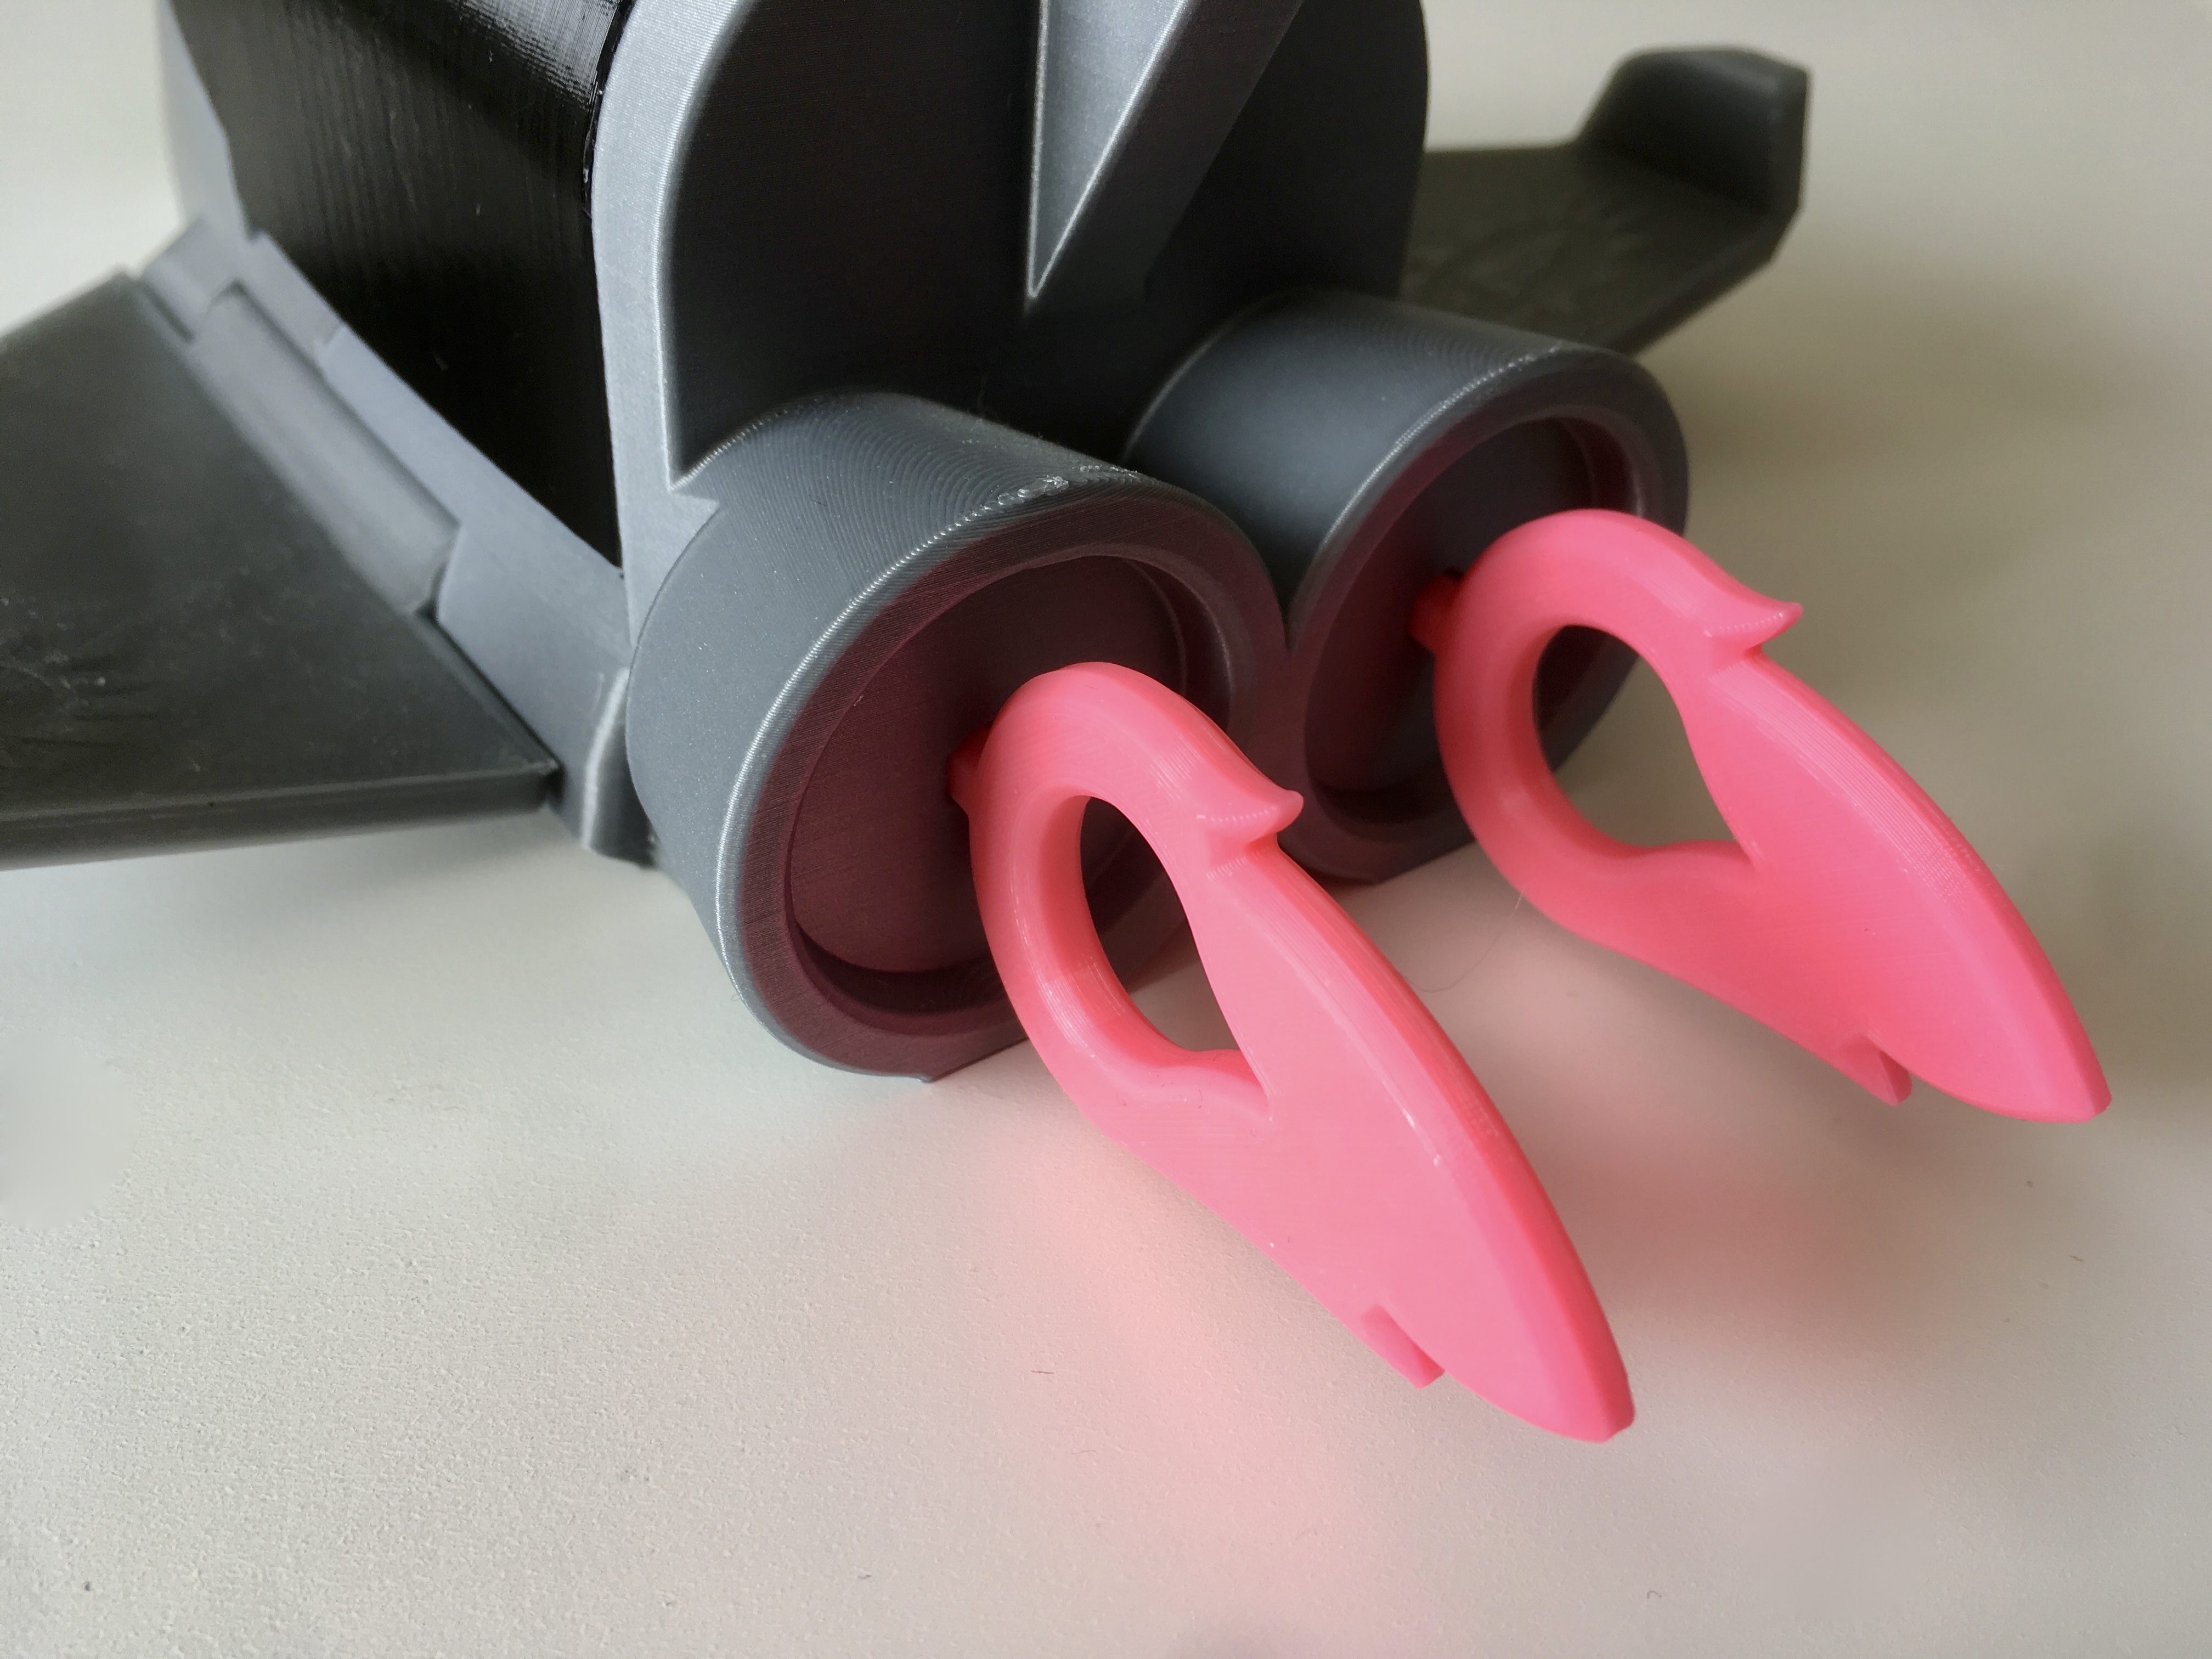
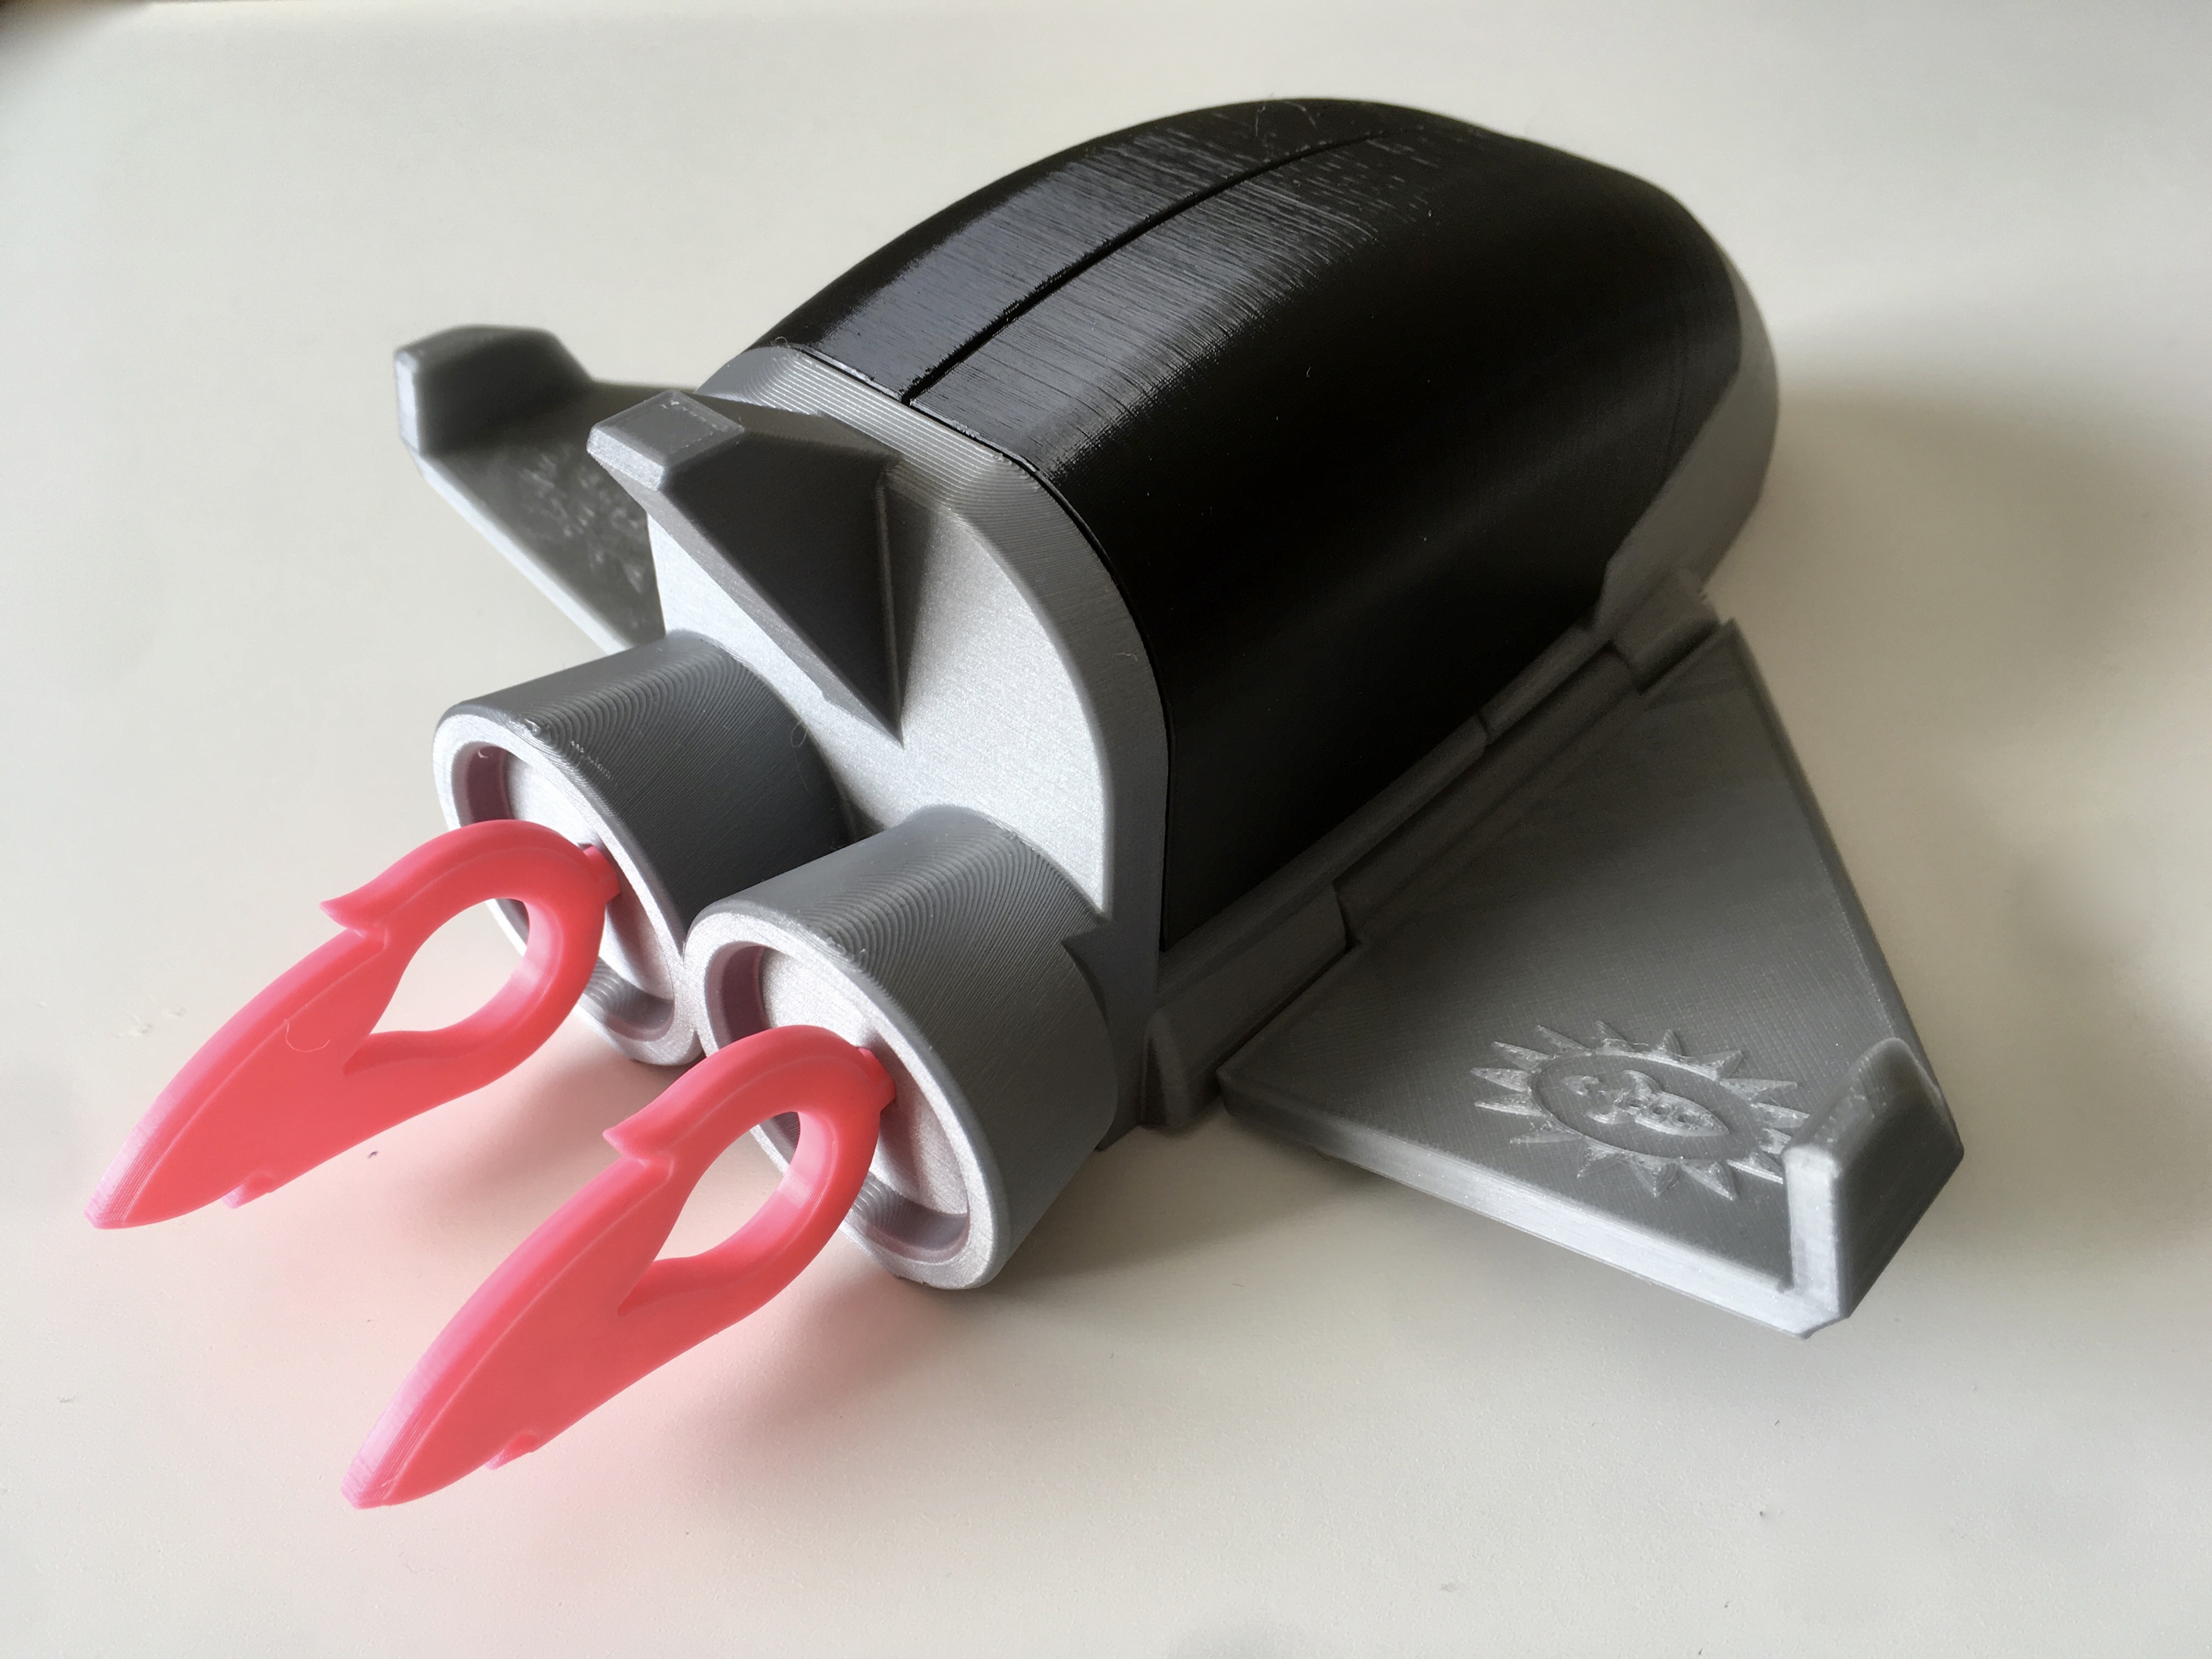
Noah really wanted flames coming out of the boosters, and while I originally wasn’t sure I could do that for him, I generally like to under-promise / over-deliver, and came up with a fun way to make it happen. Insert SP-Flame into the boosters of the assembly (x2).
Blast Off to Adventure!
Requested scale was for the Imaginext System action figures in case anyone is wondering.
Like what you see here? Follow me on Twitter @DragonMtnDesign, where I occasionally do things. I’ve got a couple projects I’ve teased there and haven’t quite completed, so be on the lookout for more coming soon.
Also, all Noah wanted was the files so he could print the parts out himself at his local library. I’ll share any photos and/or updates from his experience once he’s completed his own build.
03/04/18 UPDATE: My nephew Noah got his parts finished at his local library! They’re using an older Makerbot printer, so there was a lot more warping than desirable, which complicated assembly, but all in all, he was pretty stoked to get everything built.
On the interesting end of this experience, my dad has been talking about getting into 3D printing so he can print stuff for the boys. I look forward to seeing how that goes and helping him along if it happens.
.
.
.
March 2020 UPDATE: Files are available here! Click the Download button below for a zip file.
Files are available under the Creative Commons BY-NC-SA license.


4 Comments
Awesome
Thanks, Dad.
Hey, you wanna try and make another 3D model of a vehicle?
https://ton.twitter.com/i/ton/data/dm/972154623728418825/972154576924127232/oXKy75yp.jpg
Thanks for reaching out, Ben. Looks like a really cool ship! I’m not sure if my schedule would work for you right now, but I’ll message you on twitter and maybe we can discuss it a bit further.