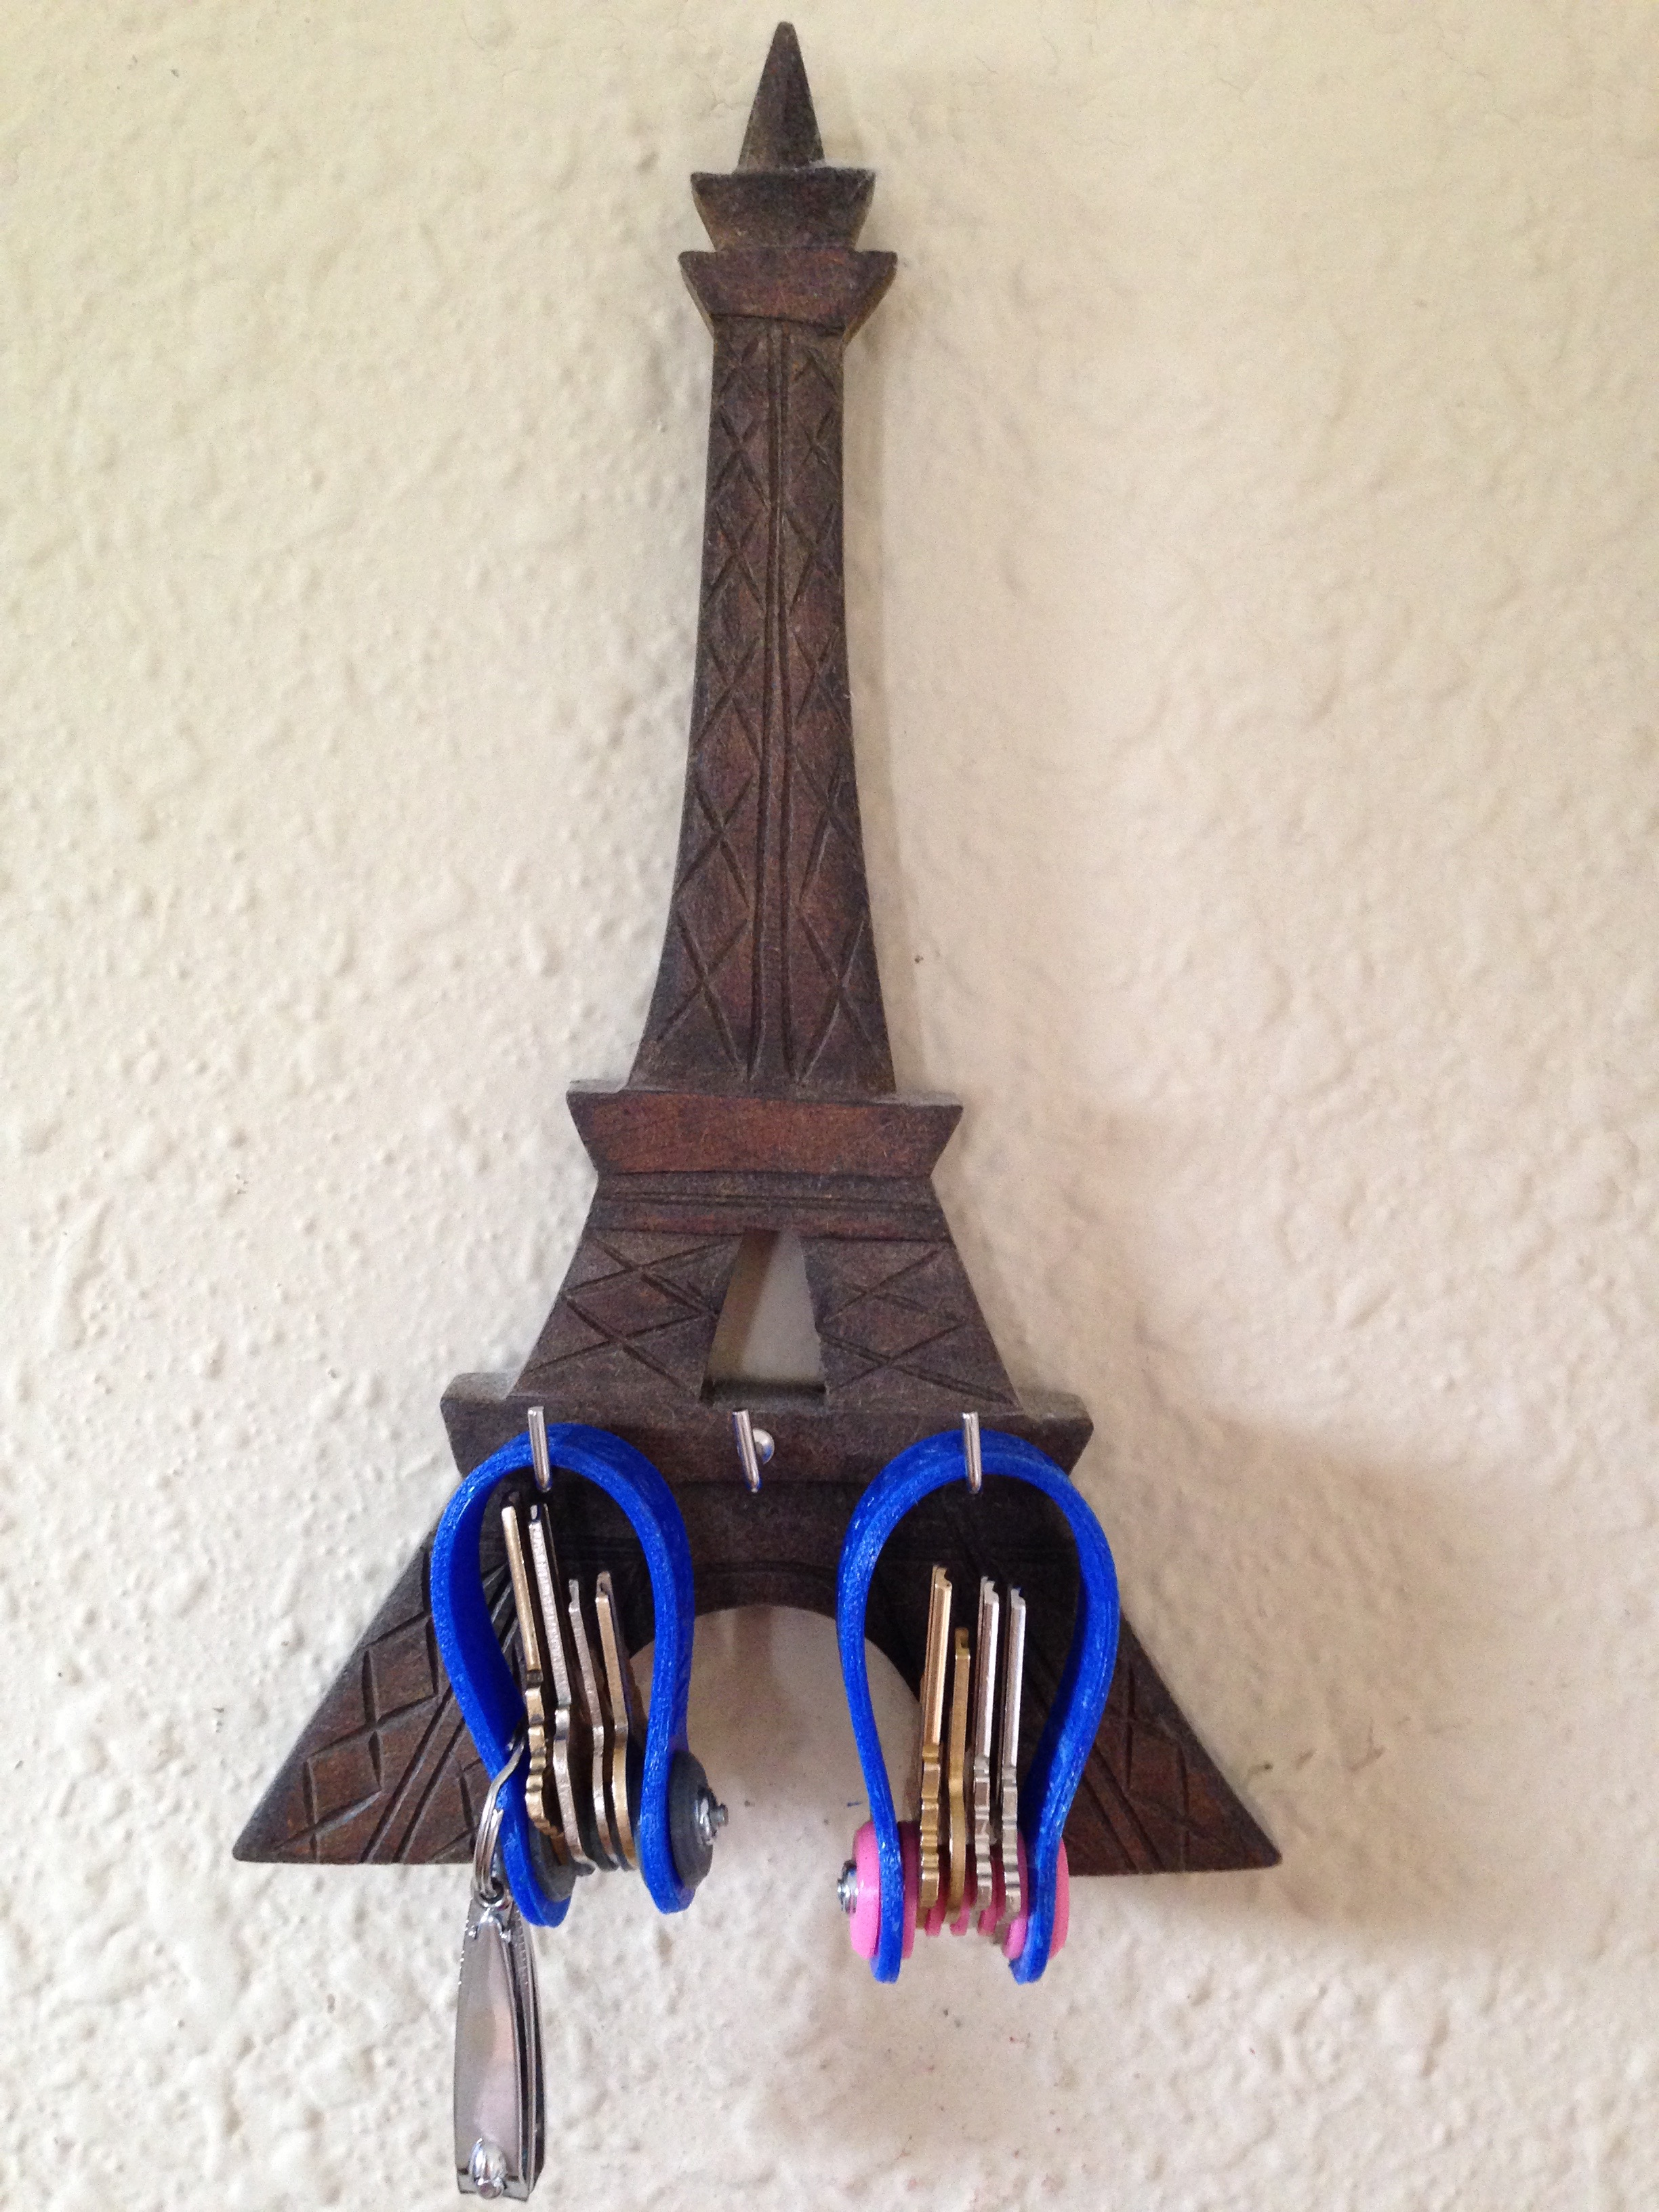
Strappy Key Chain

This project began when a buddy of mine sent me a link to his then-new keychain.
My immediate thought: I could do that!
And do that, I did. Now you can too!
Parts List:
6/32 Flathead Philips Screw – Get these from McMaster or Home Depot. Length depends on how many keys/spacers you want to use.
6/32 Nylon Insert Locknut – McMaster 91831A007. Similar locknuts can also be found at Home Depot. If locknuts aren’t you thing, or you just have a ton of 6-32 nuts lying around, this instructable may be of interest to you.
Ninjaflex Semiflex. Buying an entire spool is not necessary unless you want it for a lot of other projects as well. Printrbot has samples, but make sure to check how much you need to complete the print.
Helpful Tools:
3D Printer (or printing service)
Philips Screwdriver
How Many Keys?
Gather all your keys together in one place, measure them (if you’d like) and add 15.5mm (approximately 5/8″) for the end parts (more if you want to use the spacers between each key) to determine a rough estimate of the length of screw you need.
For four keys (three spacers), I’ve used a 1 1/4″ screw, and for two keys (one spacer), I’ve used a 1″ screw. Play with the length the way that feels best for you.
Print
Download the files on
ThingiverseorYoumagine, and you can get right to making yourself a sweet keychain. Want to customize this to your own liking? Files are public on Onshape! Search for “StrappyKeyChain” and bend this design to your will.11/13/2015 UPDATE: Files are now also available on
Cults3D! If you’ve been enjoying this and other projects, consider leaving a donation. It could be key to future developments.5/31/2016 UPDATE: Files are approved and up on MyMiniFactory now too!
4/11/2018 UPDATE: Consolidating the number of places hosting the files. More changes to come, but they’re still available for free.
March 2020 UPDATE: Files can be downloaded directly from this site at the bottom of the page. They are also available on Prusa Printers!
Spacers and hardware ends can be done in PLA or ABS, but for obvious reasons, the strap needs to be made with NinjaFlex. You can change settings to your printer to achieve the result you desire, but I found the settings below to give me good results.

The material may occasionally kink in the extruder, so keep an eye on it.
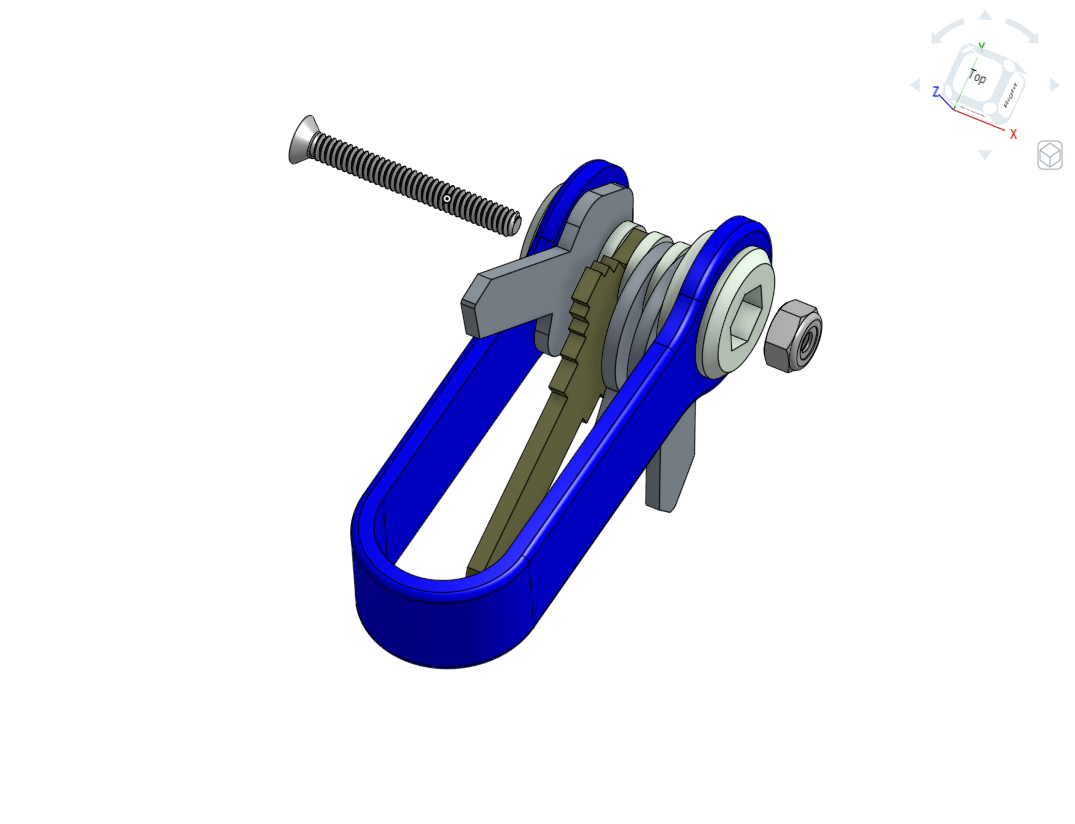
Assemble
This is a fairly straightforward build. Pop the locknut into the hex end, thread everything together with your screw, and tighten to taste!
.
.
.
March 2020 UPDATE: Files are available here! Click the Download button below for a zip file.
Files are available under the Creative Commons BY-NC-SA license.
1 Comment