PrintrBot Simple Metal – UPGRADED with V2 Extruder
If you’ve read my posts on the Drachenberry Pi or Strappy Key Chain, you’ve noticed that both of these projects use NinjaFlex SemiFlex material. And if you’ve ever printed with this material, you’ll know that it is a double-edged sword.
The end results can’t be argued with, but extruding can be a stressful (and long) exercise. Everything is fine and wonderful as long as you watch it with a close eye, but the second you turn your back, the material kinks in the extruder, and wraps itself around the drive gear, costing you time and potentially the entire build.
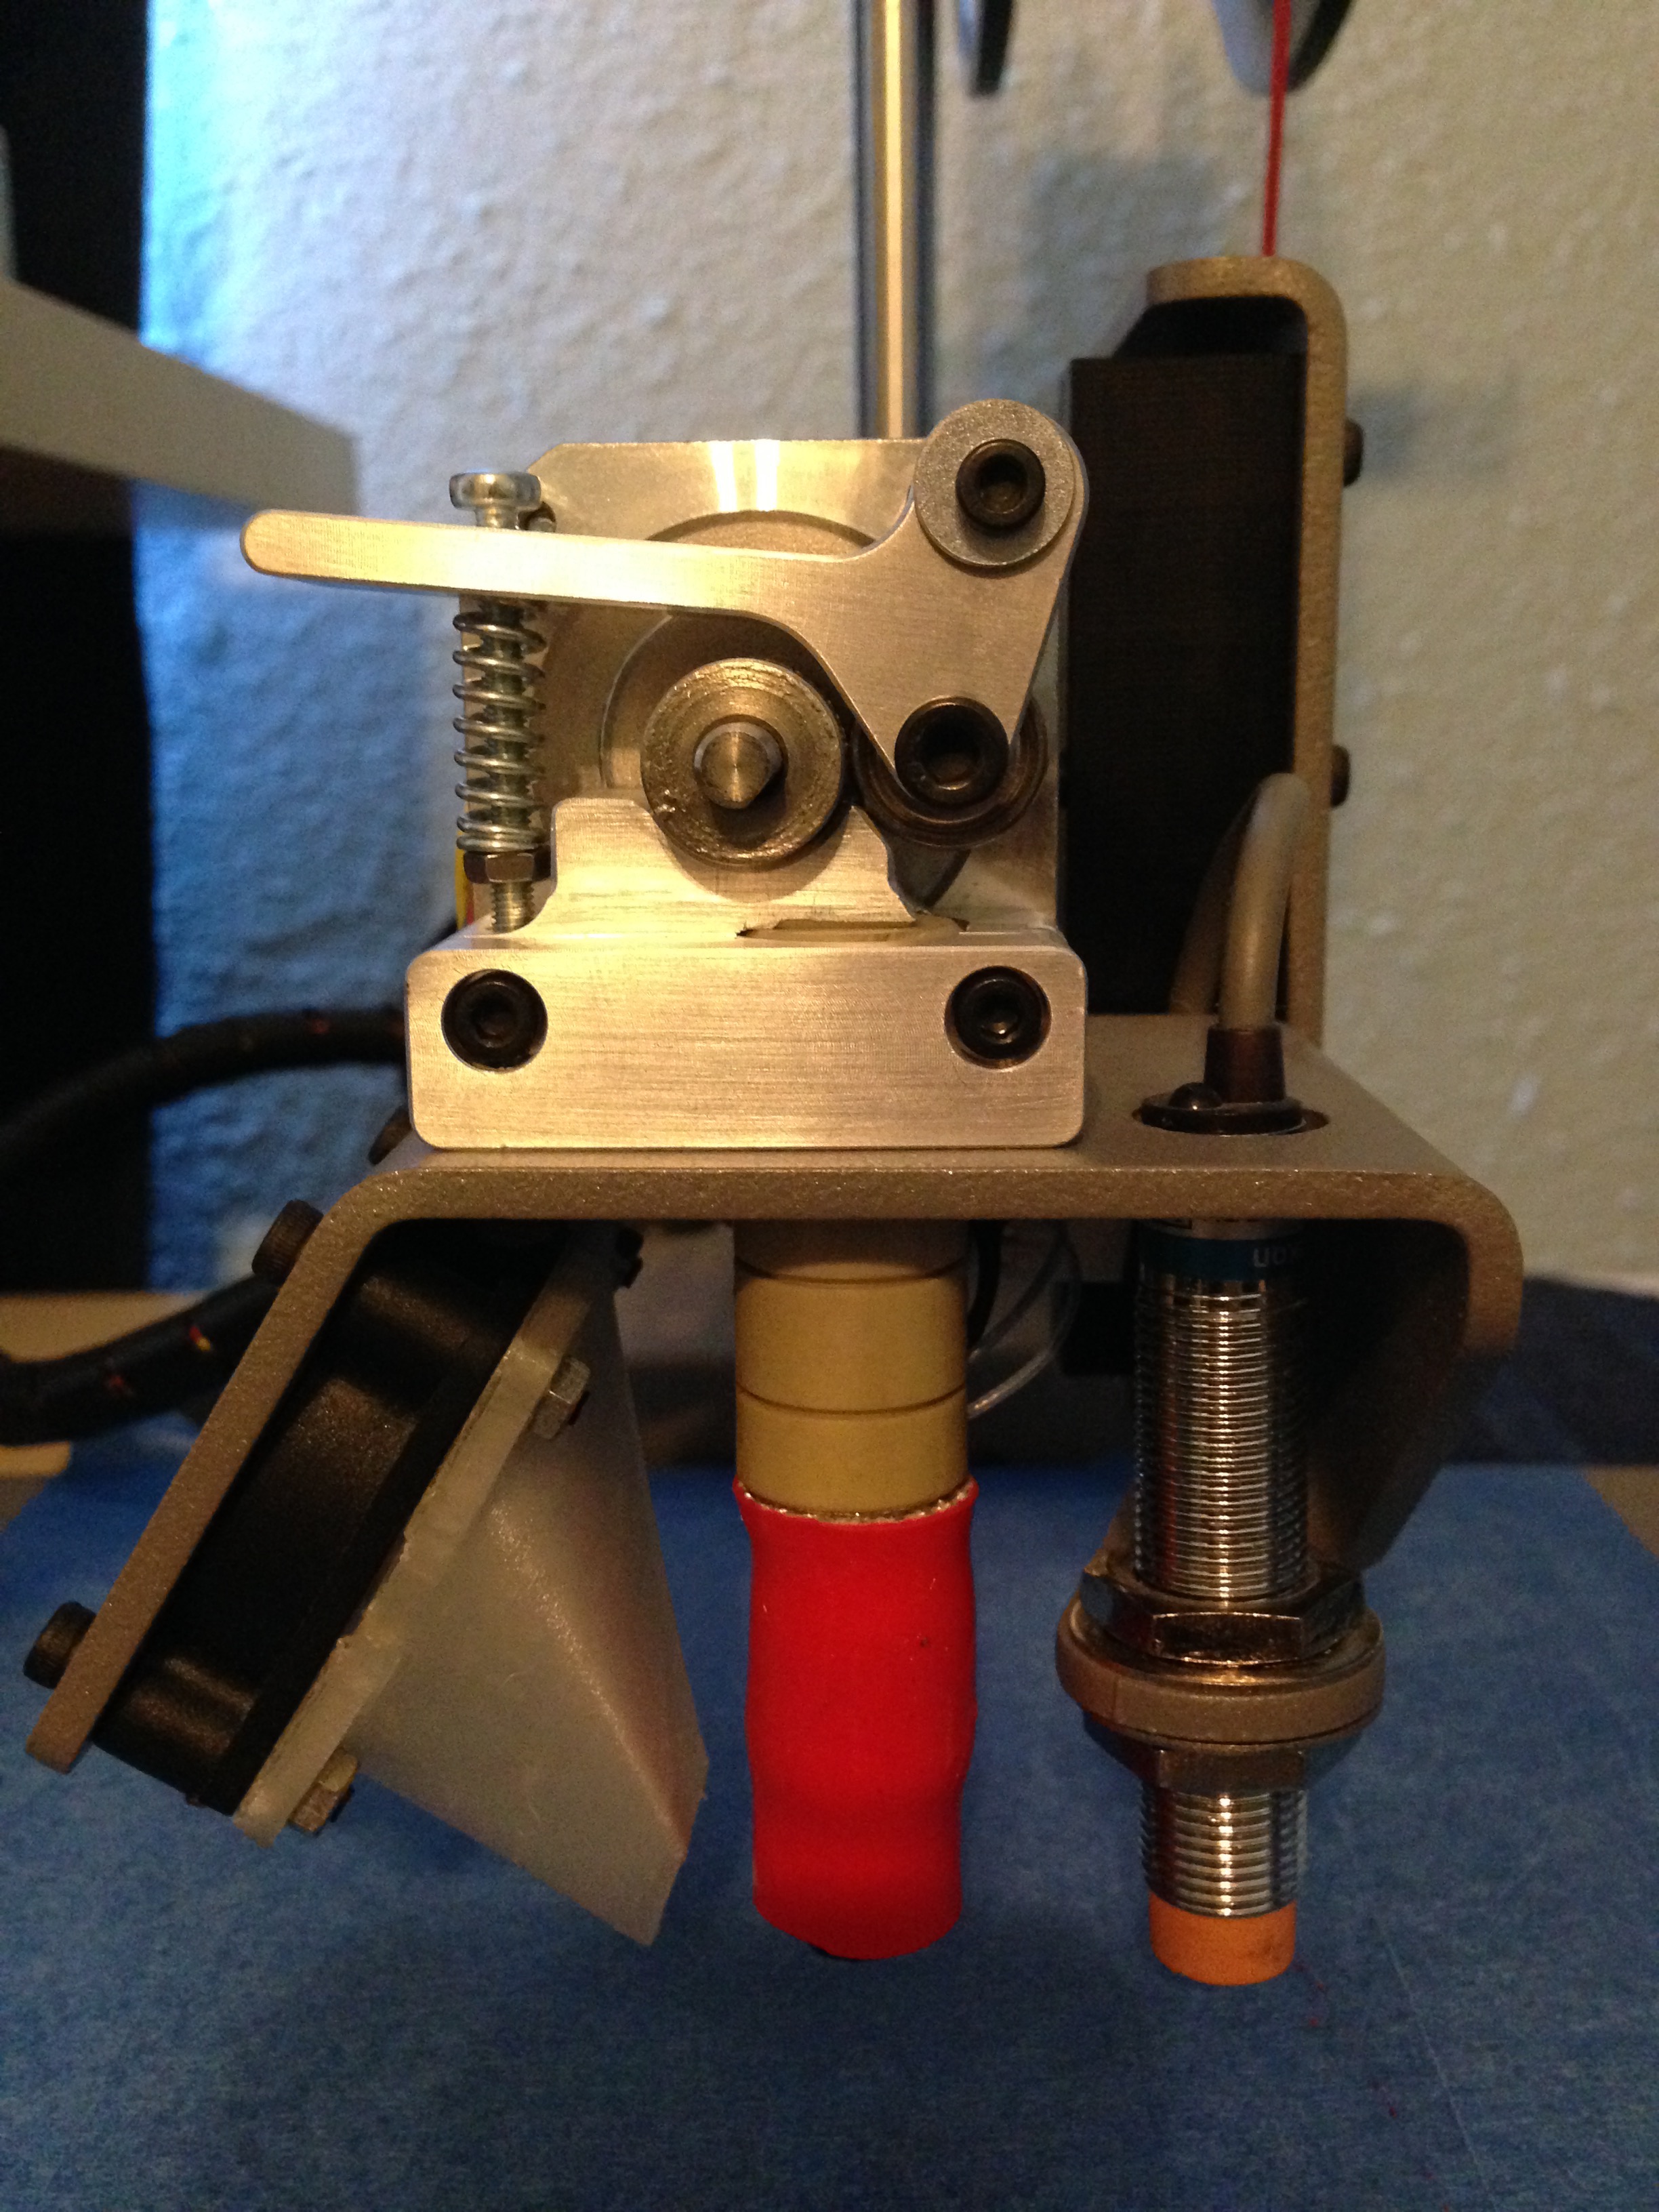
Enter the V2 Extruder from Printrbot (which apparently works on any model with an existing Alu Extruder)!
Improvements:
The V2 extruder was redesigned to reduce the gaps around the drive gear that were common in the original. From my experience, this change has made the biggest impact in my percentage of successful prints when using flexibles. The material literally has nowhere else to go but into the hotend.
Another improvement is an extended arm, which gives a nicer amount of leverage when opening up the extruder to change materials.
The only time I’ve experienced an issue or a buckling of flexible material in the V2 extruder was when the tip needed cleaning. Speaking of which…
Drawbacks:
You know that cold-pull method you’ve been employing to clean out the tip every once in awhile? Not gonna happen again because the material won’t fit through the extruder on the way back. To get around this, I’ve come up with a modified cold-pull technique where I heat up PLA to 210 °C, extrude 10mm, cool down to 100 °C, pull until the material stops (often breaks), remove the tip (details on that here), heat back up to 210 °C, extrude until all the gunk comes out, and finally, reinstall the tip.
It’s… not perfect. However, on the positive side, you get visual verification that the tip is cleaned out! I’ve also got some cleaning filament on its way to my house, so we’ll see how that works.
9/2/16 UPDATE: So, it turns out that the cold-pull method is still applicable, and my issue was related to a completely jacked-up hot end. Since I replaced that, it’s been working. Oh, and the cleaning filament is pretty cool. Seems like it’s doing its job pretty well.
SemiFlex Settings:
Even with all the improvements to this system, I’ve still found it best to run this material slowly. If you’re running Cura on a Simple Metal, you can grab my custom profile on GitHub. Otherwise, my main changes are as follows:
Extrusion Speed, First Layer: 10mm/s Extrusion Speed: 20mm/s Retraction: OFF Temperature: 220°C
8/3/17 UPDATE: Just use the factory settings and tweak as you see fit.
So far I’ve gotten pretty decent results with those settings, but will update and improve them as necessary.
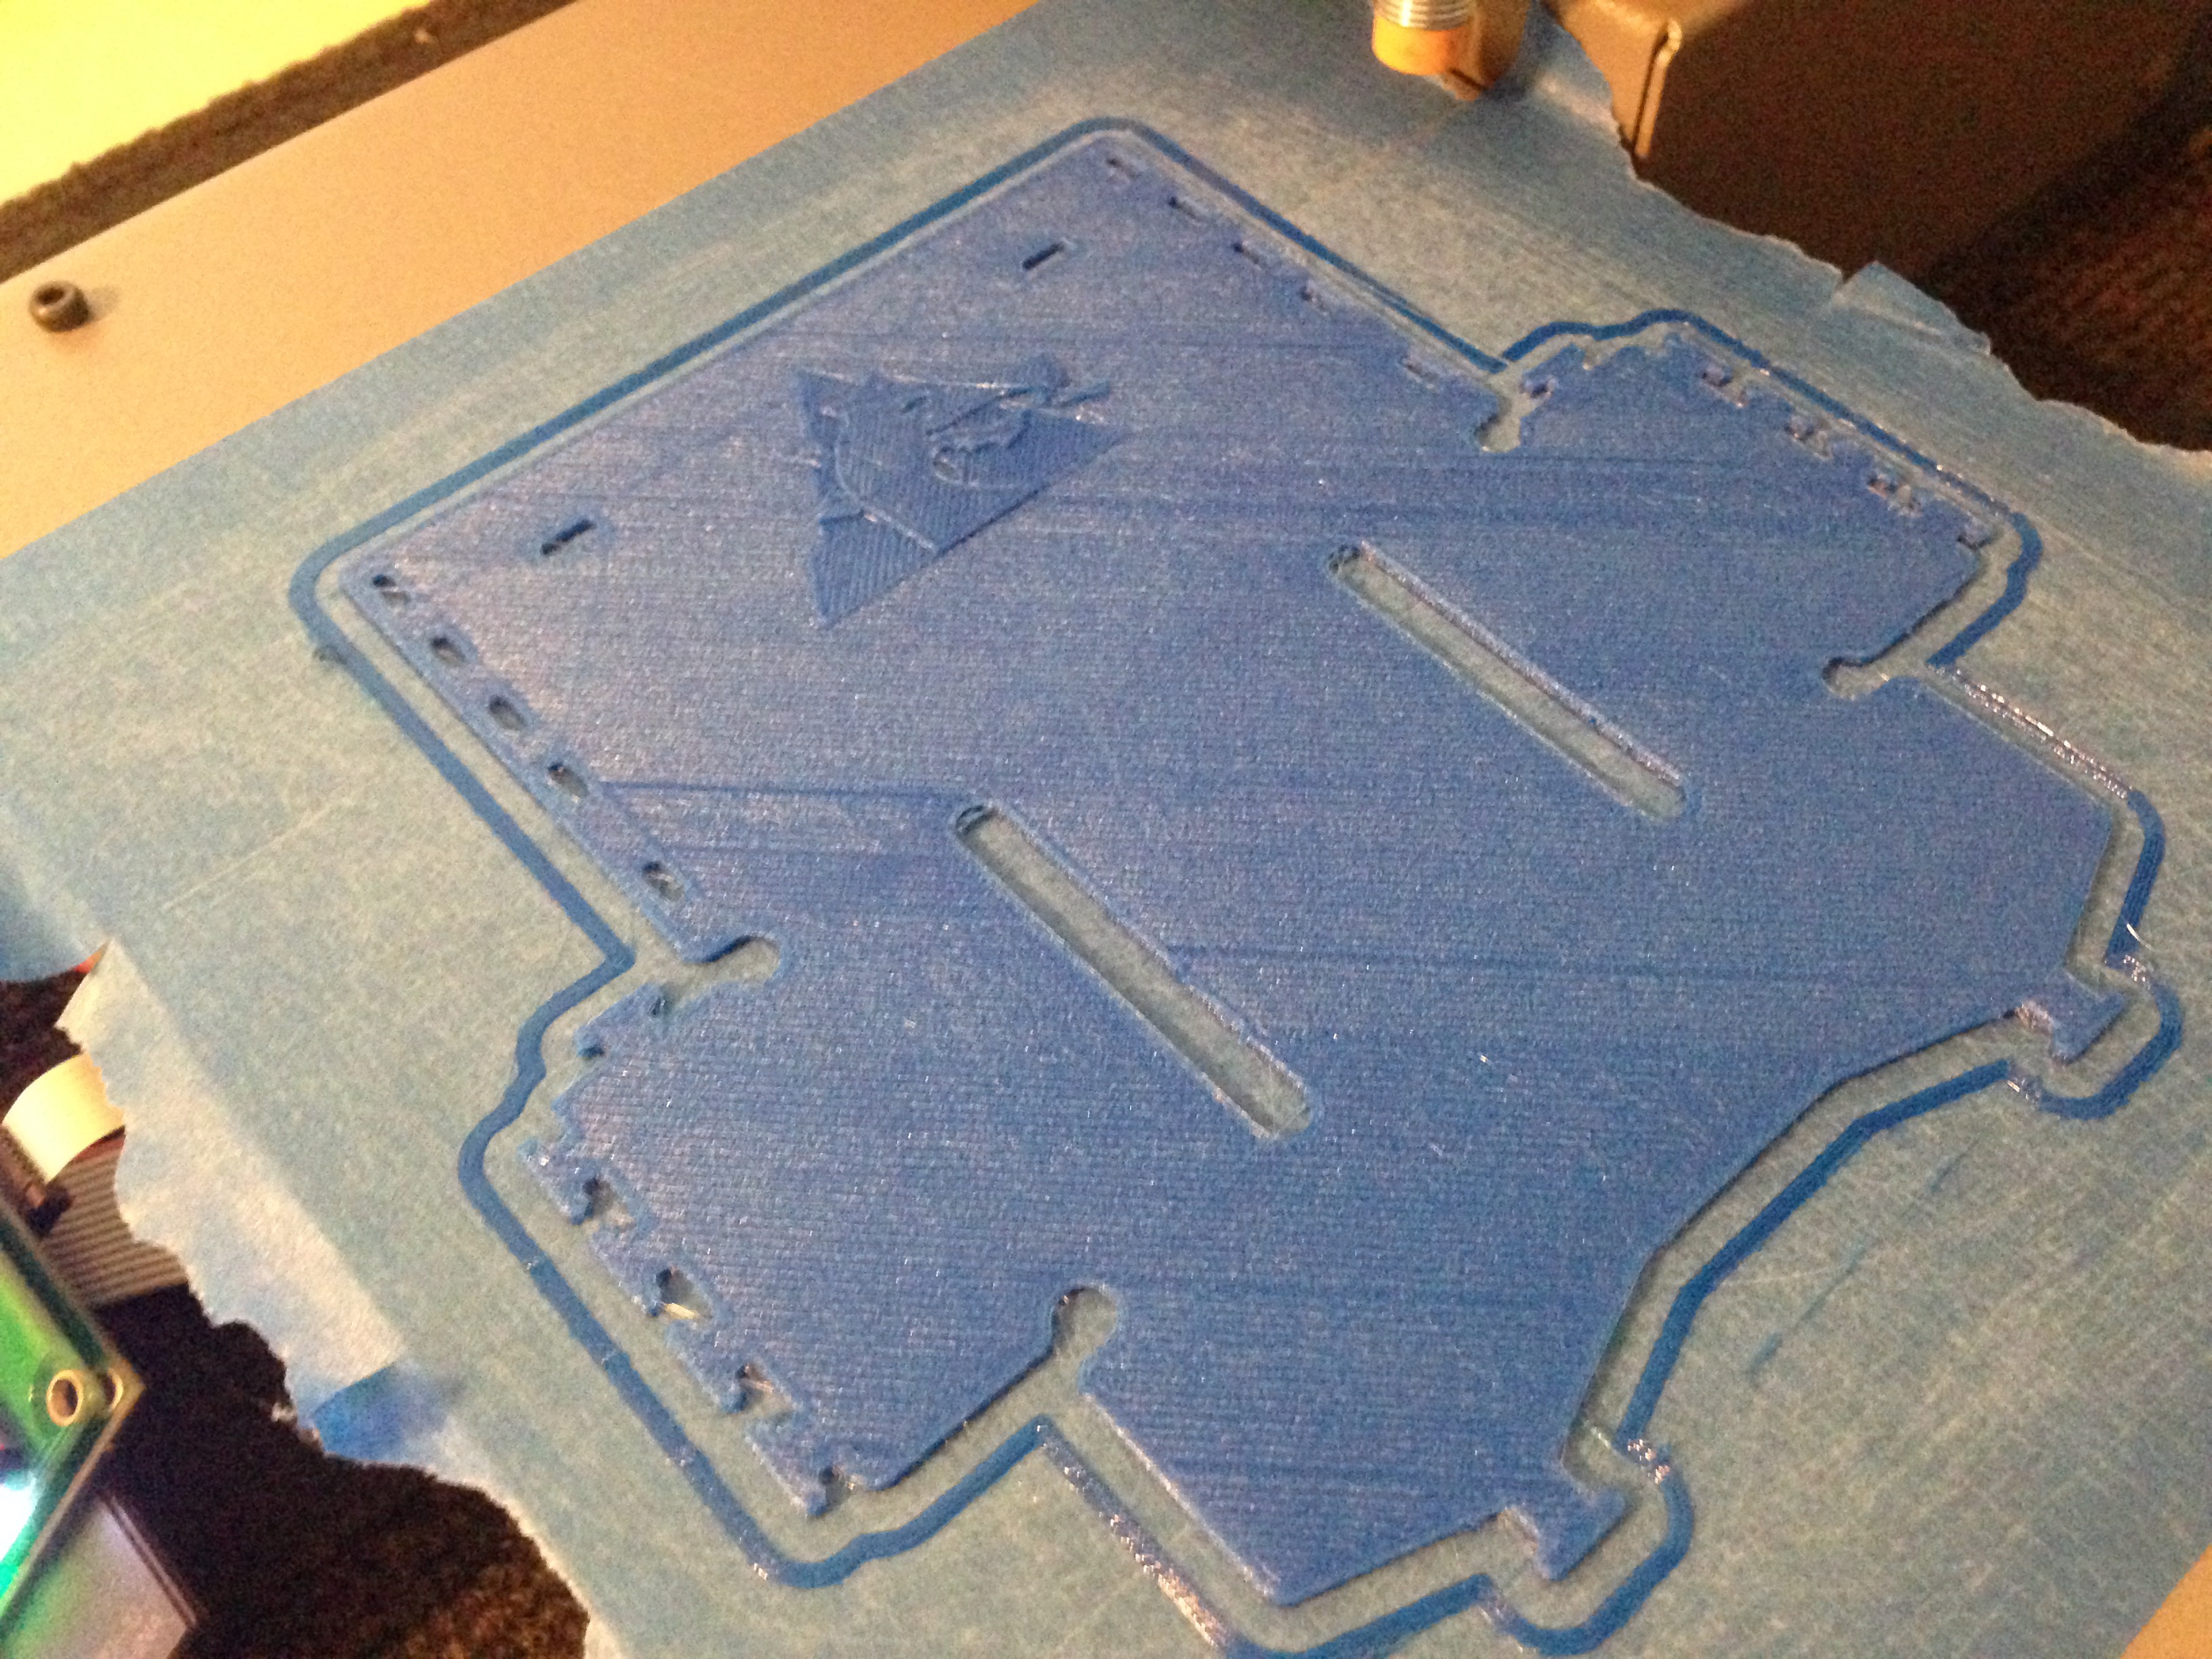
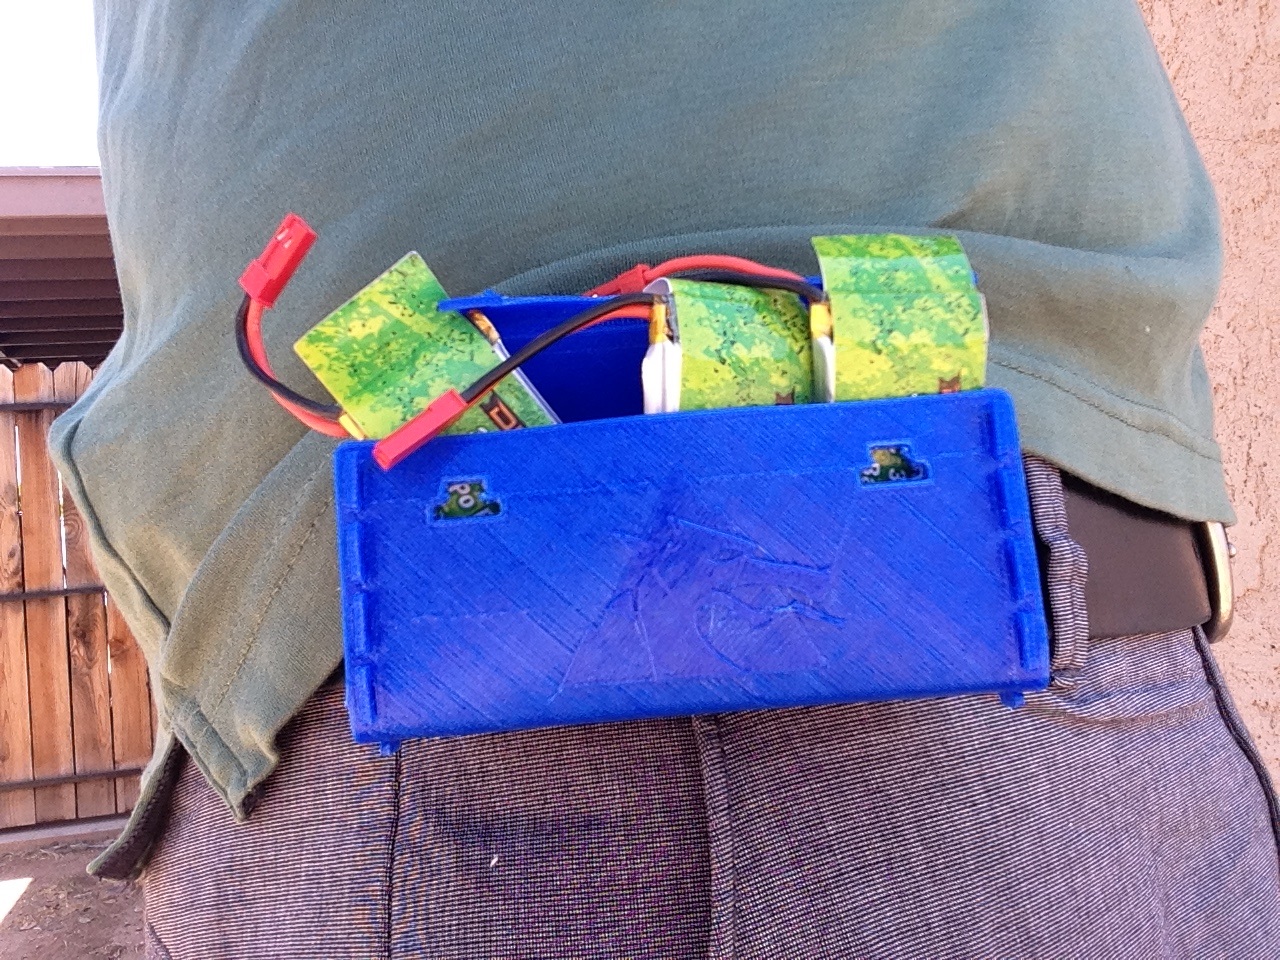
In my quest to test these settings, I took a couple hours to tinker in Onshape and came up with the NinjaFlexPouch, which is exactly what it sounds like. Prints in one piece and origamis its way into a pouch you can slip onto a belt.
File can be found on Thingiverse, YouMagine, Cults3D, and MyMiniFactory
March 2020 UPDATE: Files can be downloaded directly from this site at the bottom of the page. They are also available on Prusa Printers!
What can you do with it? Make a bunch and become Batman or something. It’s really up to you. I’ve been using mine to hold extra drone batteries because maybe I don’t want to stop flying after ten minutes!
Like this post and want to stay in-the-loop? Follow me on twitter @DragonMtnDesign. Care to share your experiences with flexible material or have suggestions on cleaning out the hot end/tip with the V2 extruder in place? Leave a comment below! Can’t get enough of my work? Throw me a donation on Cults3D or a tip on MyMiniFactory.
.
.
.
March 2020 UPDATE: Files are available here! Click the Download button below for a zip file.
Files are available under the Creative Commons BY-NC-SA license.


1 Comment