TMNT Action Figures Vol. IV
Alright. So, apparently we’re doing cartoon villains now…
Design Notes
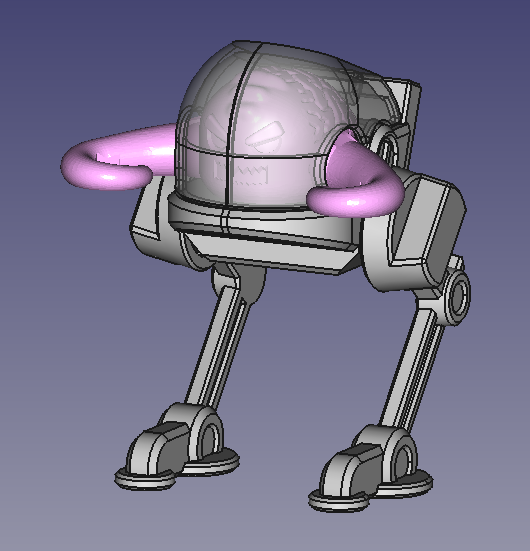
Been wanting to create Krang for a while, so I was excited to get into this when I had the time (more to hopefully come, if you know what I mean). Lots of combos here stretching my abilities. Designed in FreeCAD v1.0 and blender. Printed in FDM and resin. Had quite a few challenges along the way.
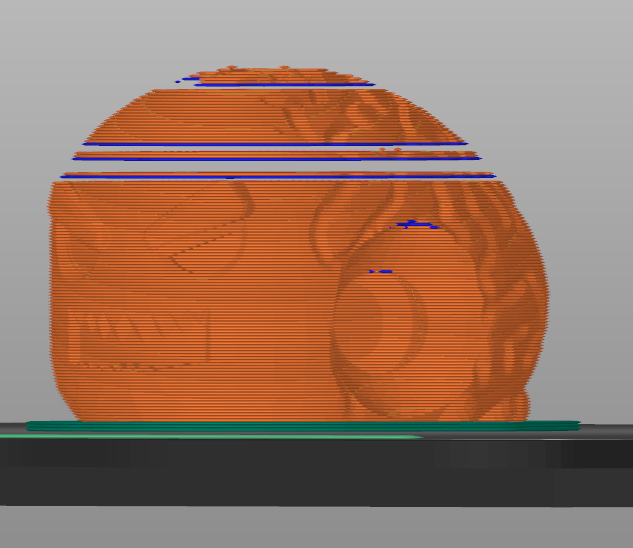
The two halves of Krang’s body weren’t combined properly in FreeCAD on my first go, so even though I was able to add all of the brain wrinkles in blender, the STL file ended up being so corrupted that entire layers were missing when trying to slice. Once I realized the mistake, I was able to redo everything, but not without a deal of inner conflict. I considered the prospect of having a smooth-brained bad guy, but that would be absurd. Could you even imagine? It would be like if Krang and Shredder were discussing their plans in front of April O’Neil…
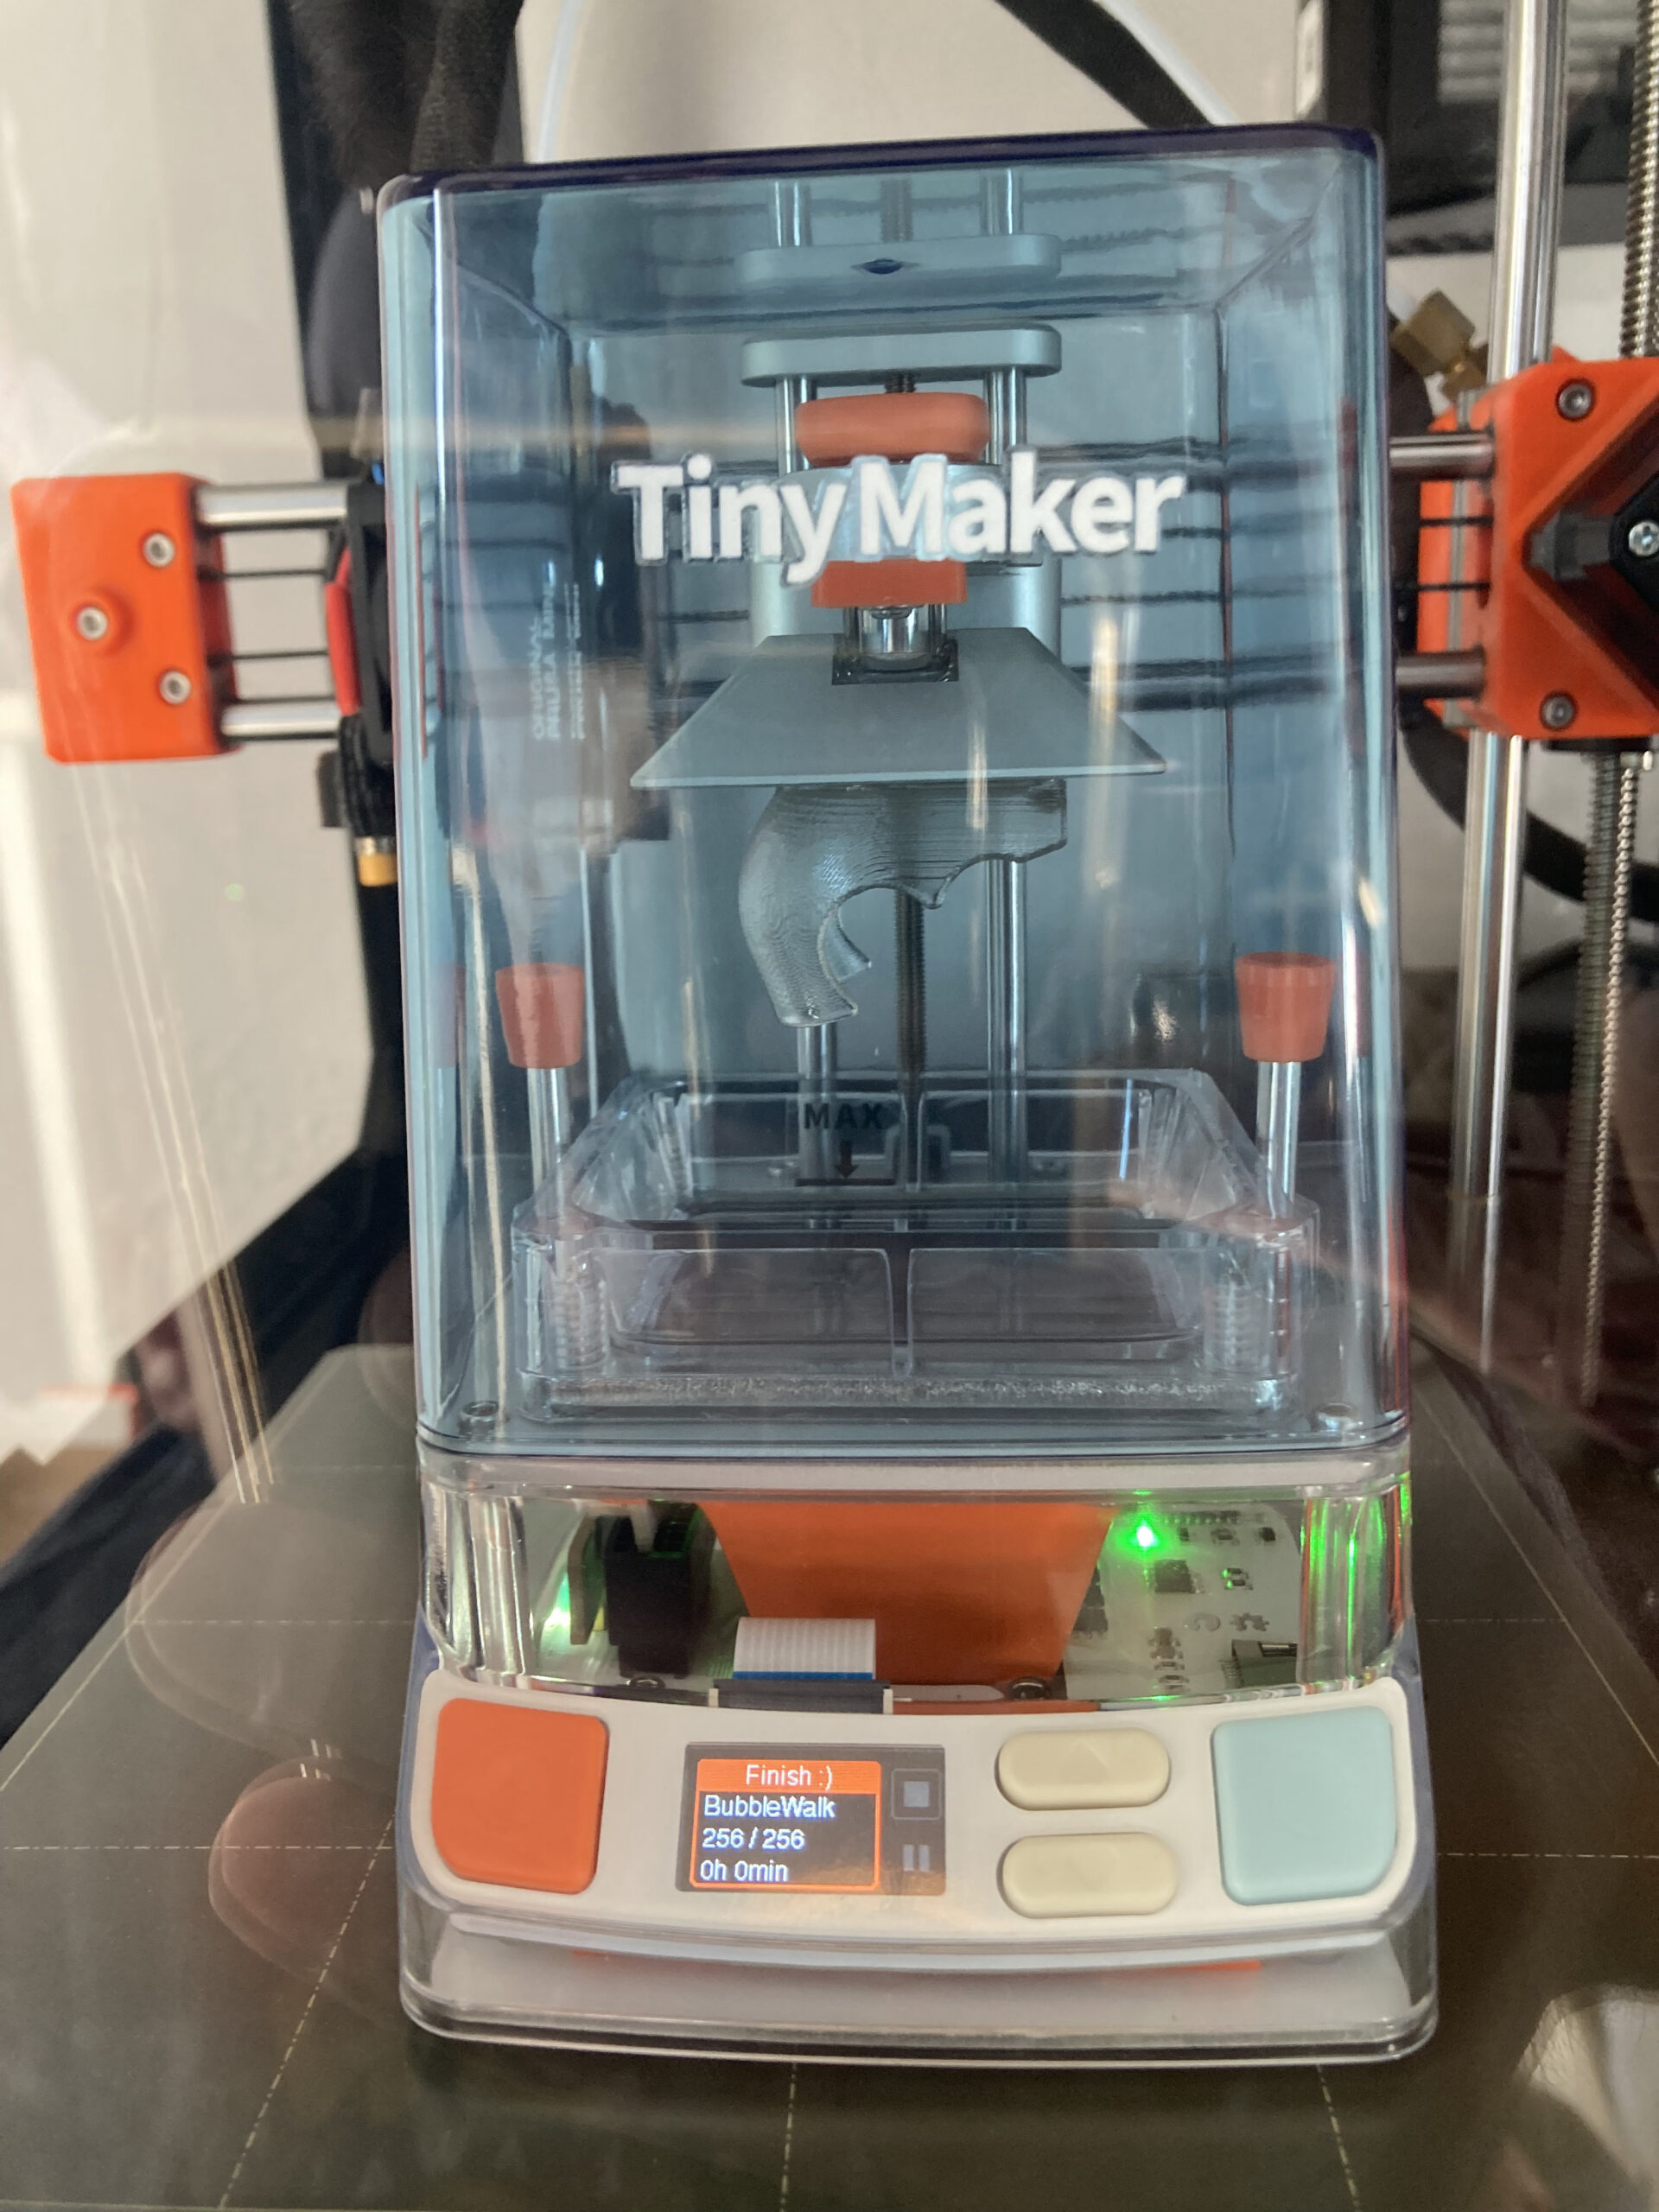
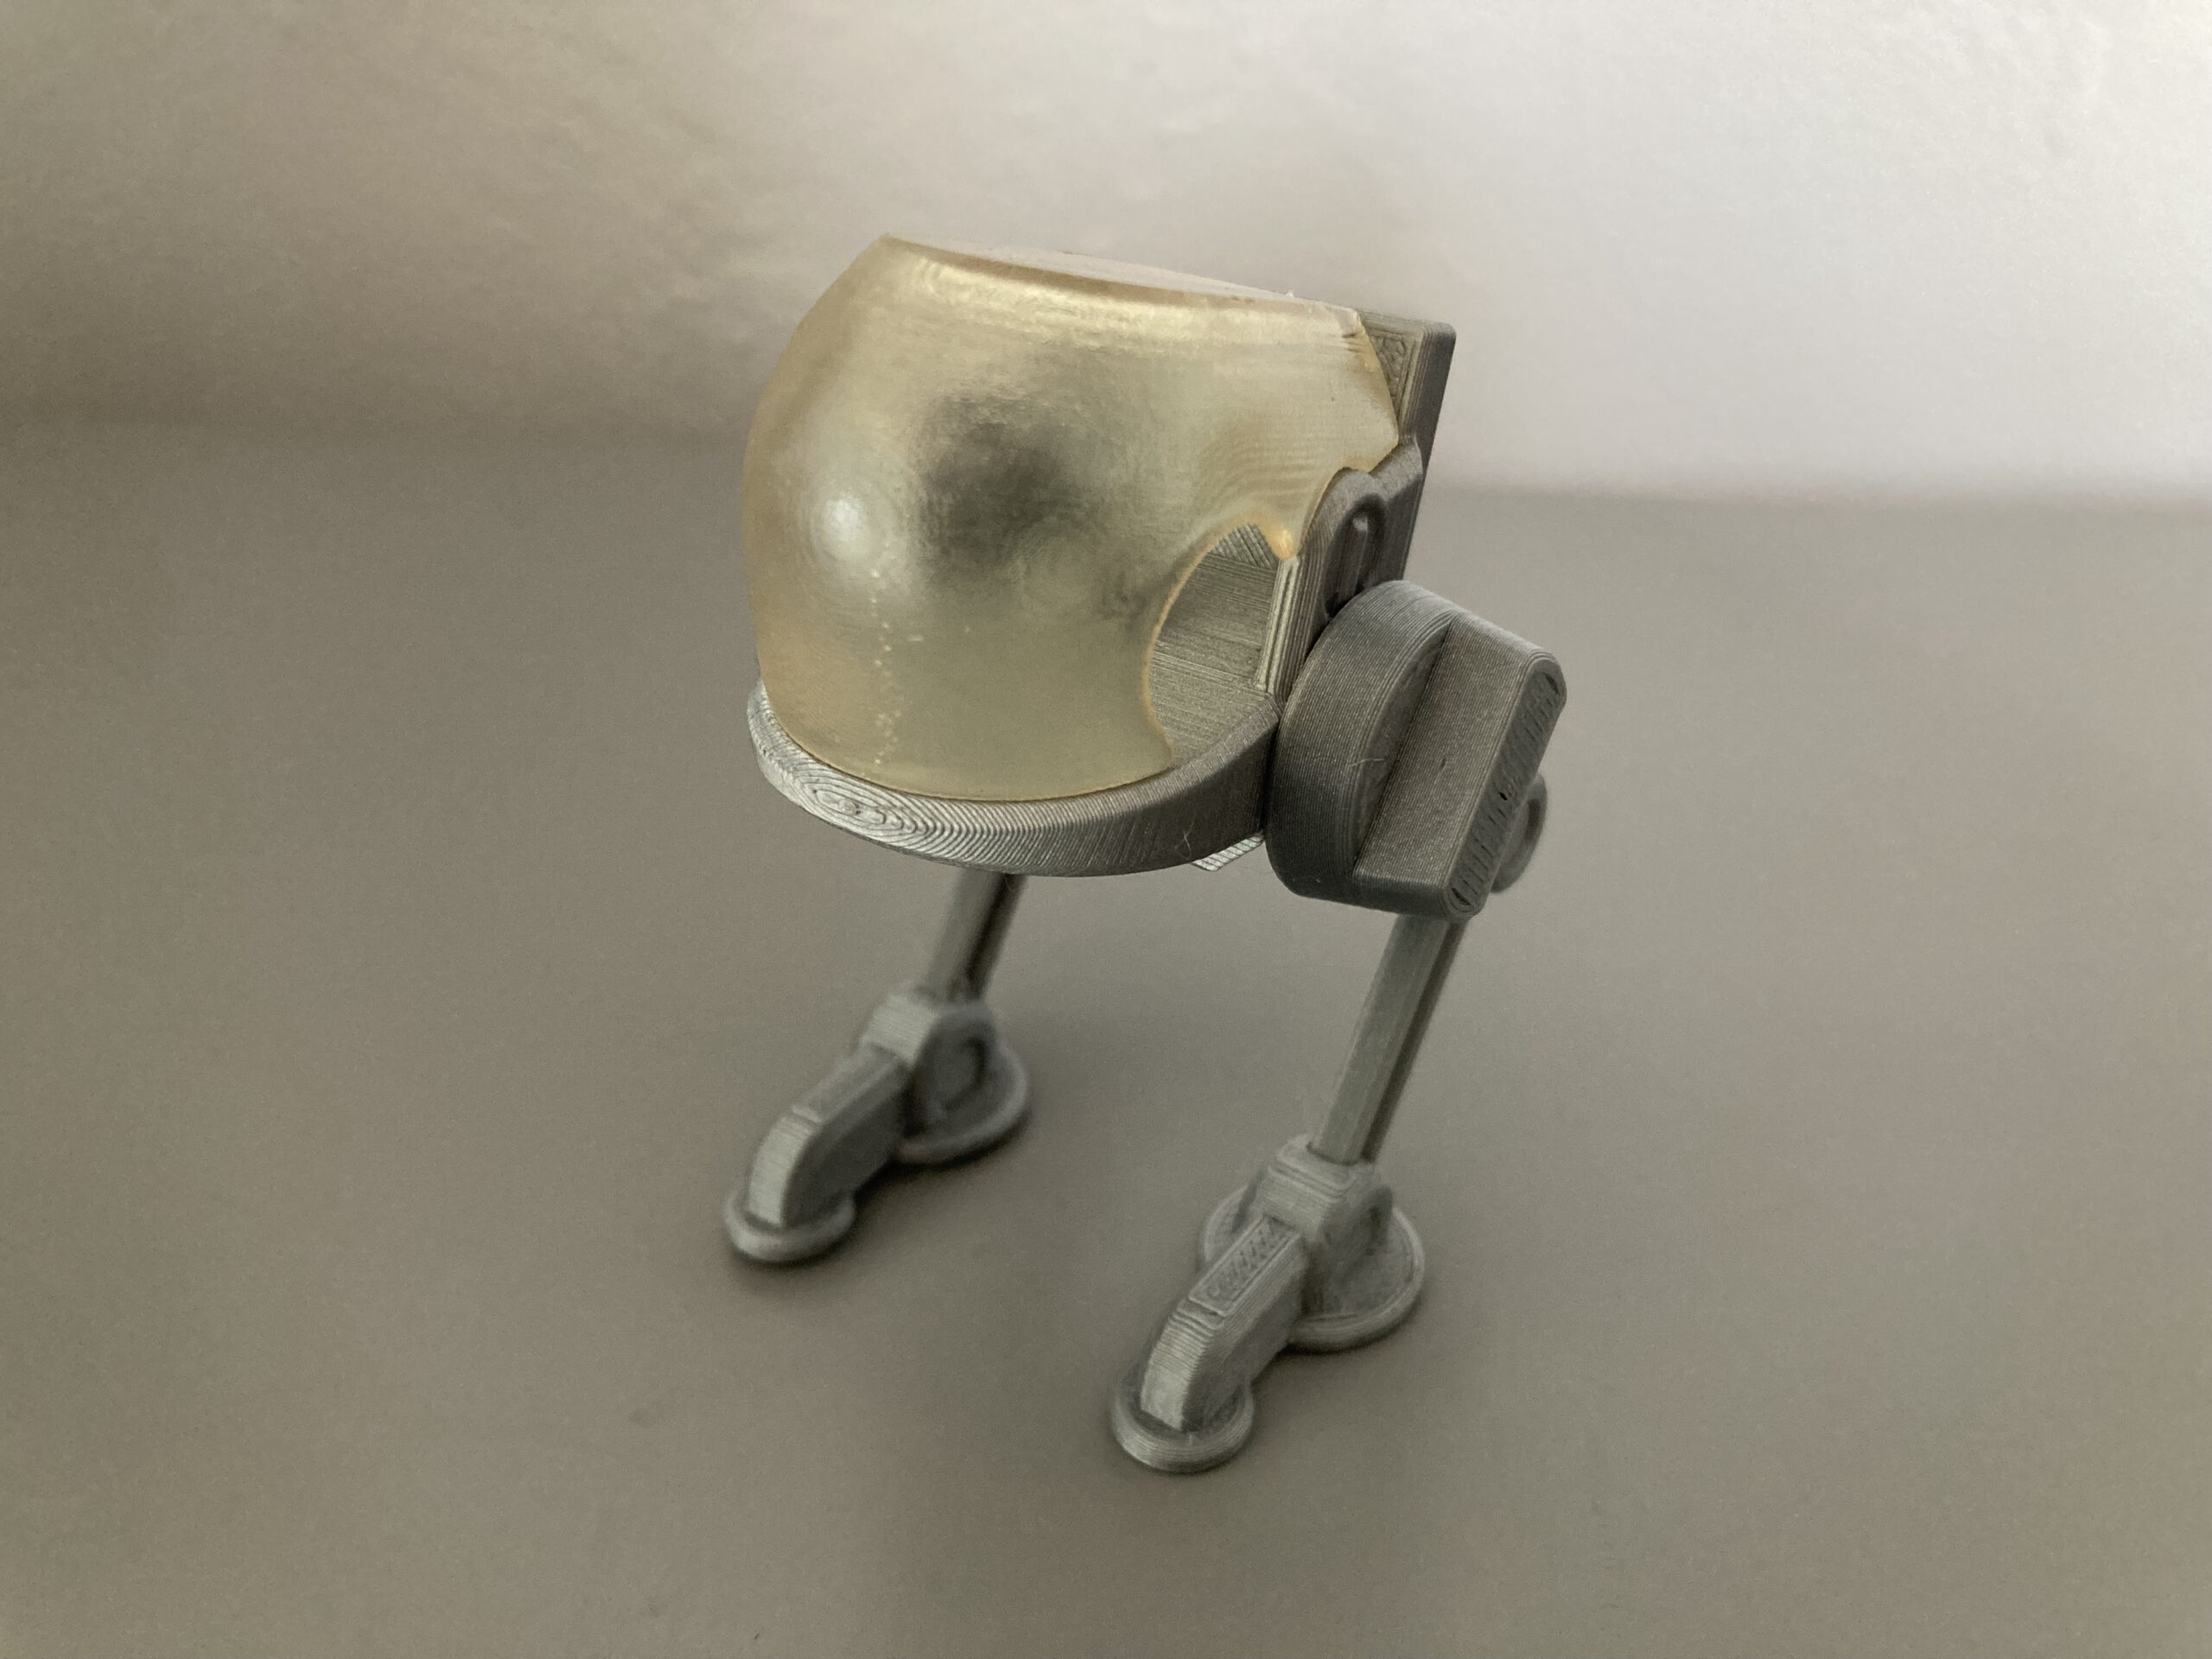
On the printing end of things, it happened that the TinyMaker resin printer Kickstarter my wife and I backed in November of 2022 arrived just as I was getting ready to prepare everything and the bubble component just fit on the little build plate! Bought 500g of a “clear” resin, sanded, and clear-coated the original design only to discover that resin is not as forgiving as PLA. It cracked immediately during assembly. Beefing up the pivot point and adding a relief cutout in the bubble seems to have fixed this.
Helpful Tools
Needle Nose Pliers
3D Printer capable of working with flexible materials
Super Glue
Resin printer (optional)
1. Print out Parts
Files can be found near the bottom of the page.
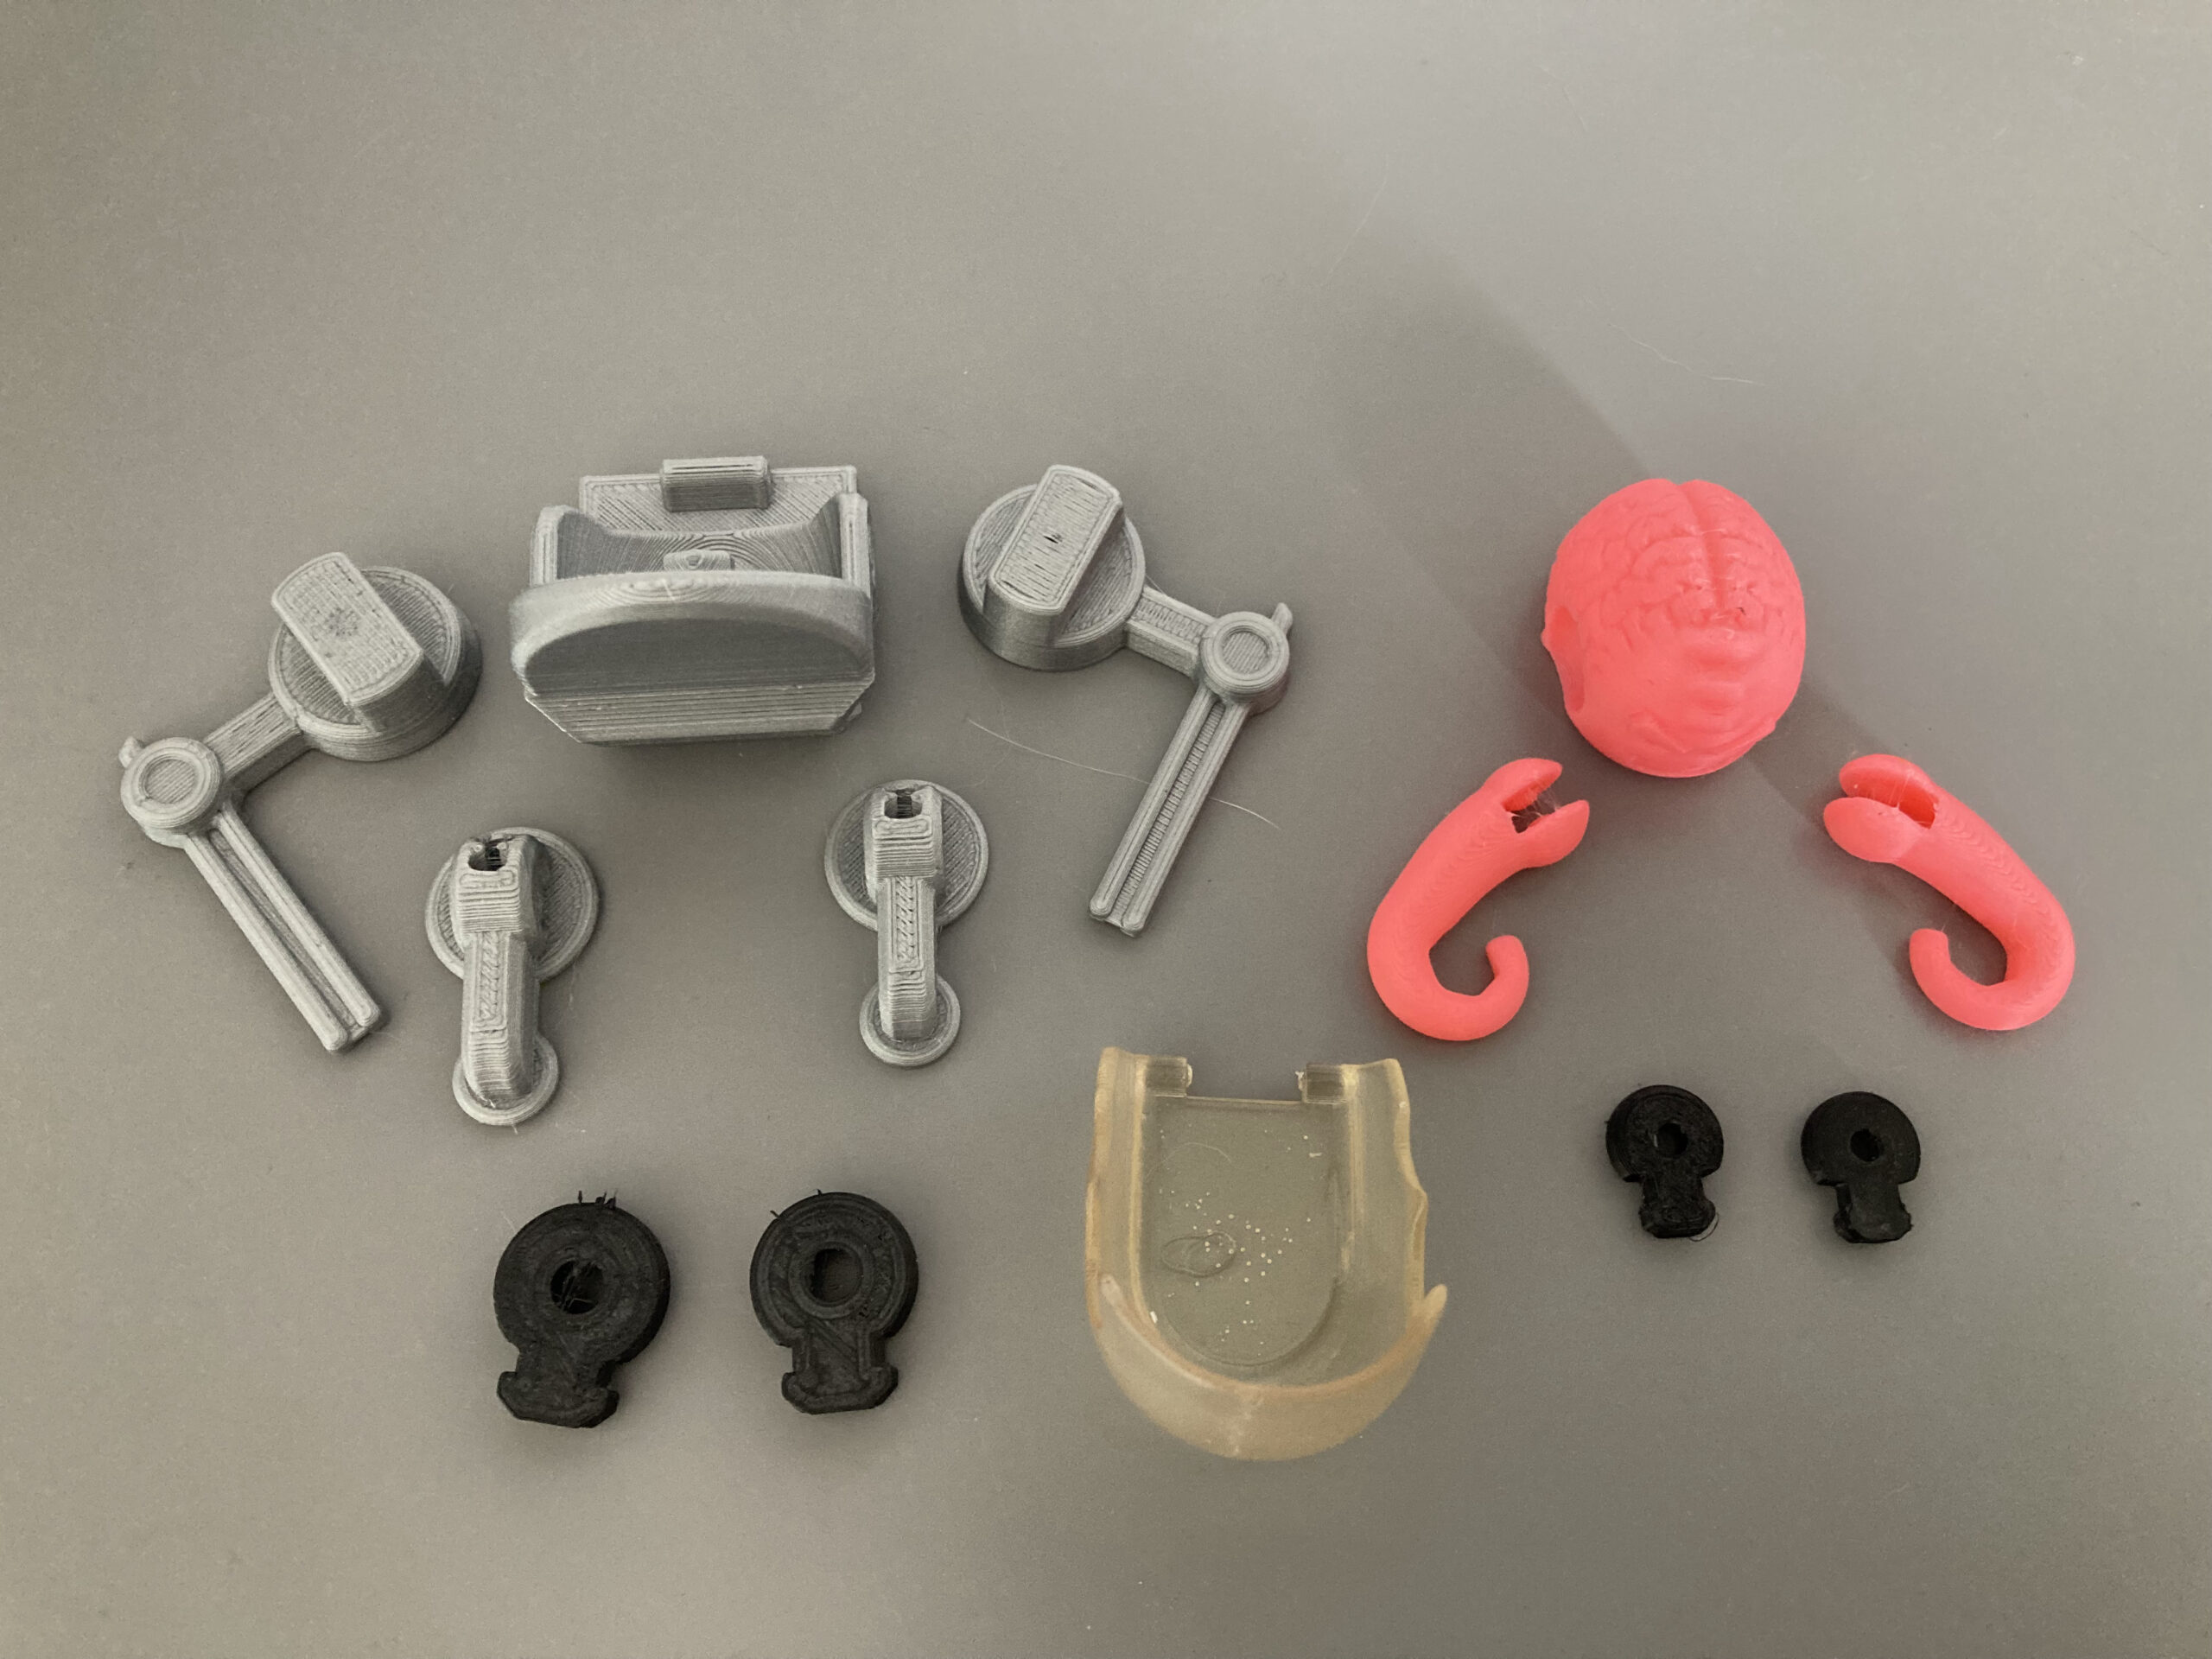
AFJ-FreeCAD (x2), AFJ-Small-FreeCAD (x2)
Material: Flex (98A)
Infill: 15-20%
Supports: No
Brim: No
BubbleWalker-Bubble
Material: Clear Resin (optional. If you don’t have access to a resin printer, FDM will work great too)
Everything else
Material: PLA
Infill: 50%
Supports: No
Brim: No

Try to keep the left and right legs/feet together. They’re close, and it might work, but wouldn’t recommend trying to swap them around.
If you do opt to make the bubble component of clear resin, you may need to sand and clear-coat for optimal results. I don’t know though. It’s my first time, so I probably got the wrong “clear” resin.
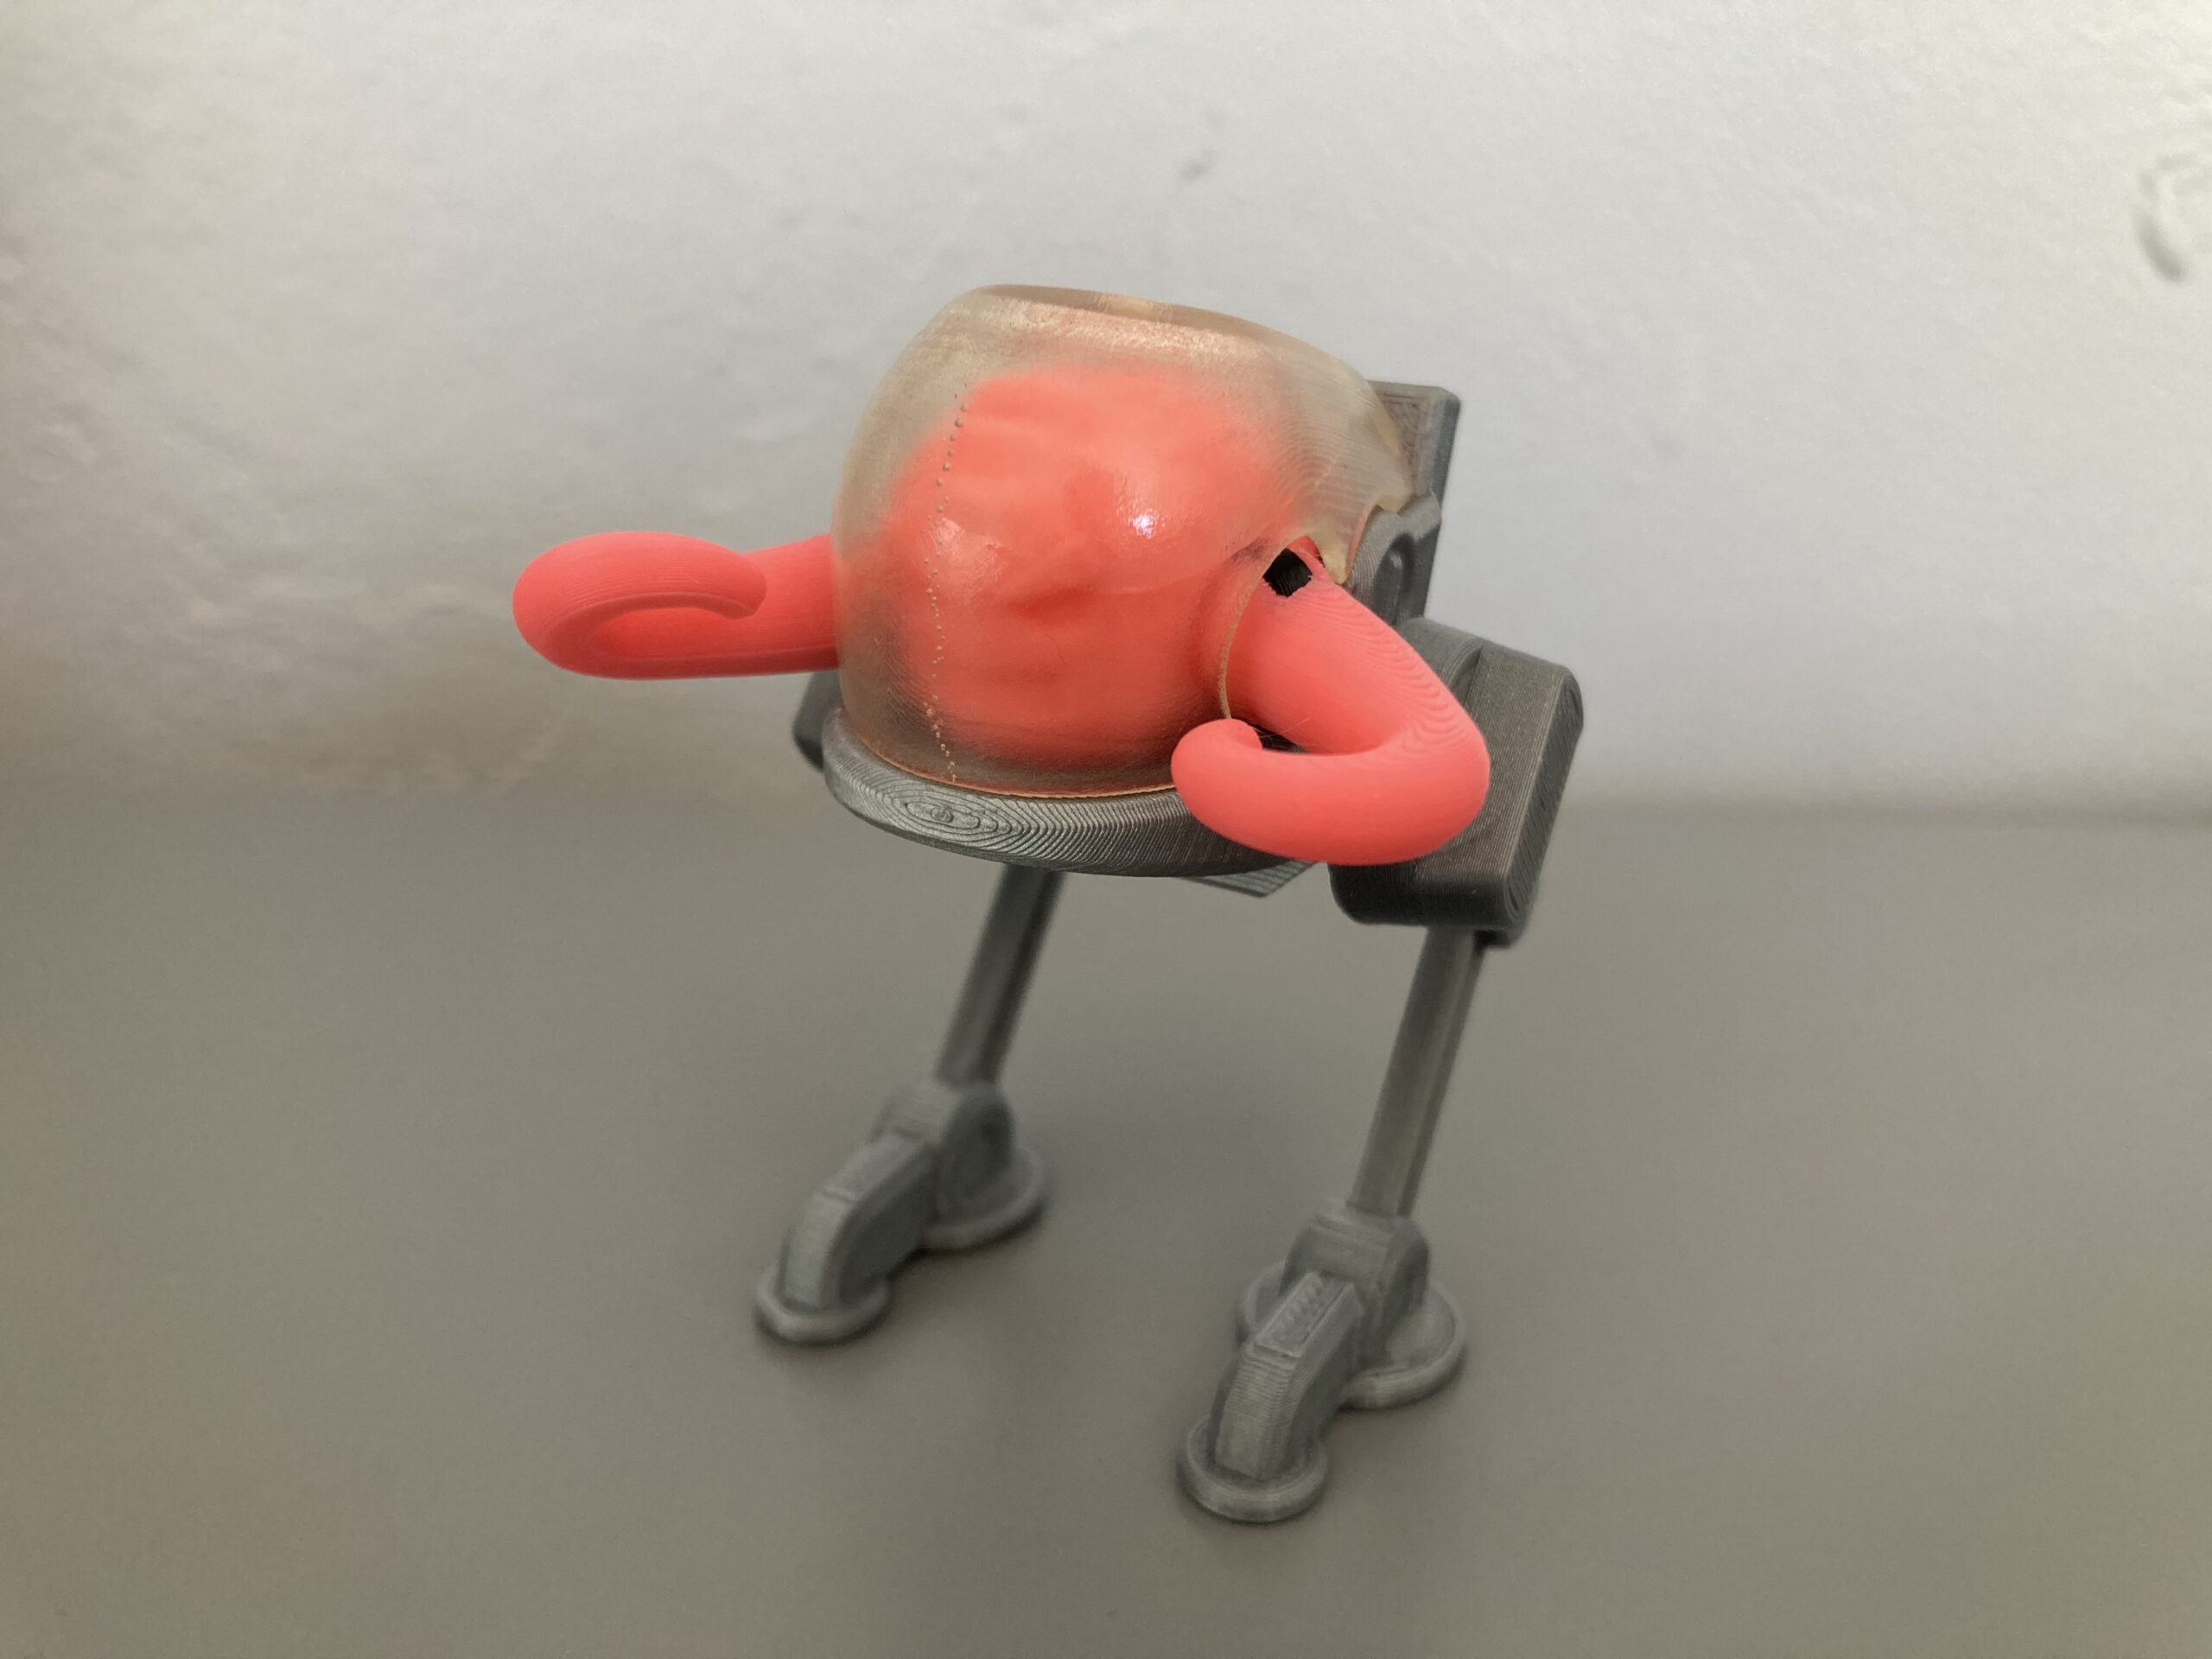
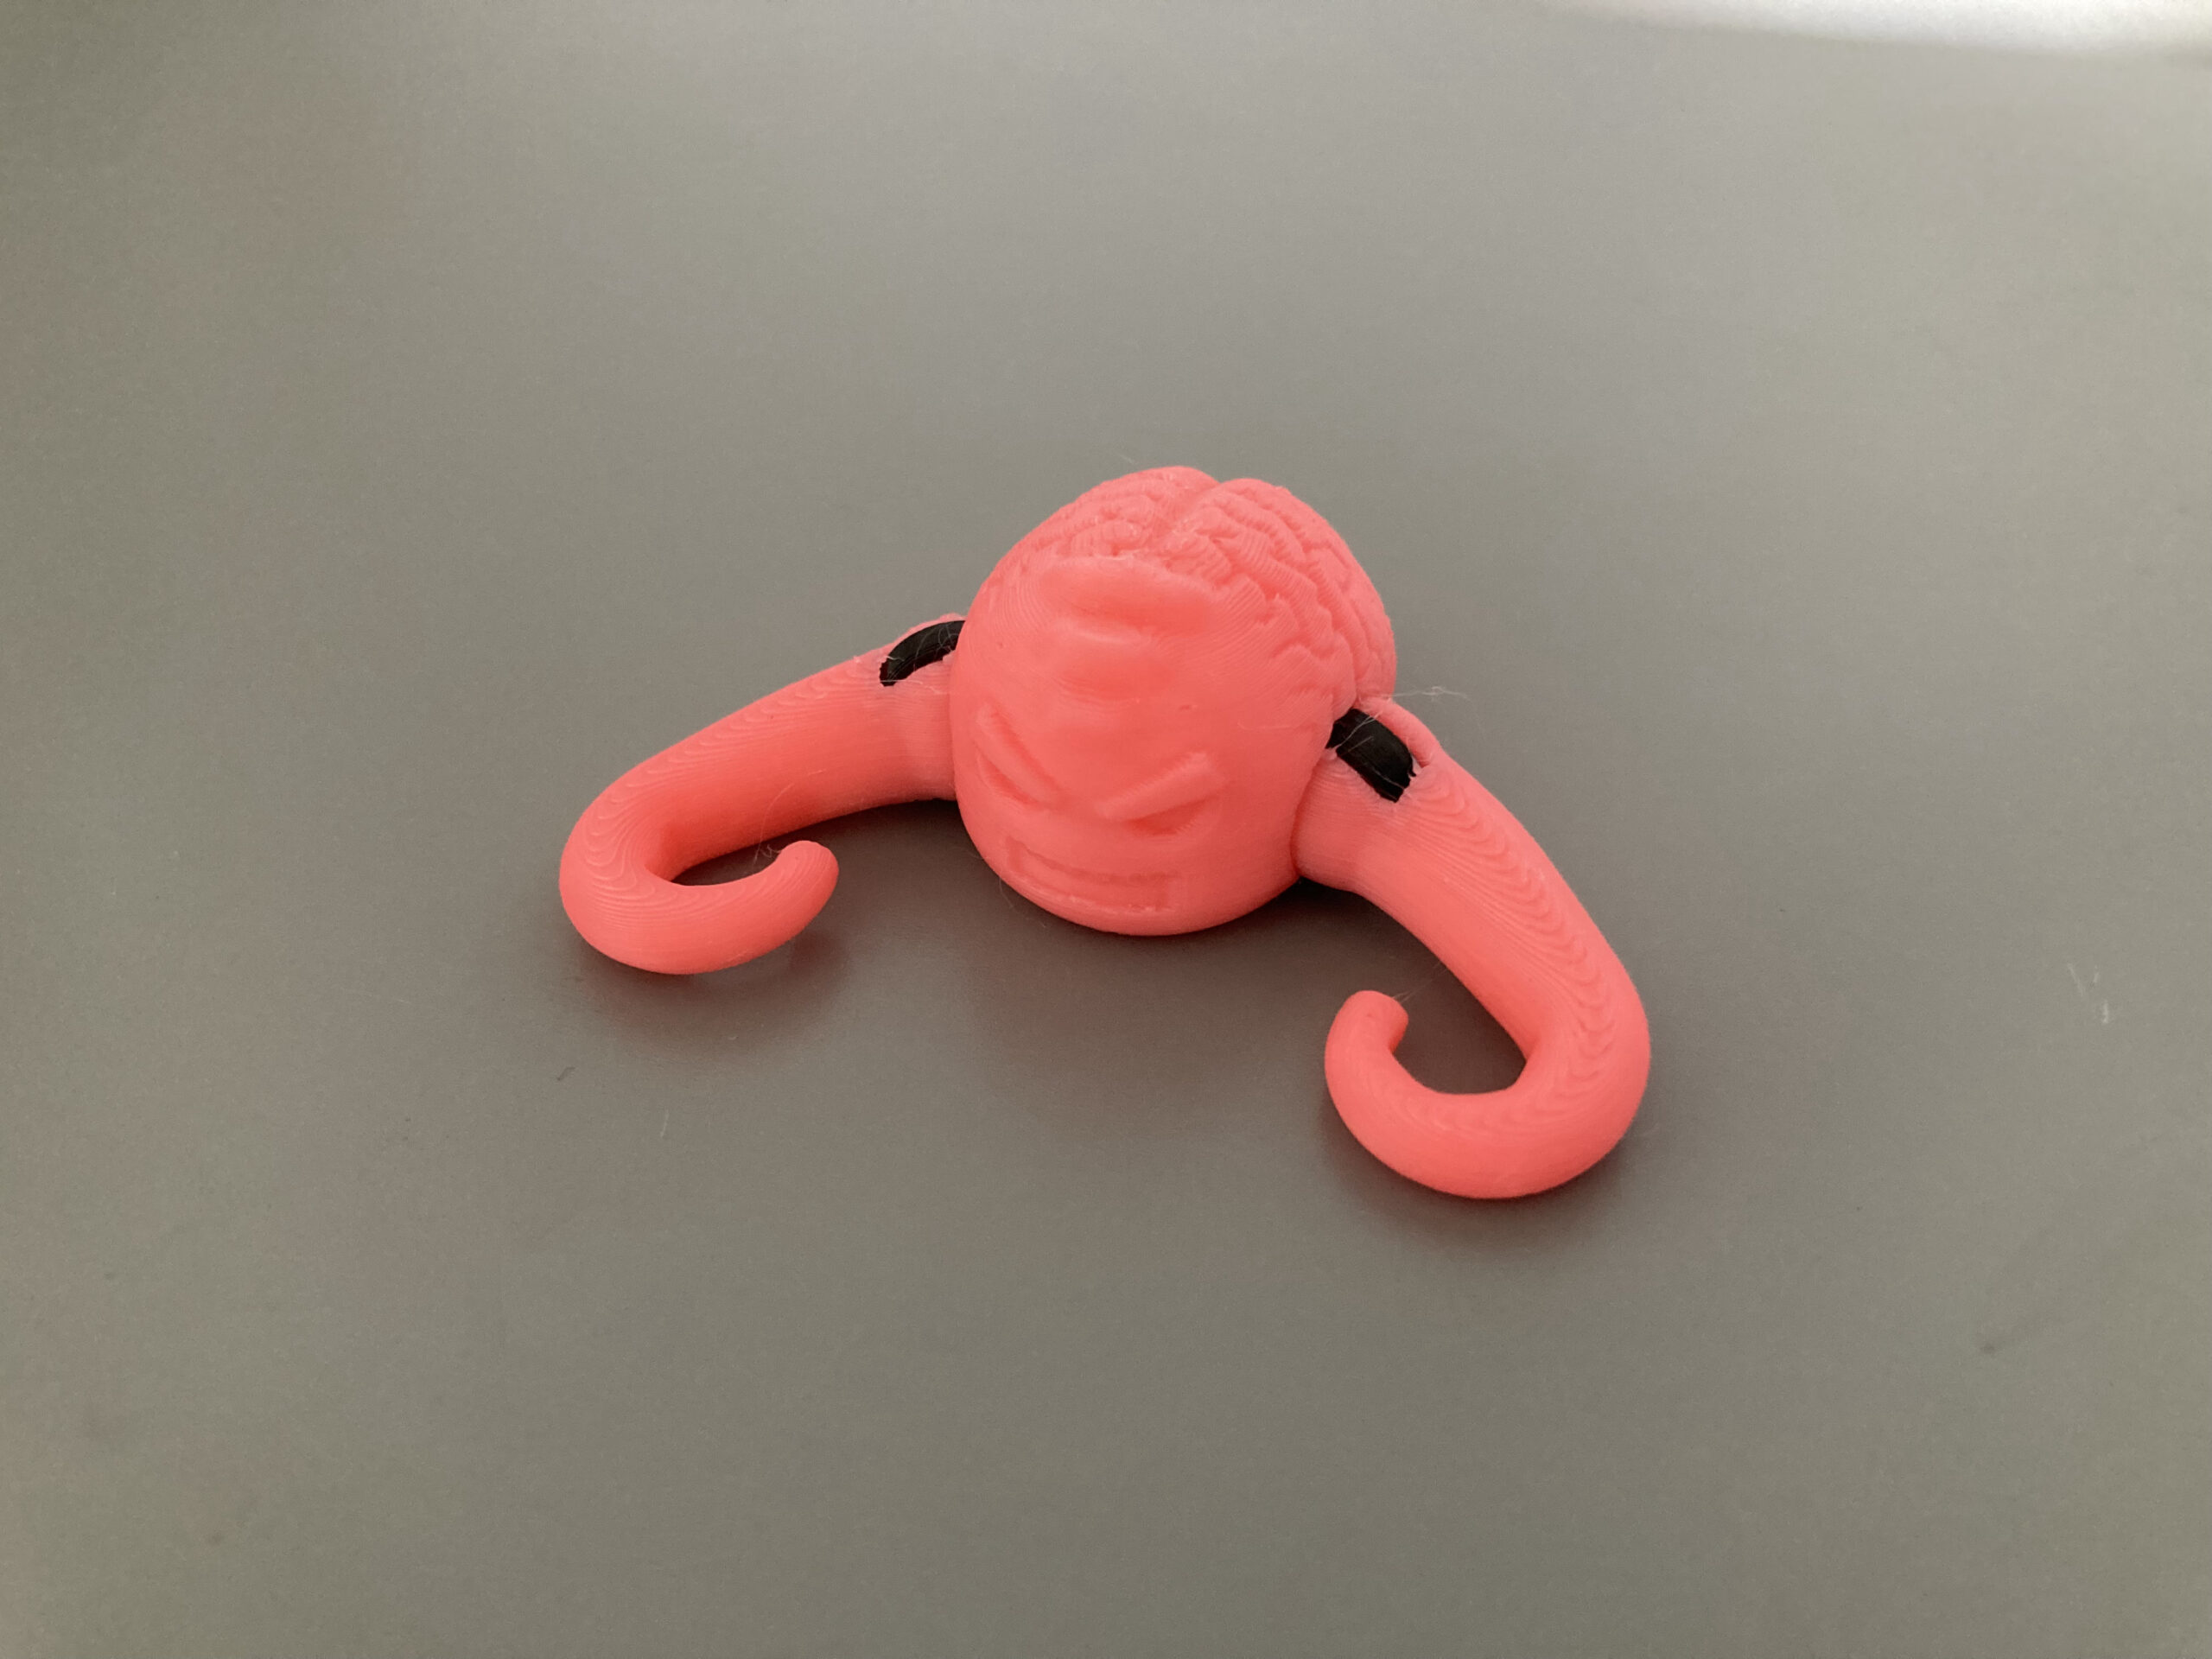
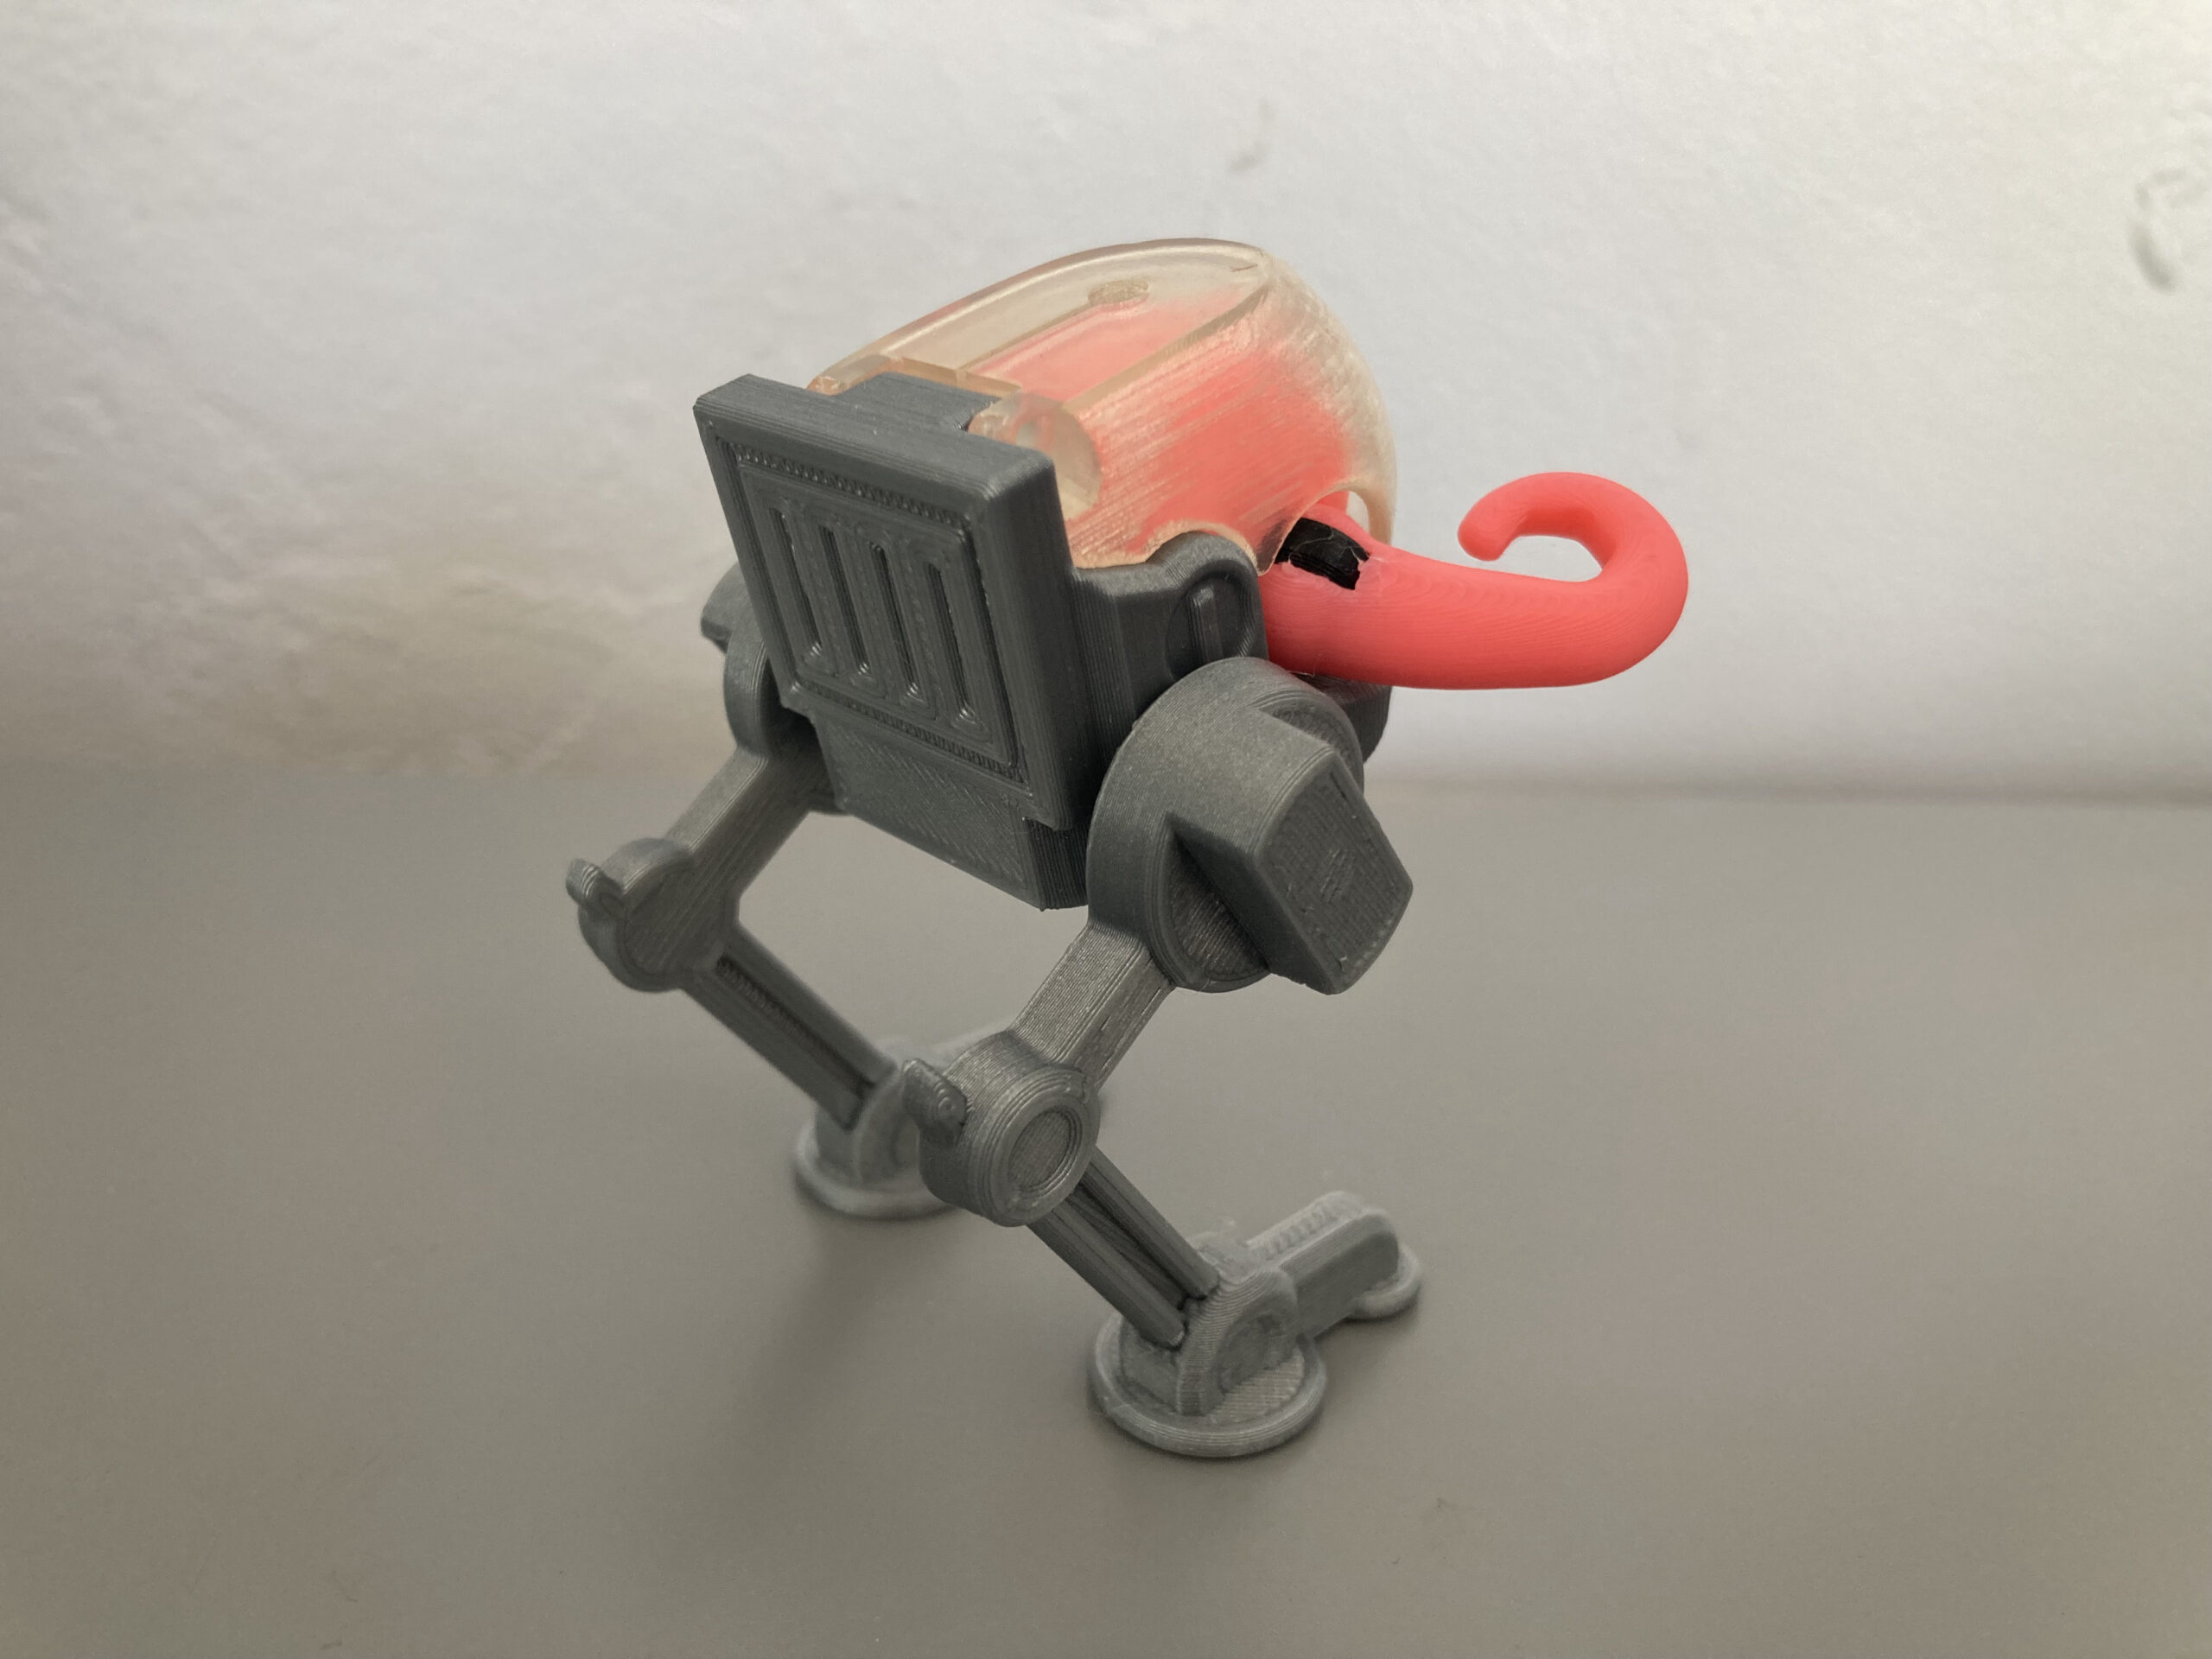
2. Assemble Krang
Using Needle Nose Pliers, fit AFJ-Small-FreeCAD (x2) into Krang’s body. Once that’s finished, attach his tentacles as shown.
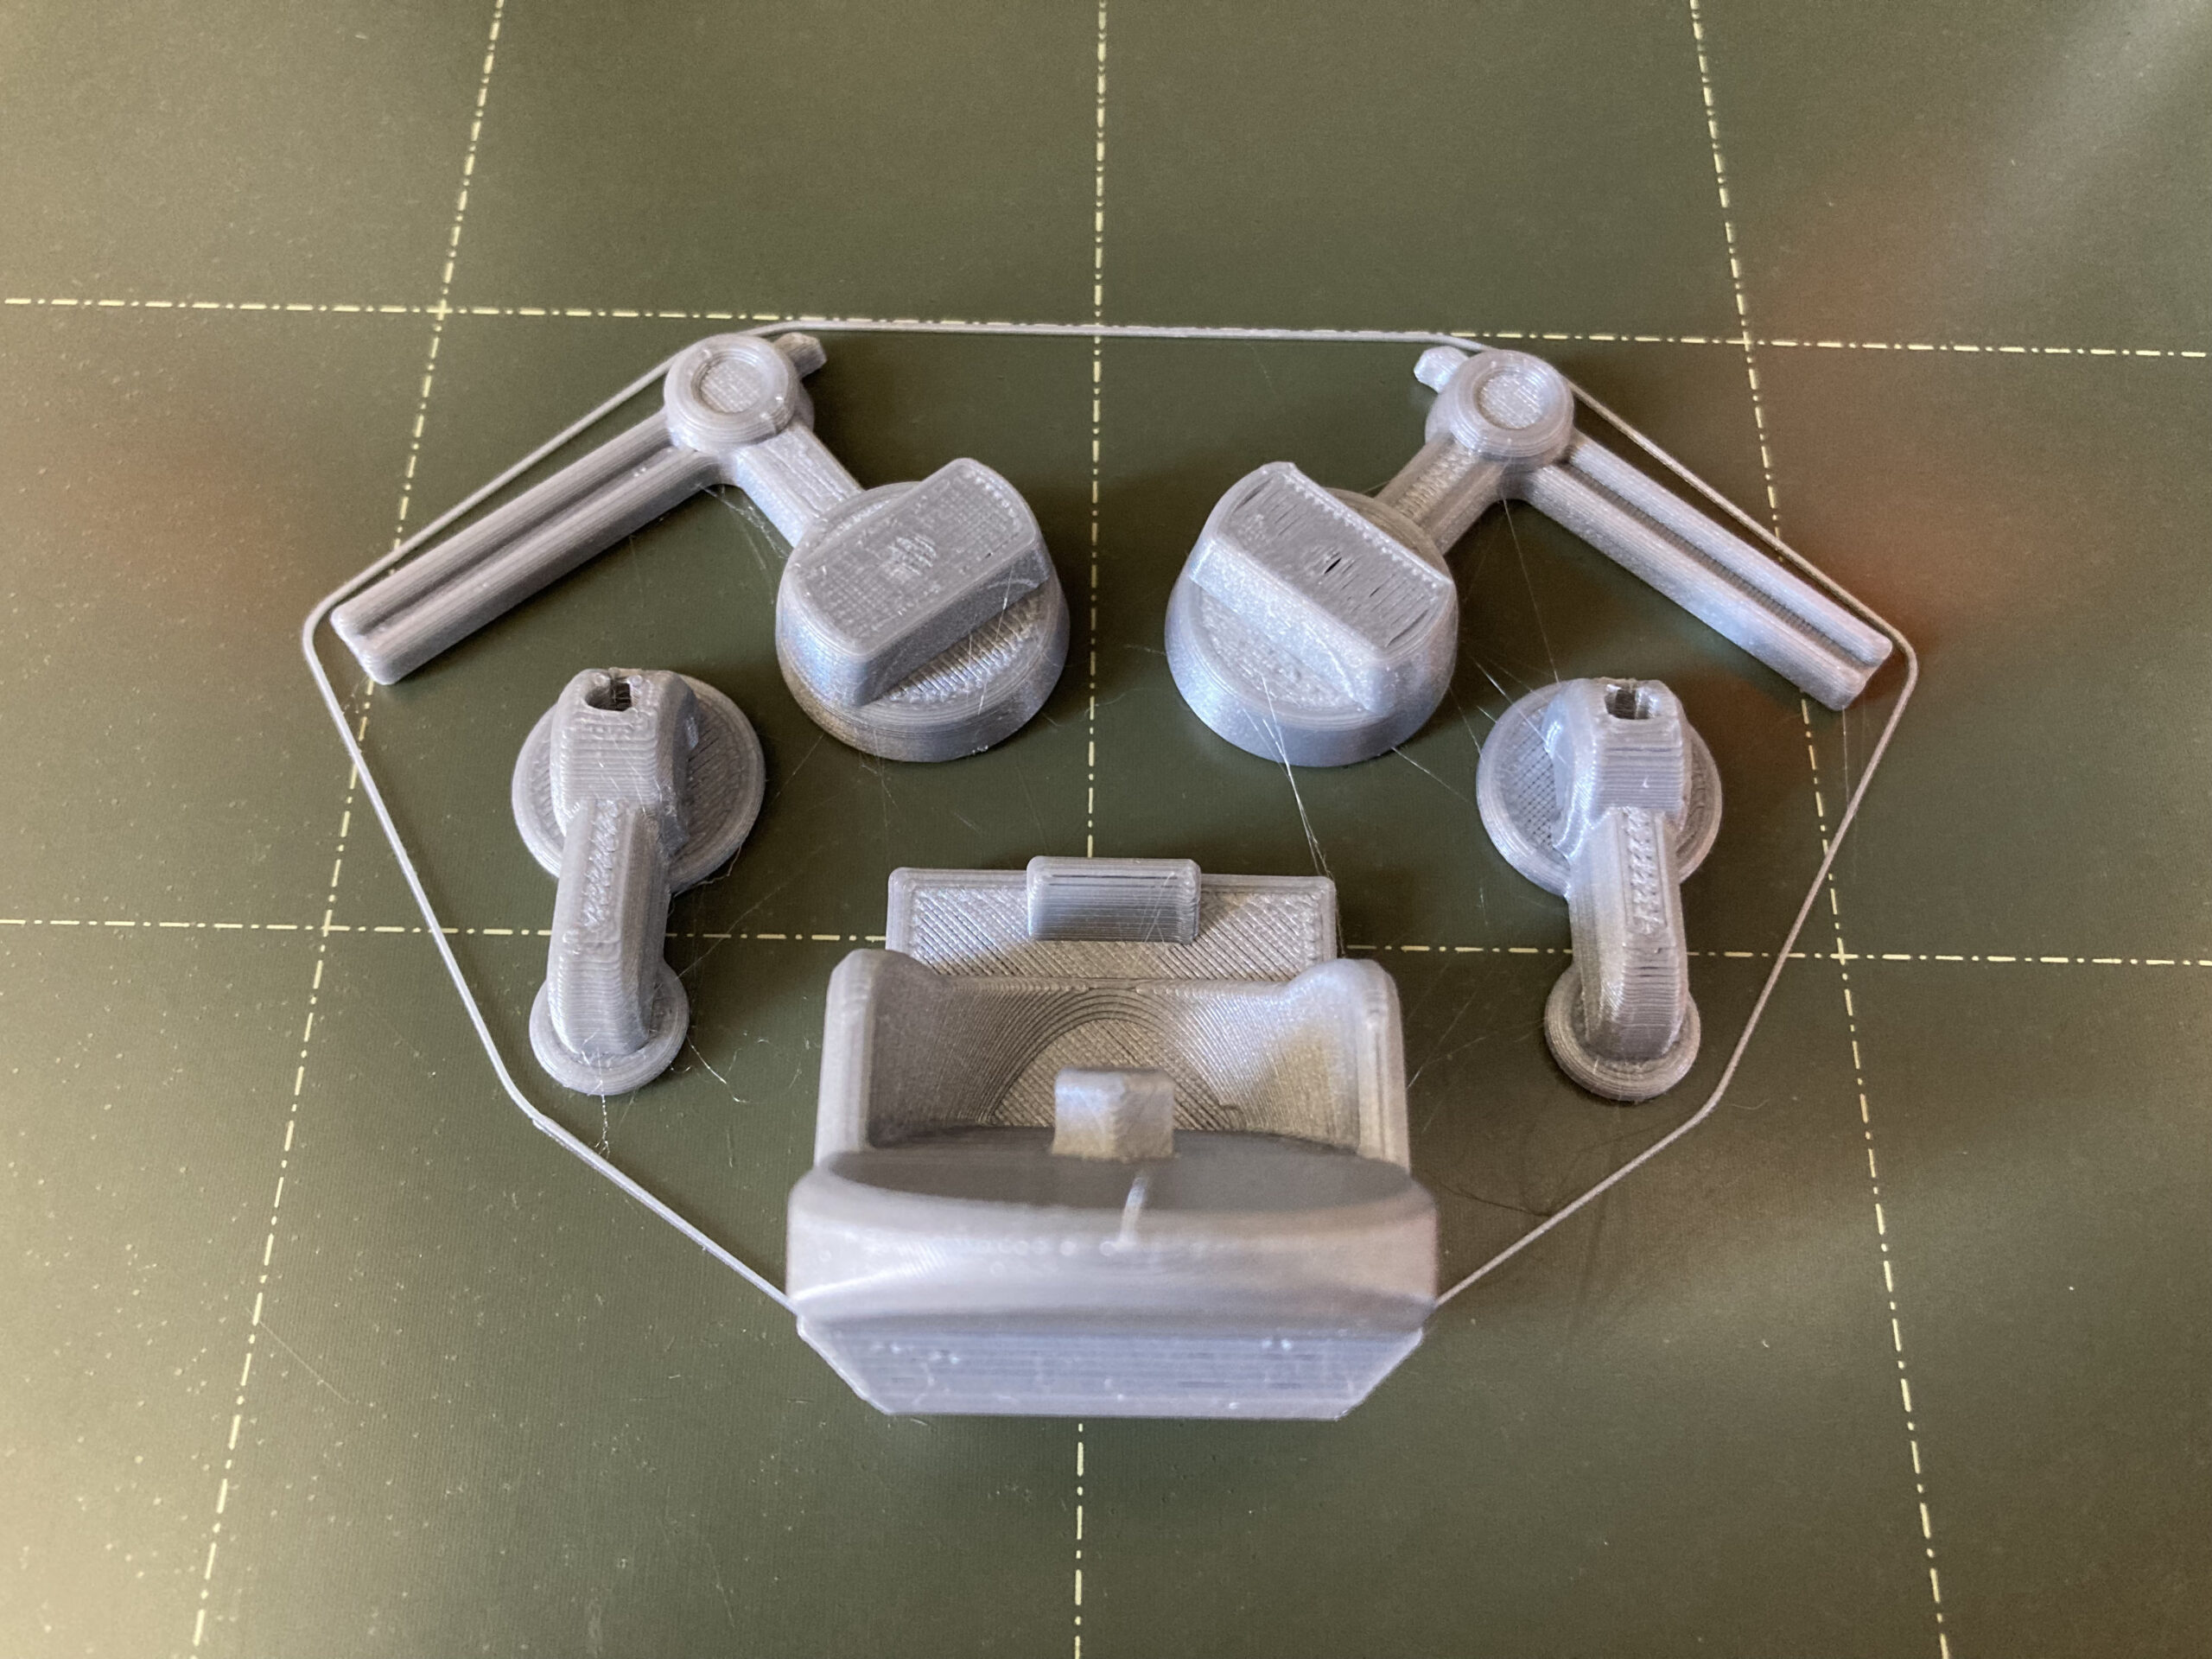
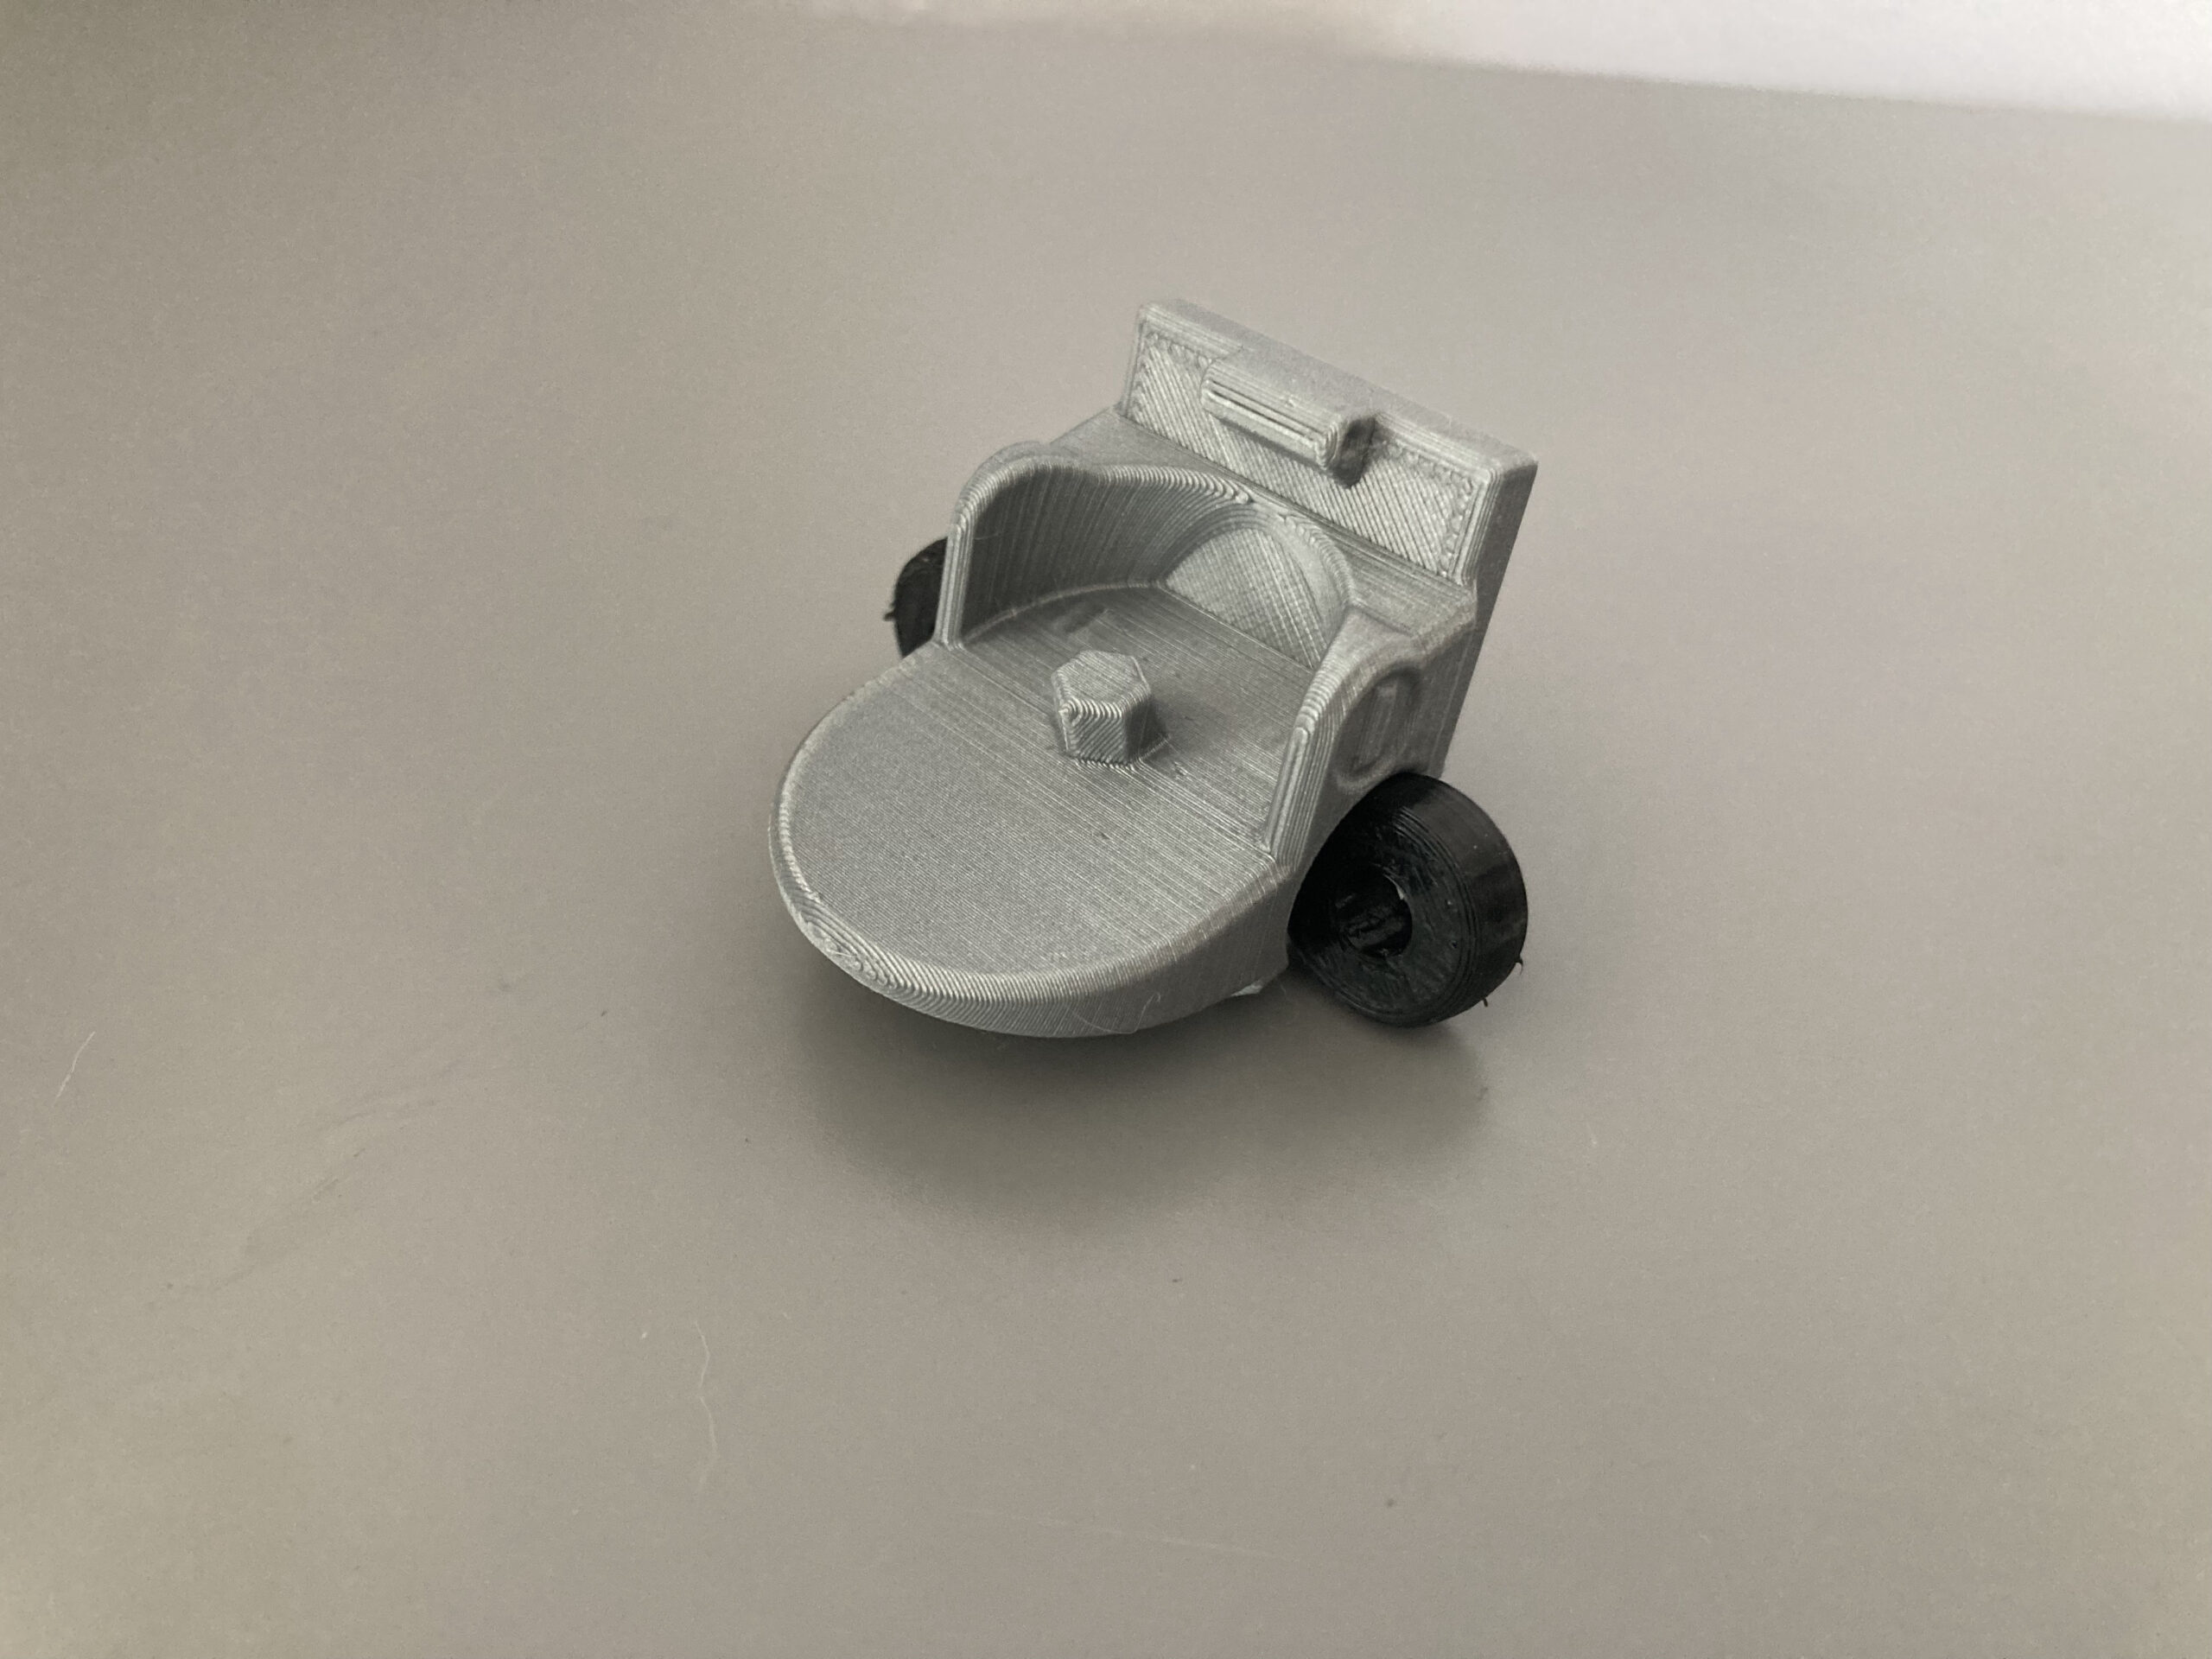
3. Assemble Bubble Walker Joints
Fit AFJ-FreeCAD (x2) into BubbleWalker-Chassis as shown. Use Needle Nose Pliers as necessary.
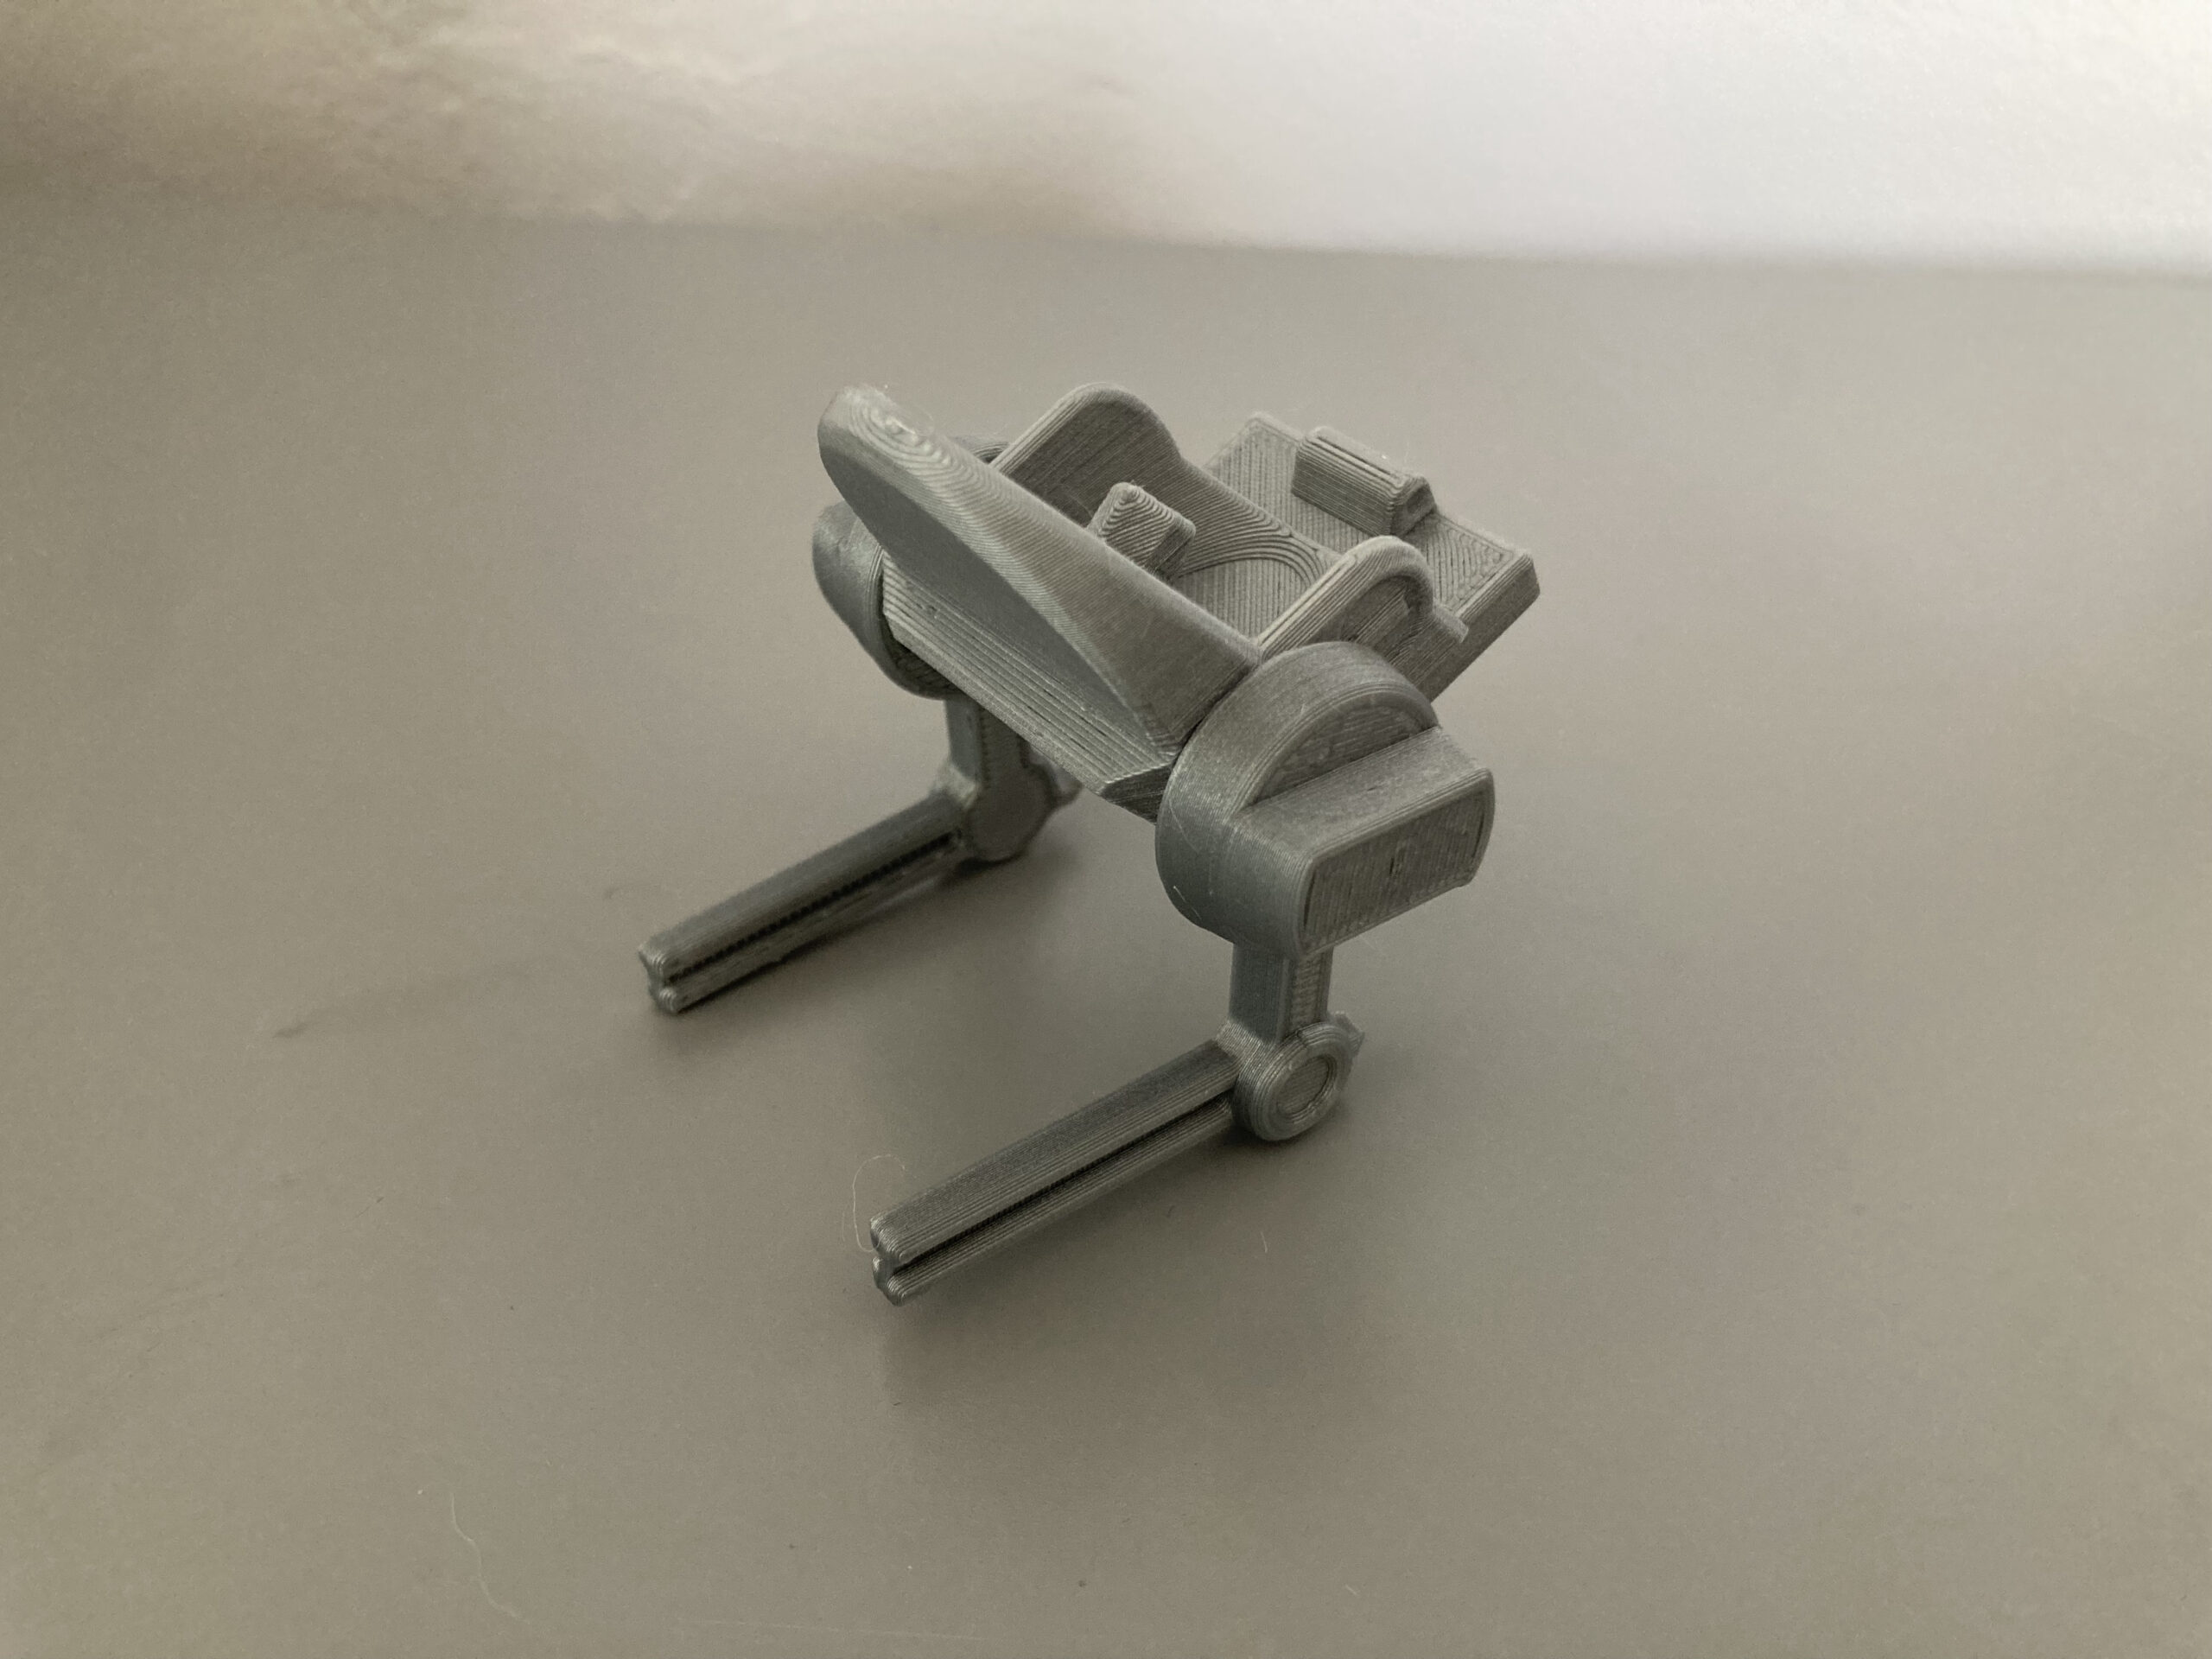
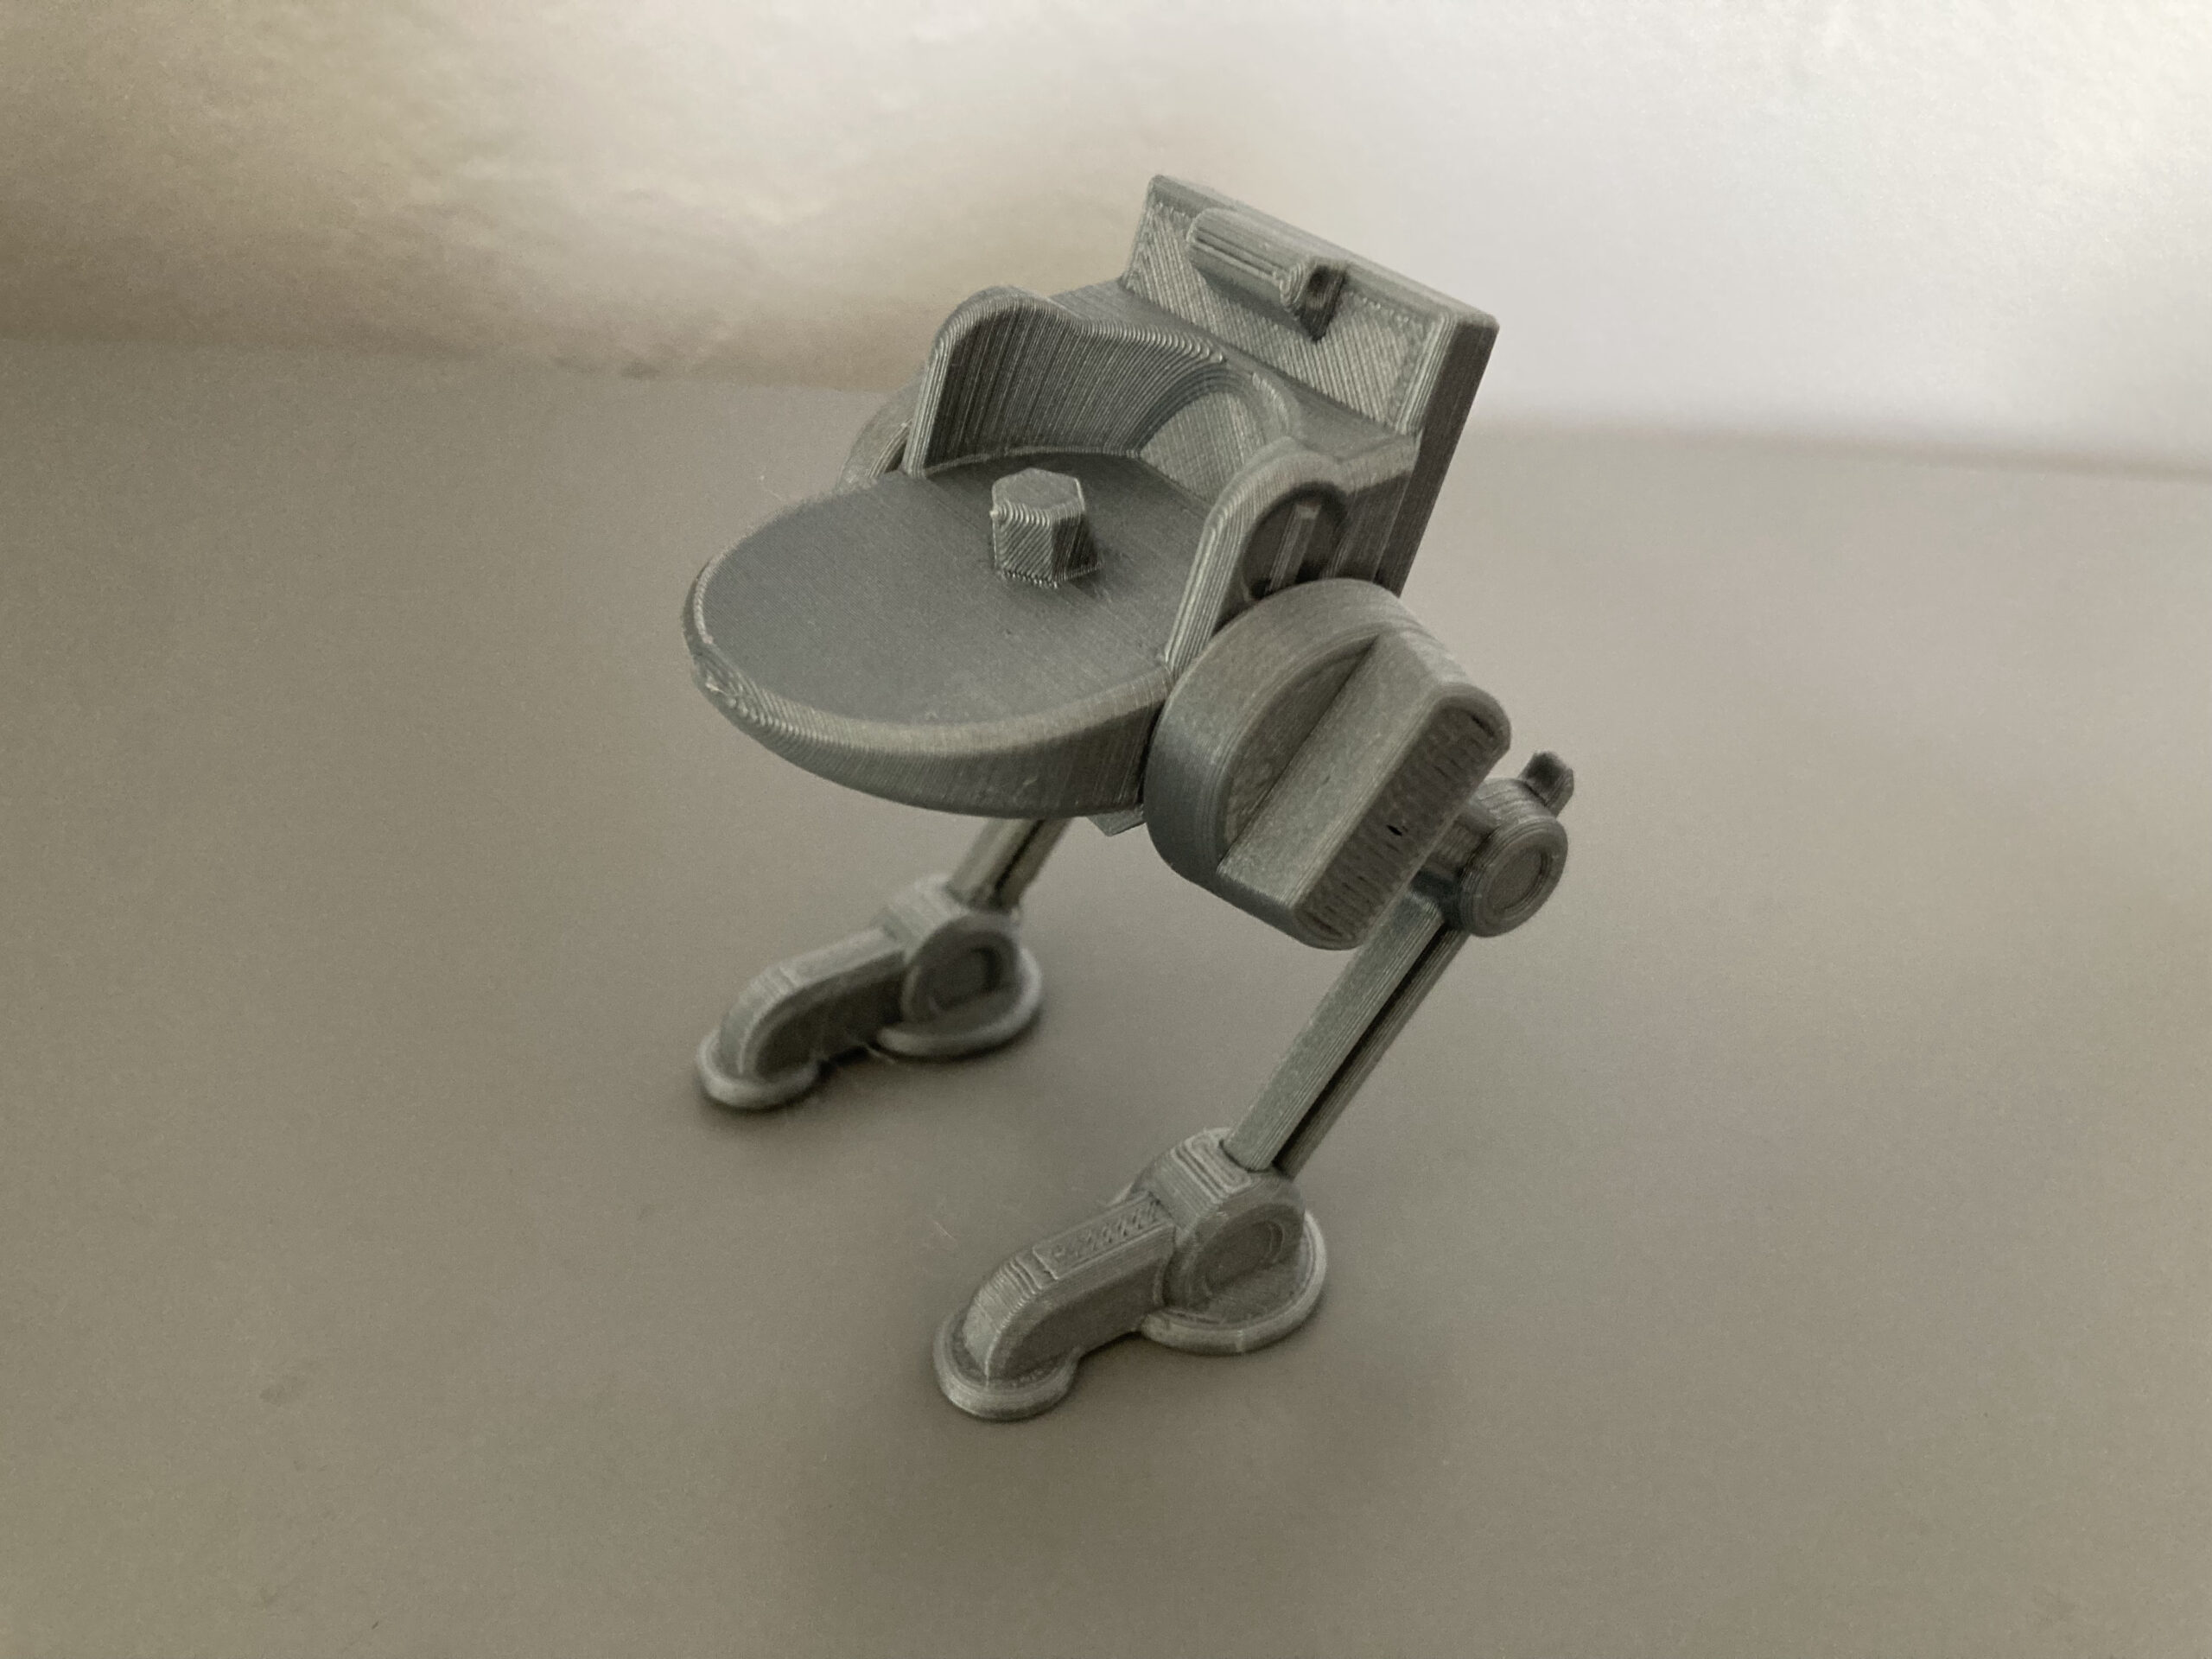
4. Assemble Legs
Attach as shown. Using a little glue, press the leg ends into the feet as shown (this is where keeping the right/left components together helps).
5. Attach Bubble
Carefully (yes, the relief allows this to be a bit more flexible, but you can never be too careful) connect the pivot point of BubbleWalker-Bubble with the rest of the assembly as shown.
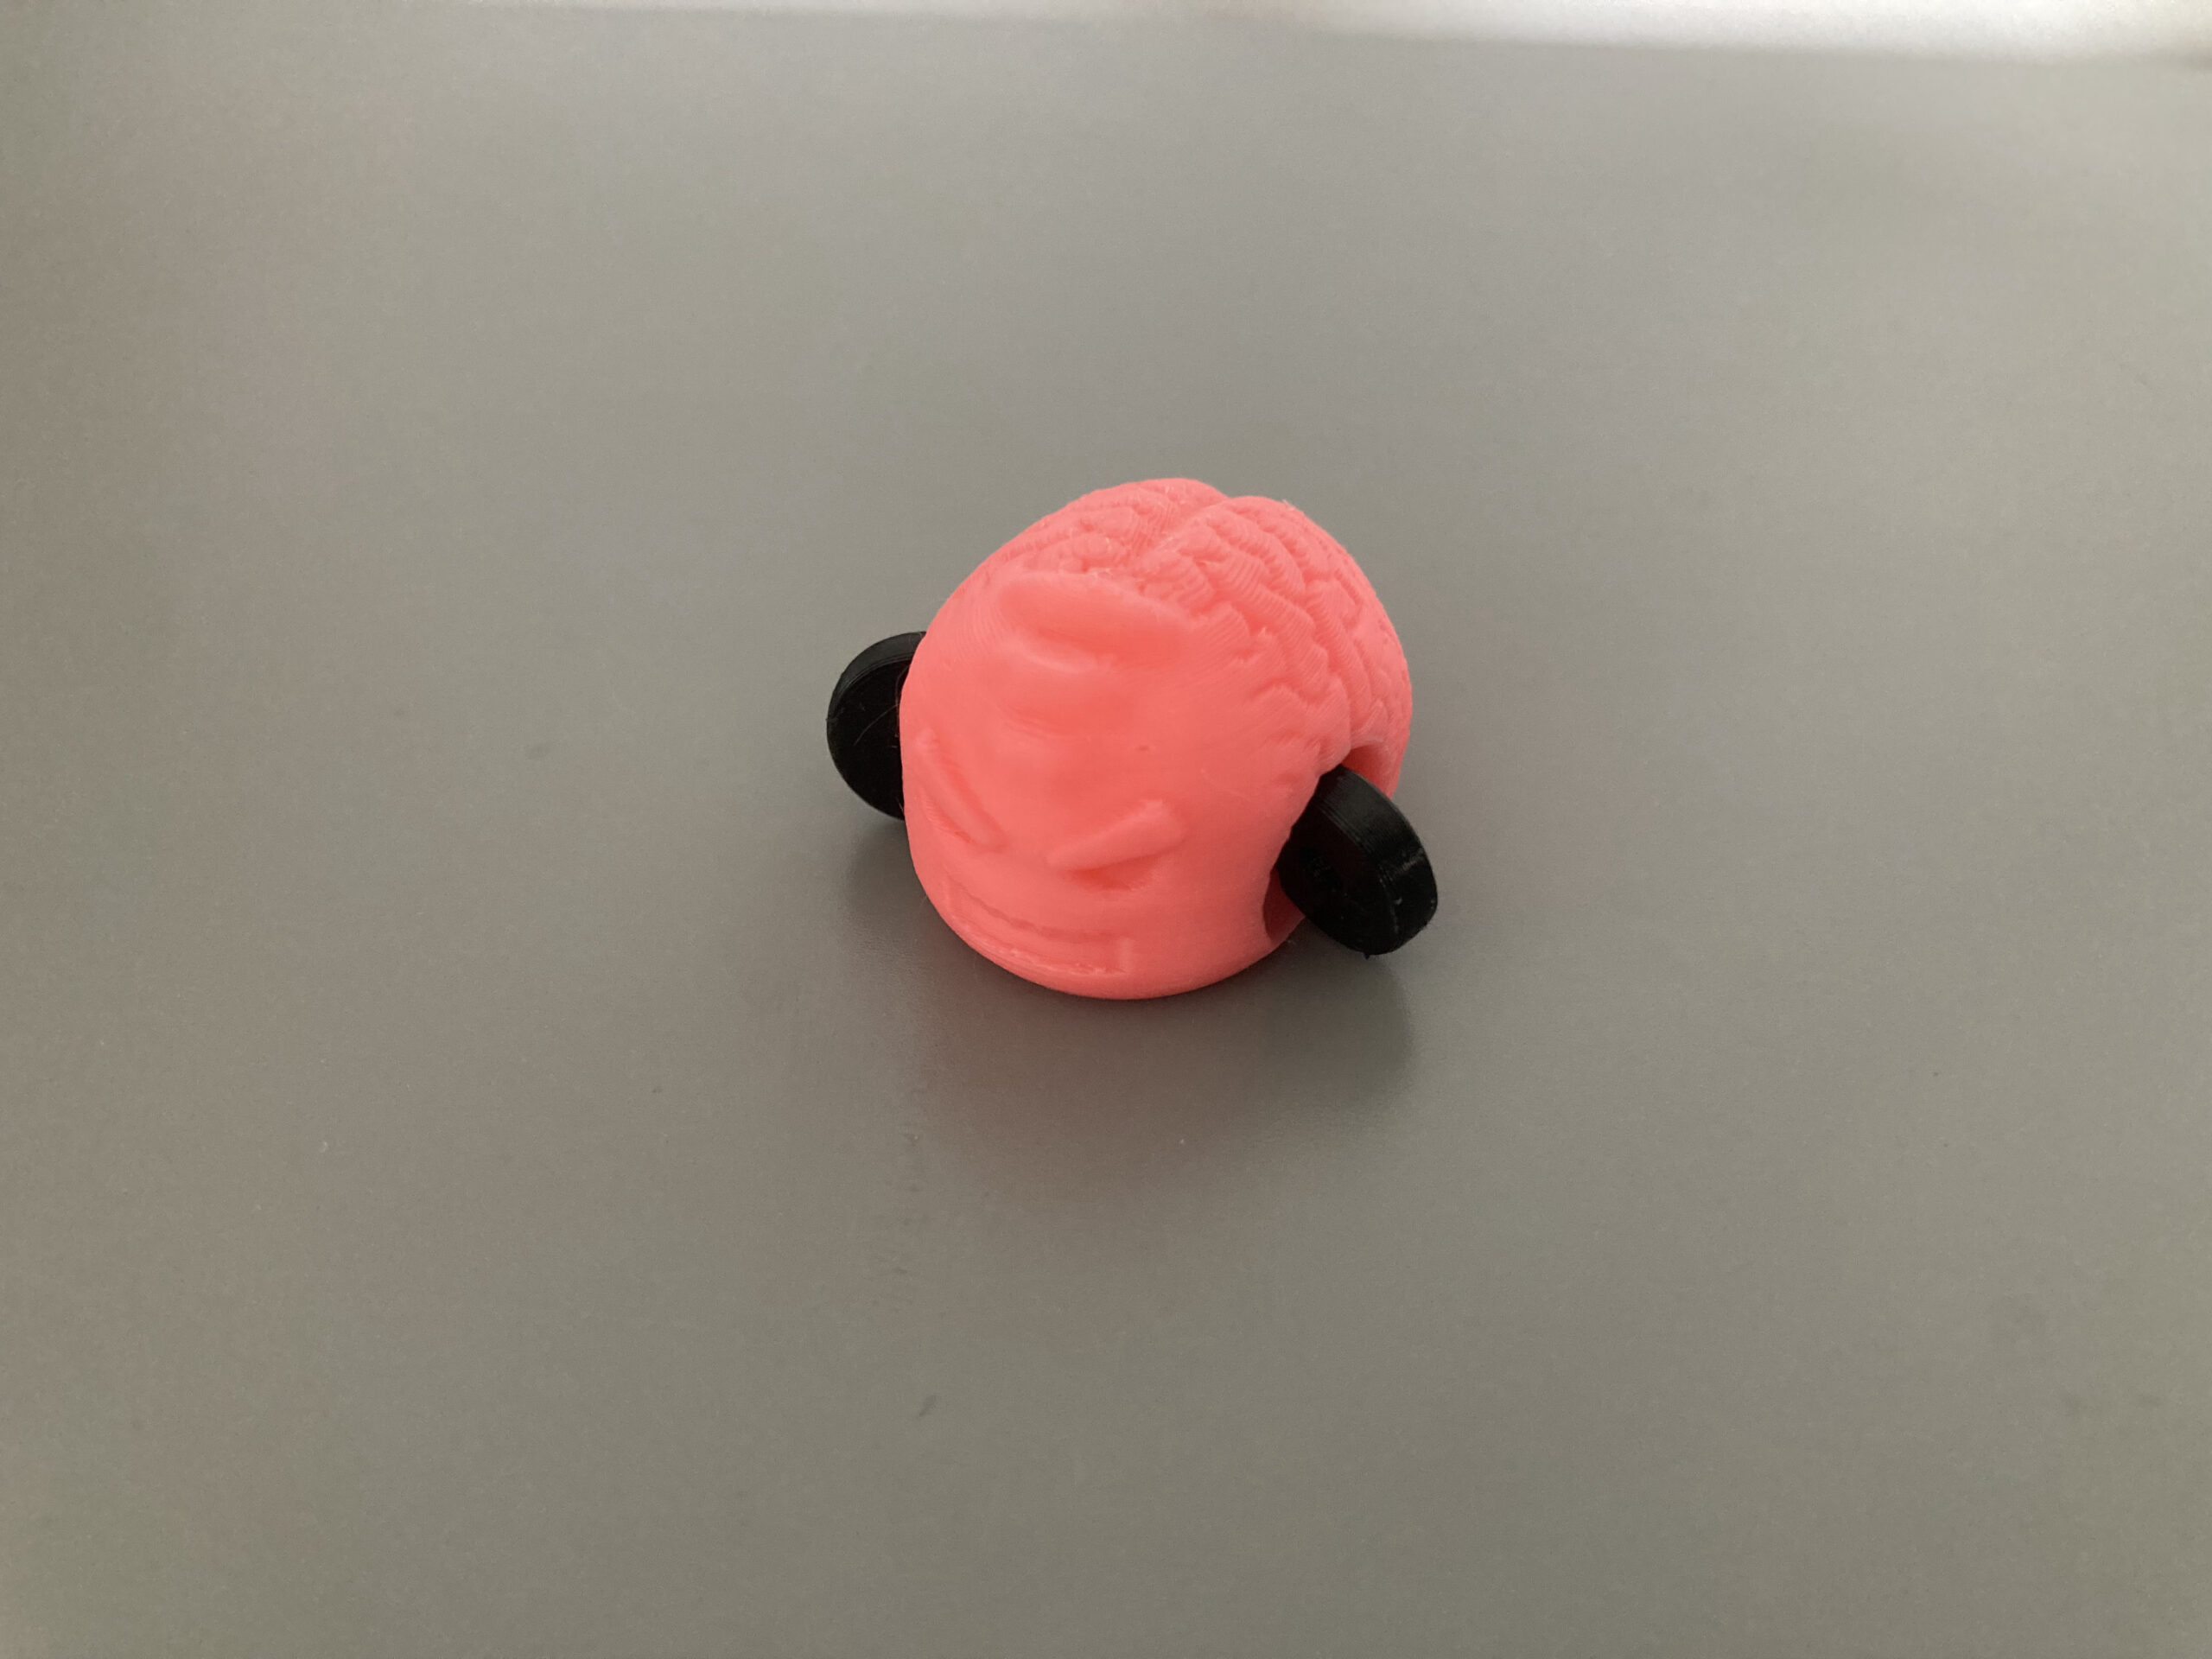
6. Add Krang
(Krang voice): Where is my body?!

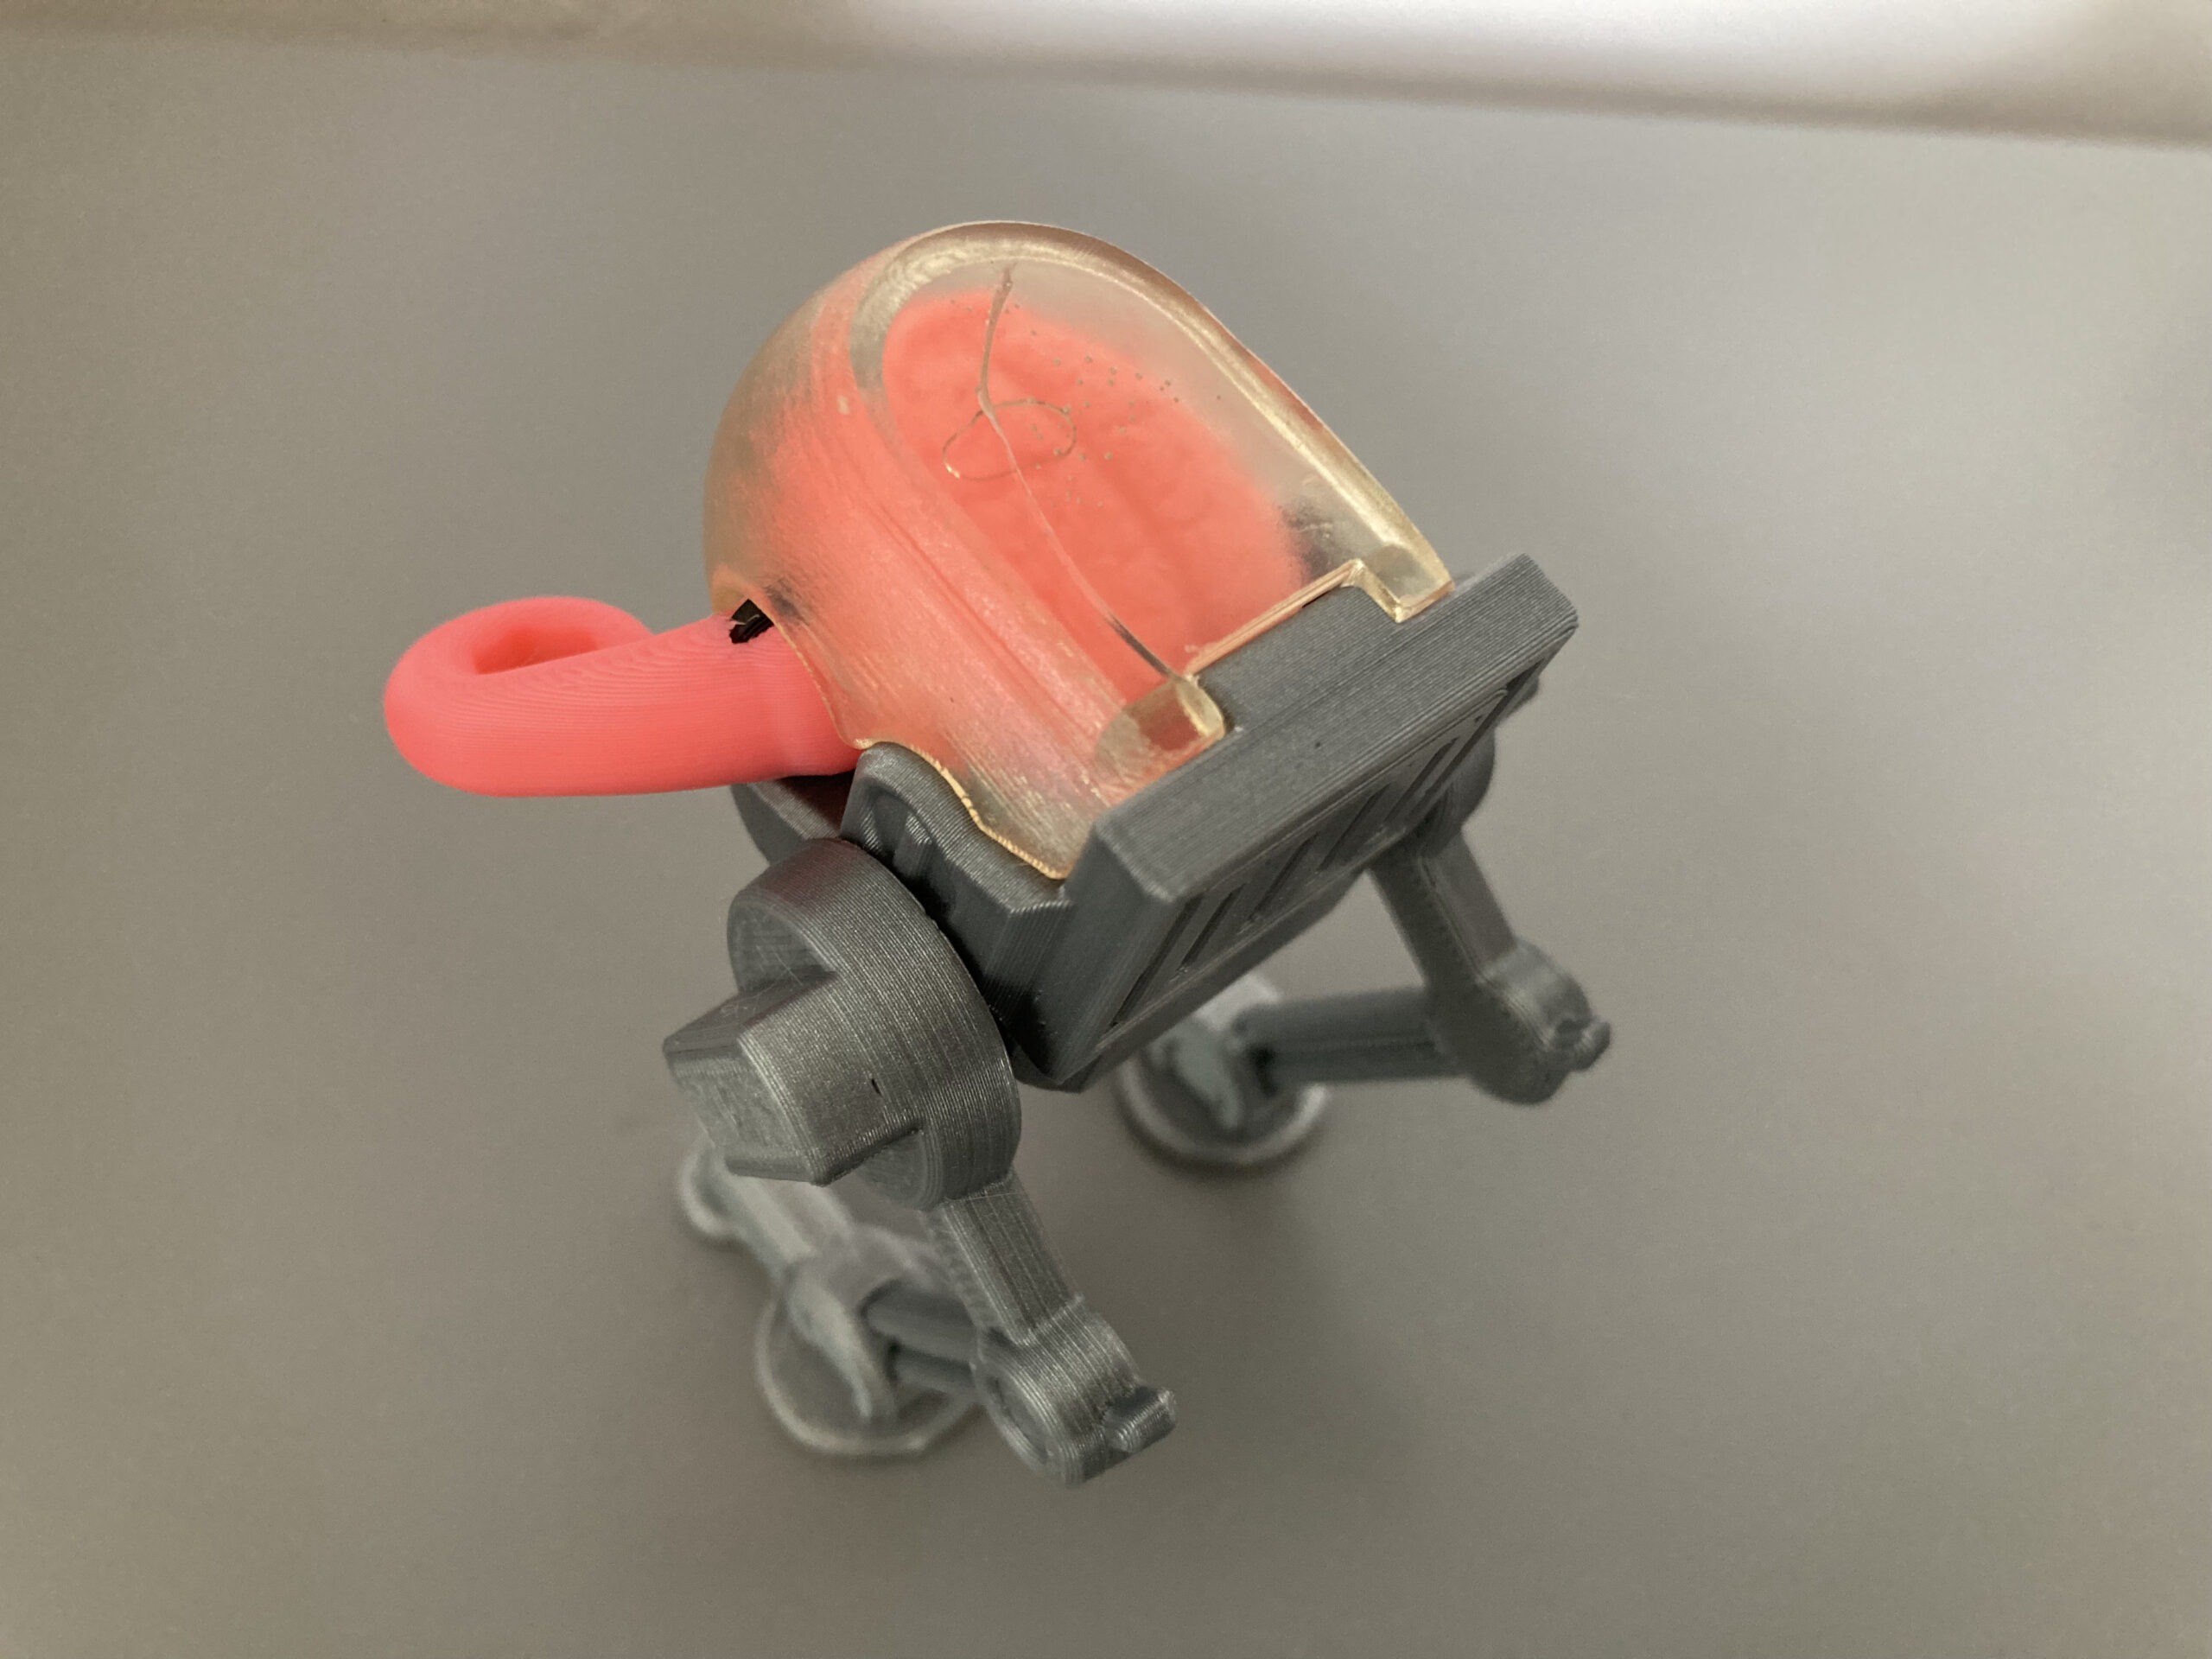
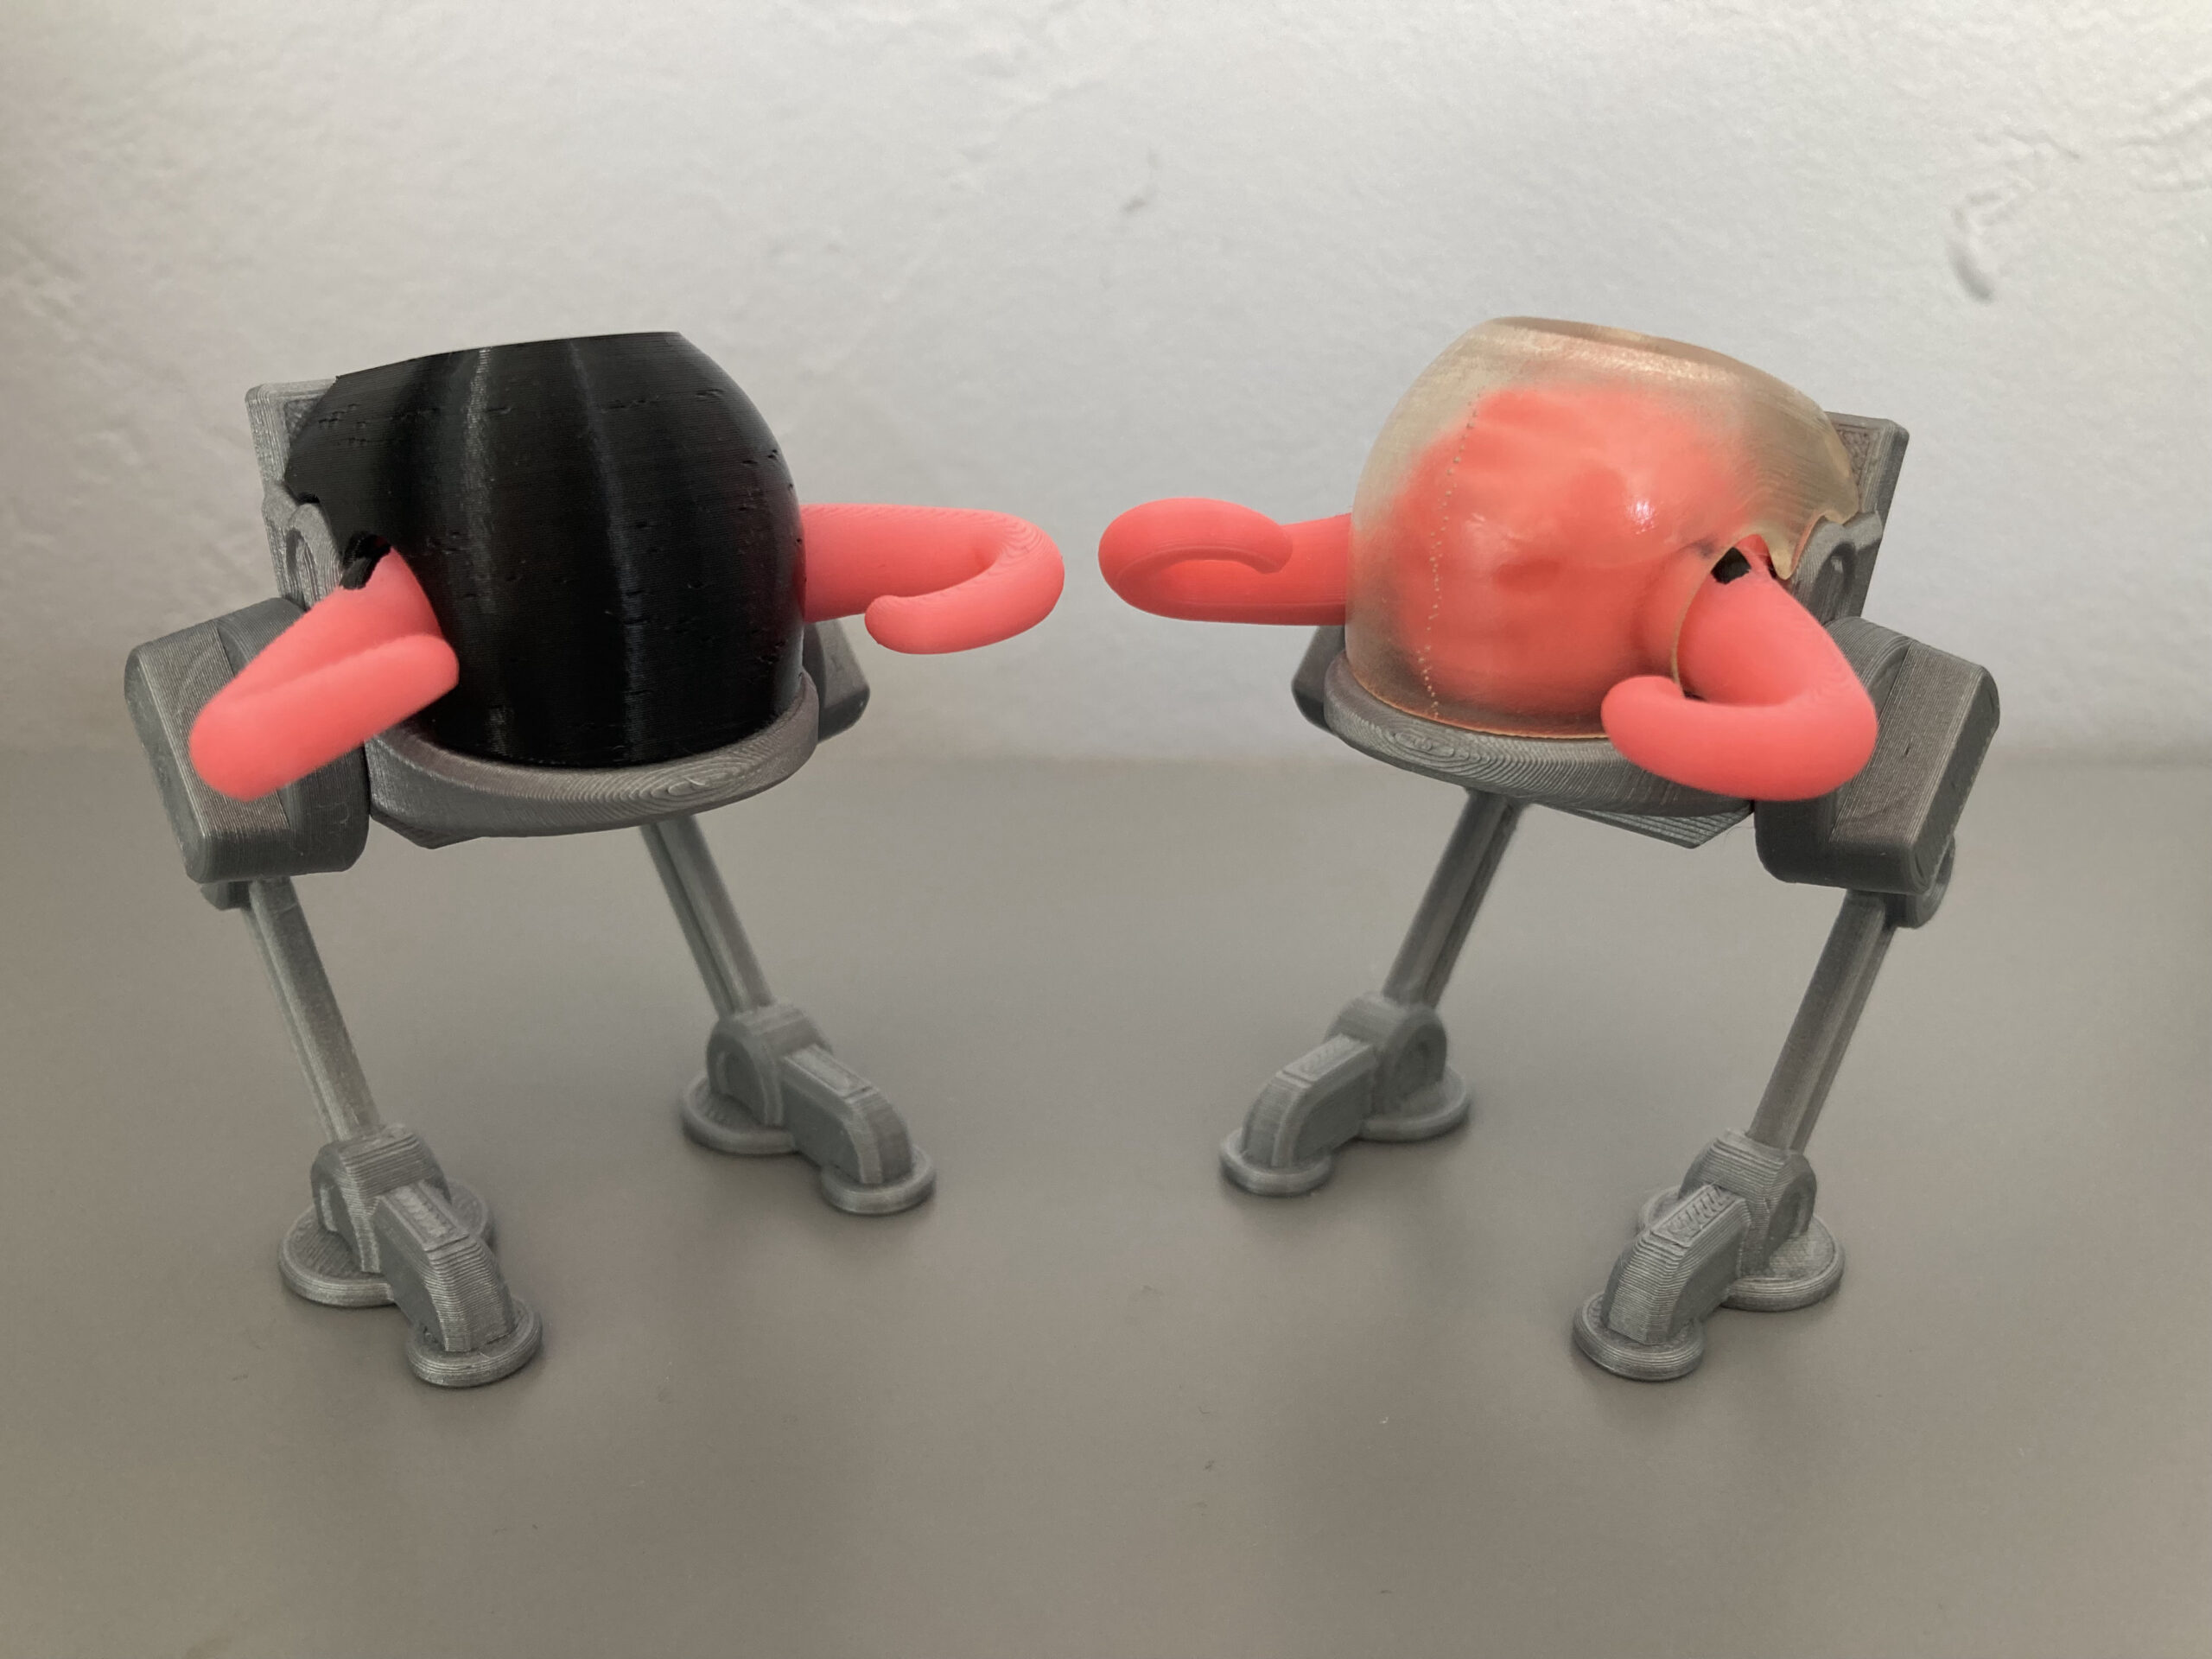
As mentioned, BubbleWalker-Bubble can be made with FDM printing methods. Printing it in black inadvertently makes it look a bit like a little ED-209.
Files
Click the Download button below for a zip file containing all the components
Files are available under the Creative Commons BY-NC-SA license.
Like what you’re seeing here? Leave me a comment down below, follow me on Mastodon @DragonMountainDesign@mastodon.social (to be honest, I barely use any social media anymore), and/or say “hey” if you ever see me or my work out around on the internet.
Realize it’s, uh… been a little while since I last posted. Among other things, been working on some bad photo editing projects that may or may not eventually be shared here (purposefully “bad” because I currently lack the capacity and skill to make them “good”). In the meantime, behold the glory that is this Krang model hastily slapped and warped into a screen grab of the 1980’s cartoon!
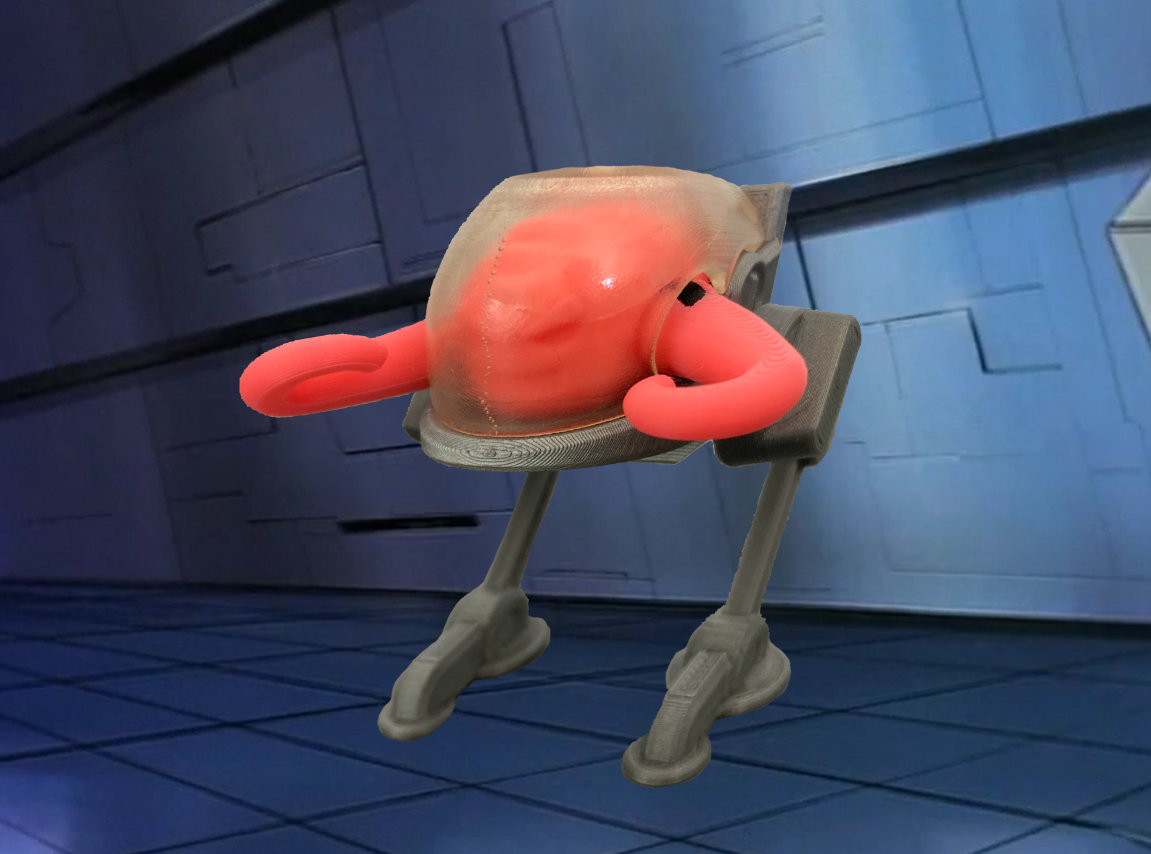
Magnificent.
4 Comments
I’m so happy to see these resurface! These are the BEST 3D printed toys out there! My son (3 yr old) and I have had a blast making these!
Thank you for the kind words! I was happy to continue this too.
WOW! any chance of foot clan in the future?? or Fugitoid?:D
The TMNT are my all-time favorites, so I hope to do more. Only time will tell. 🙂