Dyson V8 Backend Filter Attachment Replacement Part

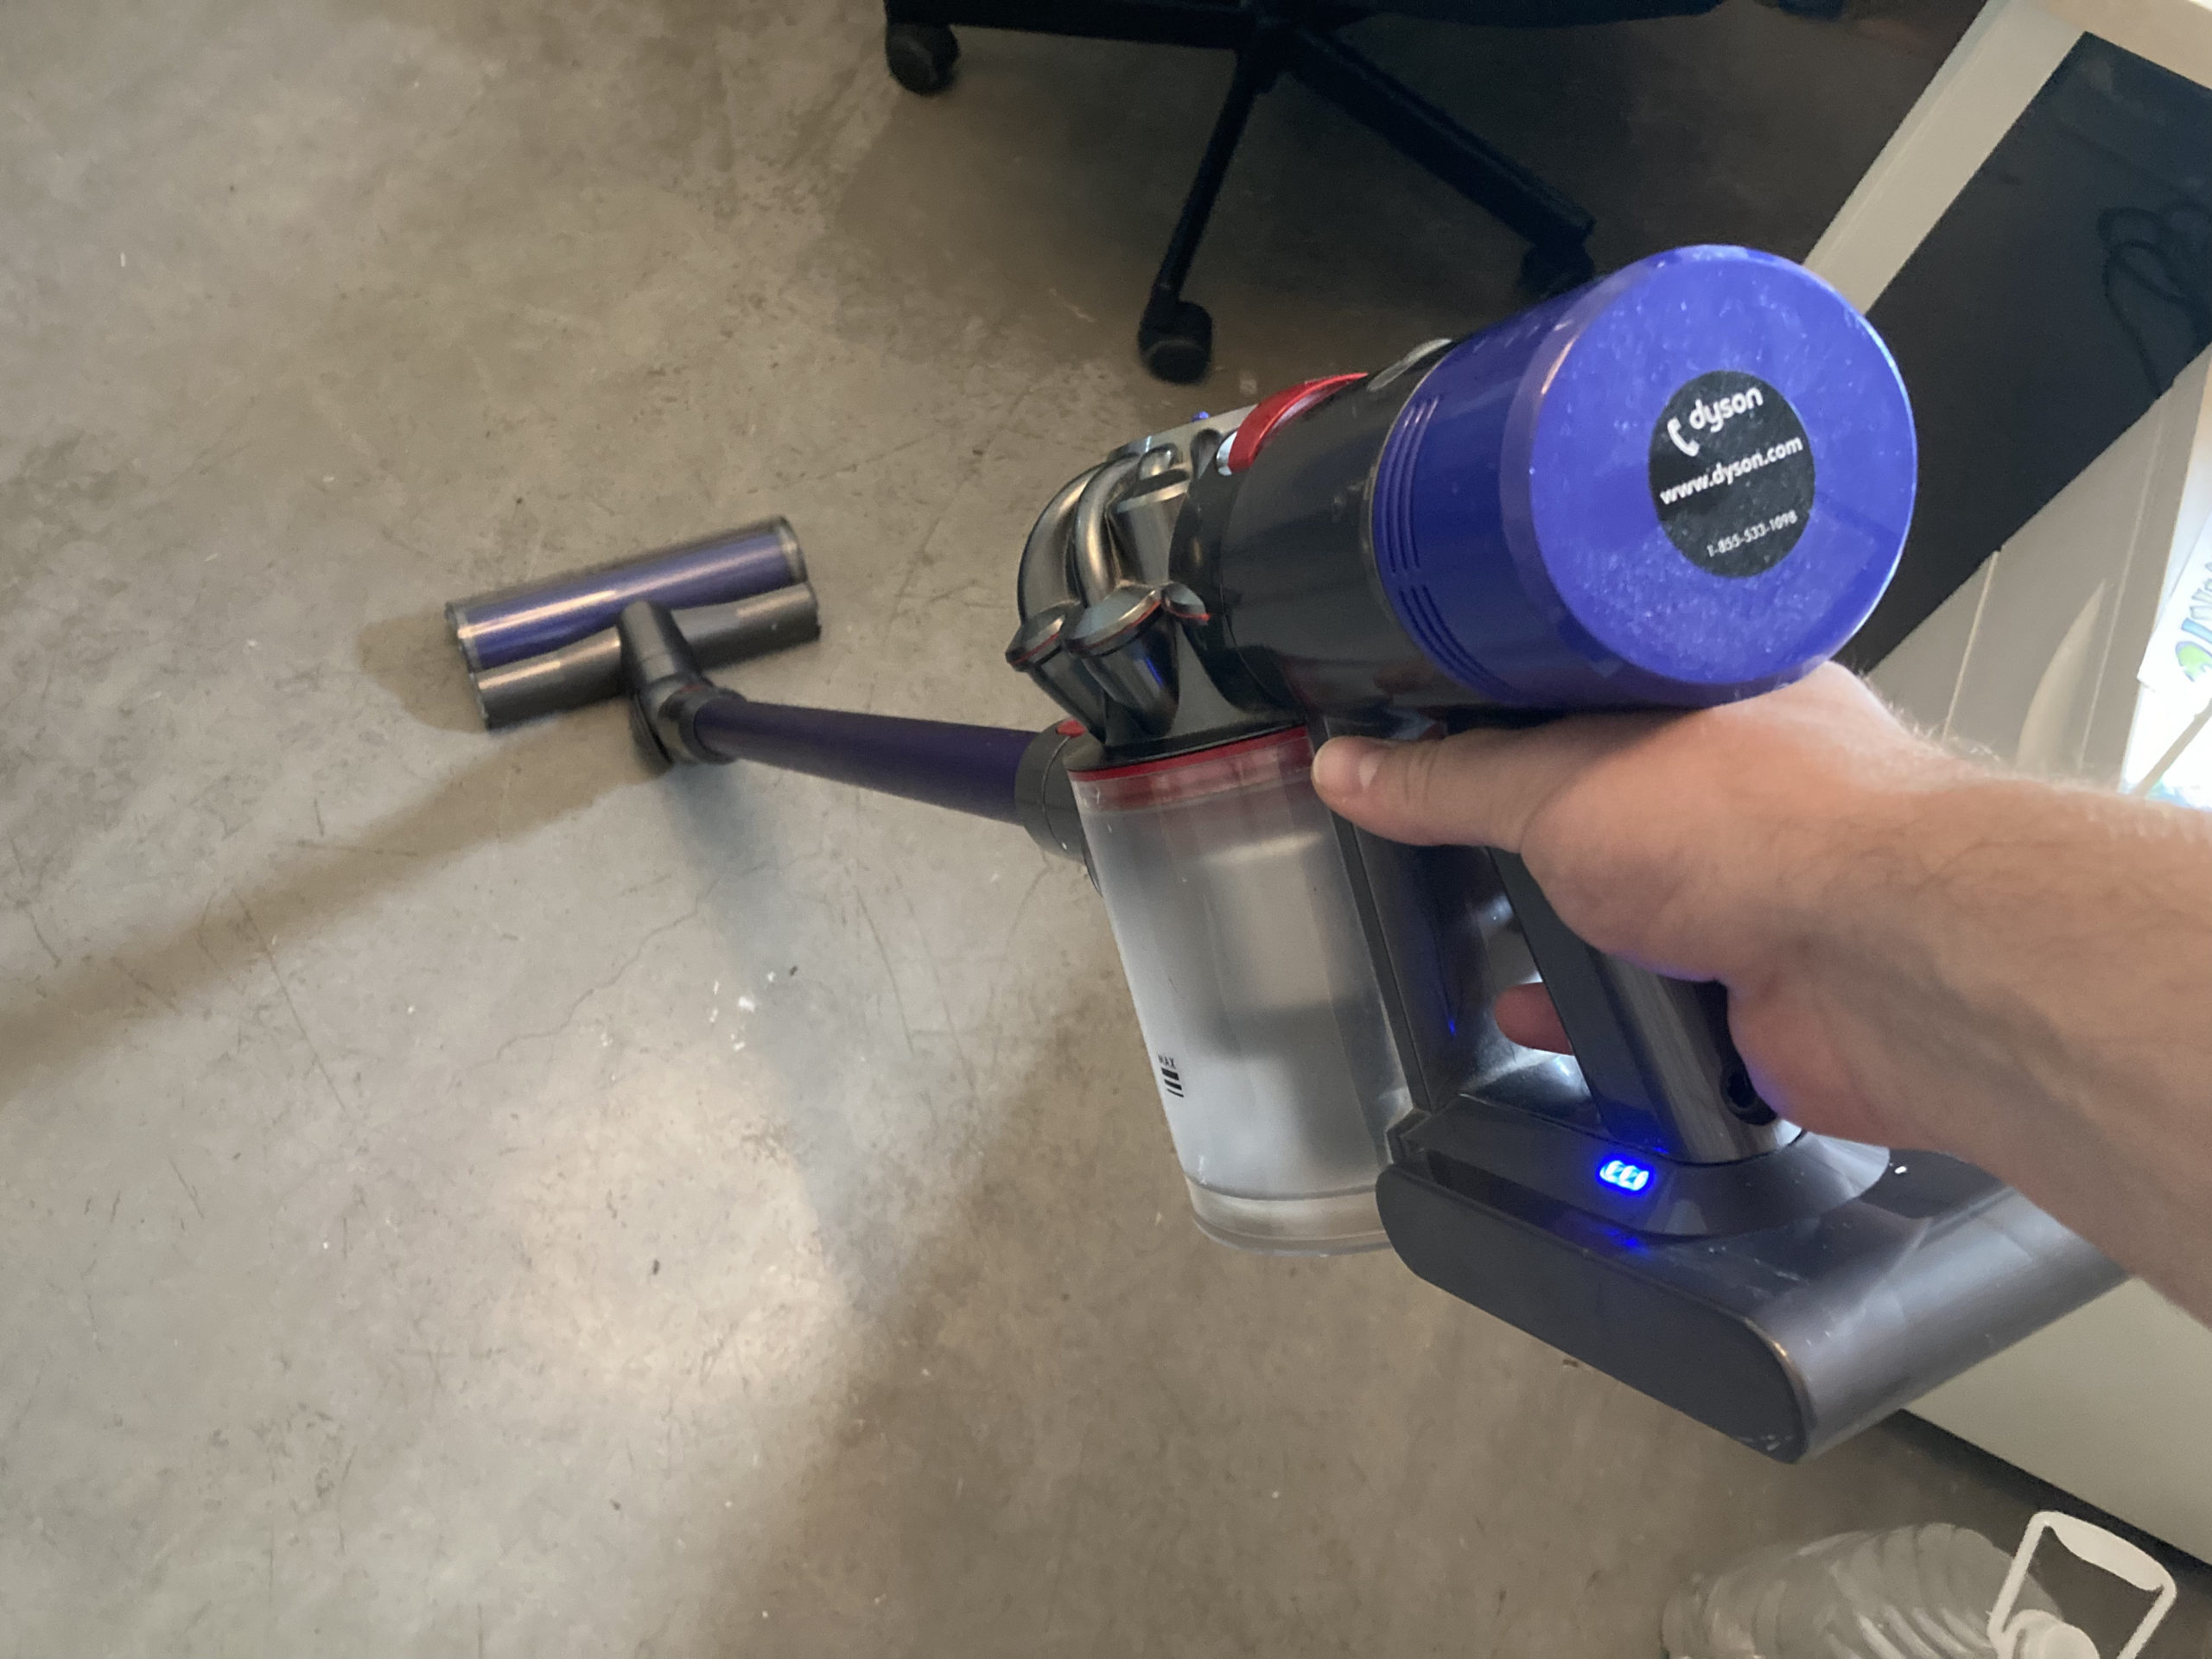
Sometimes things get broken when young, helpful hands drop them on the floor. When the manufacturer doesn’t sell the part as a replacement, what do you do?
Obviously you reverse-engineer it because throwing away an otherwise perfectly fine machine is out of the question.
Design Notes
Dusted off my Onshape account credentials for this project, as my wife has been using my personal computer more often for her work and school. Friends, I had forgotten how wonderfully polished and convenient this software is to use. As long as you don’t mind public access to all your files in the free version, I highly recommend it.
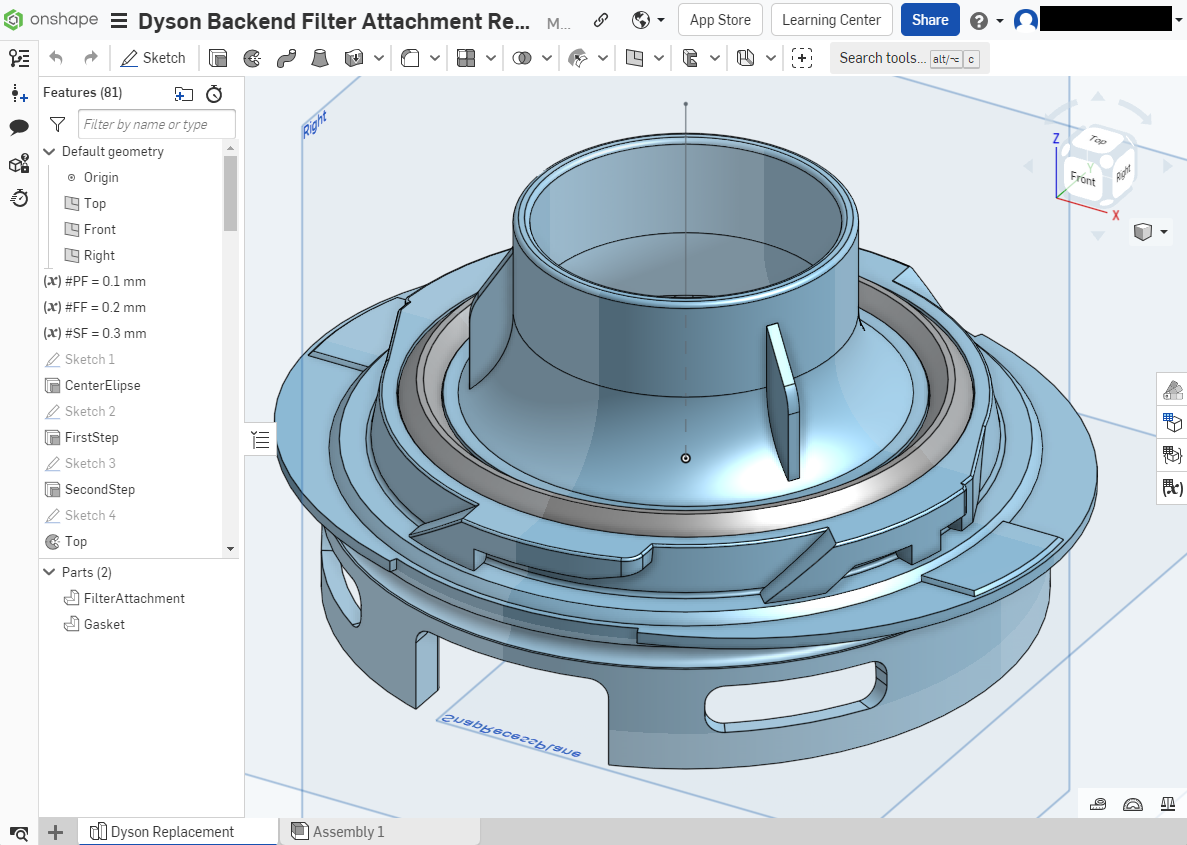
Using calipers and liberal application of the “eyeball test,” (holding the part up to the screen and comparing with a closely-scaled model image) I focused on the “top” features that mate with the filter itself first. Once those were more or less complete, that half was printed to test the fit with the filter component. Small adjustments were made, the “bottom” features were implemented, and a second test print was finished. After that, I essentially had all of the physical fit feedback necessary, and the design was finalized.
In regard to the gasket, my gut said that a hollow triangular revolved design would allow for a uniform amount of compression and seal. As far as I am aware, it seems to be working. One of the nice things about this being made in Onshape is that if you have a better idea, all the features are there for you to explore and edit as you wish. Would love to hear if you come up with a better gasket design.
Helpful Tools
3D Printer capable of working with flexible materials.
PVA Glue stick (if necessary)
1. Print out Parts
Files (STL and STEP) can be found at the bottom of the page along with a link to the design in Onshape.


Dyson Replacement – FilterAttachment
Material: PLA
Infill: 15-20%
Supports: Yes (Lots of overhangs. Couldn’t be helped here)
Brim: No
Dyson Replacement – Gasket
Material: Flex (98A)
Infill: 15-20%
Supports: No
Brim: No
2. Assemble Replacement
Attach the replacement gasket to the filter attachment. Use a little PVA glue if necessary just to keep it in place while you’re working with it.
Use the o-ring from the original part and fit it in place on the attachment (did not get a photo of it for this).

3. Assemble Onto Vacuum
Line up the large gap with where the majority of the wiring can be seen in the vacuum, and snap-fit the replacement in place.

4. Attach Filter
Line up and twist to lock everything into place.

5. Clean Support Materials Off the Floor
I mean, everything is ready at this point. You might as well tidy up.
Files
Dyson V8 Backend Filter Attachment Replacement – Onshape
Files are available under the Creative Commons BY-NC-SA license.
Like what you’re seeing here? Leave me a comment down below, follow me on Mastodon @DragonMountainDesign@mastodon.social (apparently fosstodon wasn’t a good place? I don’t know… I don’t hold any socials very tightly anymore), and/or say “hey” if you ever see me or my work out around on the internet.
Oh, I also entered this into the Prusa Printables Replacement Parts Contest because the timing just happened to work out that way and I figured, “why not?”
2 Comments
Have you made any thoughts to Improving the battery maybe a one with like 10 amp Hours? Also wanted to see how you been?
Hello Steven! I haven’t looked into this, but may have to now. Haven’t had any issues with the battery thus far.
I’m doing well. It’s good to hear from you. 🙂