Train Whistle
For my son’s first birthday, we got him a train table and wooden train set. At the moment, he mostly smashes bits of track together and rams the train cars around with gusto, but I thought a train whistle would make a nice addition to round everything out.
Now, I should preface that my wife’s dad has an old wooden train whistle that works just fine, but I thought it’d be a fun exercise and experiment to design and print one myself.

I used the old wooden whistle as a reference point for size, and quickly modeled one up. Just as I was about to export the part for printing, it occurred to me that I didn’t know the correct depths of the pipes to get the correct tones. All four became through-holes and rods with NinjaFlex SemiFlex plungers were added to the mix.
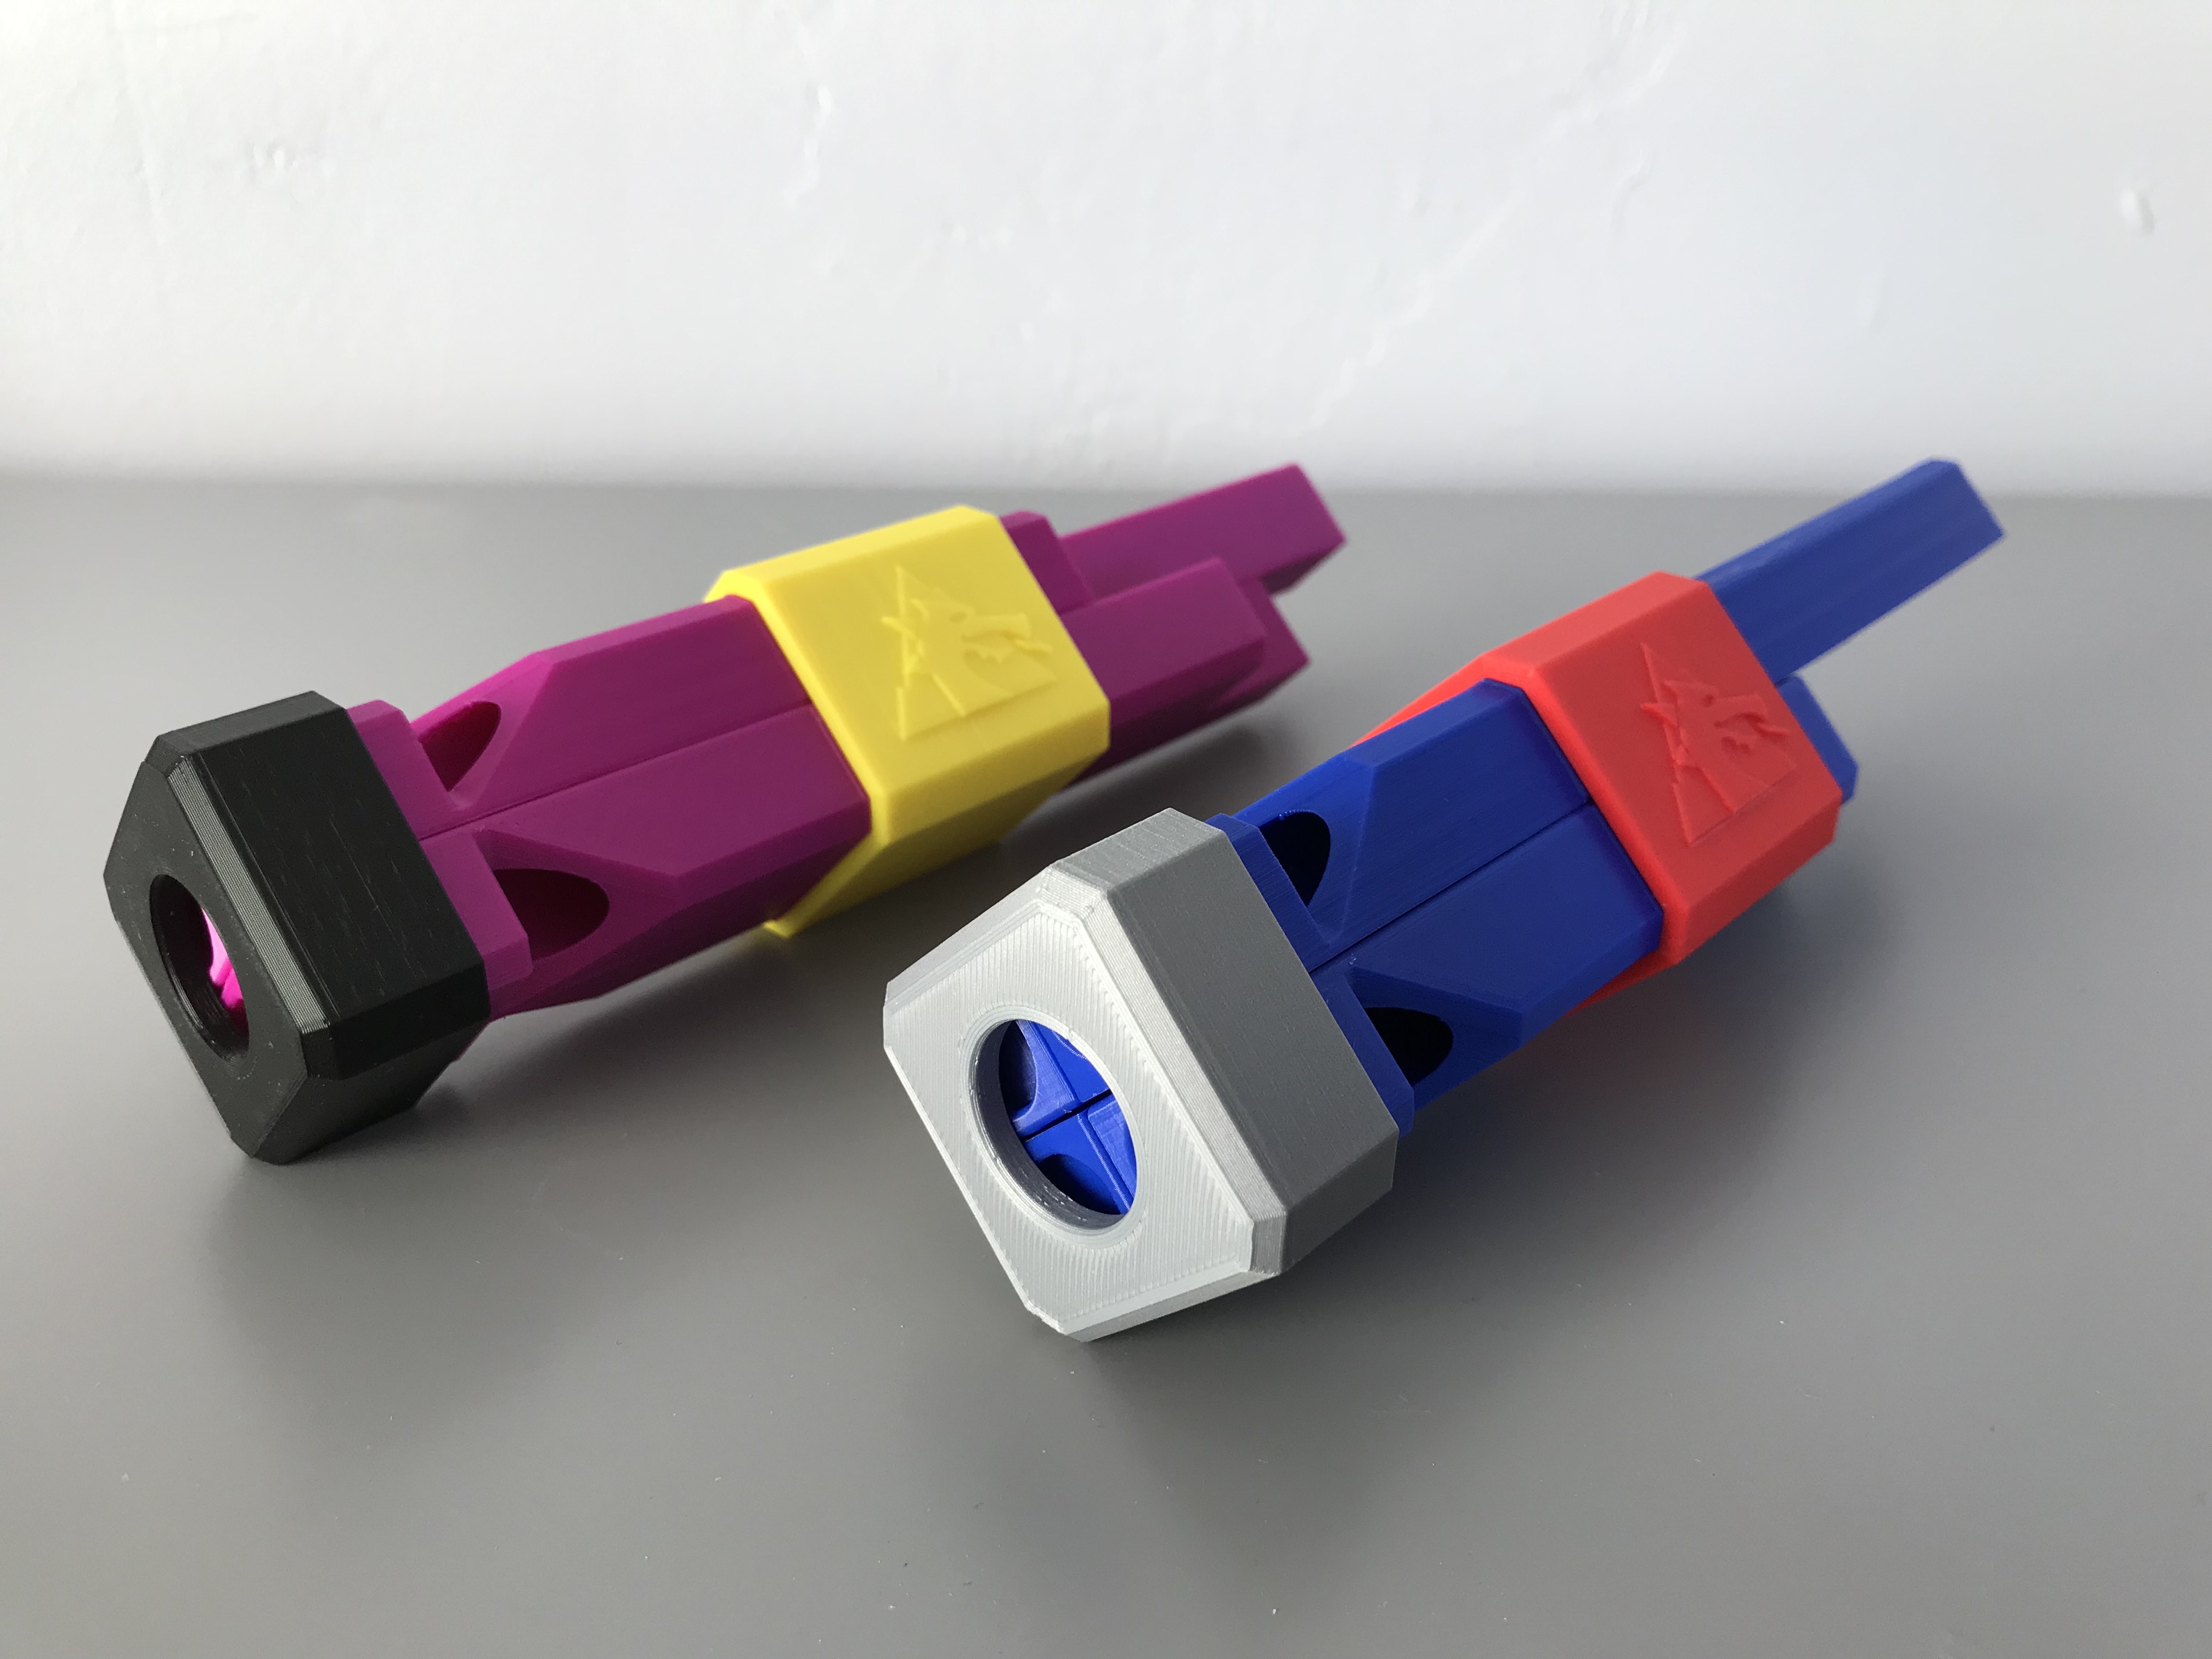
This led to some minor success, but it was really difficult to pin the tones down four at a time. My wife also correctly pointed out that making an exact replica of an old train whistle was not as exciting a project as it could be, so I split the whole thing up into four interlocking pipes, a mouthpiece, and a sleeve to hold everything together. It was way more fun. She is a wise woman.
To get the correct tones, I printed one of the pipes out along with another (better-fitting) rod and plunger. A caliper gave me the actual length of the rod/plunger combo as well as the depths each tone required during the tuning process.
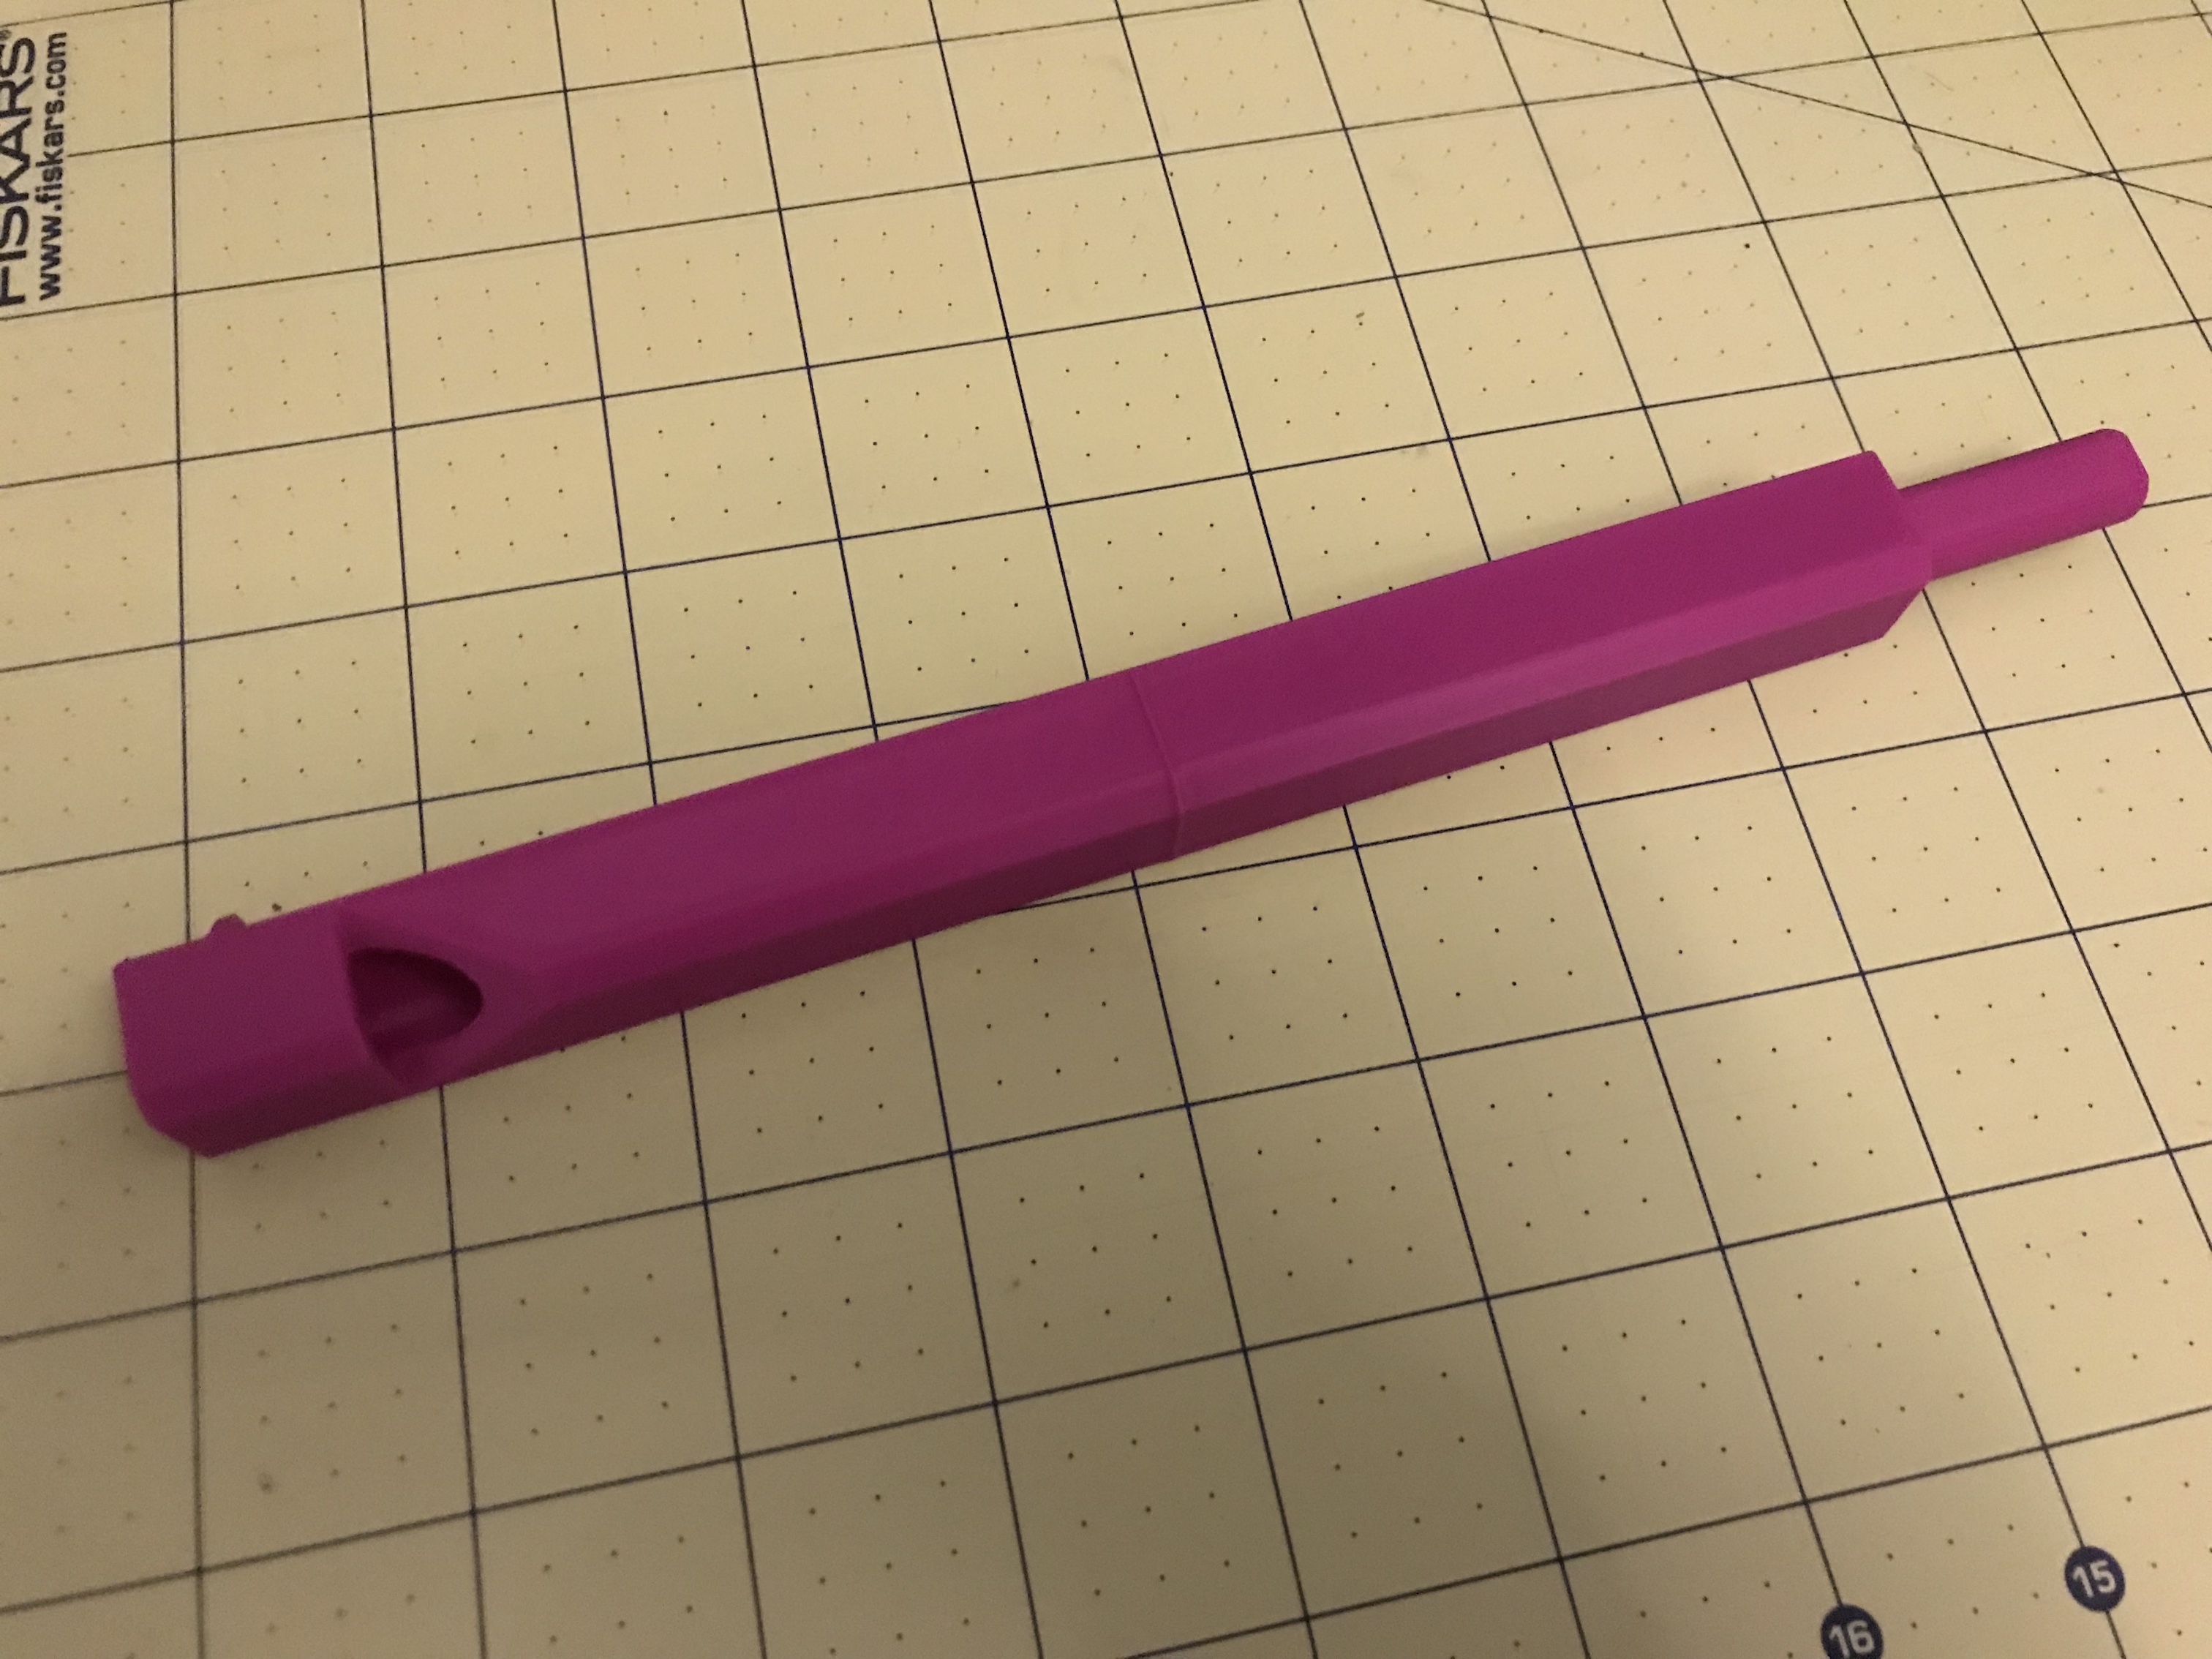
Once that was settled, the four pipes were made to their appropriate lengths, and everything was ready!
Print out Parts
Files can be found on MyMiniFactory.
March 2020 UPDATE: Files can be downloaded directly from this site at the bottom of the page. They are also available on Prusa Printers!
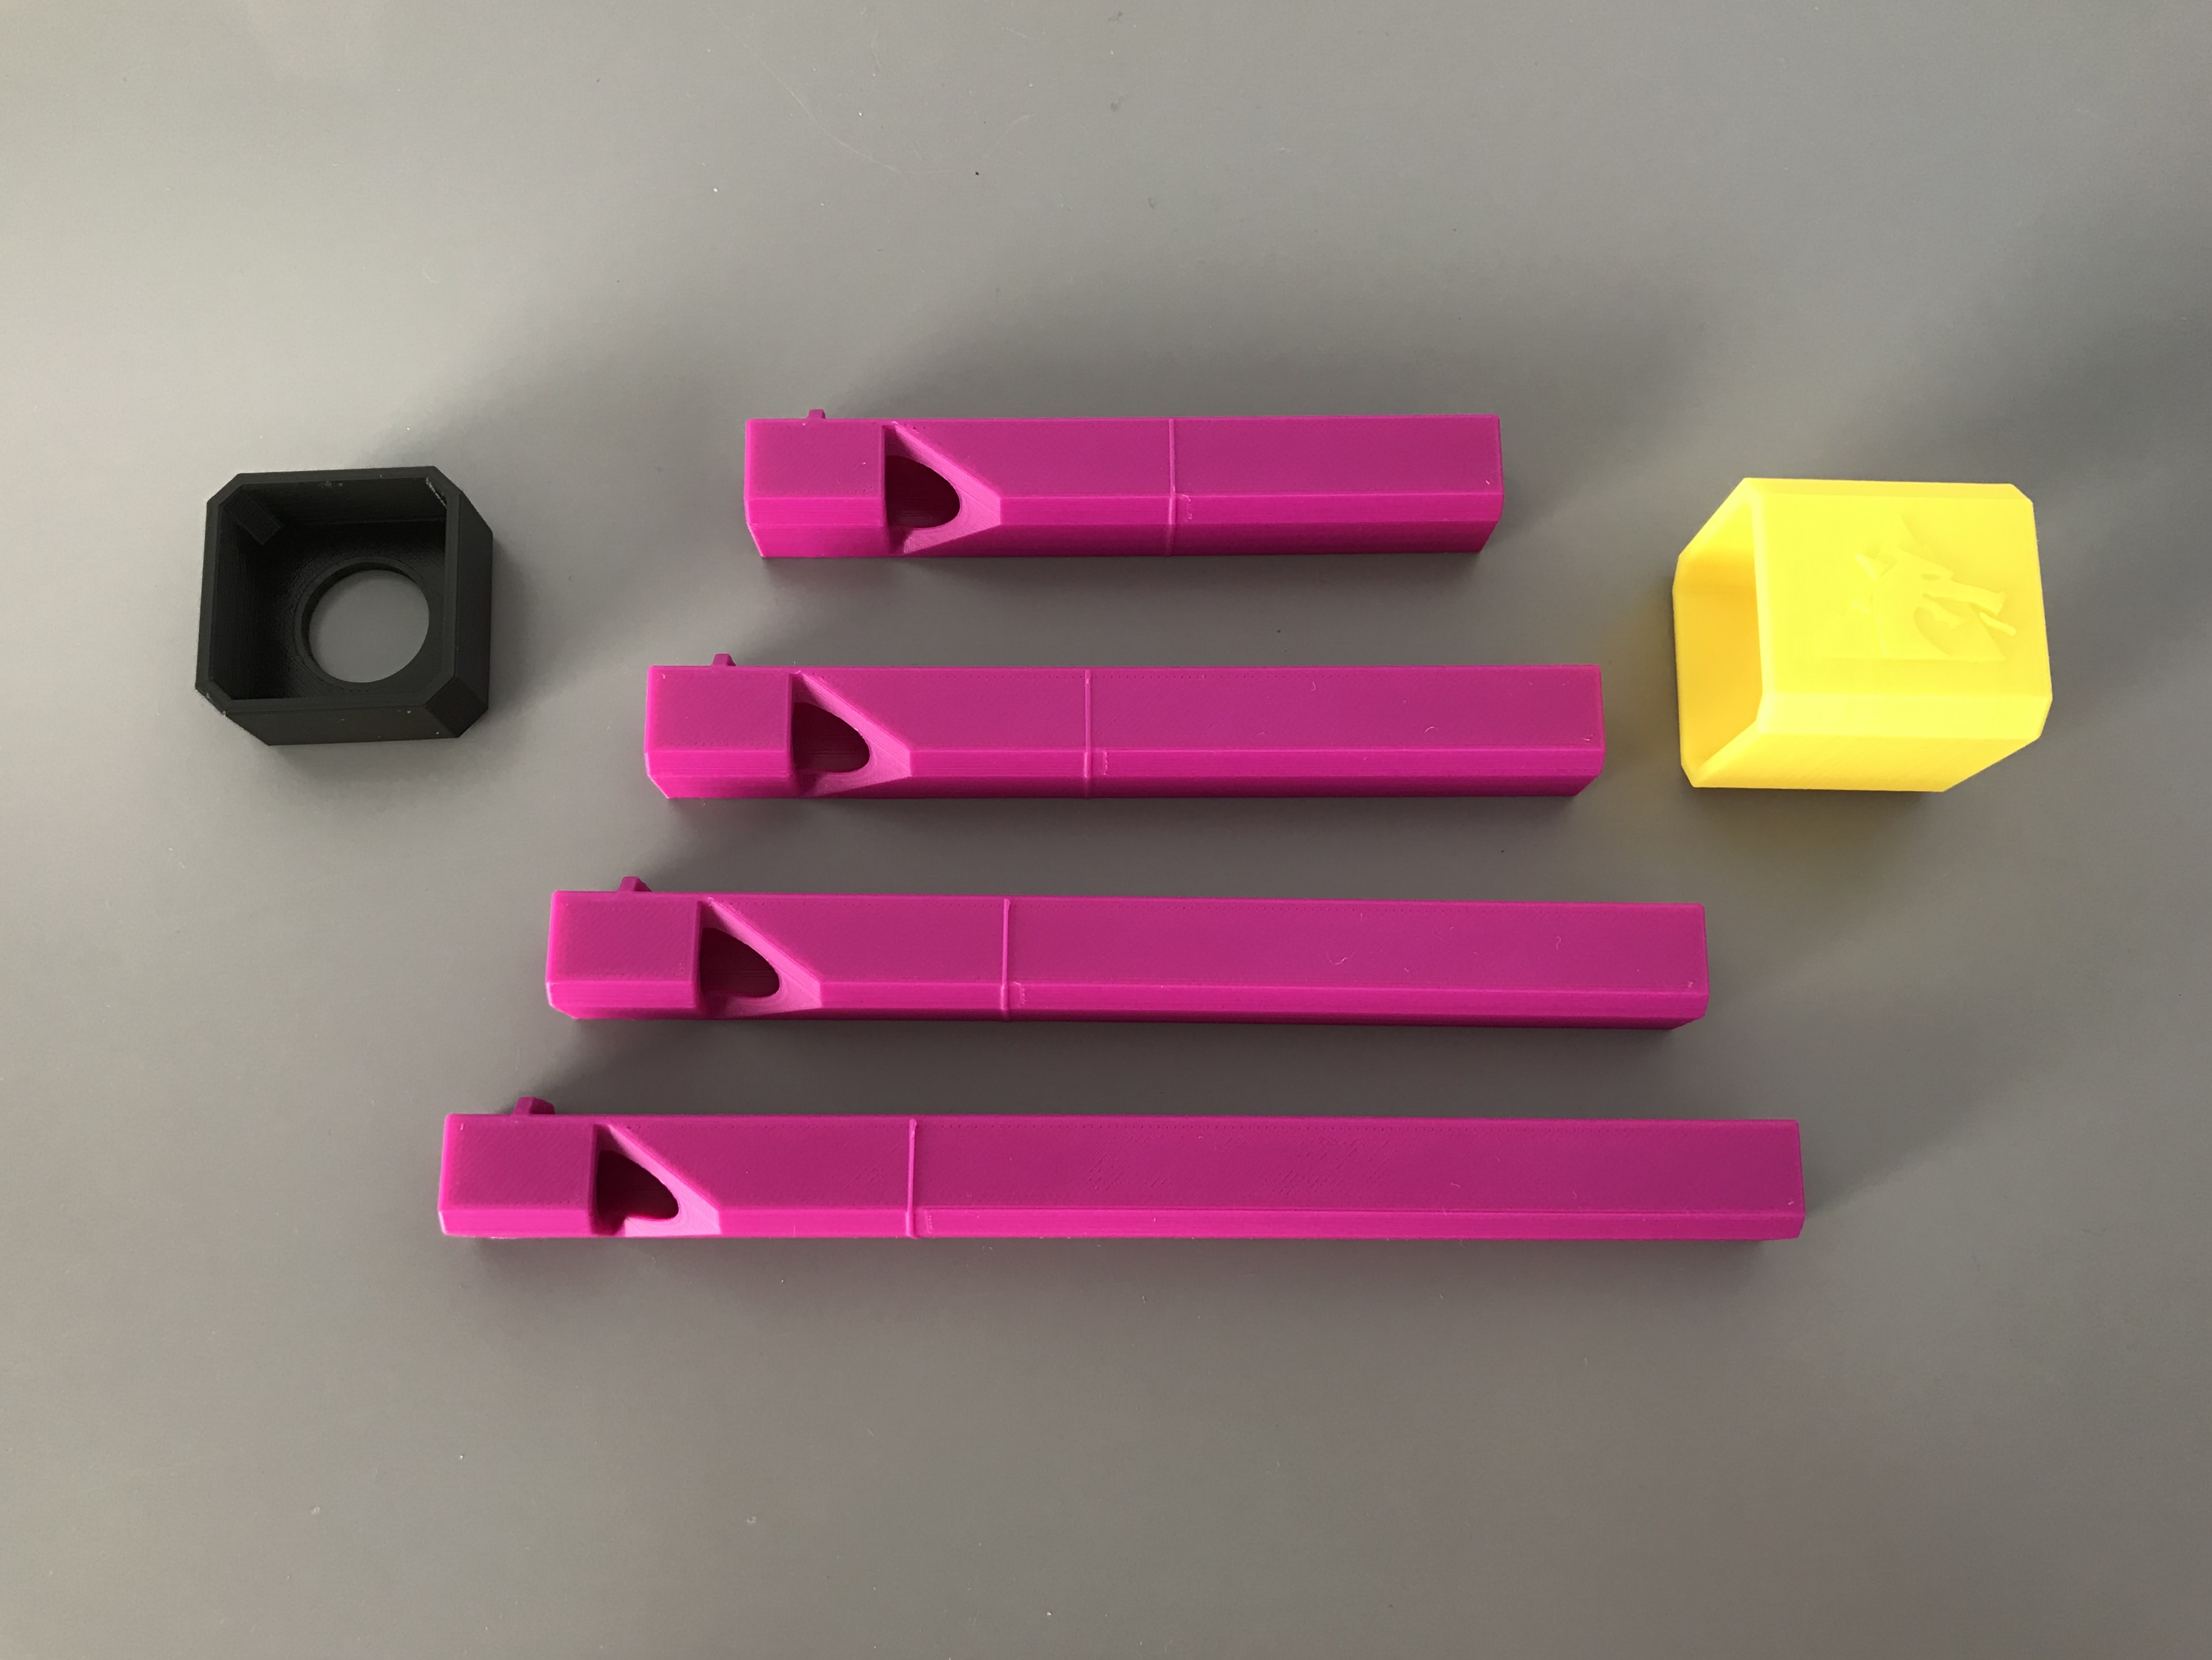
All parts were printed in PLA at 20% infill. A brim setting may not be necessary, but I used it on everything except TW-Mouthpiece.
Assemble Pipes
Each one of the pipes has an inter-locking groove and rib. Fit them together however you please so long as they all have a rib in each groove.


Mouthpiece
Press-fit as shown.


Sleeve
Press-fit as shown.

Toot it up
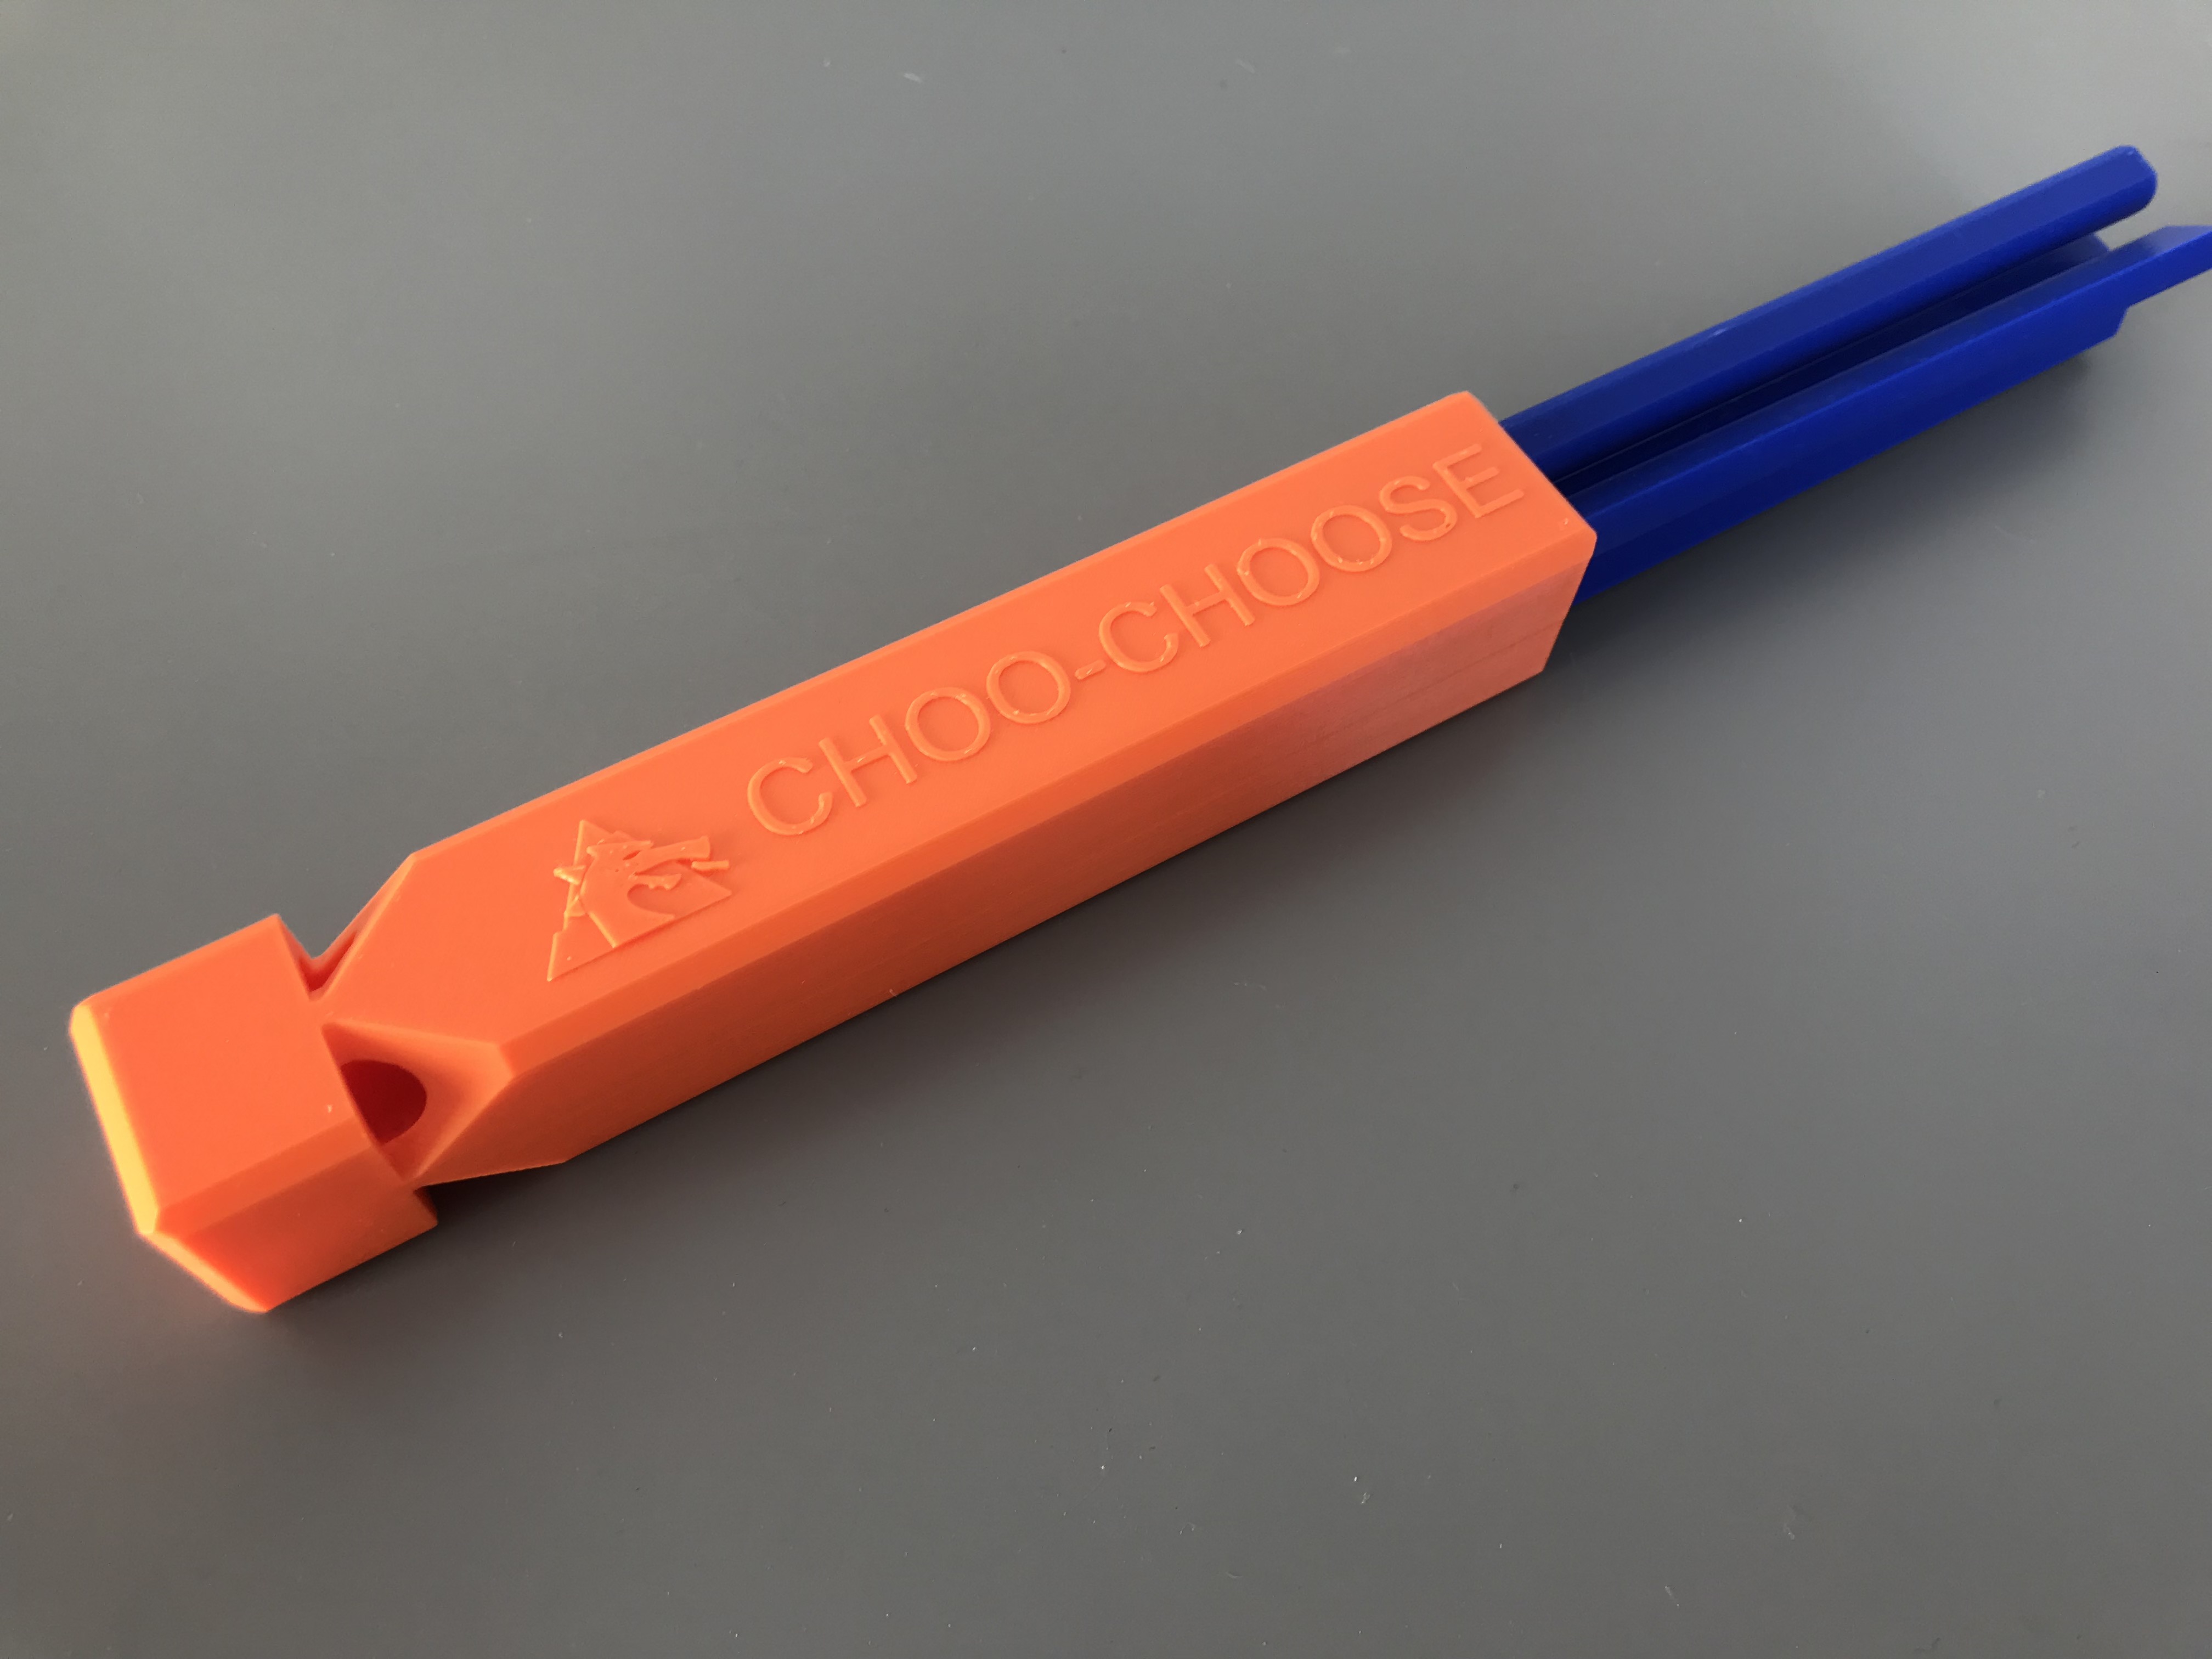
I’m really happy with how the design turned out aesthetically and mechanically, and the whistle itself sounds fantastic! Enjoy!
If you like what you’re seeing here, follow me on Twitter @DragonMtnDesign, or say hello if you ever see u/DragonMountainDesign around on Reddit.
.
.
.
March 2020 UPDATE: Files are available here! Click the Download button below for a zip file.
Files are available under the Creative Commons BY-NC-SA license.
6 Comments
where can you buy this train whistle.
Thanks for your question! The files for this 3D-printable train whistle are free right here from this website. You do not need to buy it.
Your train whistle sounds awesome and printed well. I just don’t think I have enough capacity in my lungs to make it go for more than a second. When hooked up to the air compressor it is definitely fun to play with and very loud.
Thank you! I’m glad you’re enjoying it! There are likely some air gaps between the components which is what is requiring a significantly higher lung capacity. If you can seal some of those gaps up with some sort of non-toxic bonding agent, it may be a lot easier to use (just don’t get any inside the whistles themselves).
What orientation are these printed and did they need any supports?
Hello!
With the exception of the yellow “sleeve,” all parts are printed in the orientation shown in the image under “1. Print out Parts.” No supports are necessary. Hope you enjoy!