Cheekymandos – MiniVamp
ROCK-ROCK ON!!
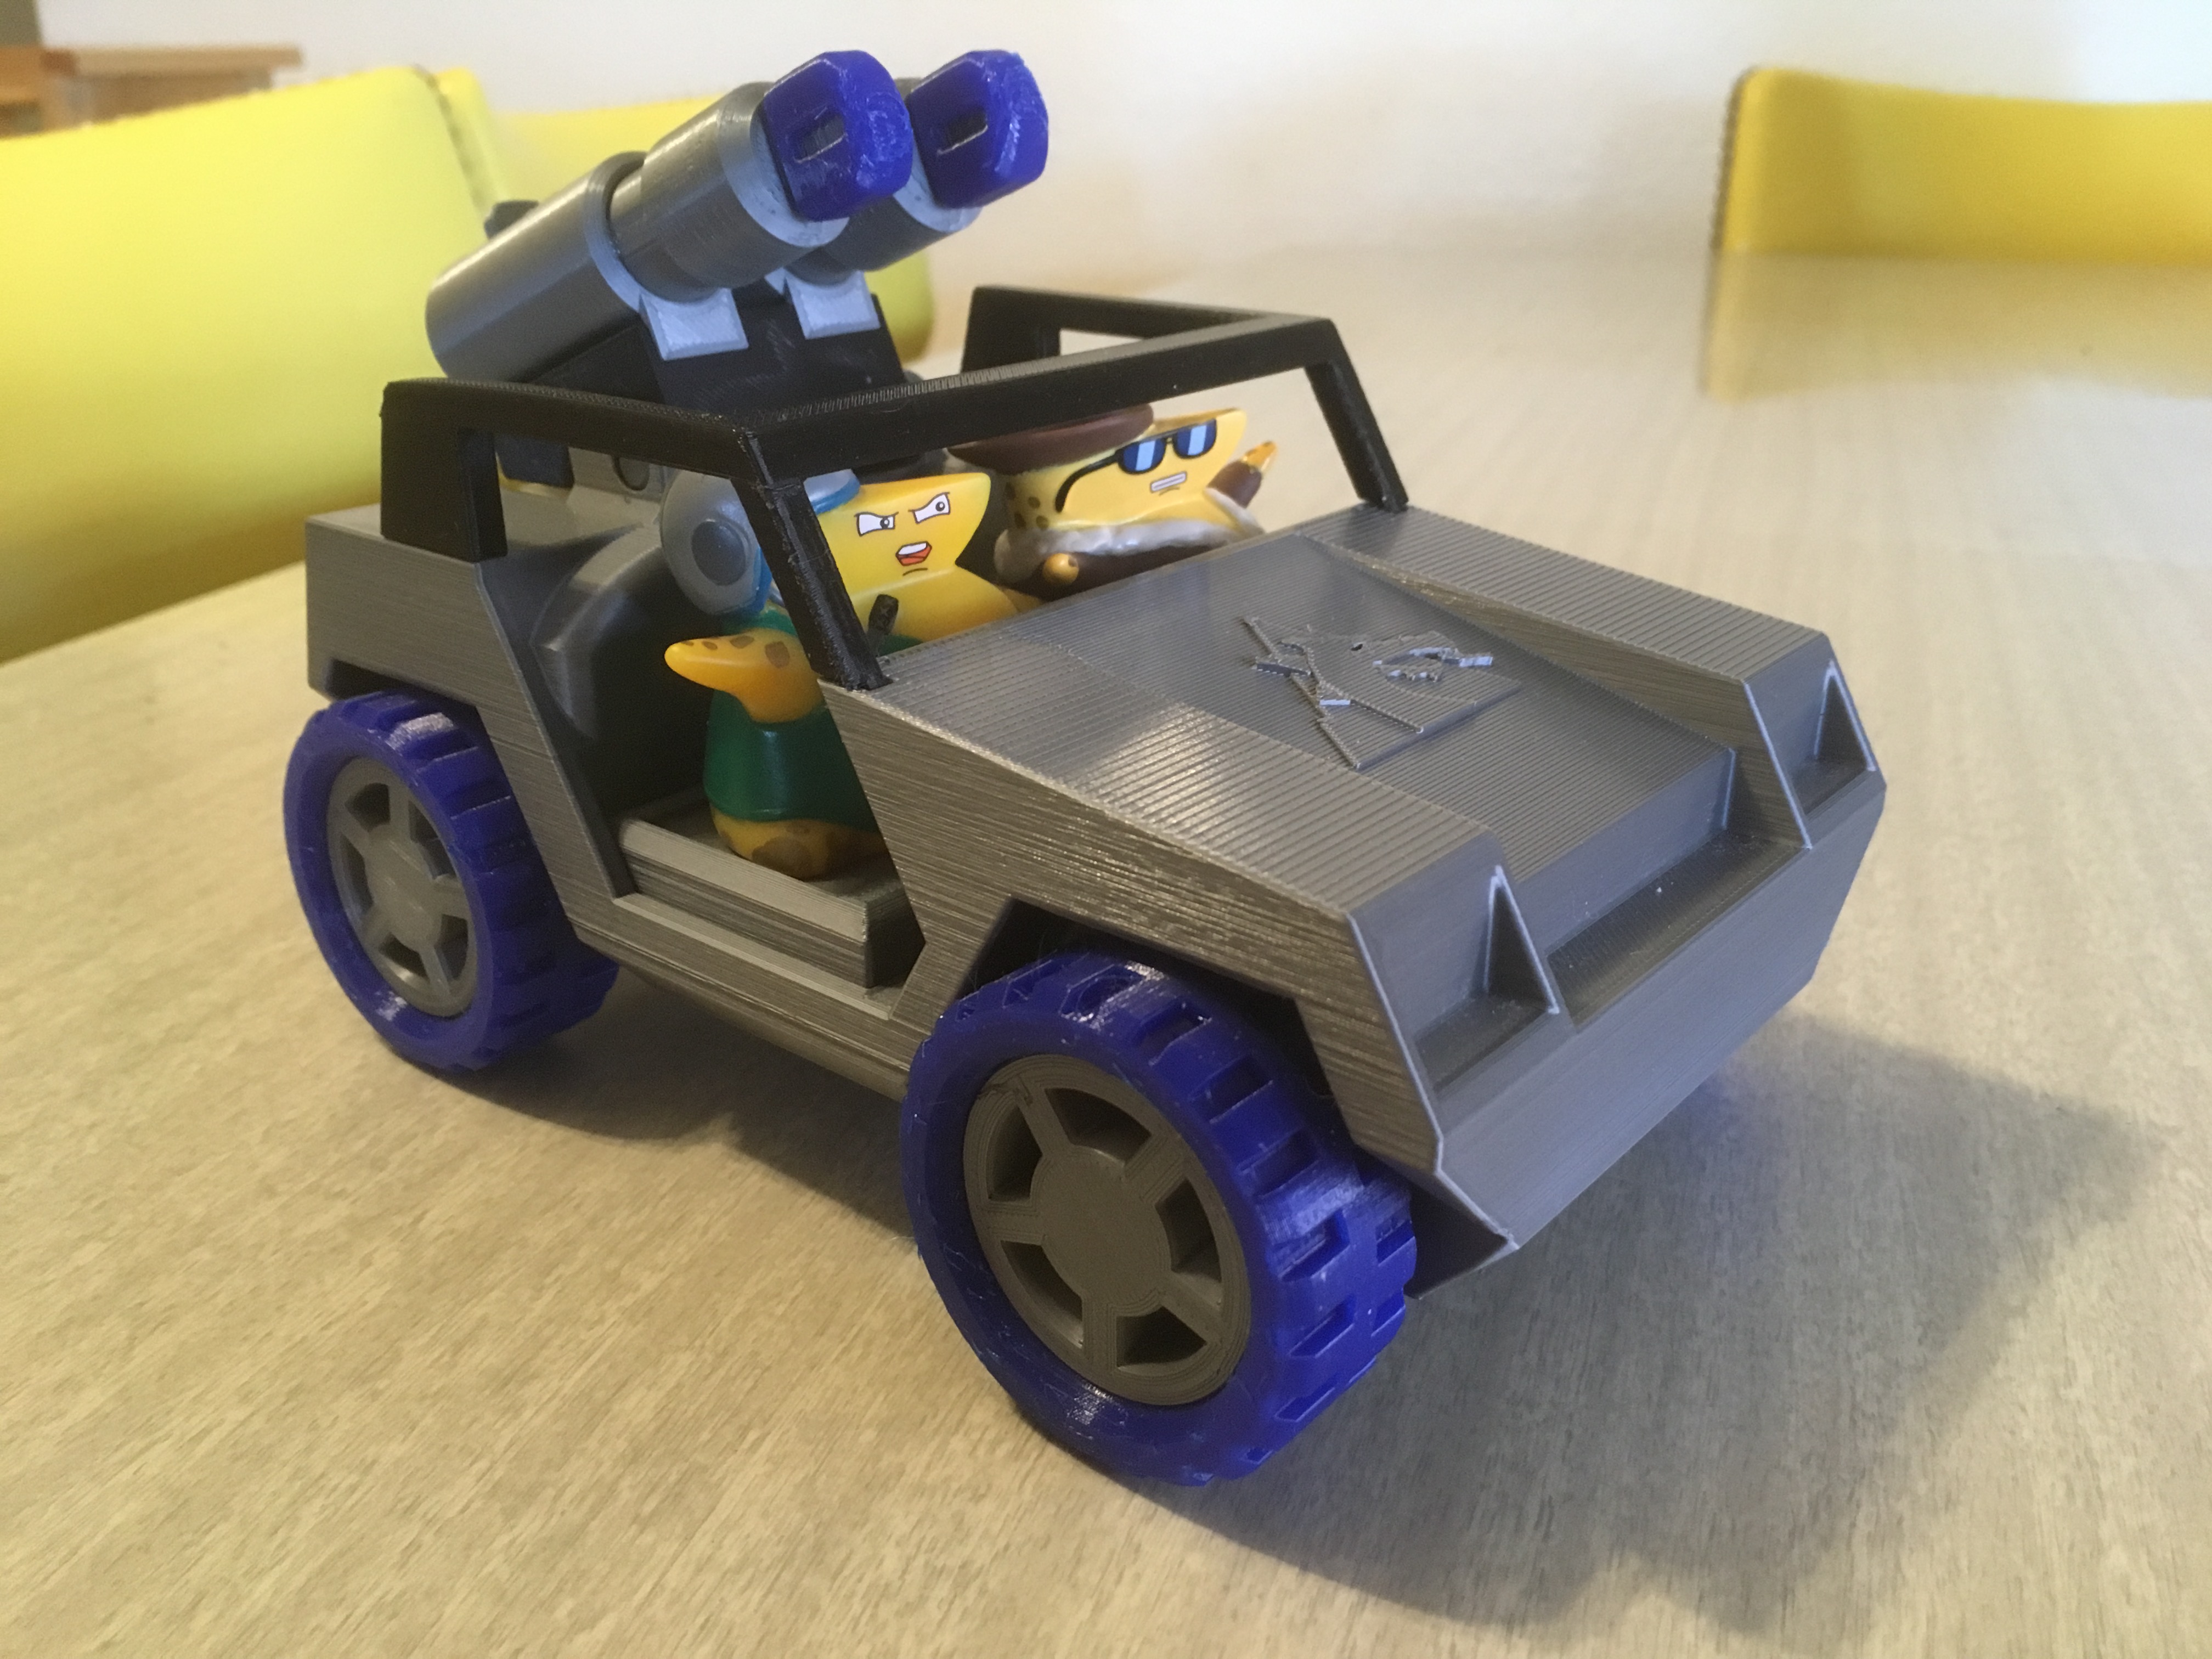
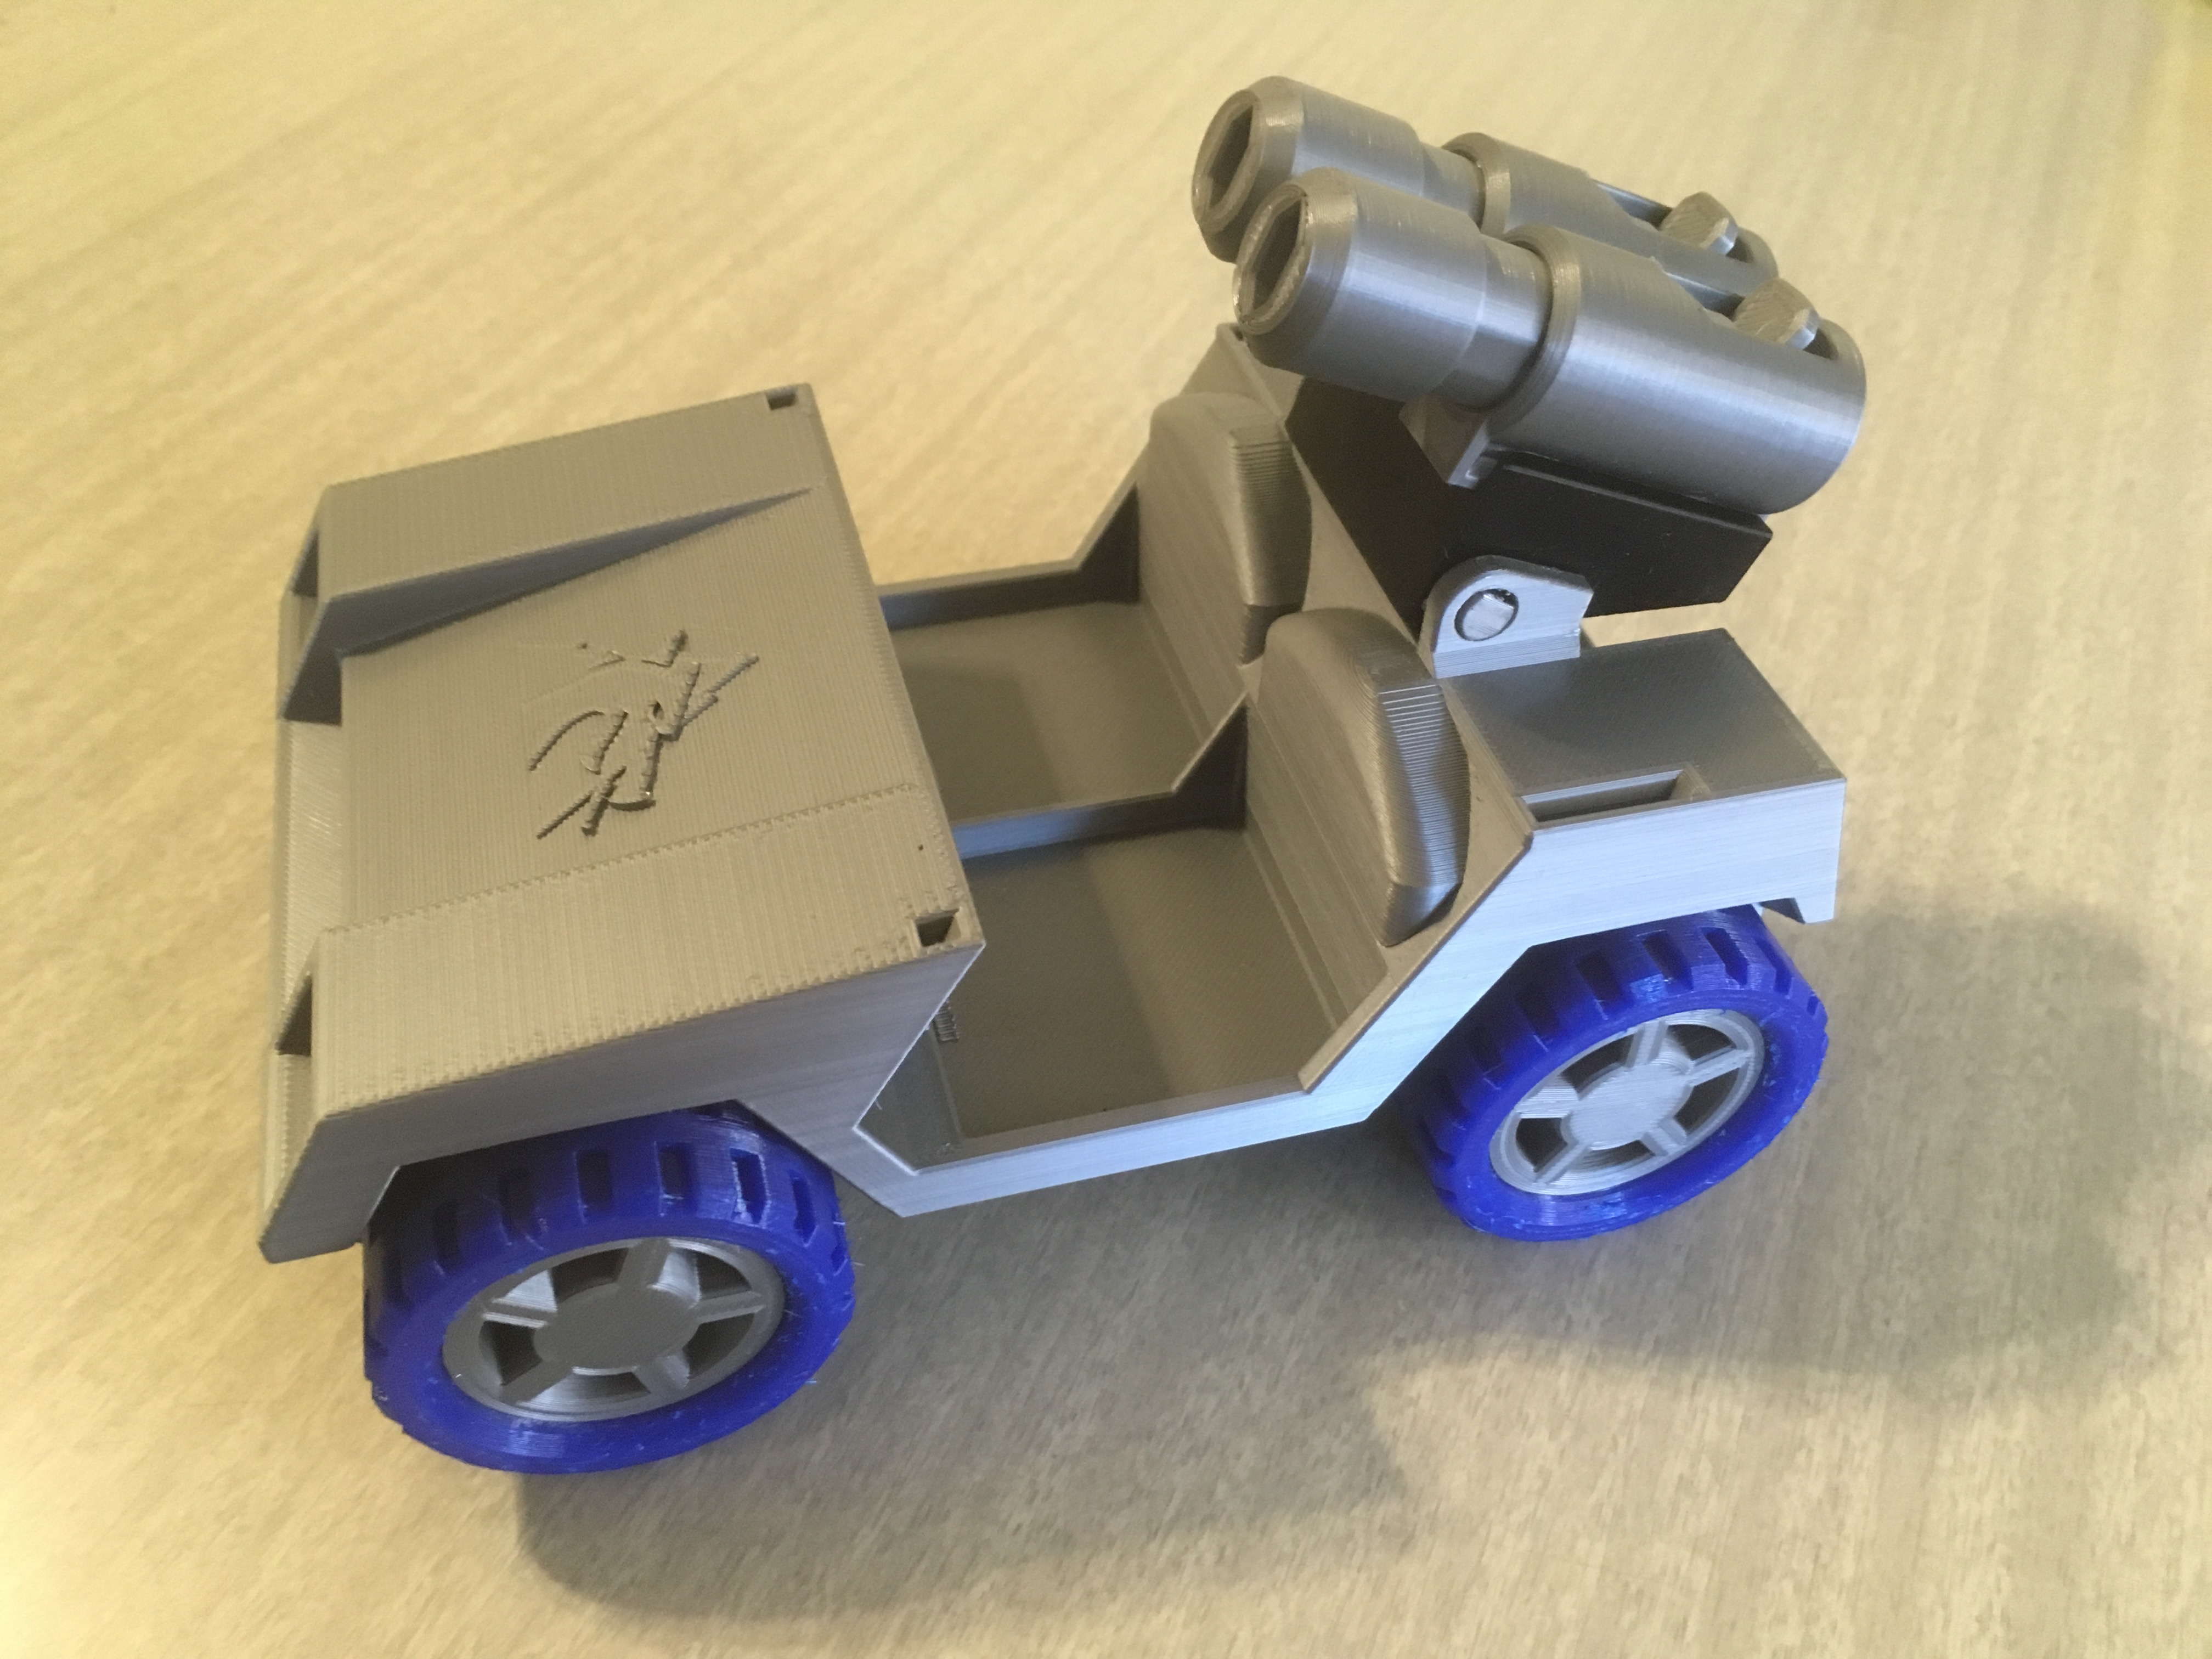
As the name suggests, this very clearly takes inspiration from the 1982 GI-Joe VAMP. In fact, the design was developed by importing screen grabs into Fusion 360 and modifying proportions here and there.
Parts List:
3/16″ OD x 9″ L Stainless Steel Shaft – McMaster 1257K108
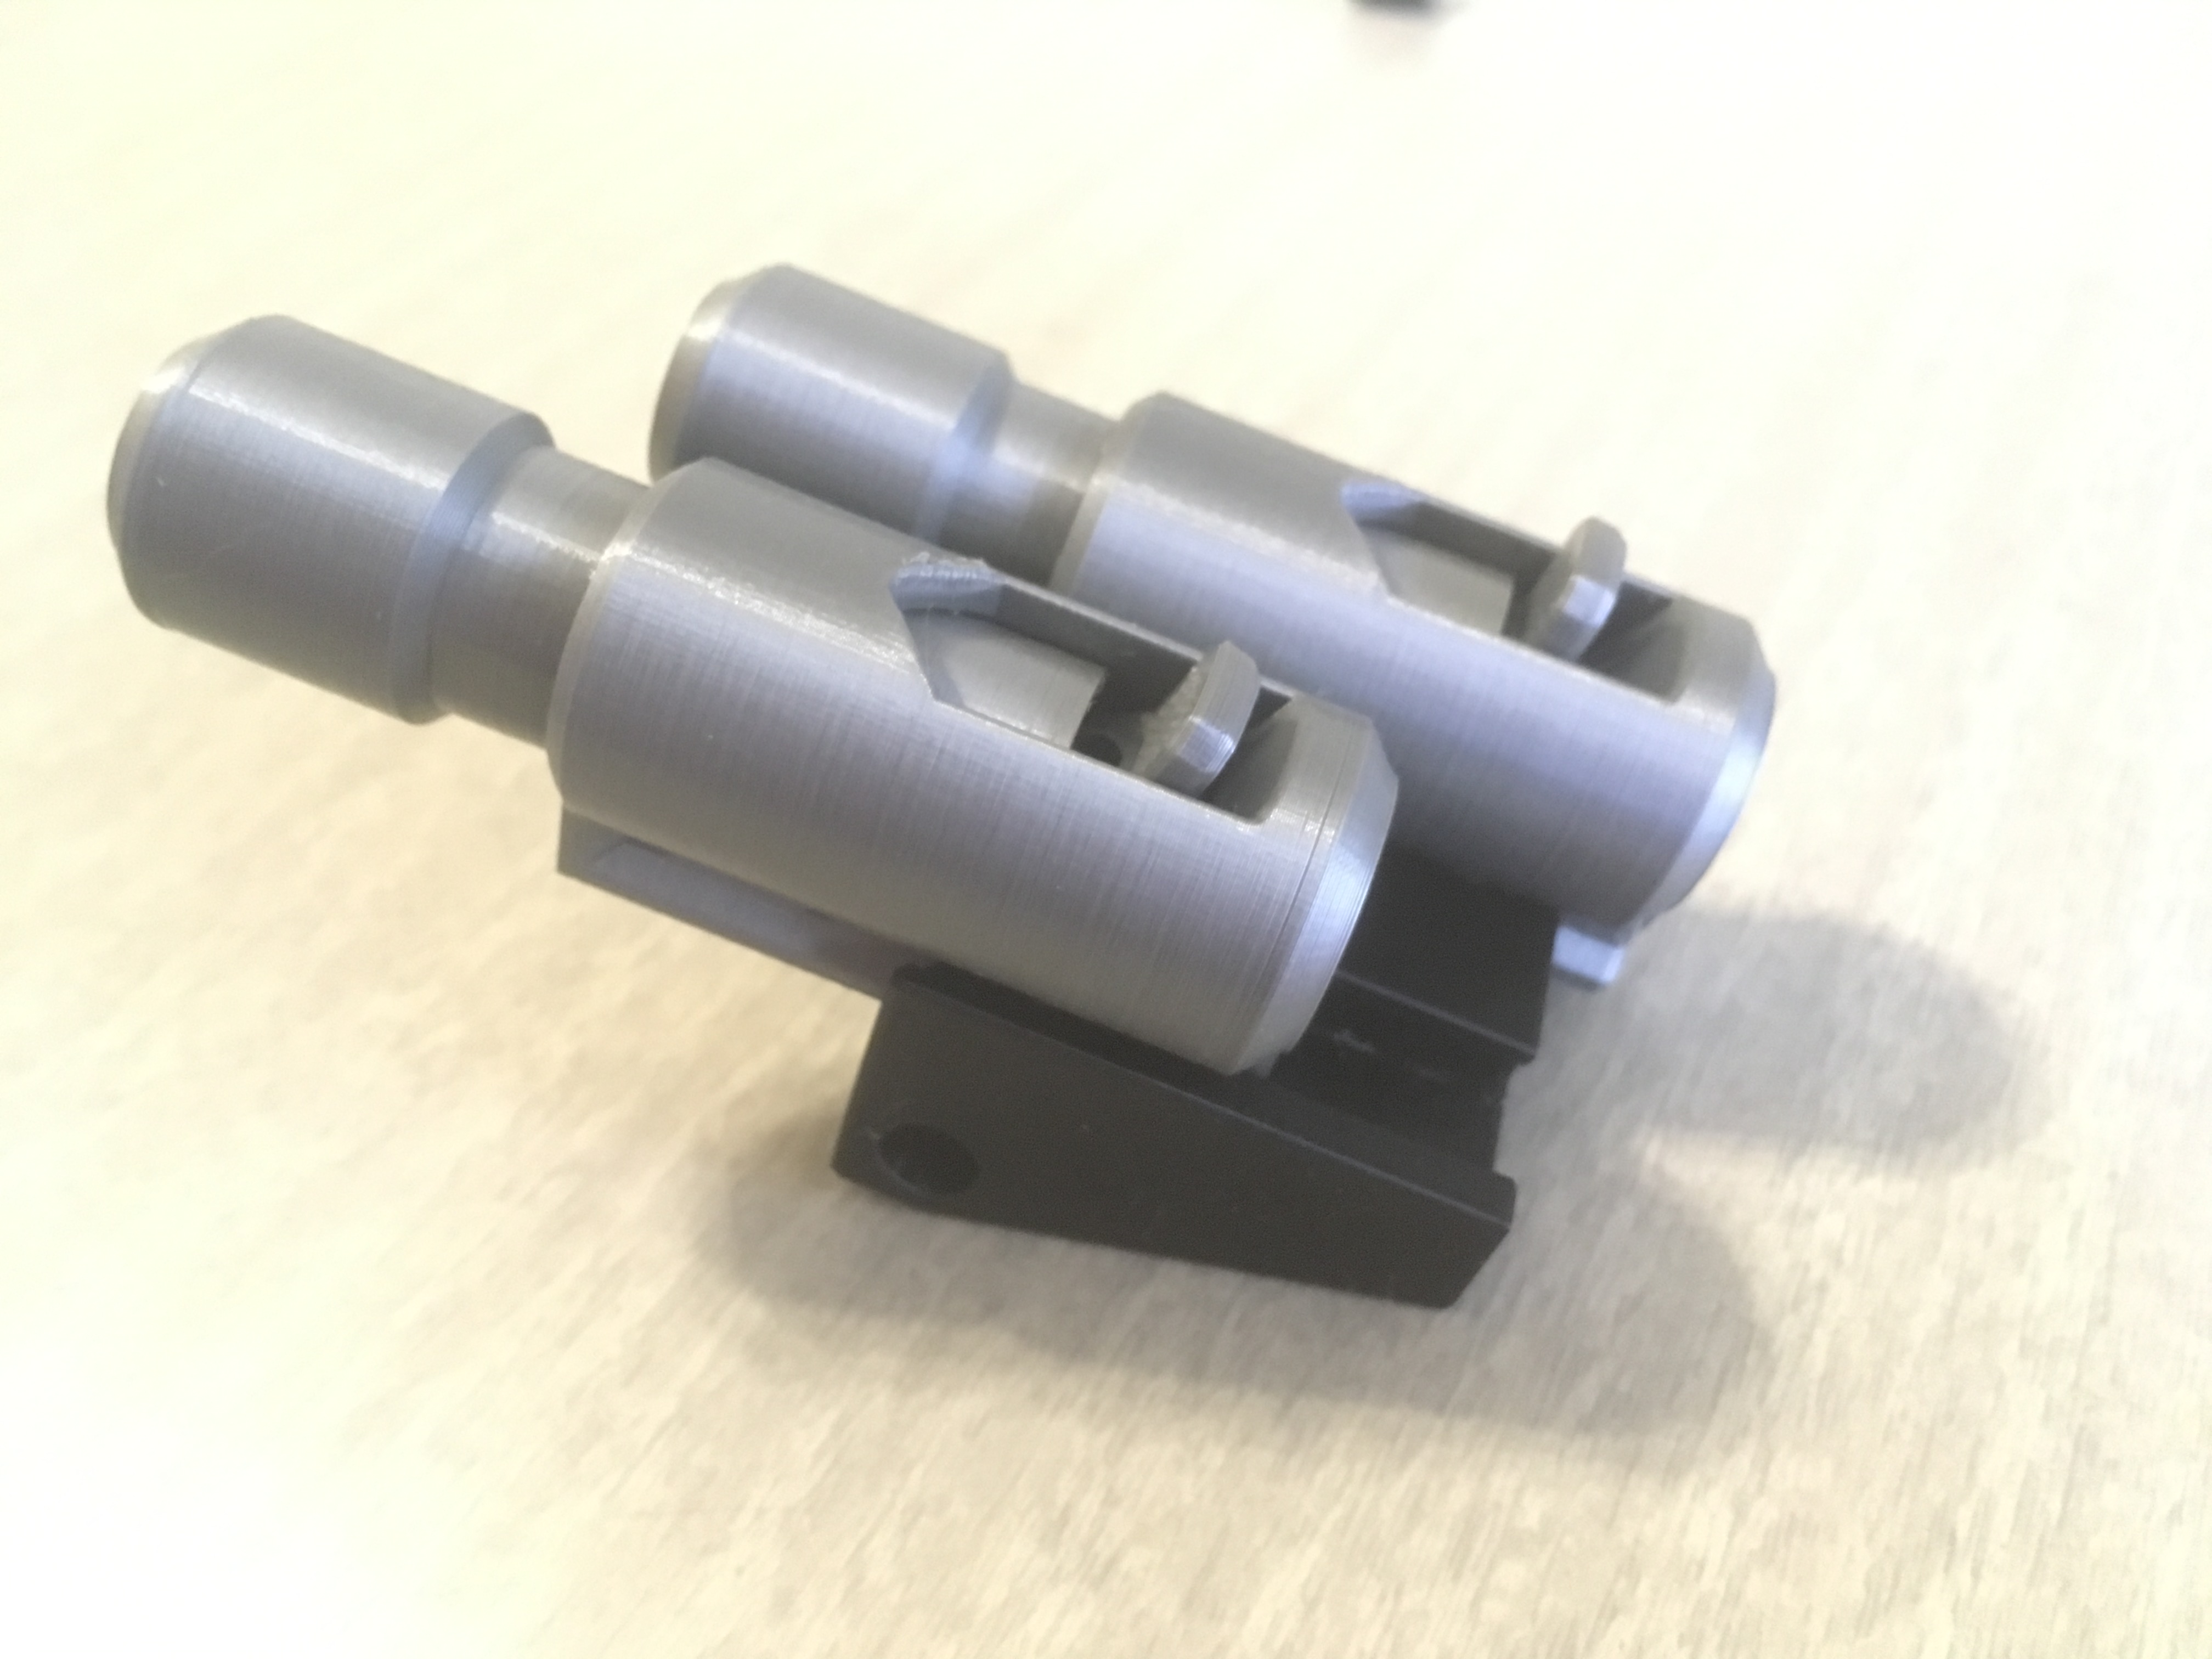
Missile Launcher – Dragon Mountain Design (X2. Follow the instructions in that link, because we’re going to skip their assembly here.)
Helpful Tools:
3D Printer (or printing service)
Caliper (metric setting)
Rotary Tool
Vise/Clamp
Flush Cutters
E6000 Glue
Toothpick
Drill with 5.5mm bit (5mm bit optional)
Print out Parts
All files are available for free on
Thingiverse,YouMagine,Cults3D, and MyMiniFactory. Use PLA with 20% infill for all parts except for the tires and missile heads, which were printed with NinjaFlex SemiFlex. Supports are only needed on the MV-Body component, and buckle yourself in for that one. It was a 25-hour print for me (in retrospect, I maybe should have split it up into smaller bits, but I wanted to see if the Prusa could handle it).4/11/2018 UPDATE: Consolidating the number of places hosting the files. More changes to come, but they’re still available for free.
March 2020 UPDATE: Files can be downloaded directly from this site at the bottom of the page. They are also available on Prusa Printers!
In the end, you should have one of each part with the exceptions being:
MV-Hub x4
MV-Tire x4
MV-WheelWasher x4
MV-Booster x2 (optional)Post-Processing
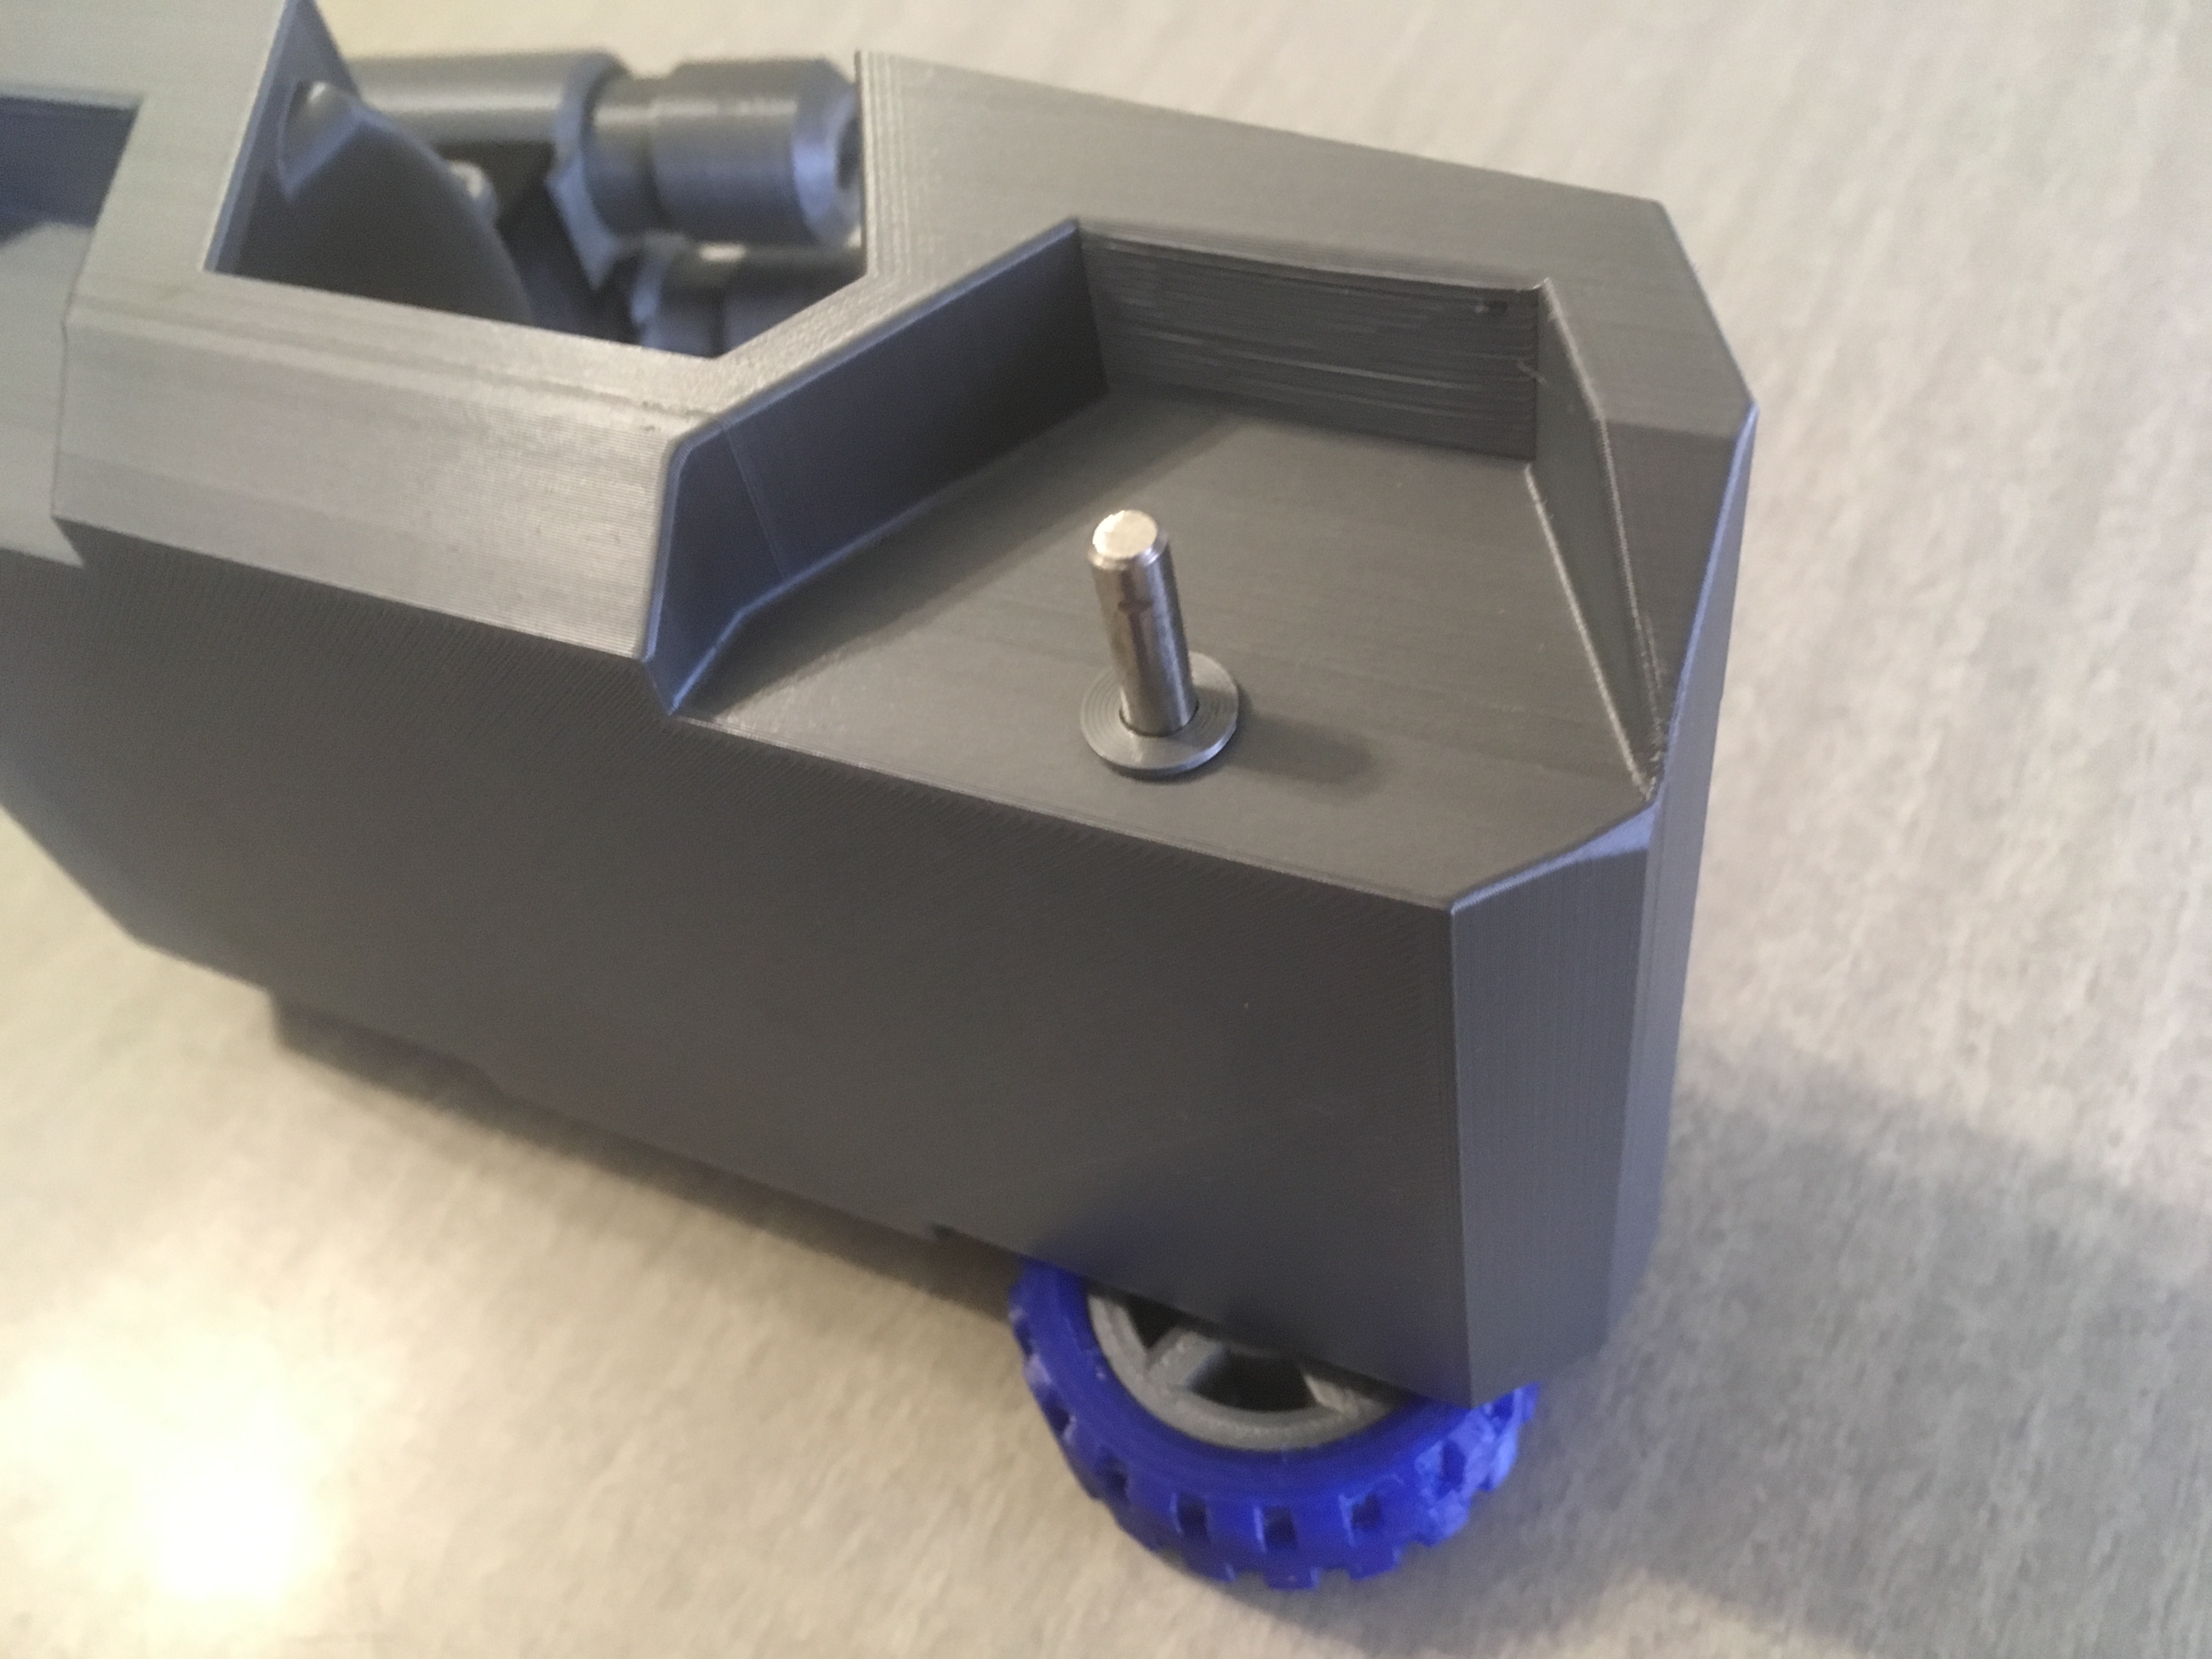
Carefully and slowly use a drill with 5.5mm bit to bore out the axle holes in MV-Body. For extra care, start with a 5mm bit and then work up to the 5.5mm. Test the holes with the axles to make sure they can slide all the way through with negligible friction.
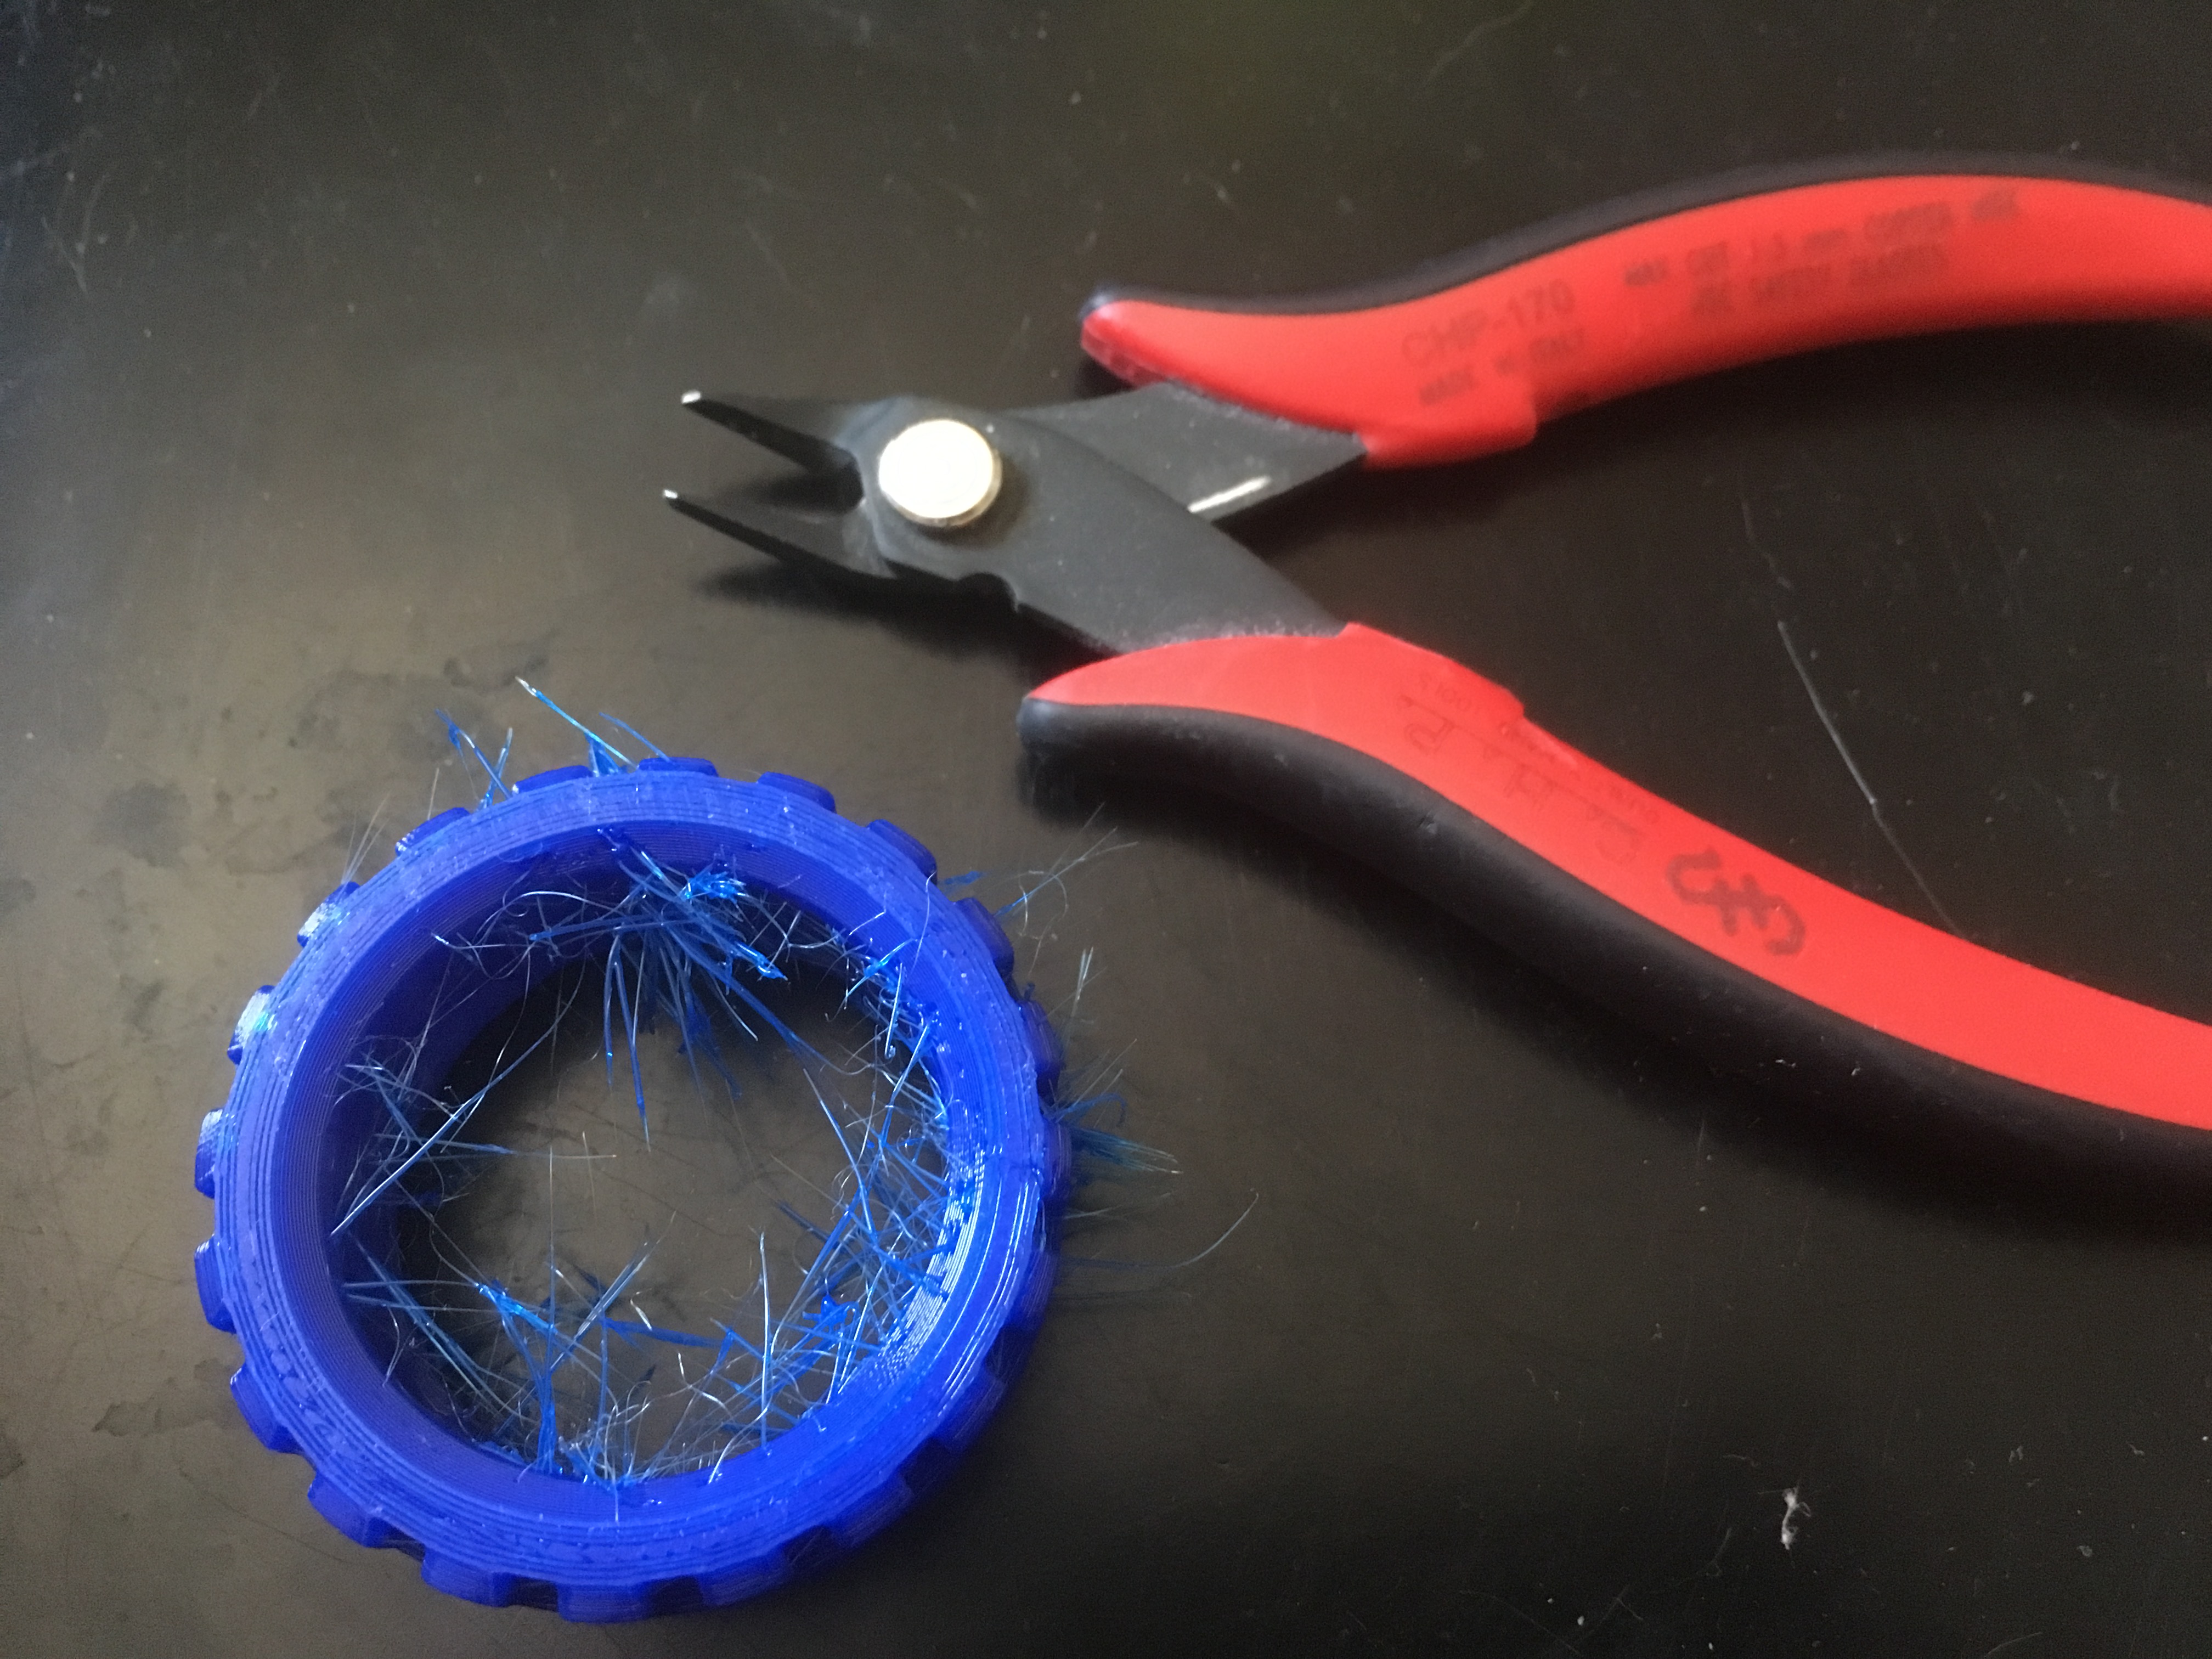
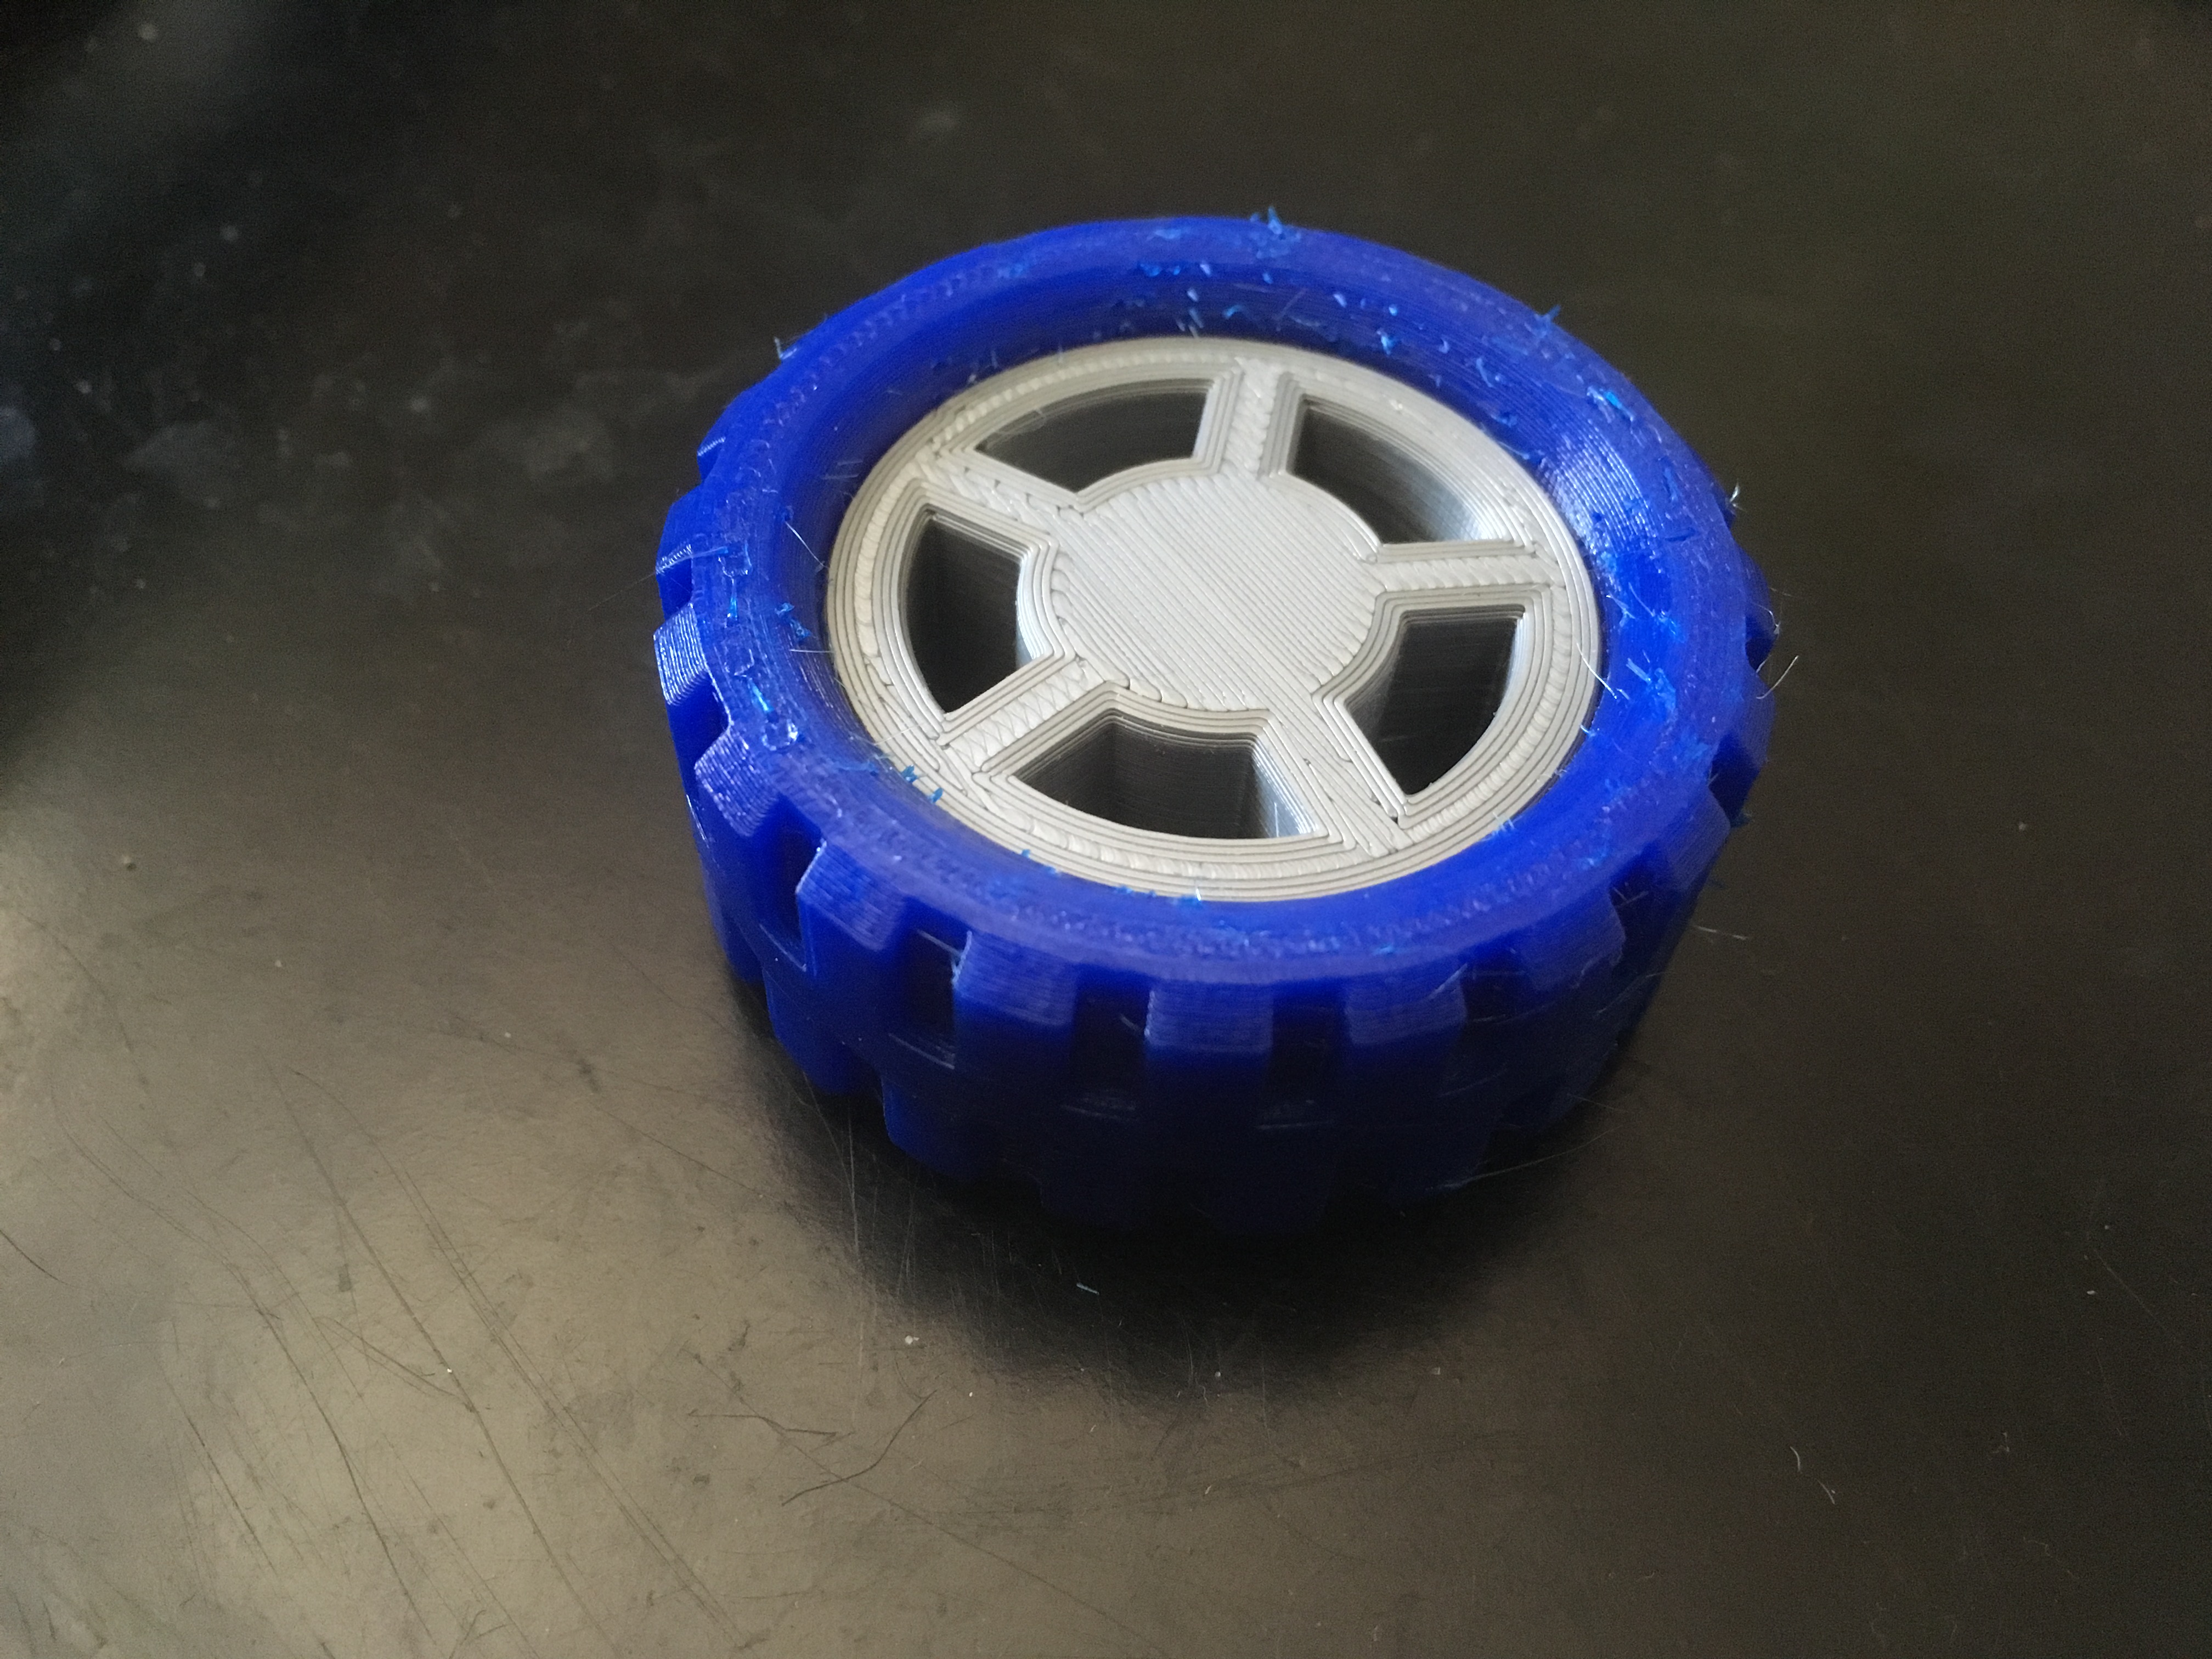
Clean up the MV-Tire components with the flush cutter. I printed all four of mine at the same time and the stringy bits were out of control!
Make Axles
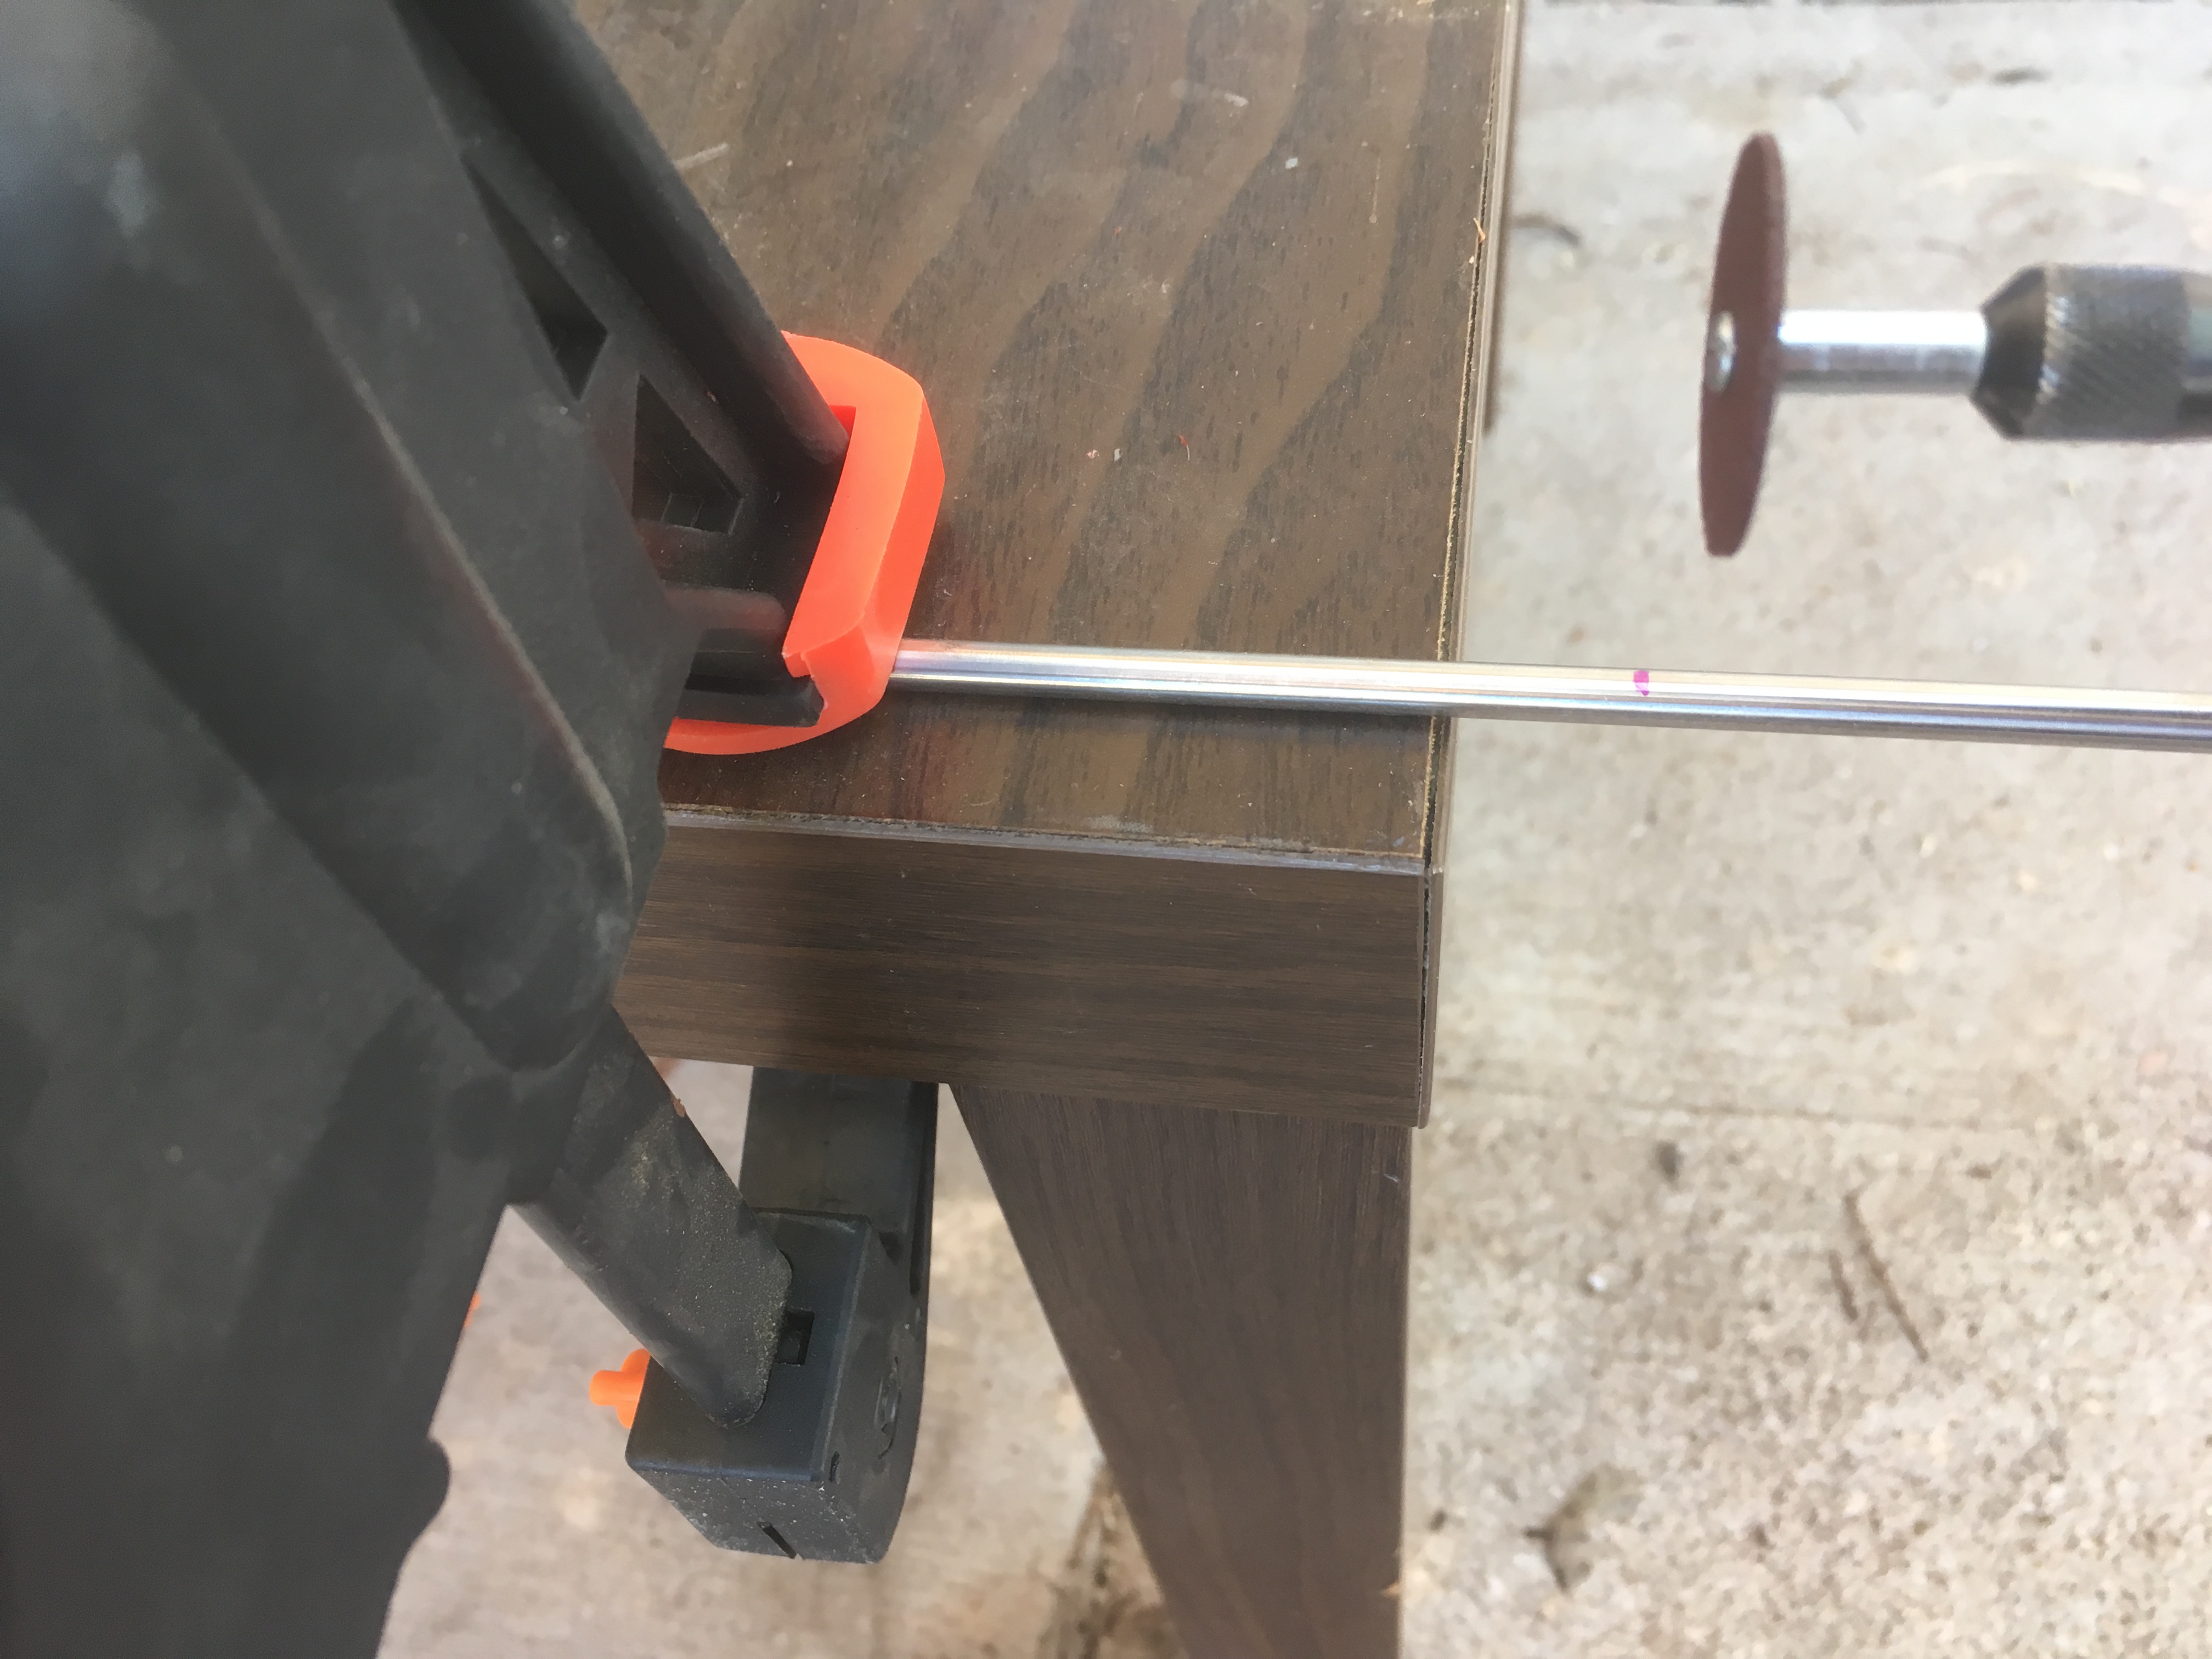
Axle length is 105mm each. The McMaster part selected is long enough to fabricate two of them plus some change. Measure with a caliper and mark where the cuts need to be.
Secure and cut with rotary tool.
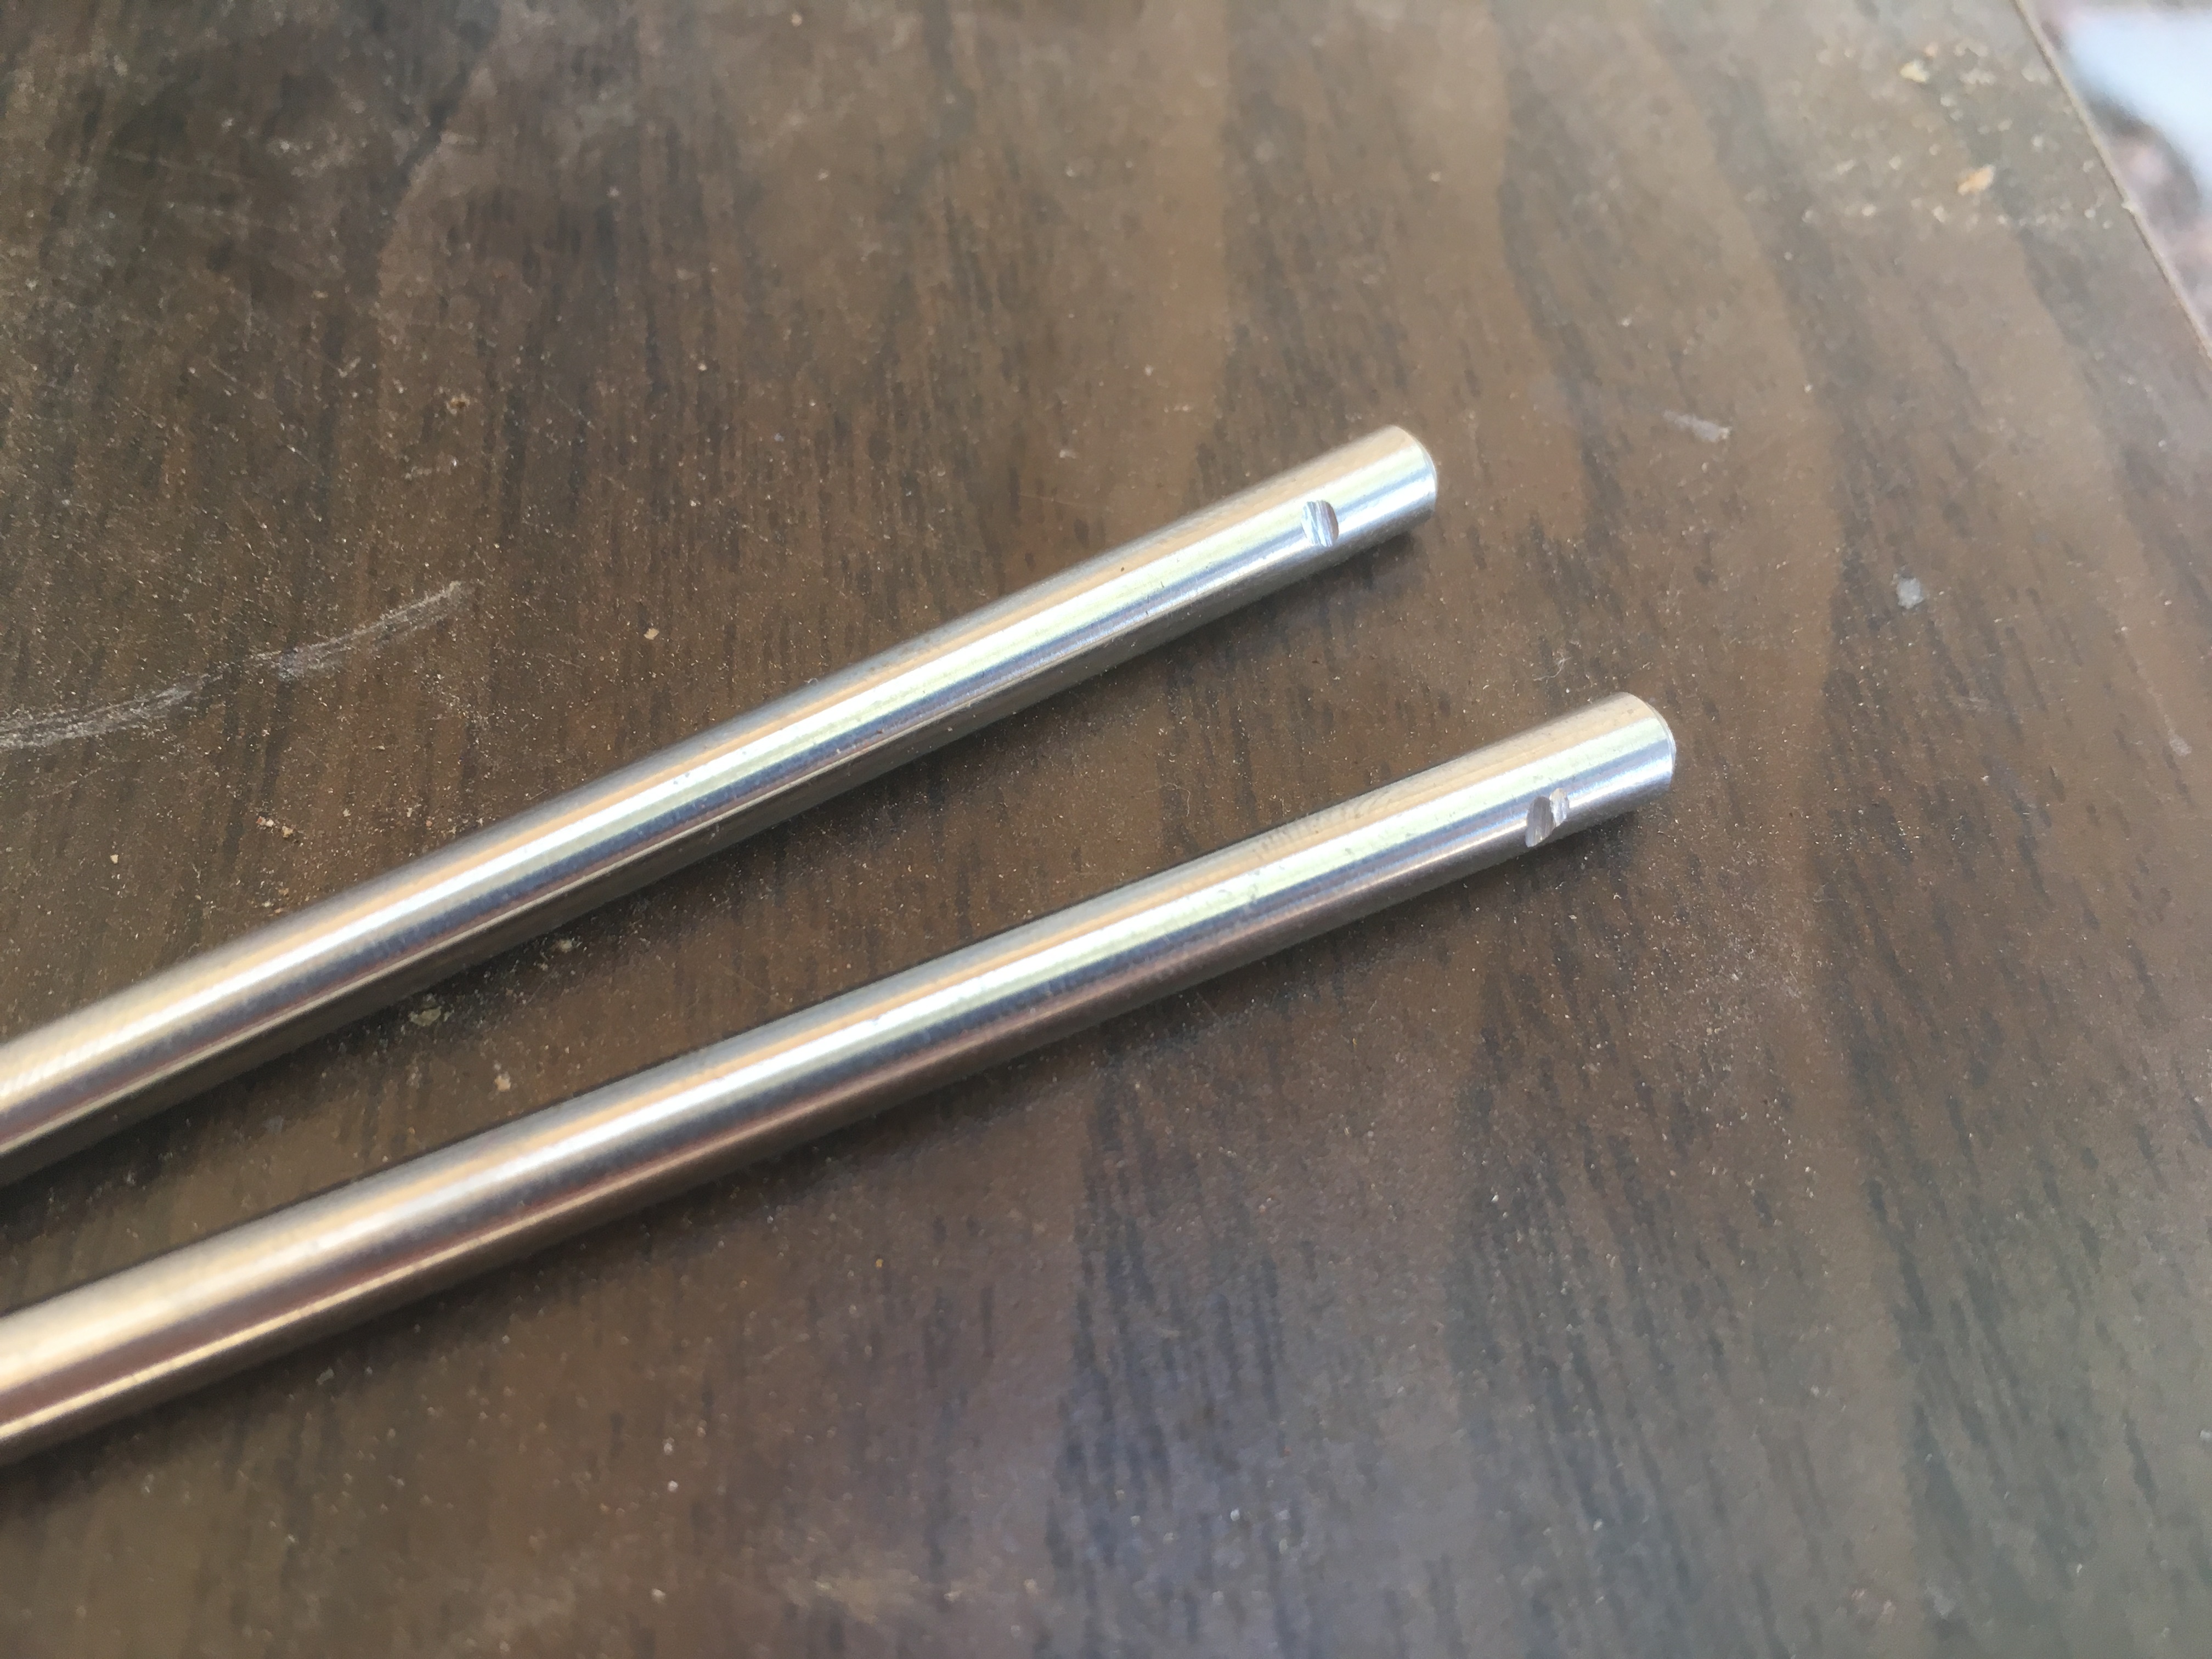
Once cut to length (and verified), use the rotary tool to take any burrs and edges off and add a few grooves to the ends of each side of the axles. This should help secure them during the wheel assembly process.
Missile Launcher Platform
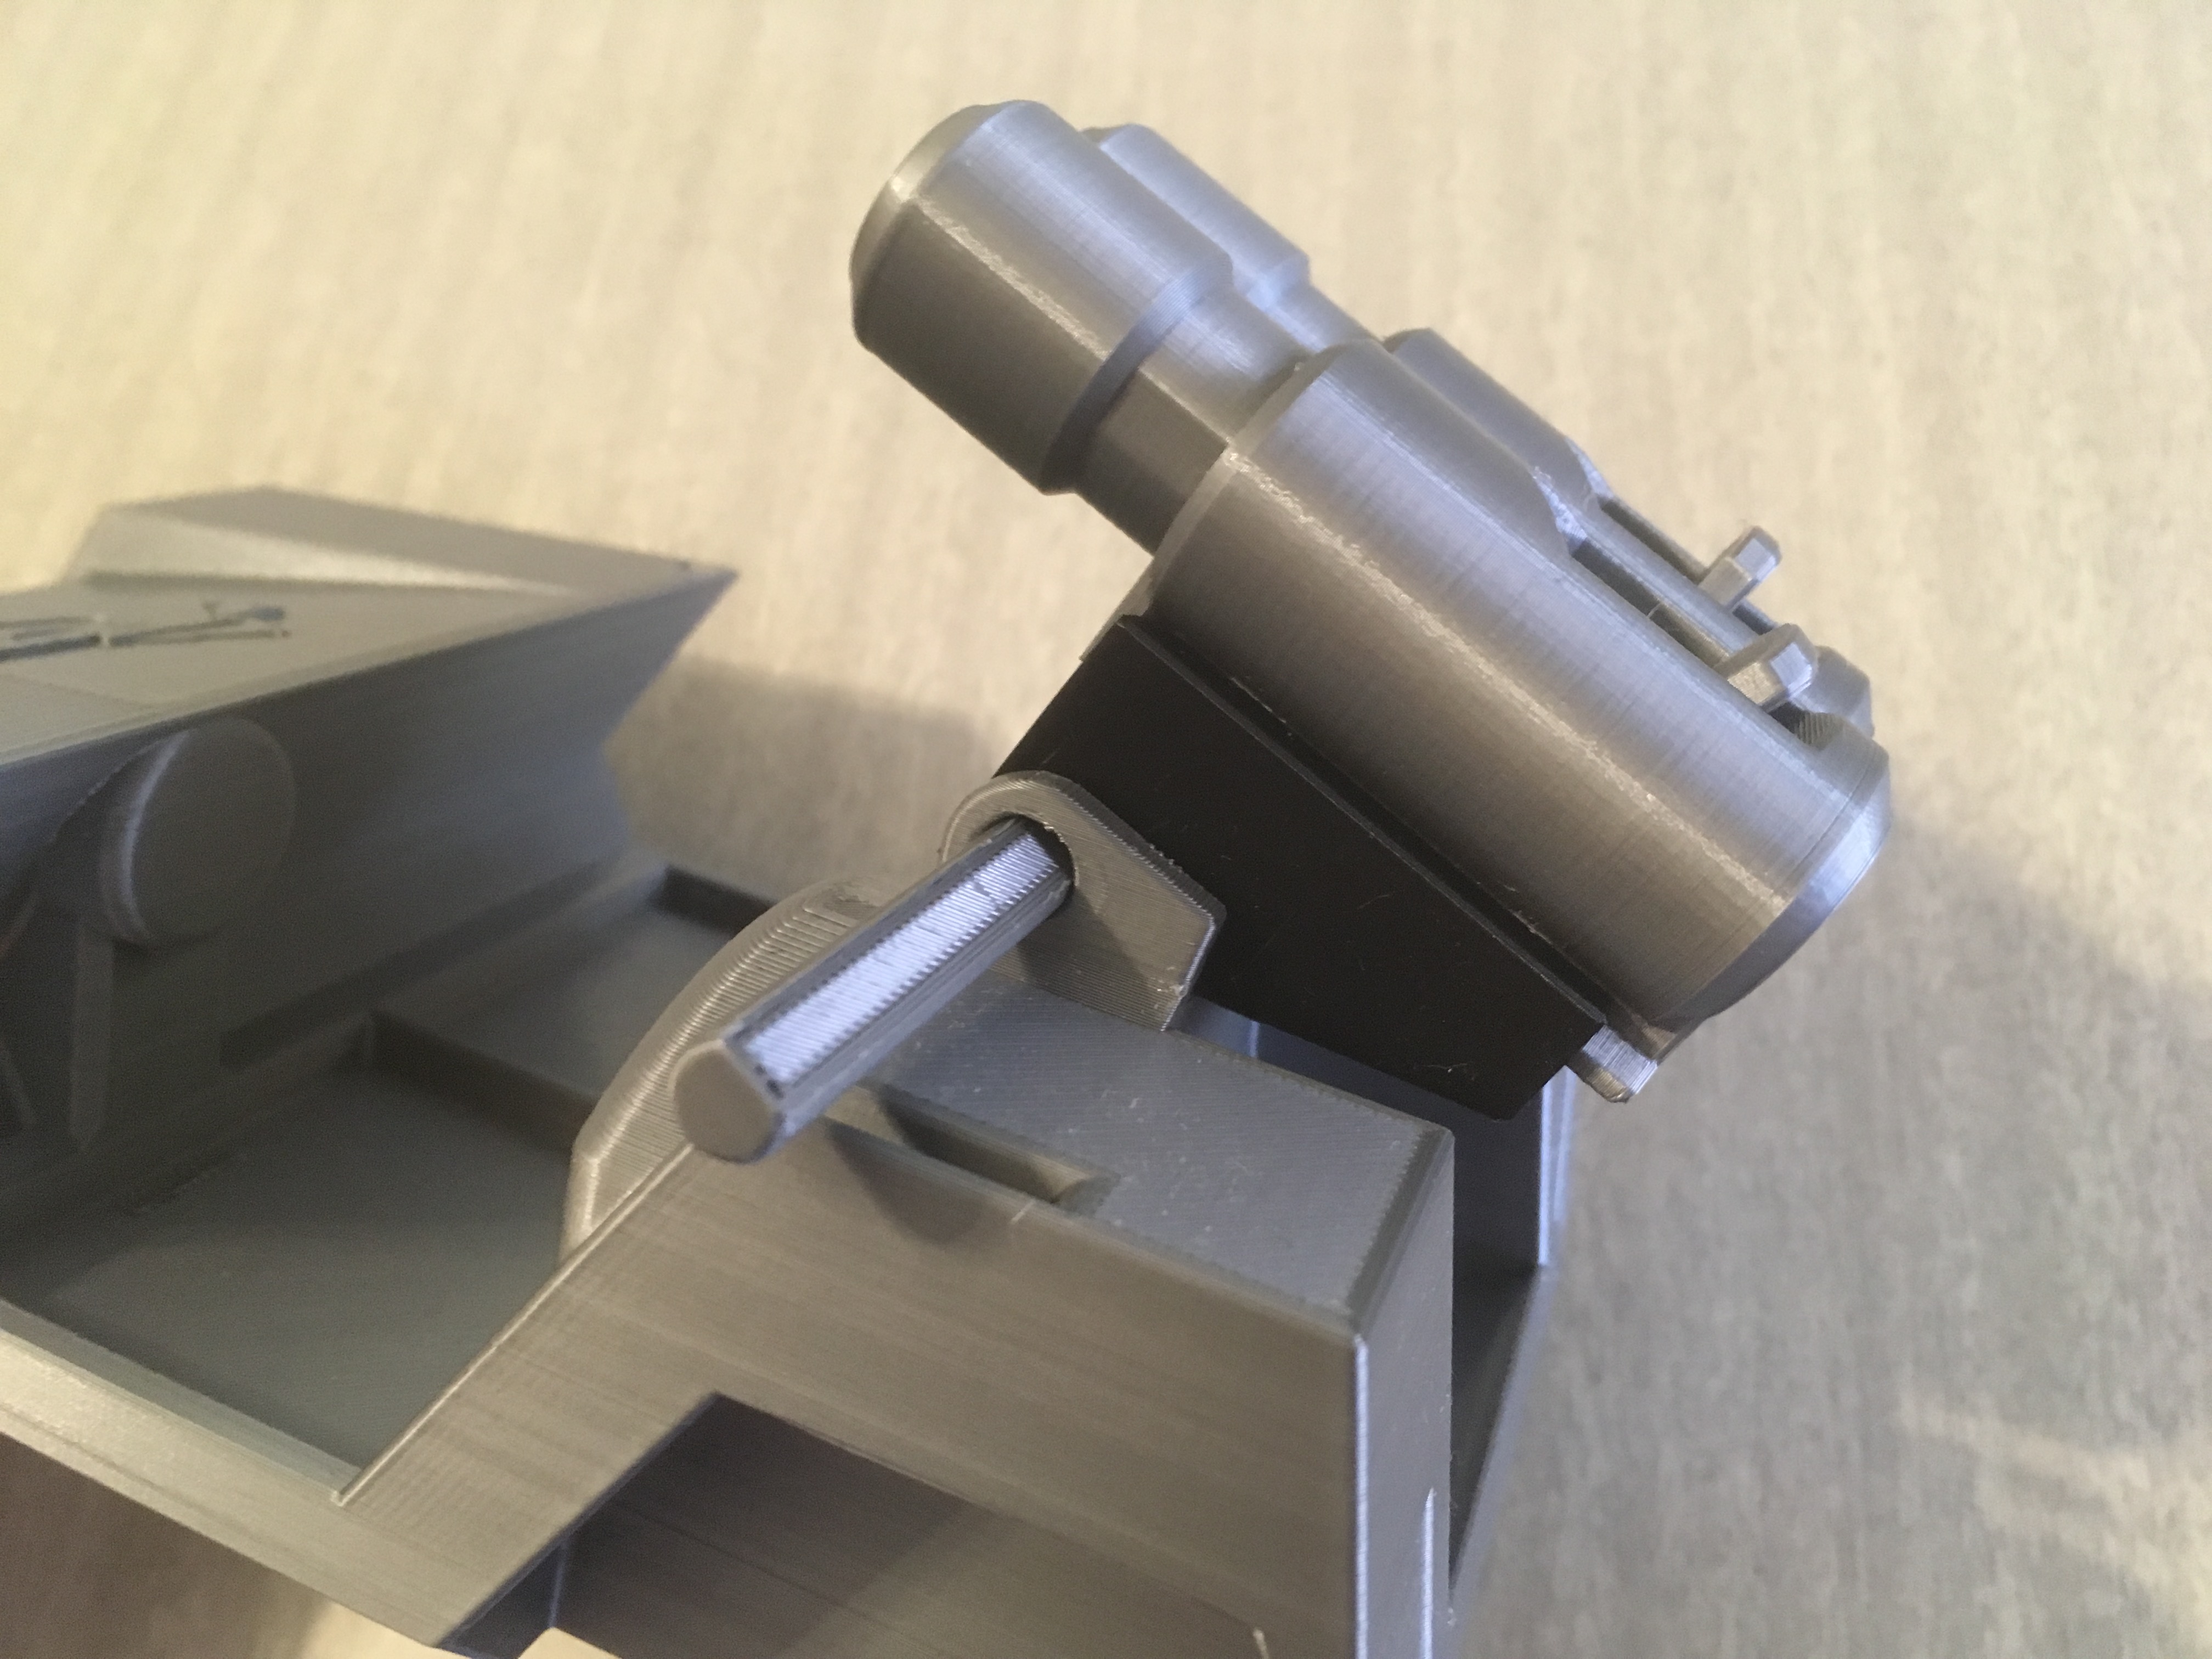
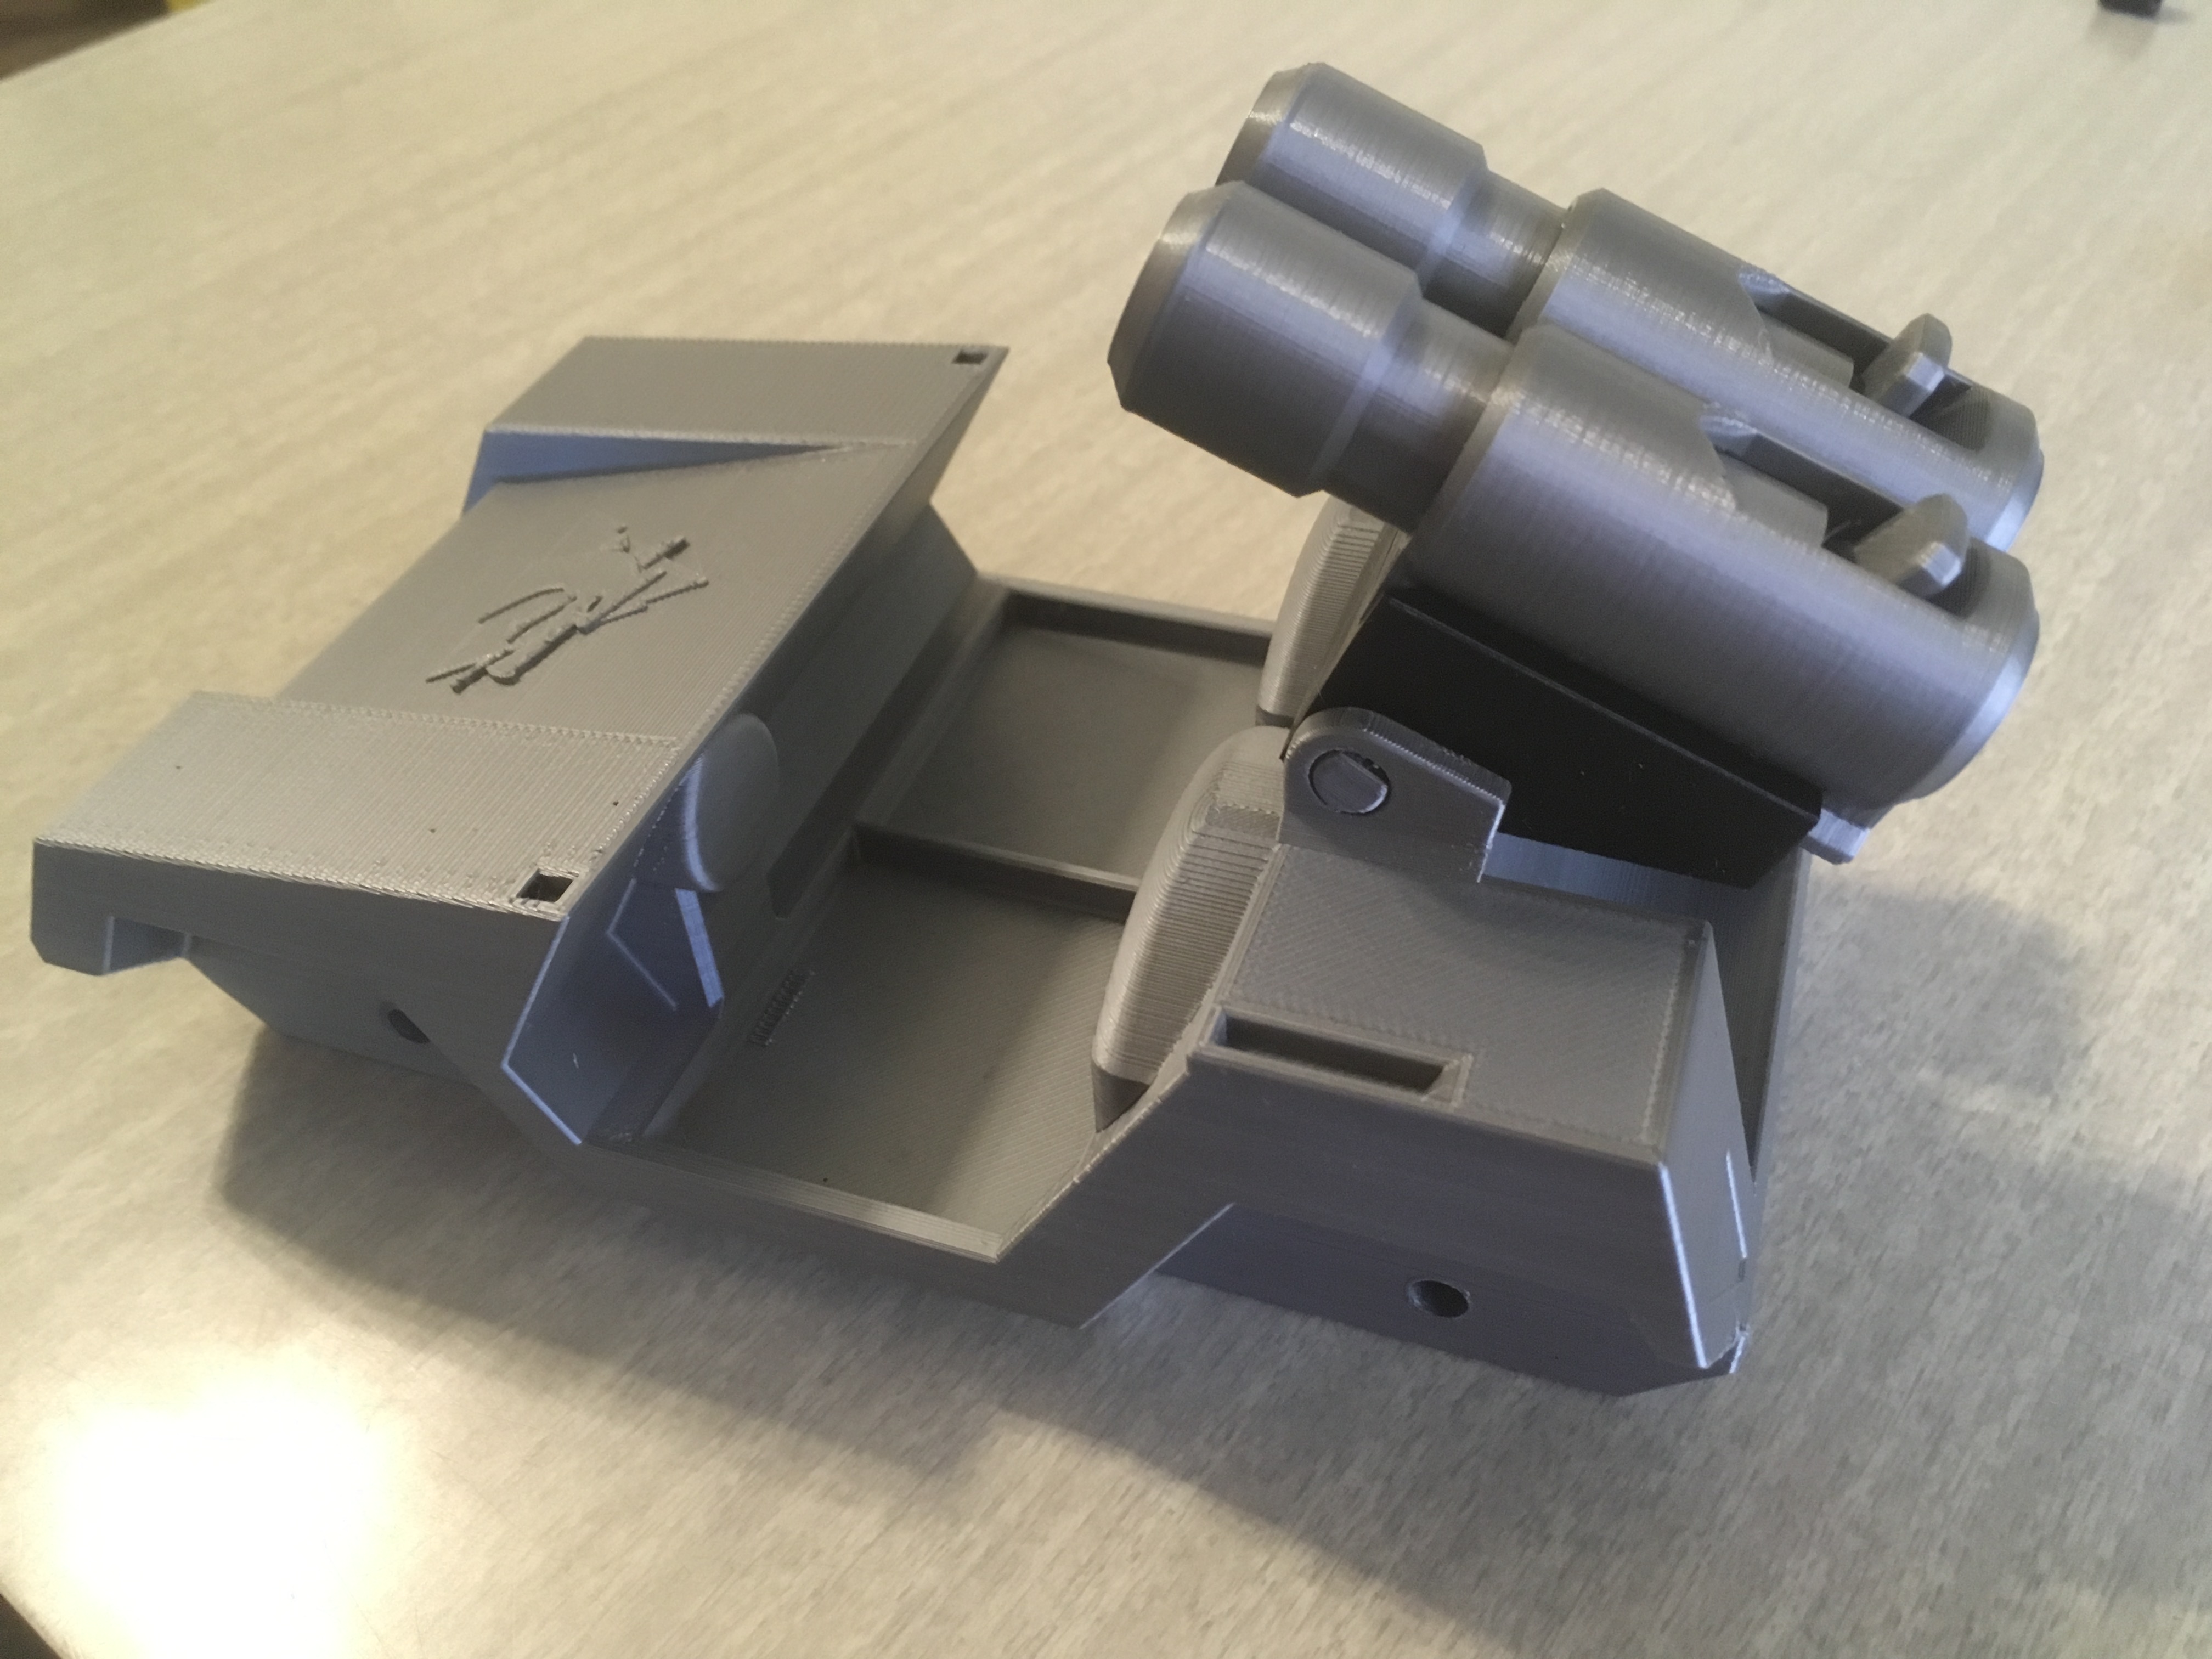
Fit each of the missile launcher assemblies into MV-MissileMount as shown.
Line up the holes of MV-Body and the MV-MissileMount assembly, and press in MV-Pin to secure.
Wheels
Line the spokes of MV-Hub up with the recesses of MV-Tire and press-fit together (x4).
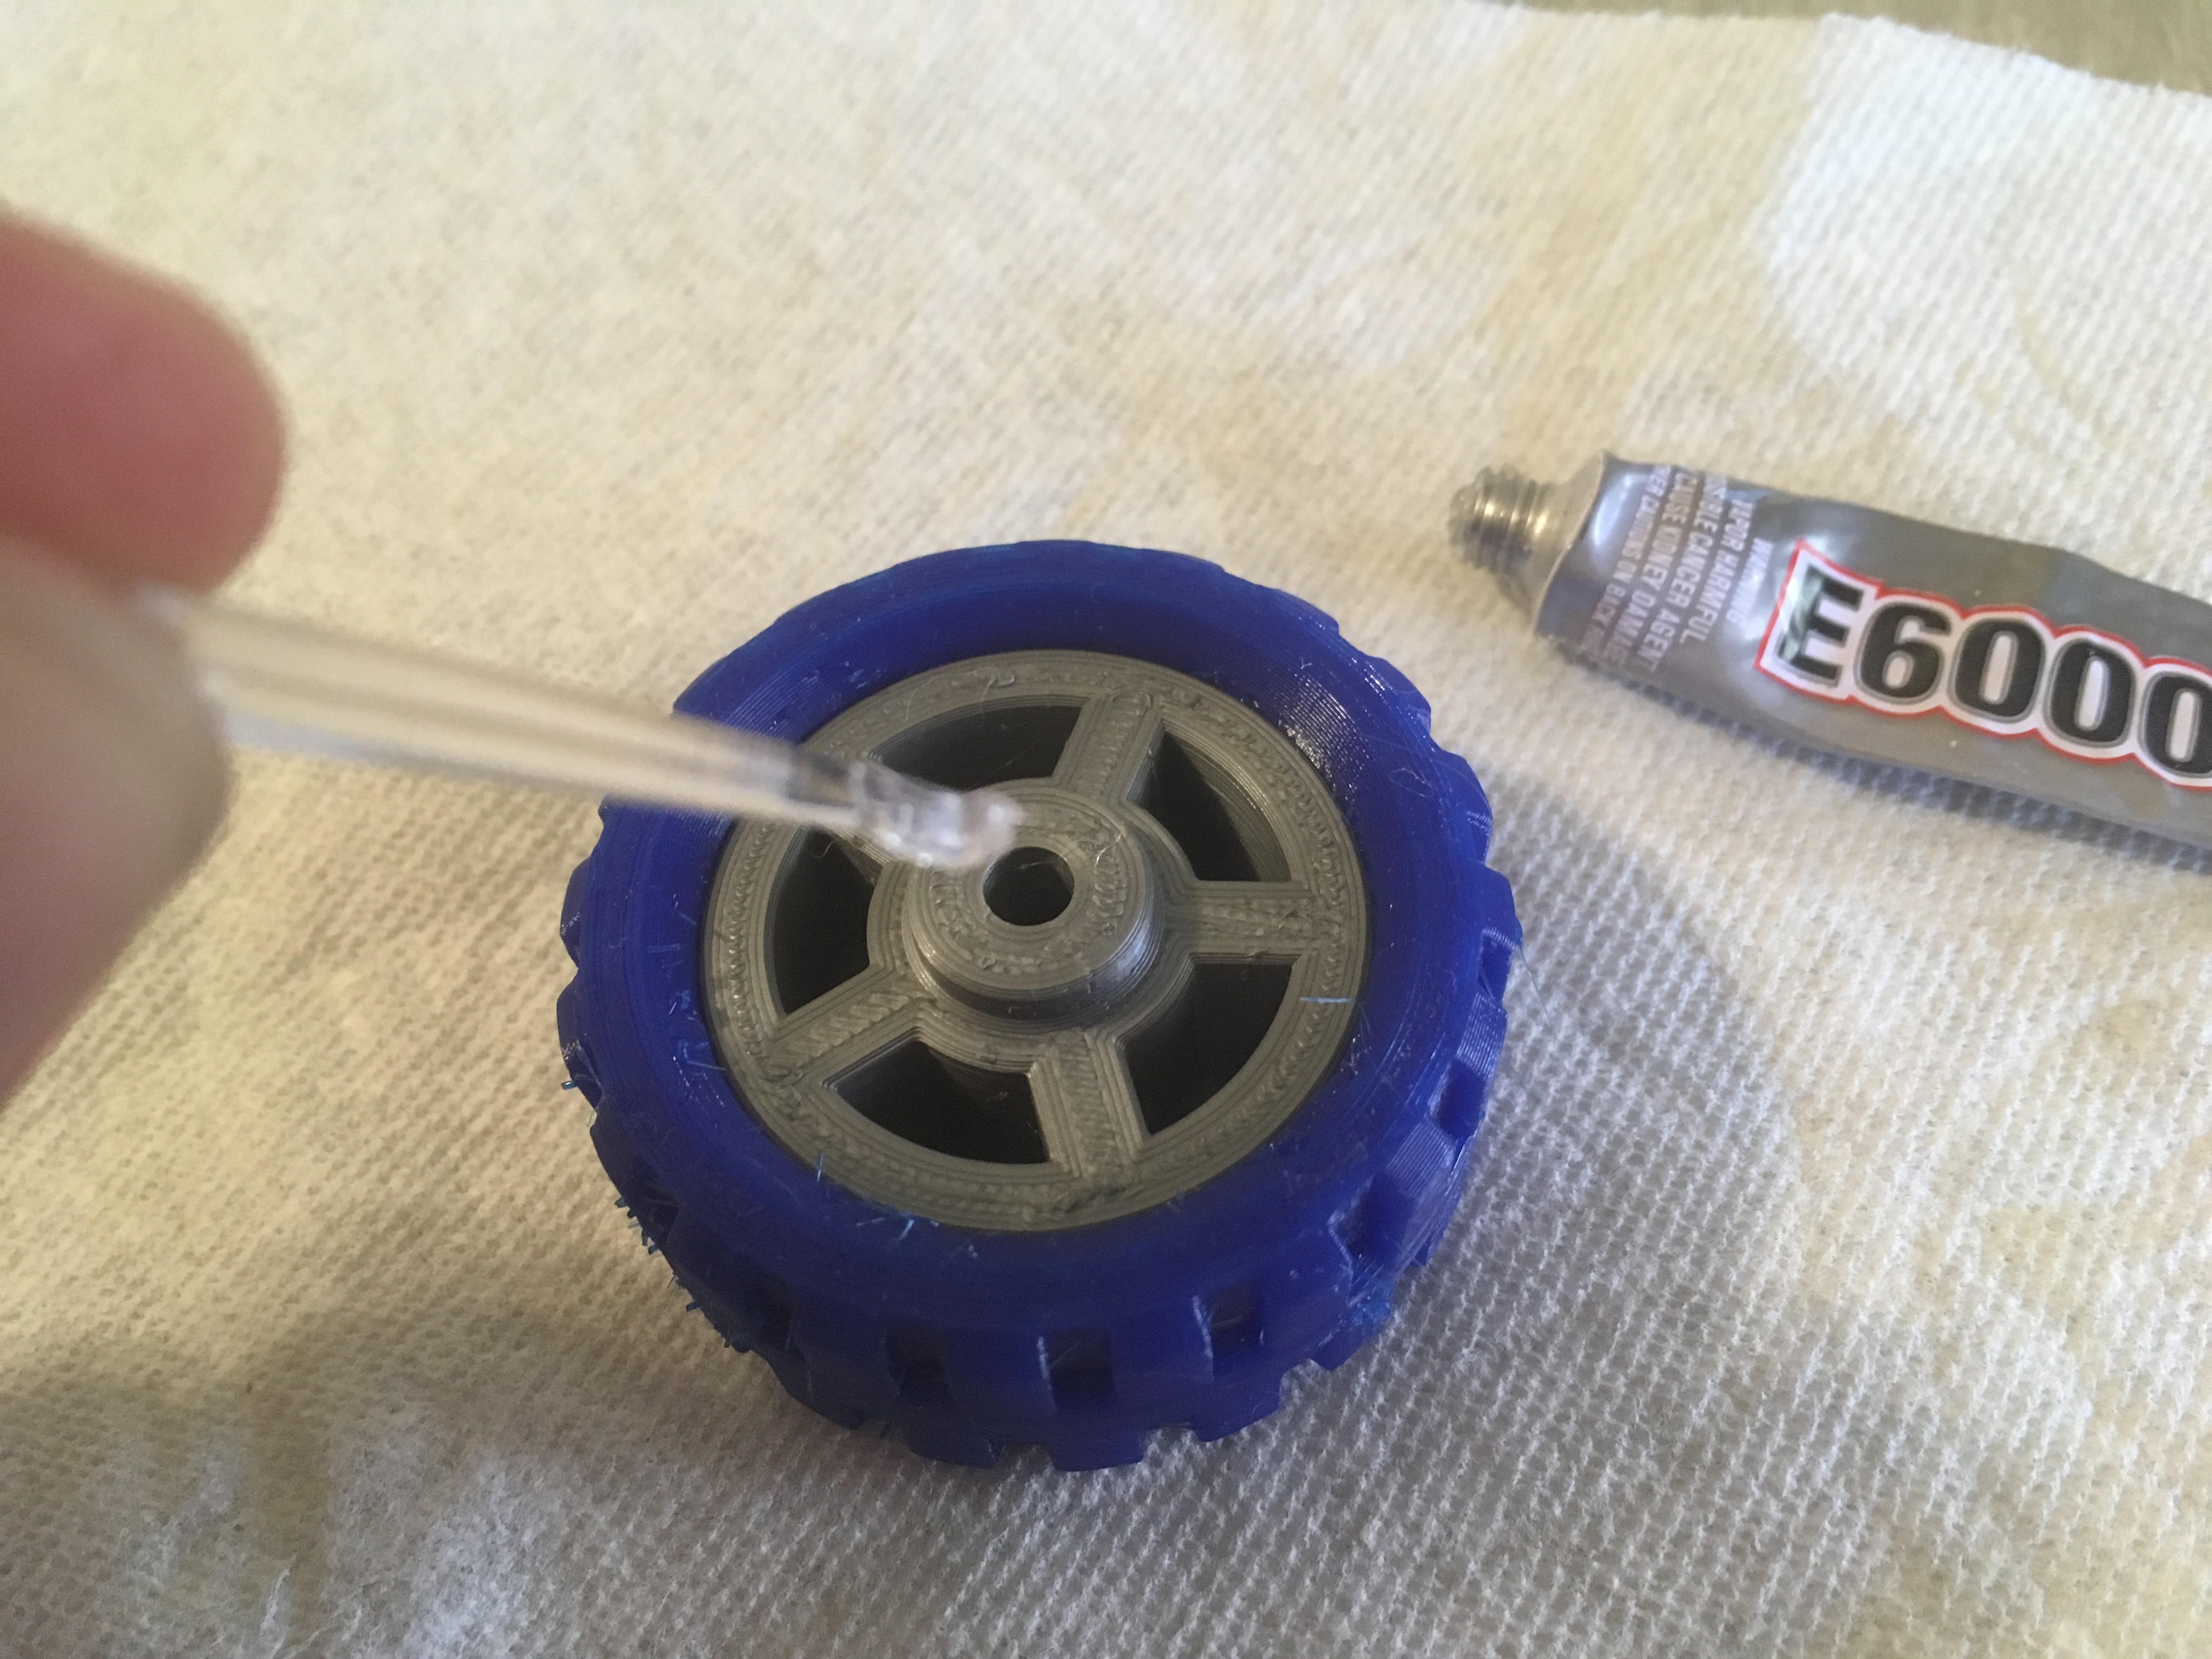
Using a toothpick, apply a moderate amount (not so much that it will ooze out later) of E6000 glue to the inside of the wheel assembly.
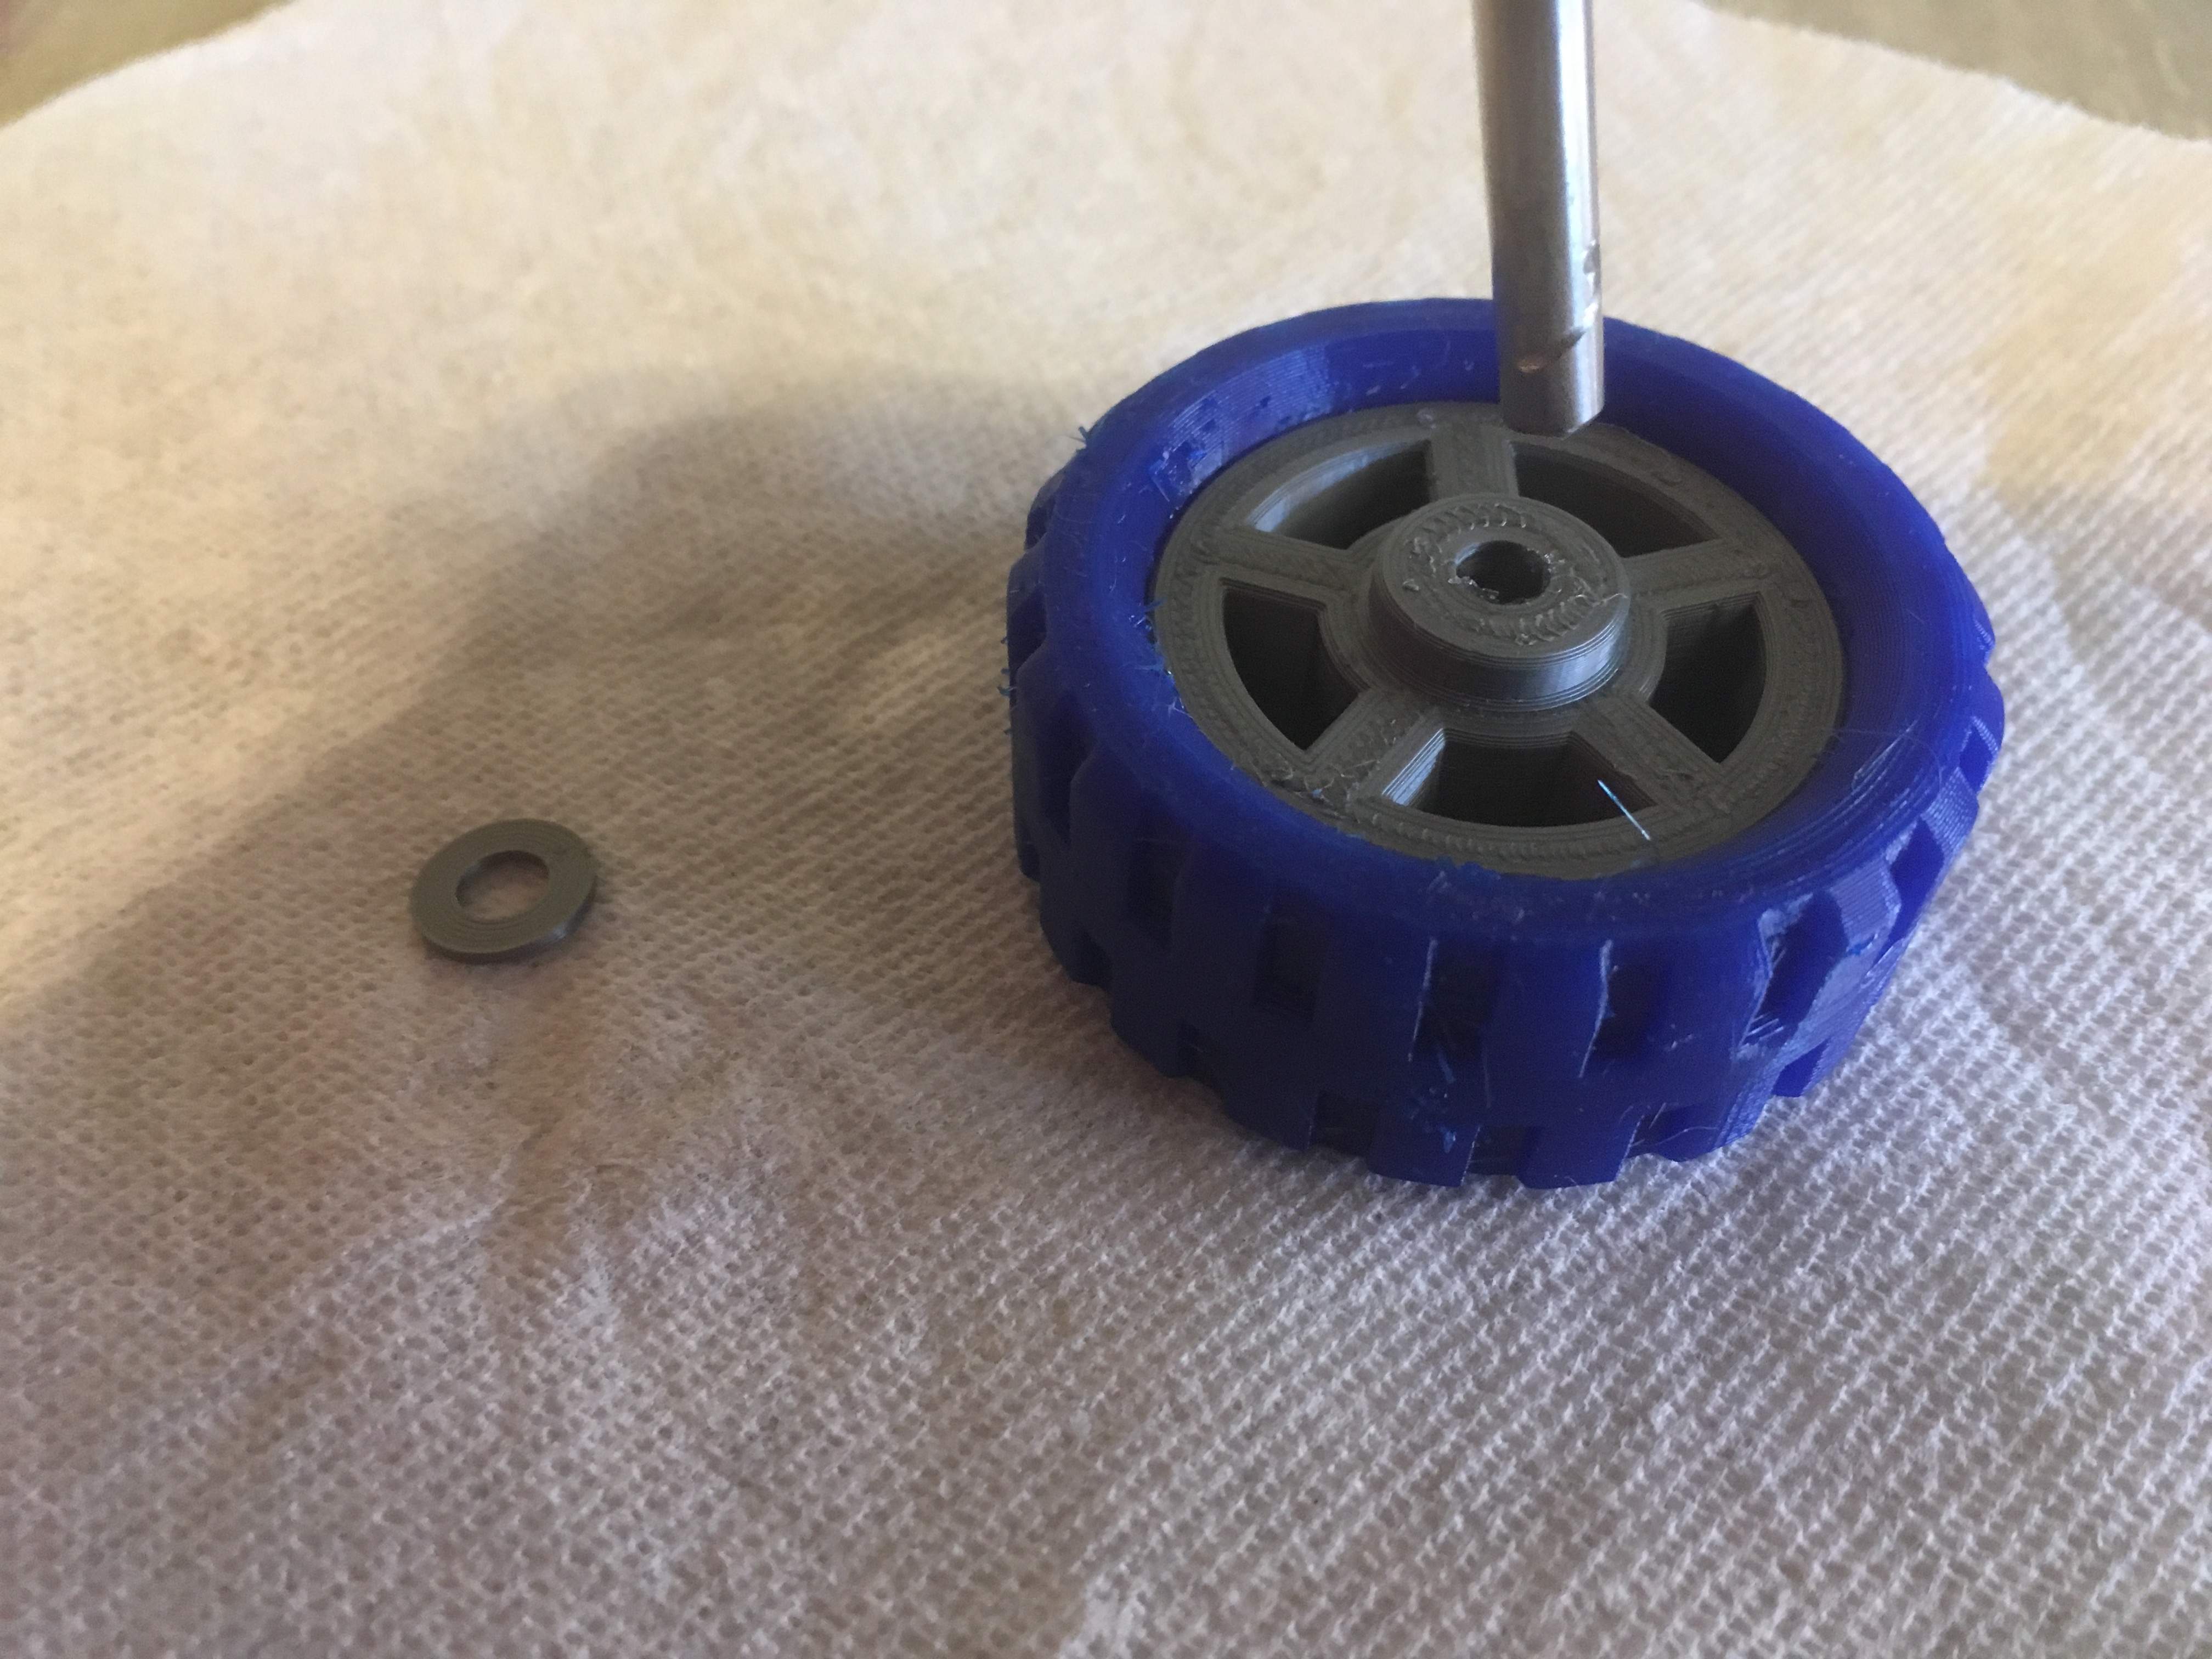
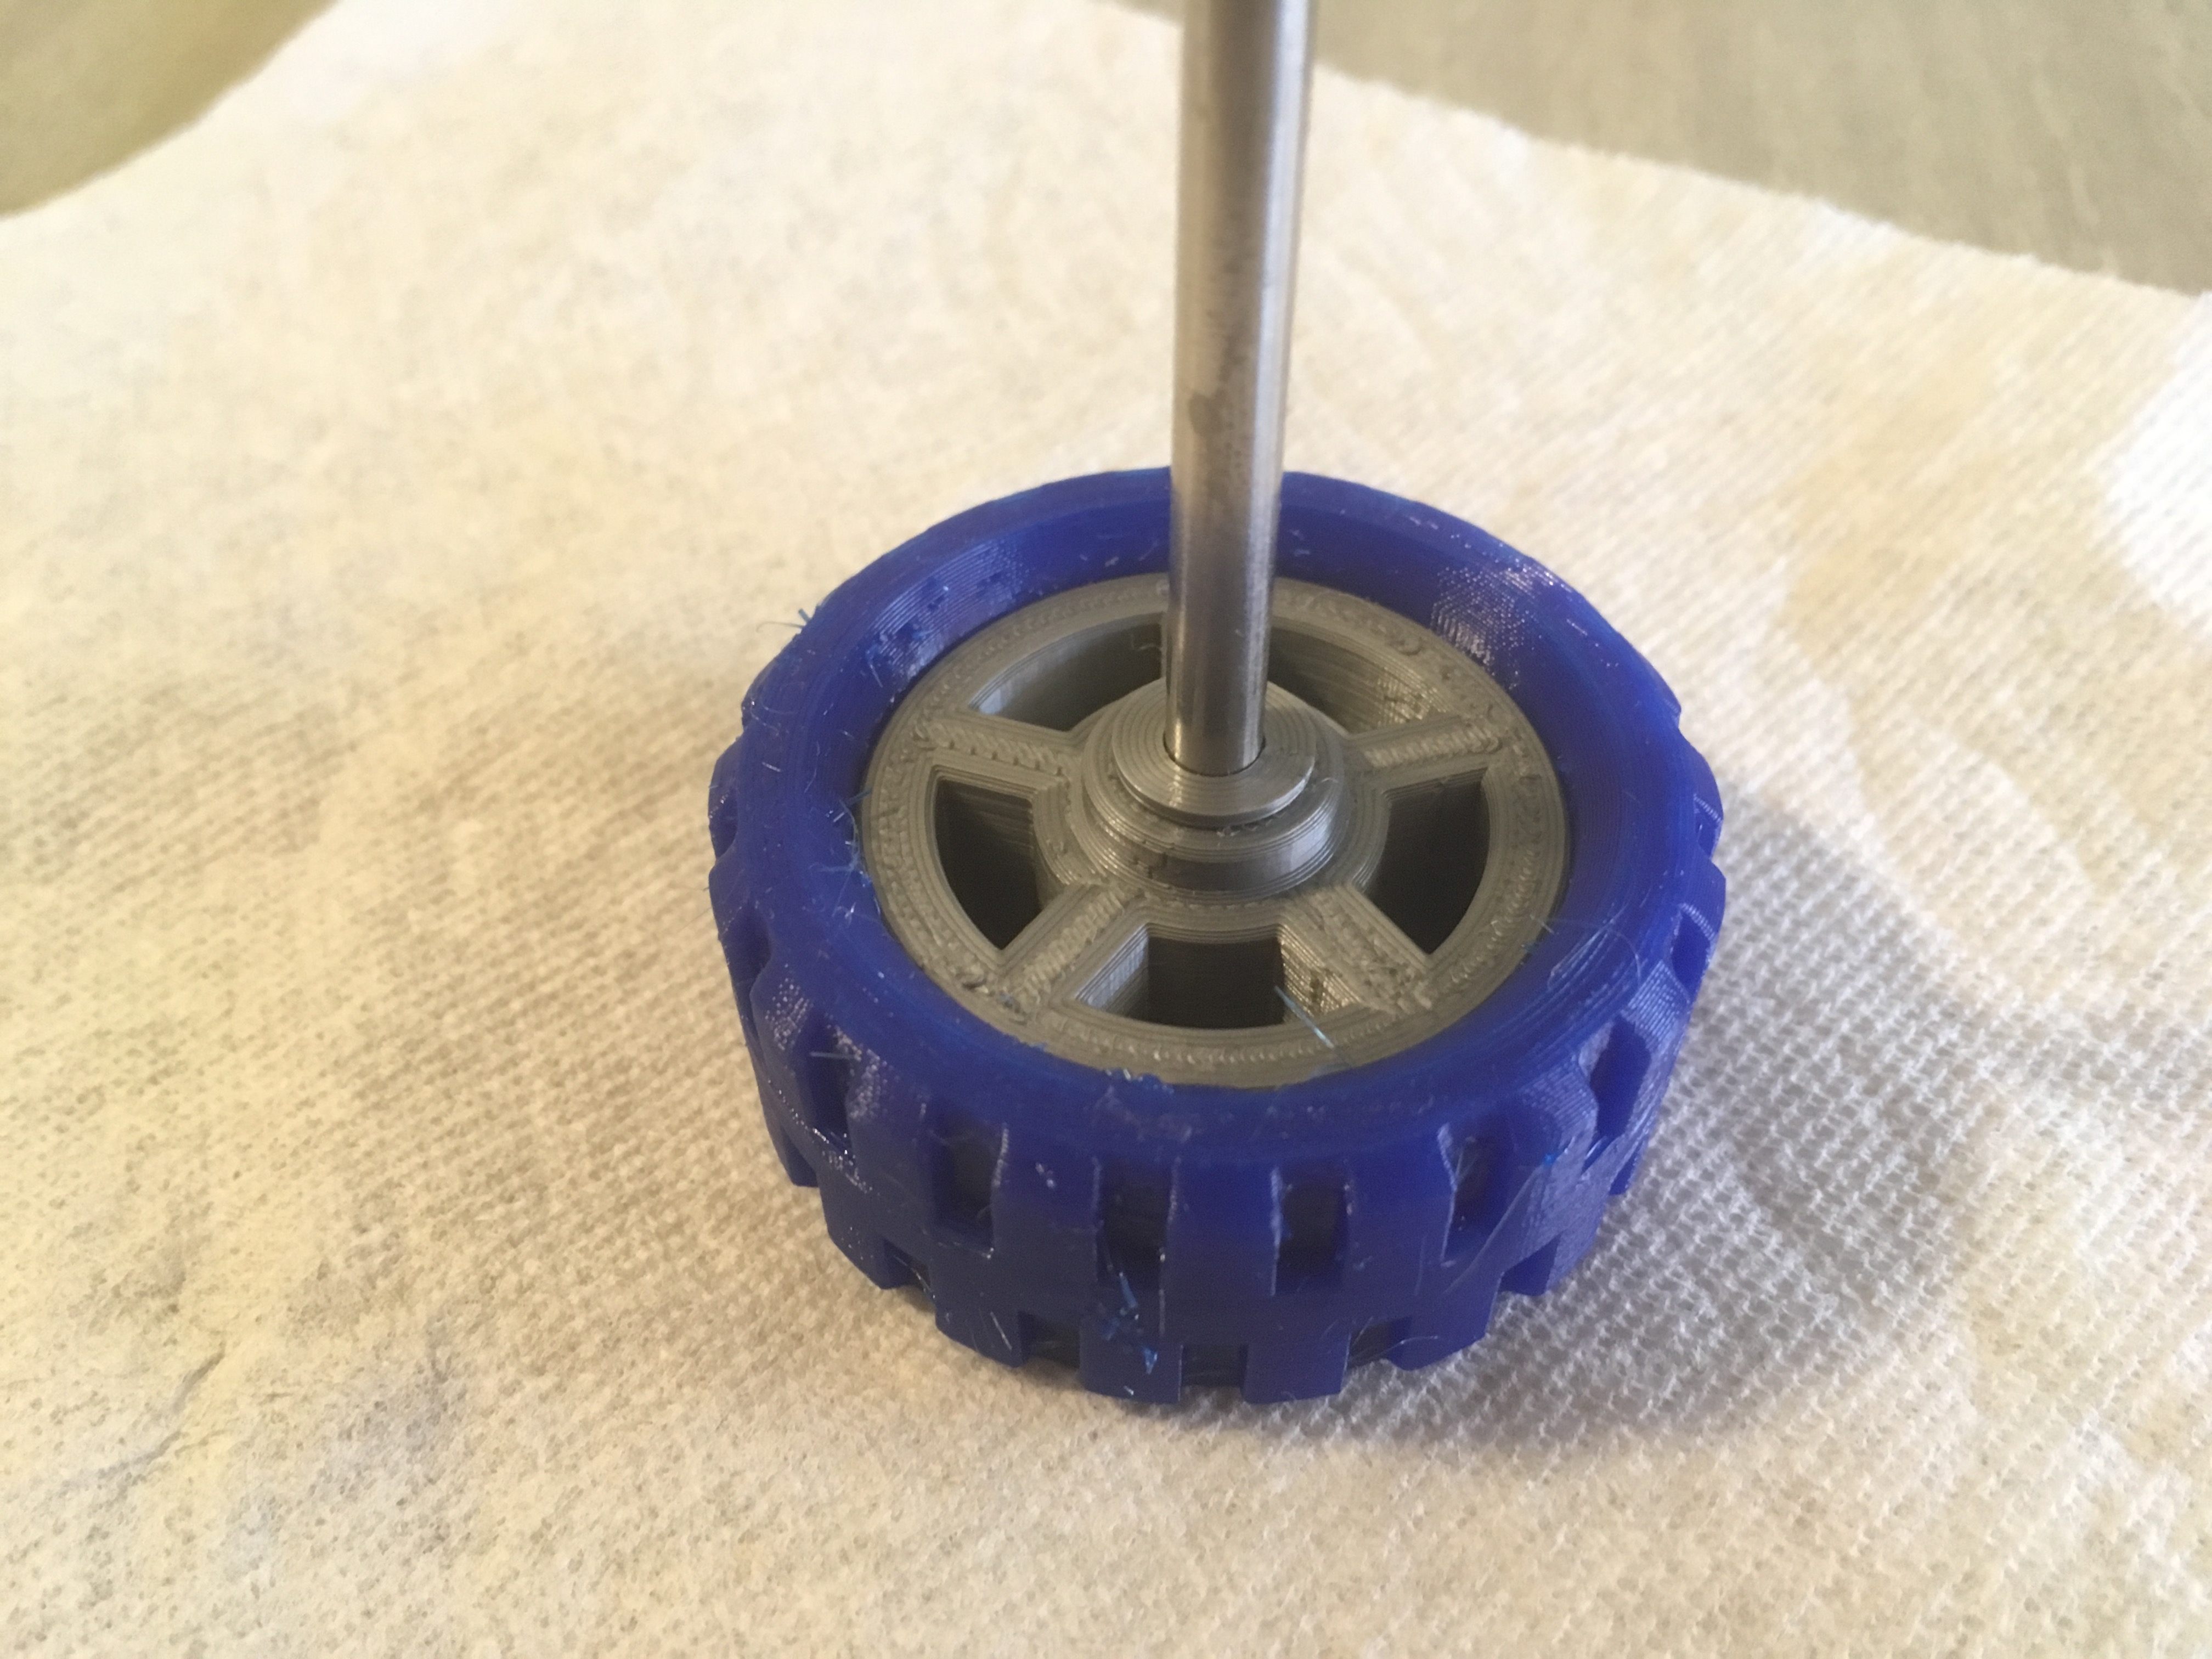
Firmly insert the axel into the wheel assembly.
Cover with MV-WheelWasher
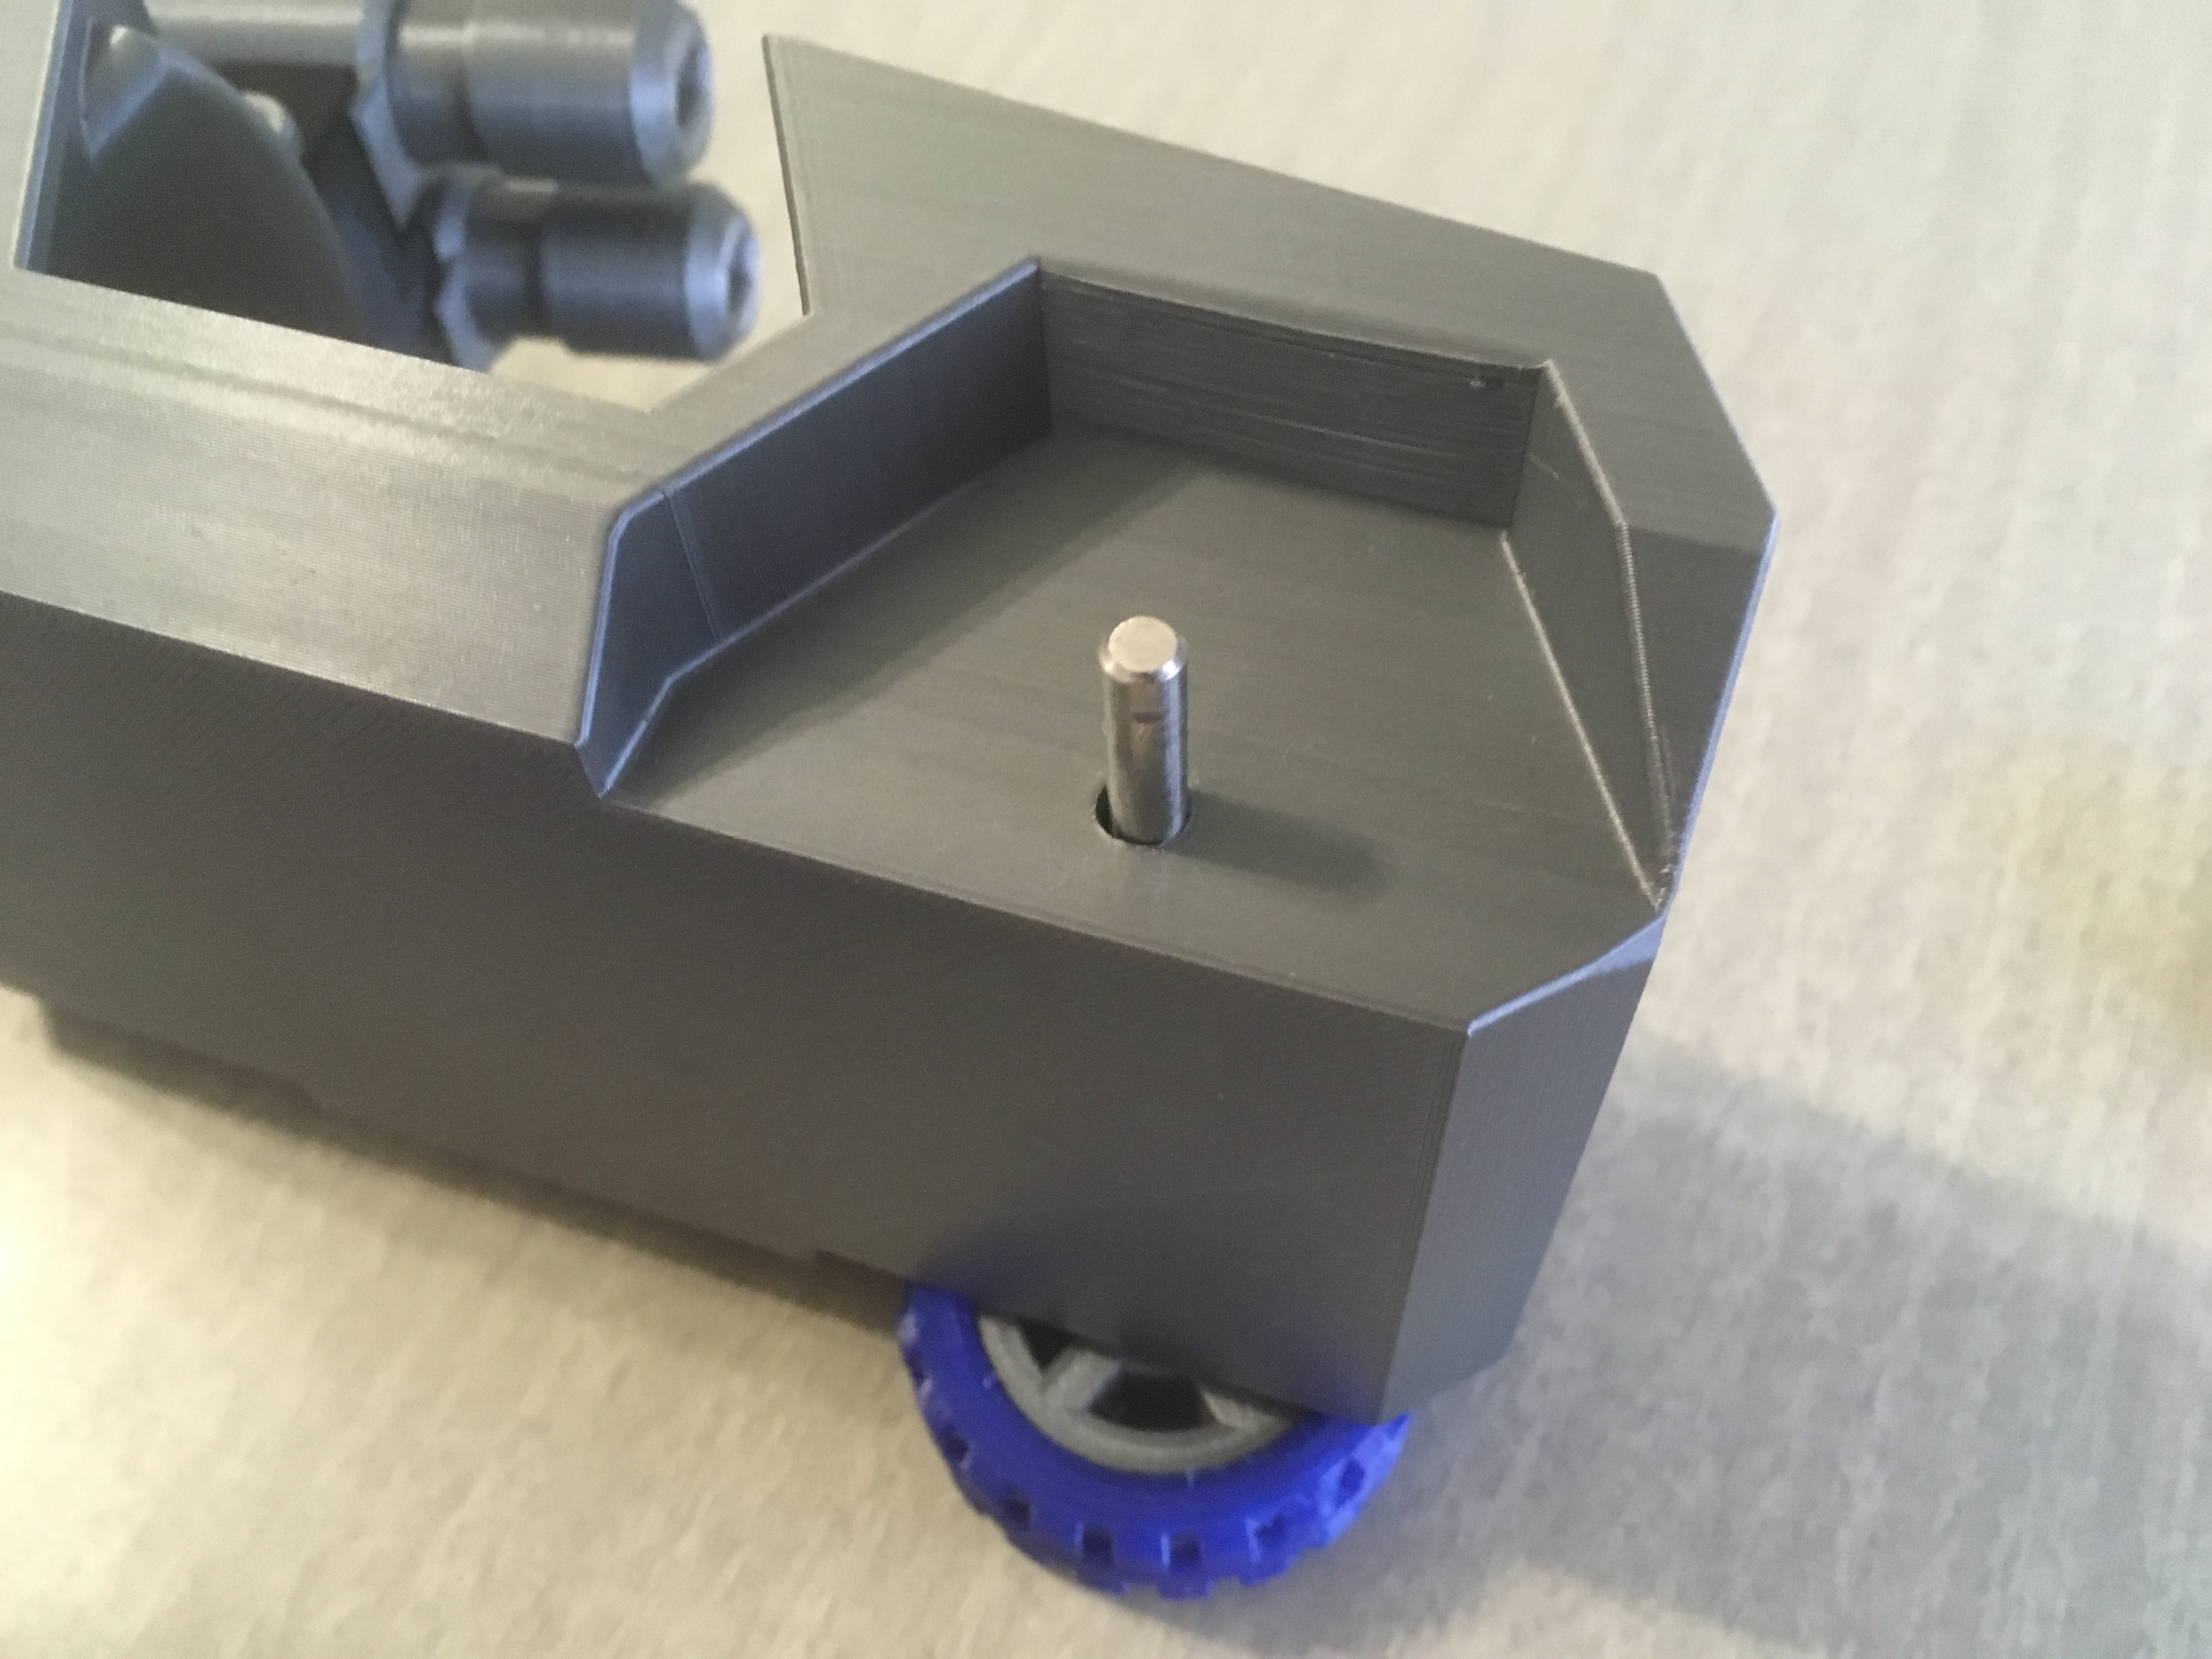
Insert the axle into the MV-Body assembly.
Cover exposed end with another MV-WheelWasher, and firmly attach wheel (glue applied of course).
Repeat for second axle.
Canopy
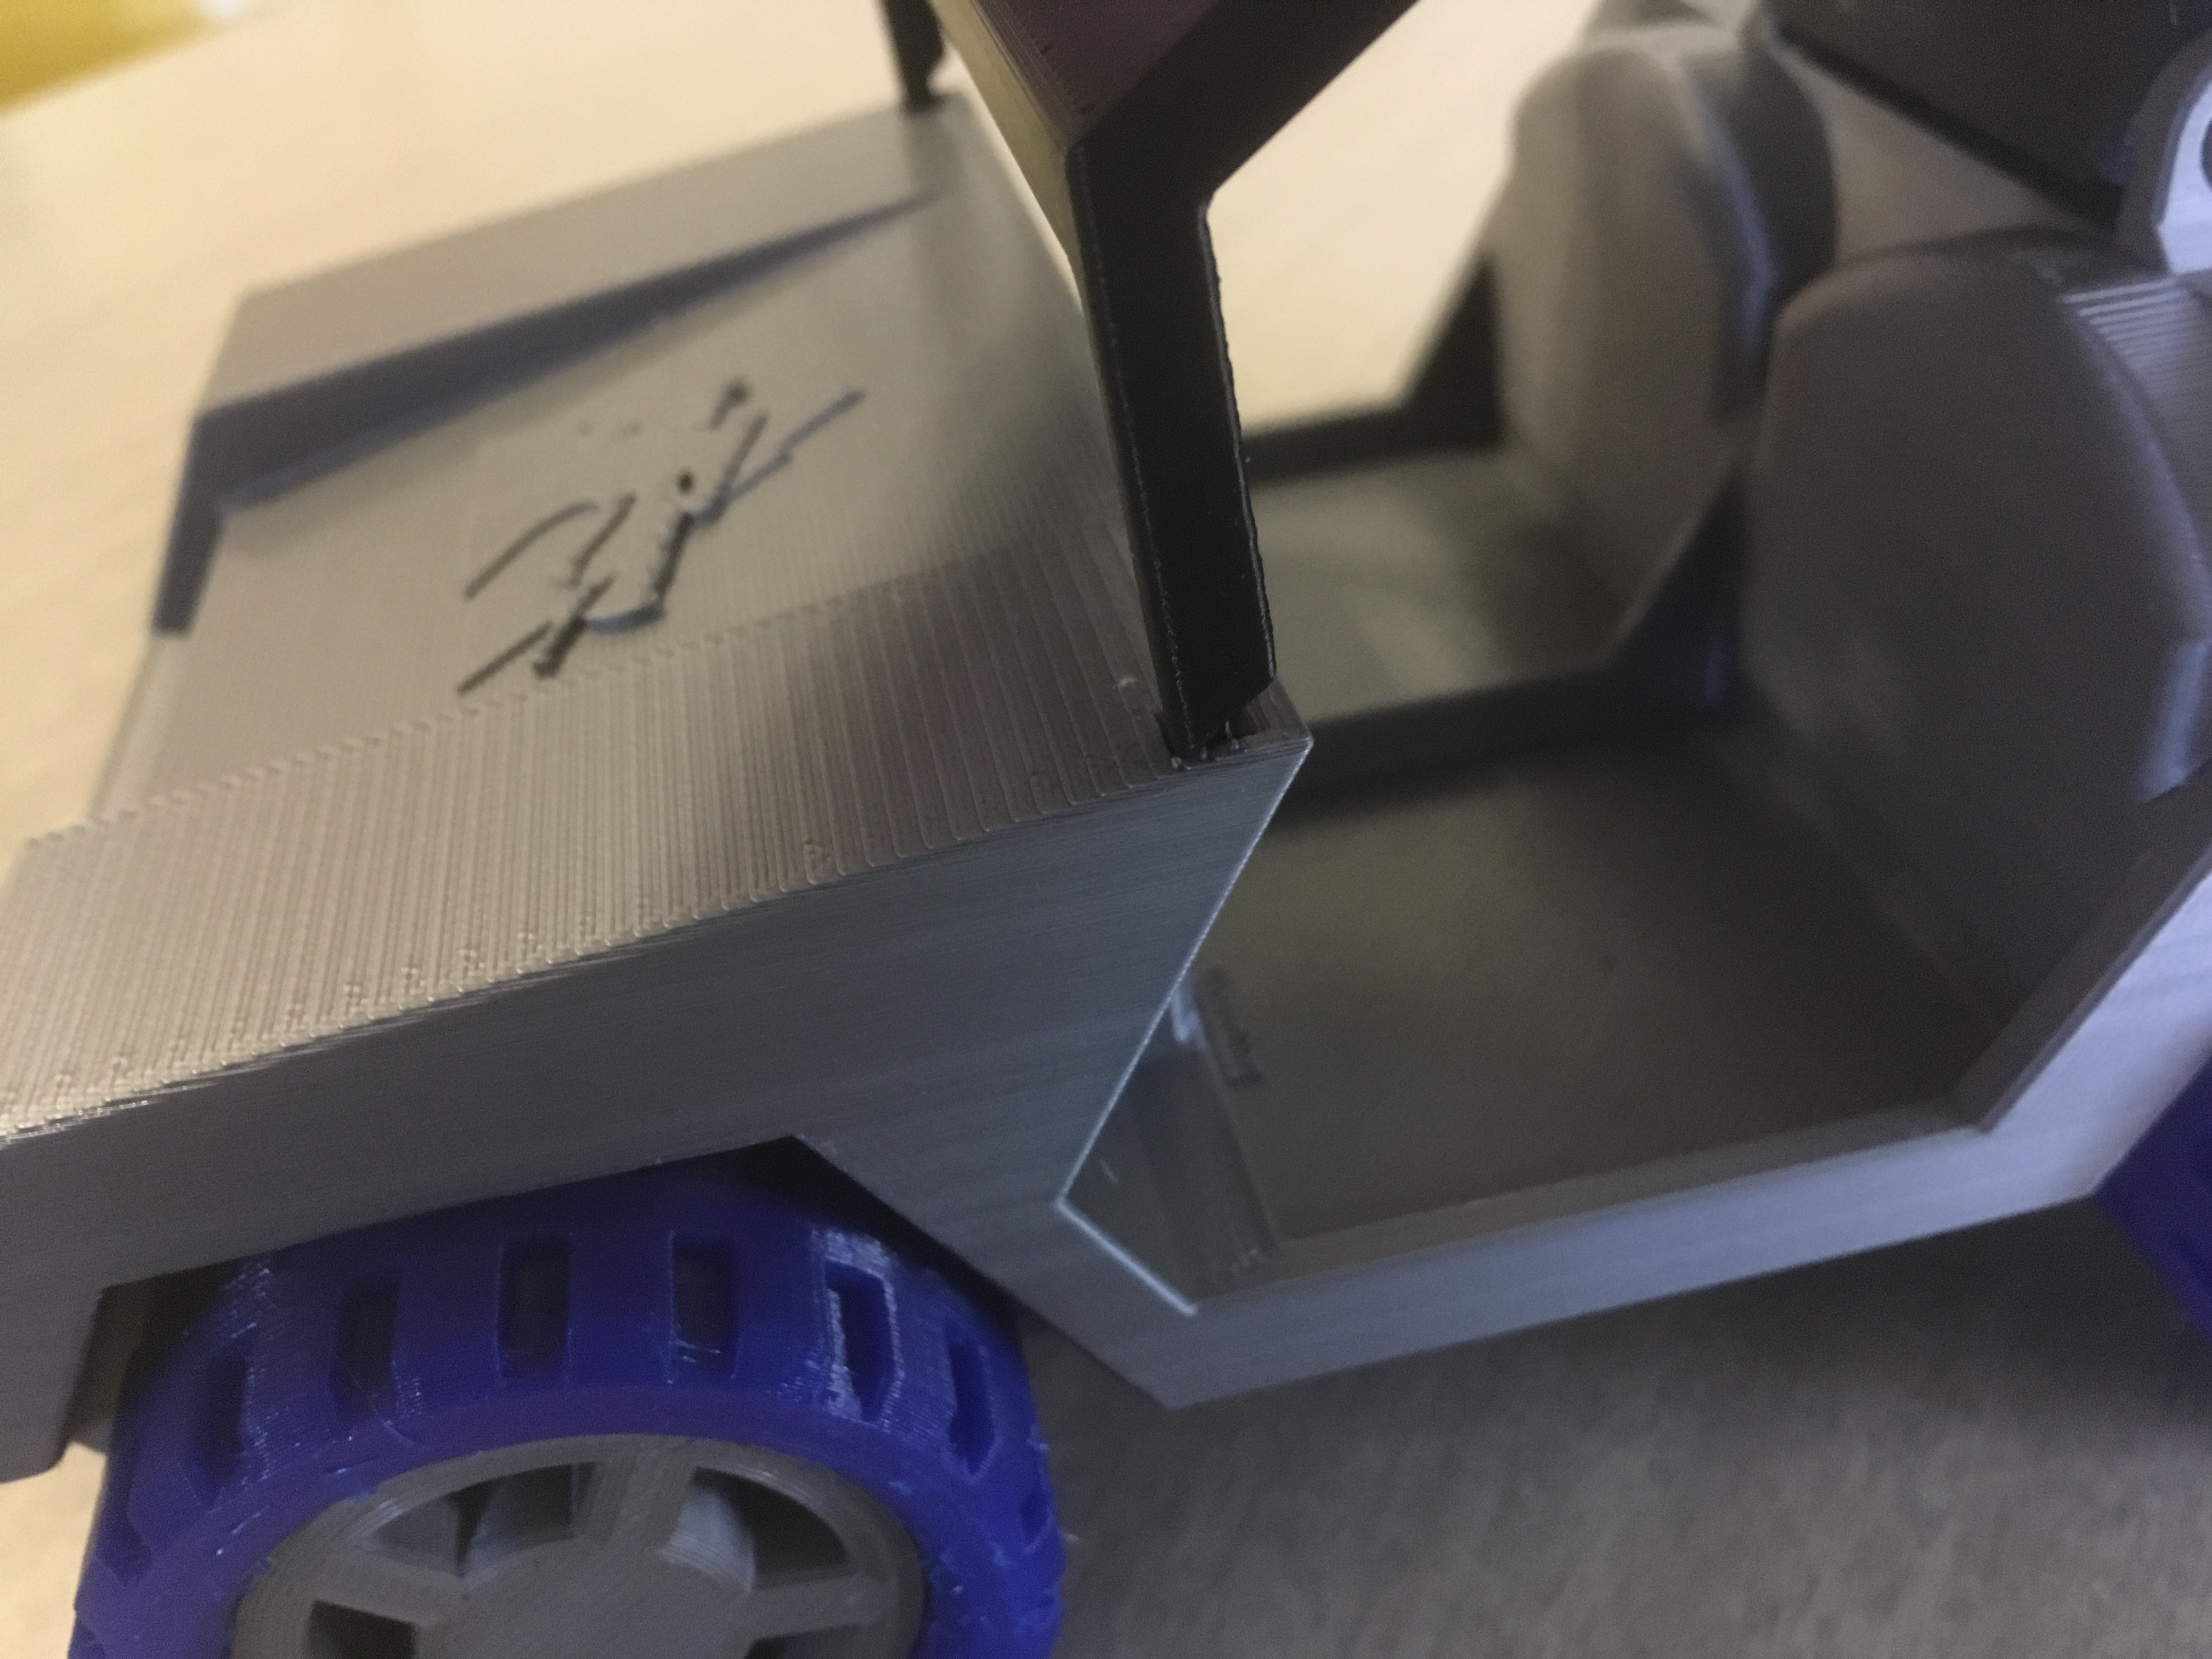
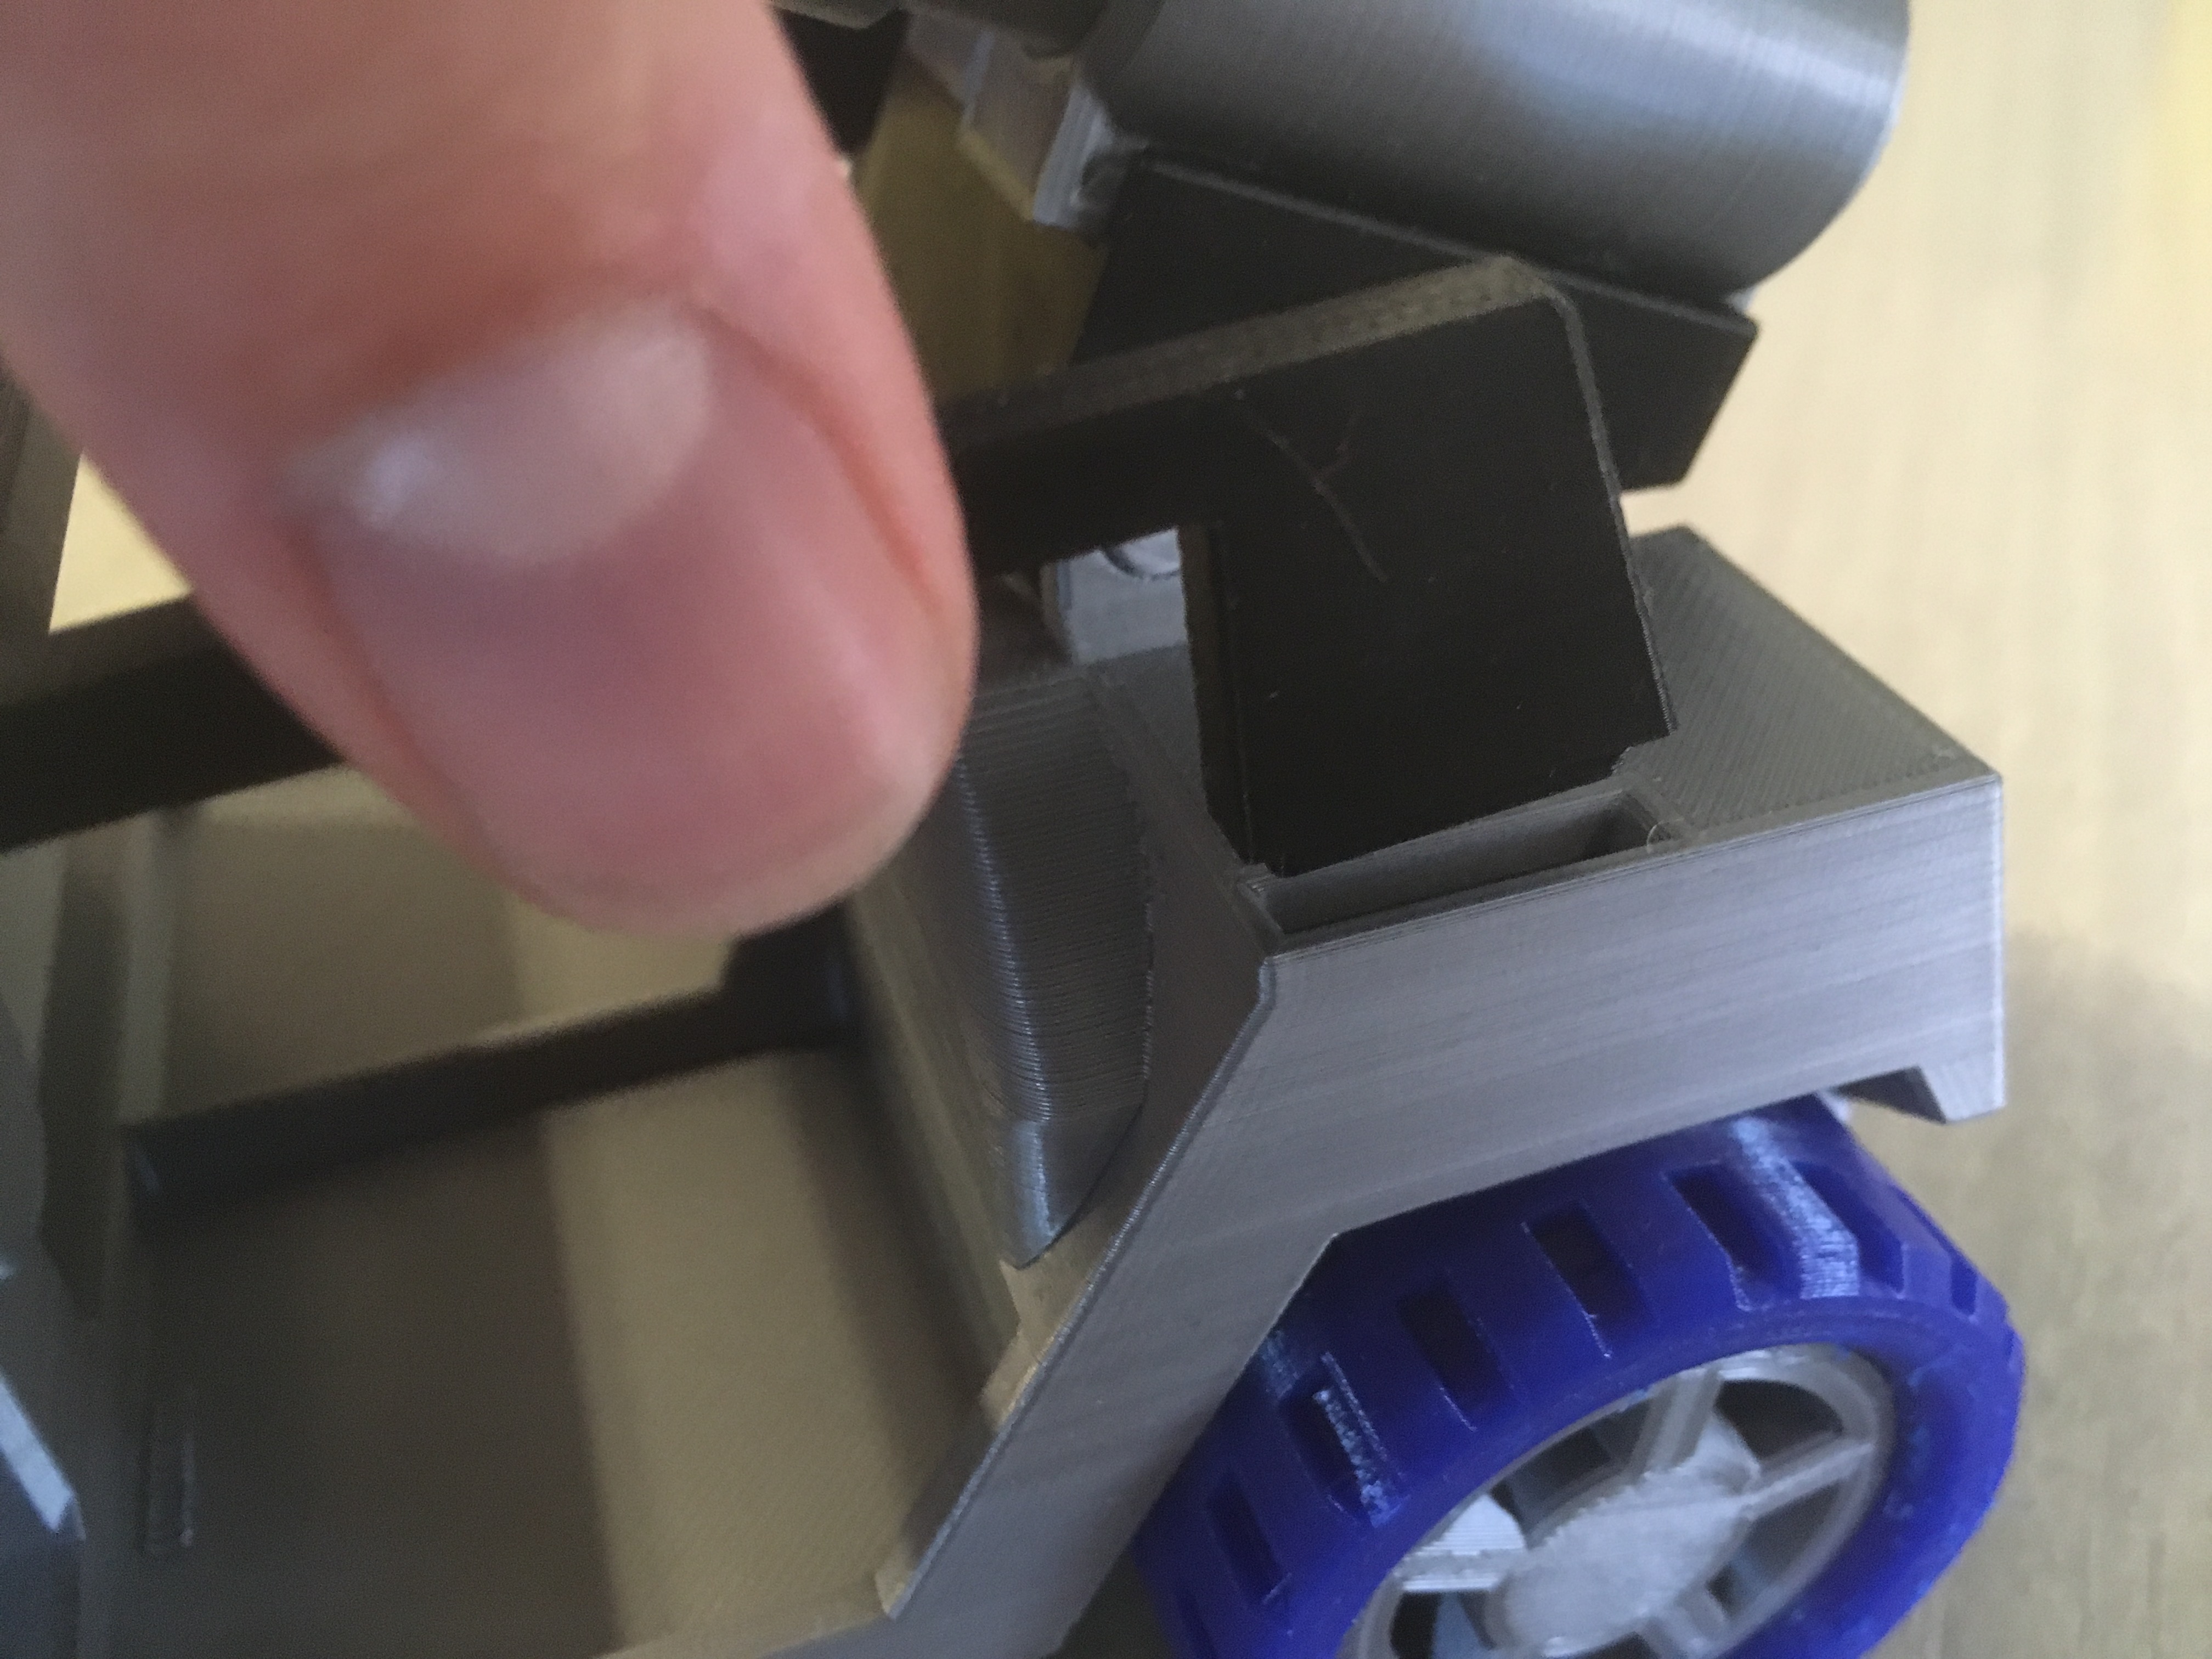
Fit the front end of MV-Canopy into the recesses of MV-Body, and pivot it into place until the back end also pops into place.
OPTIONAL: Booster Seats & Barrel
The interior accommodates a range of action figure sizes. MV-Booster may be required for some action figures to fit properly.
Also, the back of the vehicle has a cavity designed specifically to store a barrel (found with the missile launcher files).
We Say RIGGIDY-ROLL Now!
If you don’t have or aren’t interested in the Cheat Commandos, don’t let that stop you from jumping into action with this MiniVamp.
Like what you’re seeing here? Follow me on Twitter @DragonMtnDesign to help stop Blue Laser from blowing up the ocean.
#Cheekymandos MiniVamp is rolling out! pic.twitter.com/Ur4N5N9vVn
— DragonMtnDesign (@DragonMtnDesign) May 28, 2017
.
.
.
March 2020 UPDATE: Files are available here! Click the Download button below for a zip file.
Files are available under the Creative Commons BY-NC-SA license.




1 Comment