OBG Project – Shoe & Hat Rack

Ah yes, time for another Oldie-But-Goodie project. And pretty much self-explanatory! Back in 2013, my wife asked me for a shoe rack, and I thought adding a few hat stands would be a nice touch.
The parts and build are straightforward. With the exception of one component, everything was sourced at Lowes (Home Depot did not have the right sized pipe flanges).
Parts List:
3/8 Galvanized Floor Flange – Lowes (These seem more expensive than they should be… and you need 16 for the full shebang… Sorry.)
3/8 Galvanized Pipe, 12″ Long – Lowes (Can’t find online, but they’re there… They have to be, right?! Grab 8.)
3/4″ Plywood, 4′ x 1′ – Lowes (If memory serves, buy two of these in 4′ x 2′ sheets and get them cut in half on site. Comes in oak, birch, pine, etc. Pick your favorite.)
Screws – Lowes (I think I used #10 x 3/4″ Flat Head Phillips Wood screws, but in general, be informed that wood screws are the worst)
Bumpers / Feet – Lowes (Whatever suits your fancy. You’re not going to see them anyway)
Spray Paint – Lowes (I used hammered black. I really like the way it looks.)
Wood Stain – Lowes (Choose based on your preference.)
11/16″ ID Set Screw Shaft Collar – McMaster 9414T14 (8 are needed)
Helpful Tools:
Jigsaw
Power Drill
11/16″ Hole-Cutting Drill Bit
Compass
5/32″ Hex (for shaft collars)
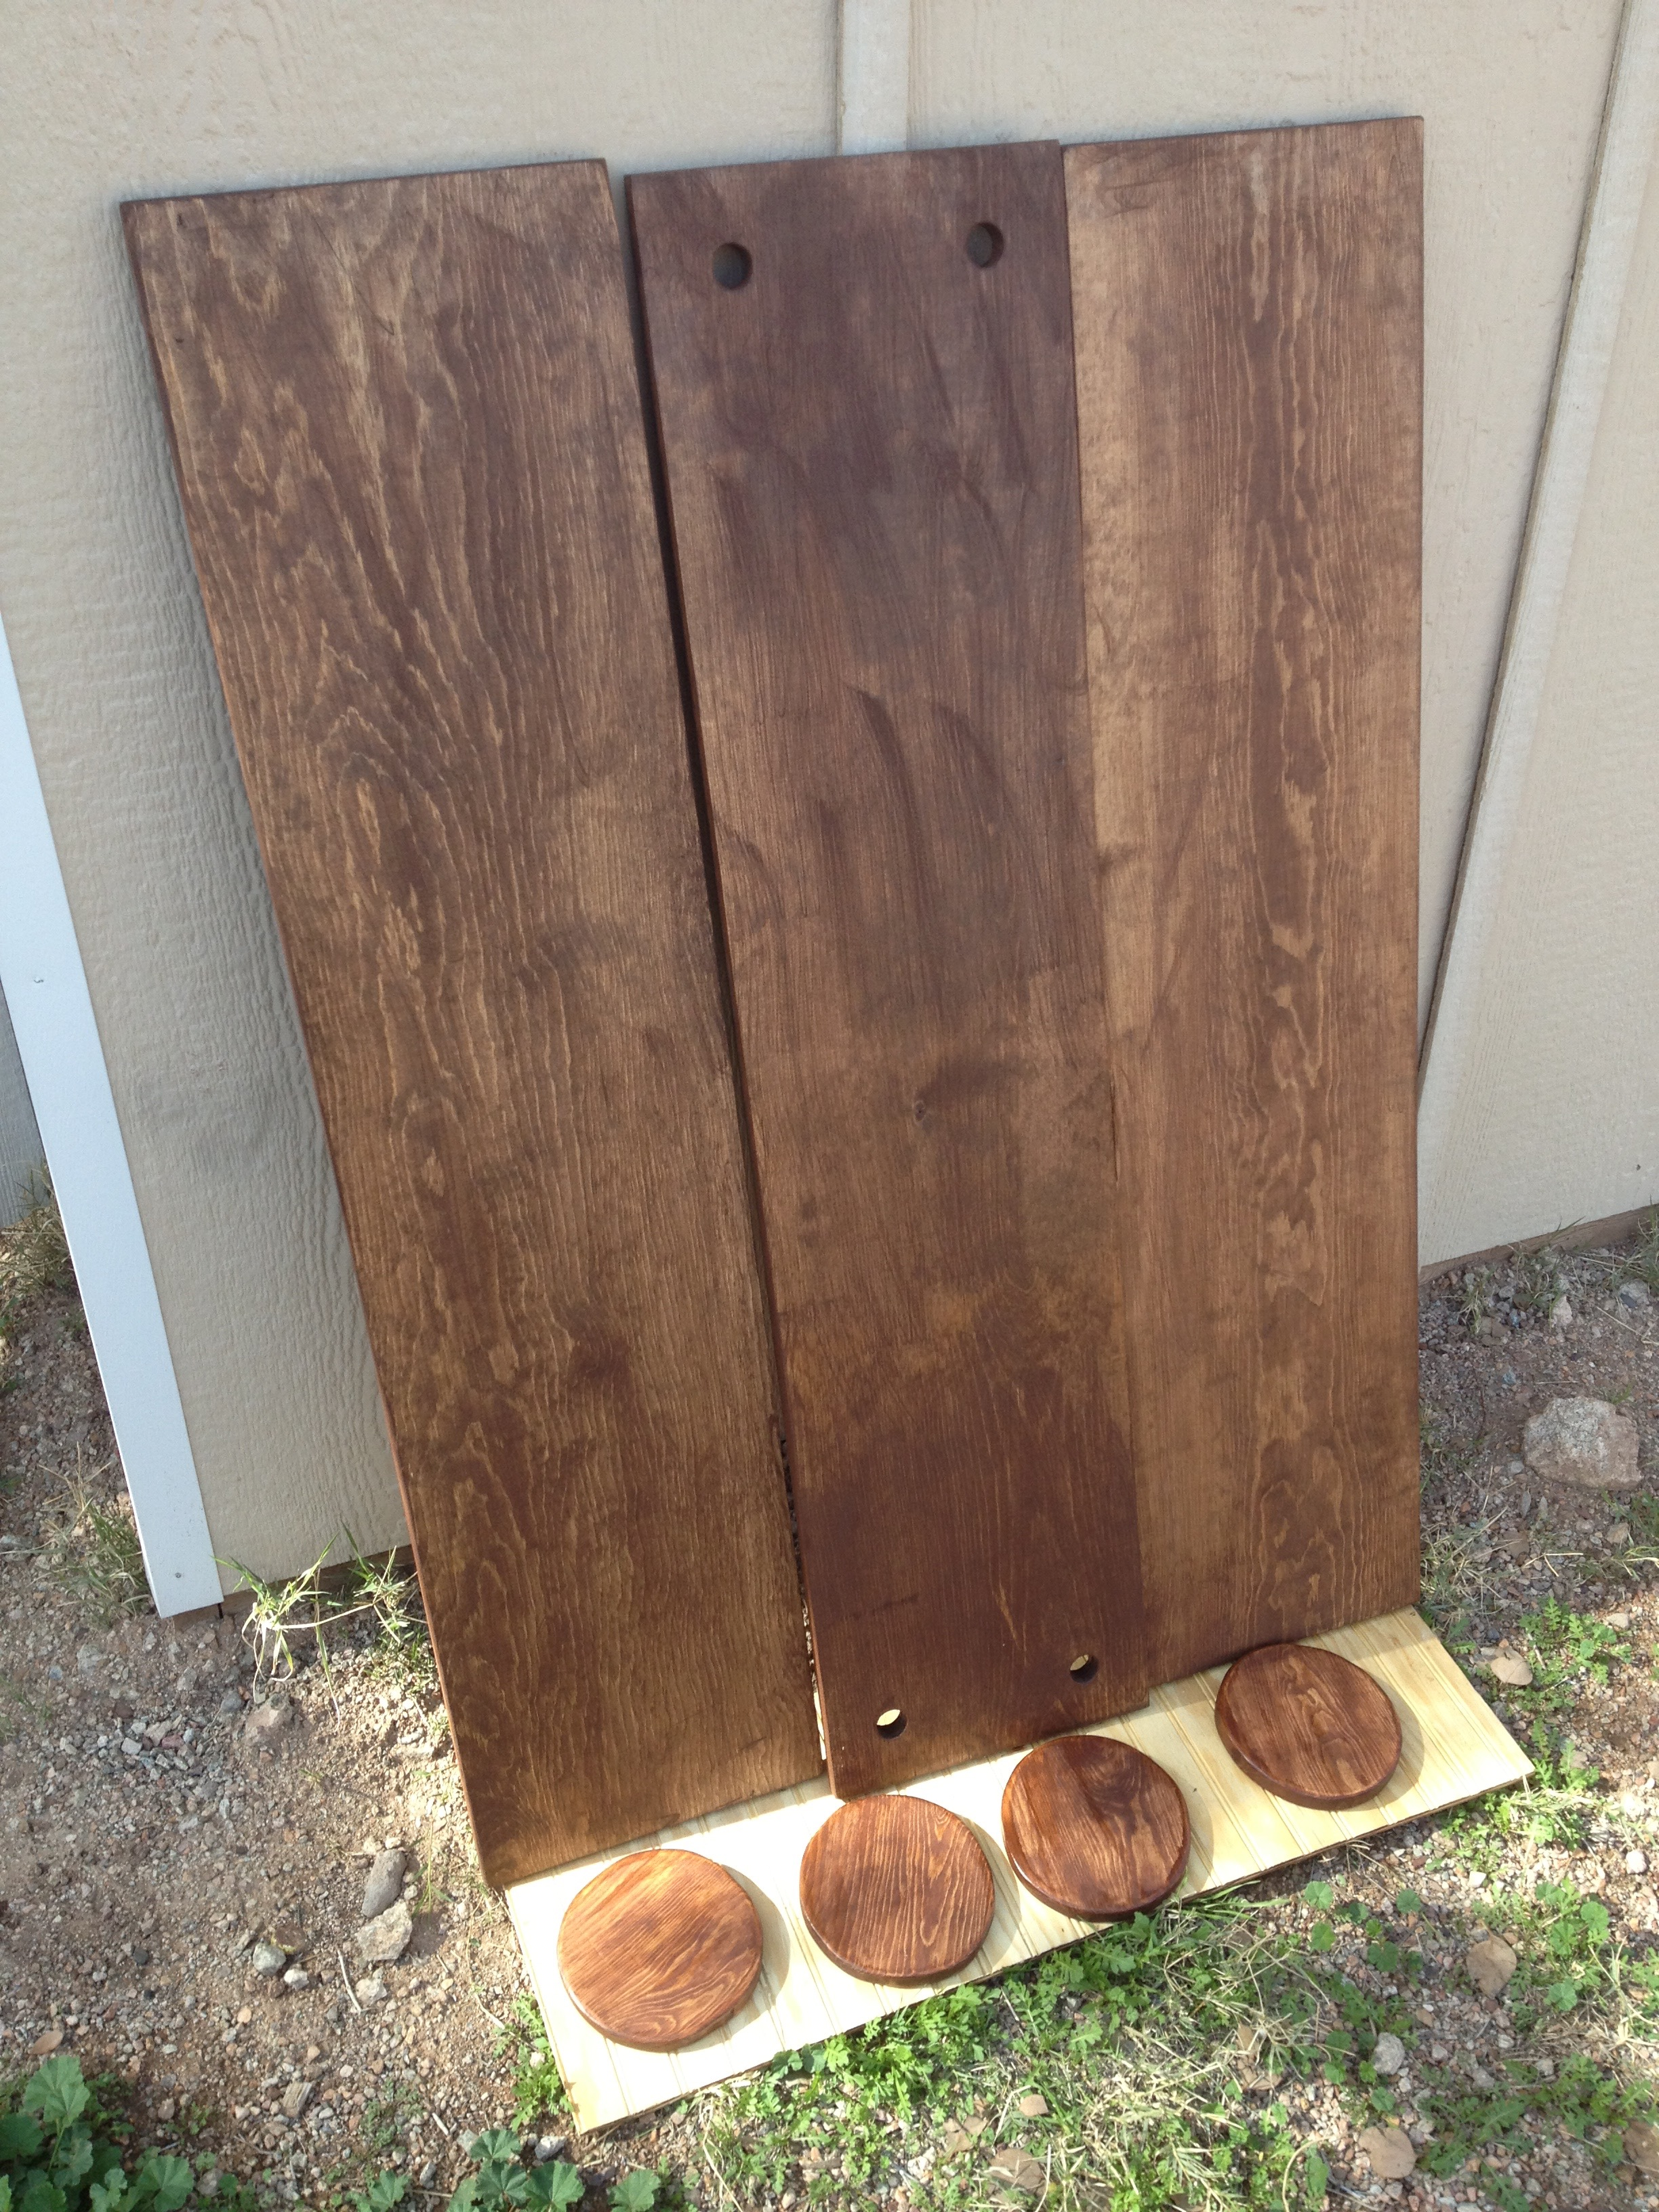
Cut Hat-Stands
Assuming you’ve gotten the 4′ x 2′ plywood cut in half to 4′ x 1′, you’re already well on your way. Use a compass to map out the circles for your hat stands, and cut them out with the jigsaw.
If you have a better way of cutting circles, by all means.
Prep Wood
Drill four 11/16″ holes into one of the boards (I centered each one of them 2 1/4″ from the edges). Sand, stain, and treat with polyurethane to your desired finish.
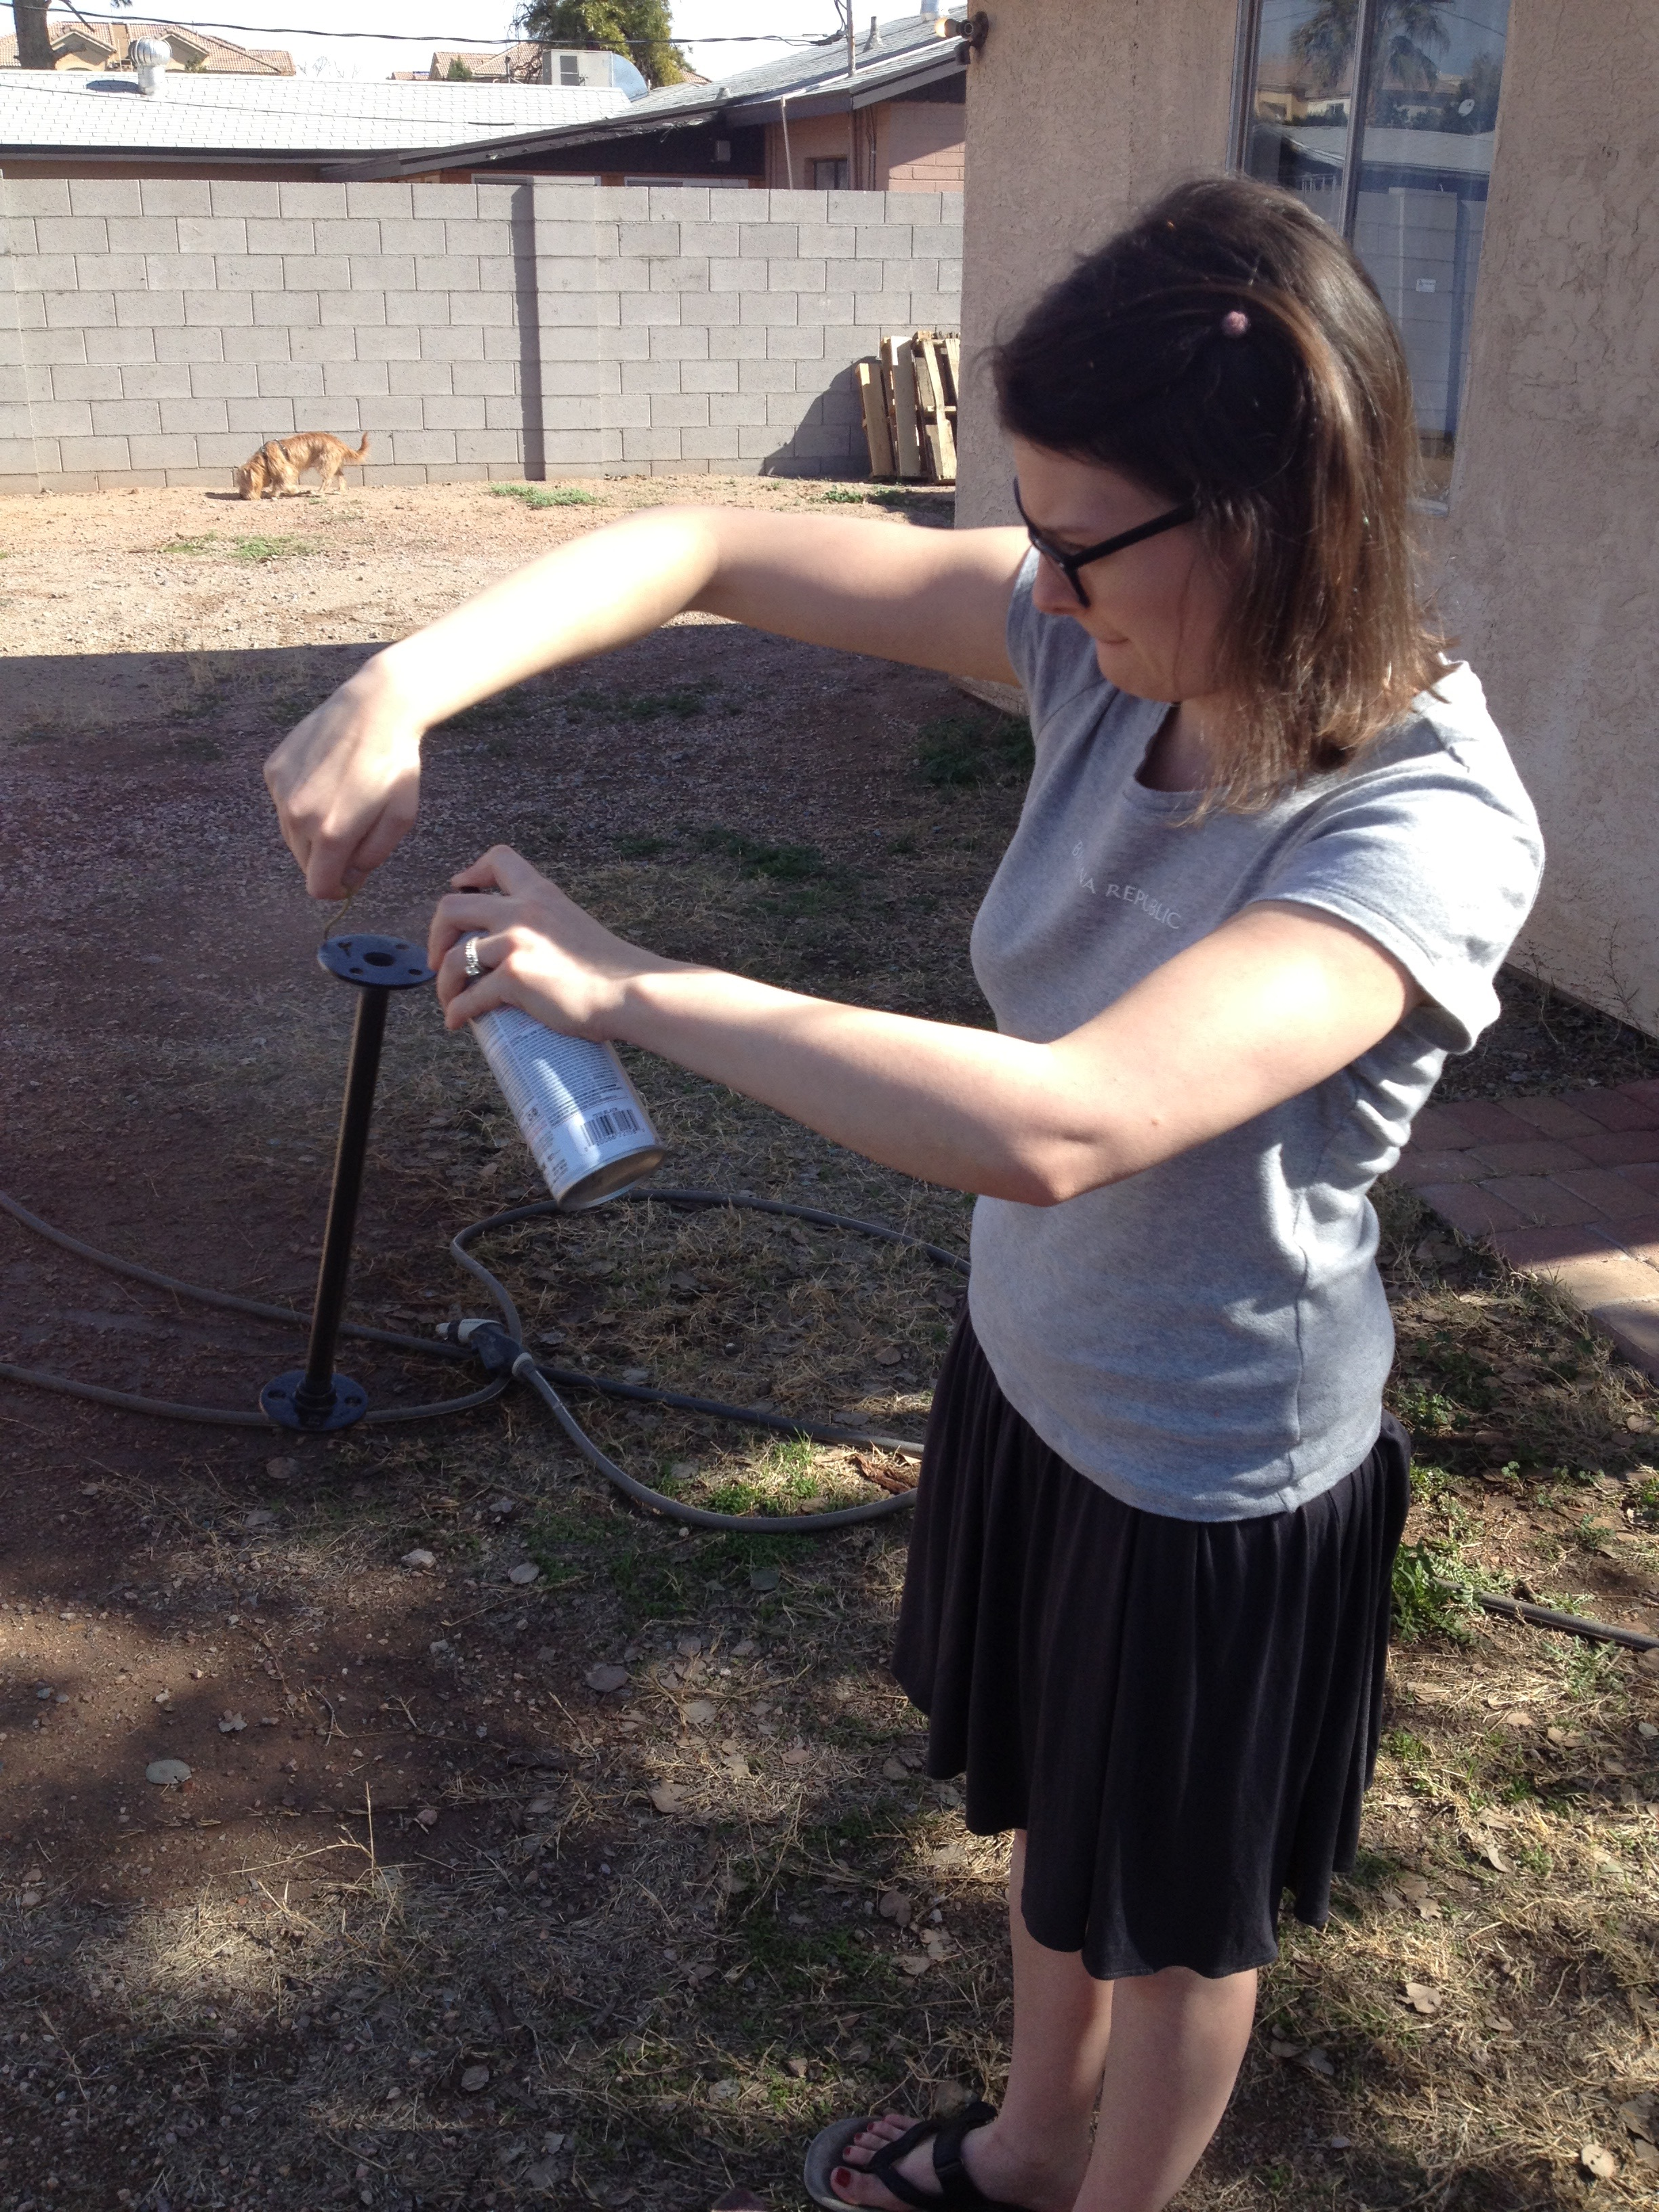
Paint Pipes
I don’t need to explain this, right? You got this.
Stage Build & Assemble

When assembling, make sure you’ve got your center board and collars already on the pipe between the flanges. It may be a bit tricky to maneuver, but you’re not getting them on if you’ve screwed everything else together beforehand.
Speaking of screwing everything together, pre-drill your holes (I centered the pipes 2 1/4″ from the edges), because as I mentioned in their introduction, wood screws are the worst.
Once your flanged pipes are secured to the top and bottom boards, use a level to sort out the center.
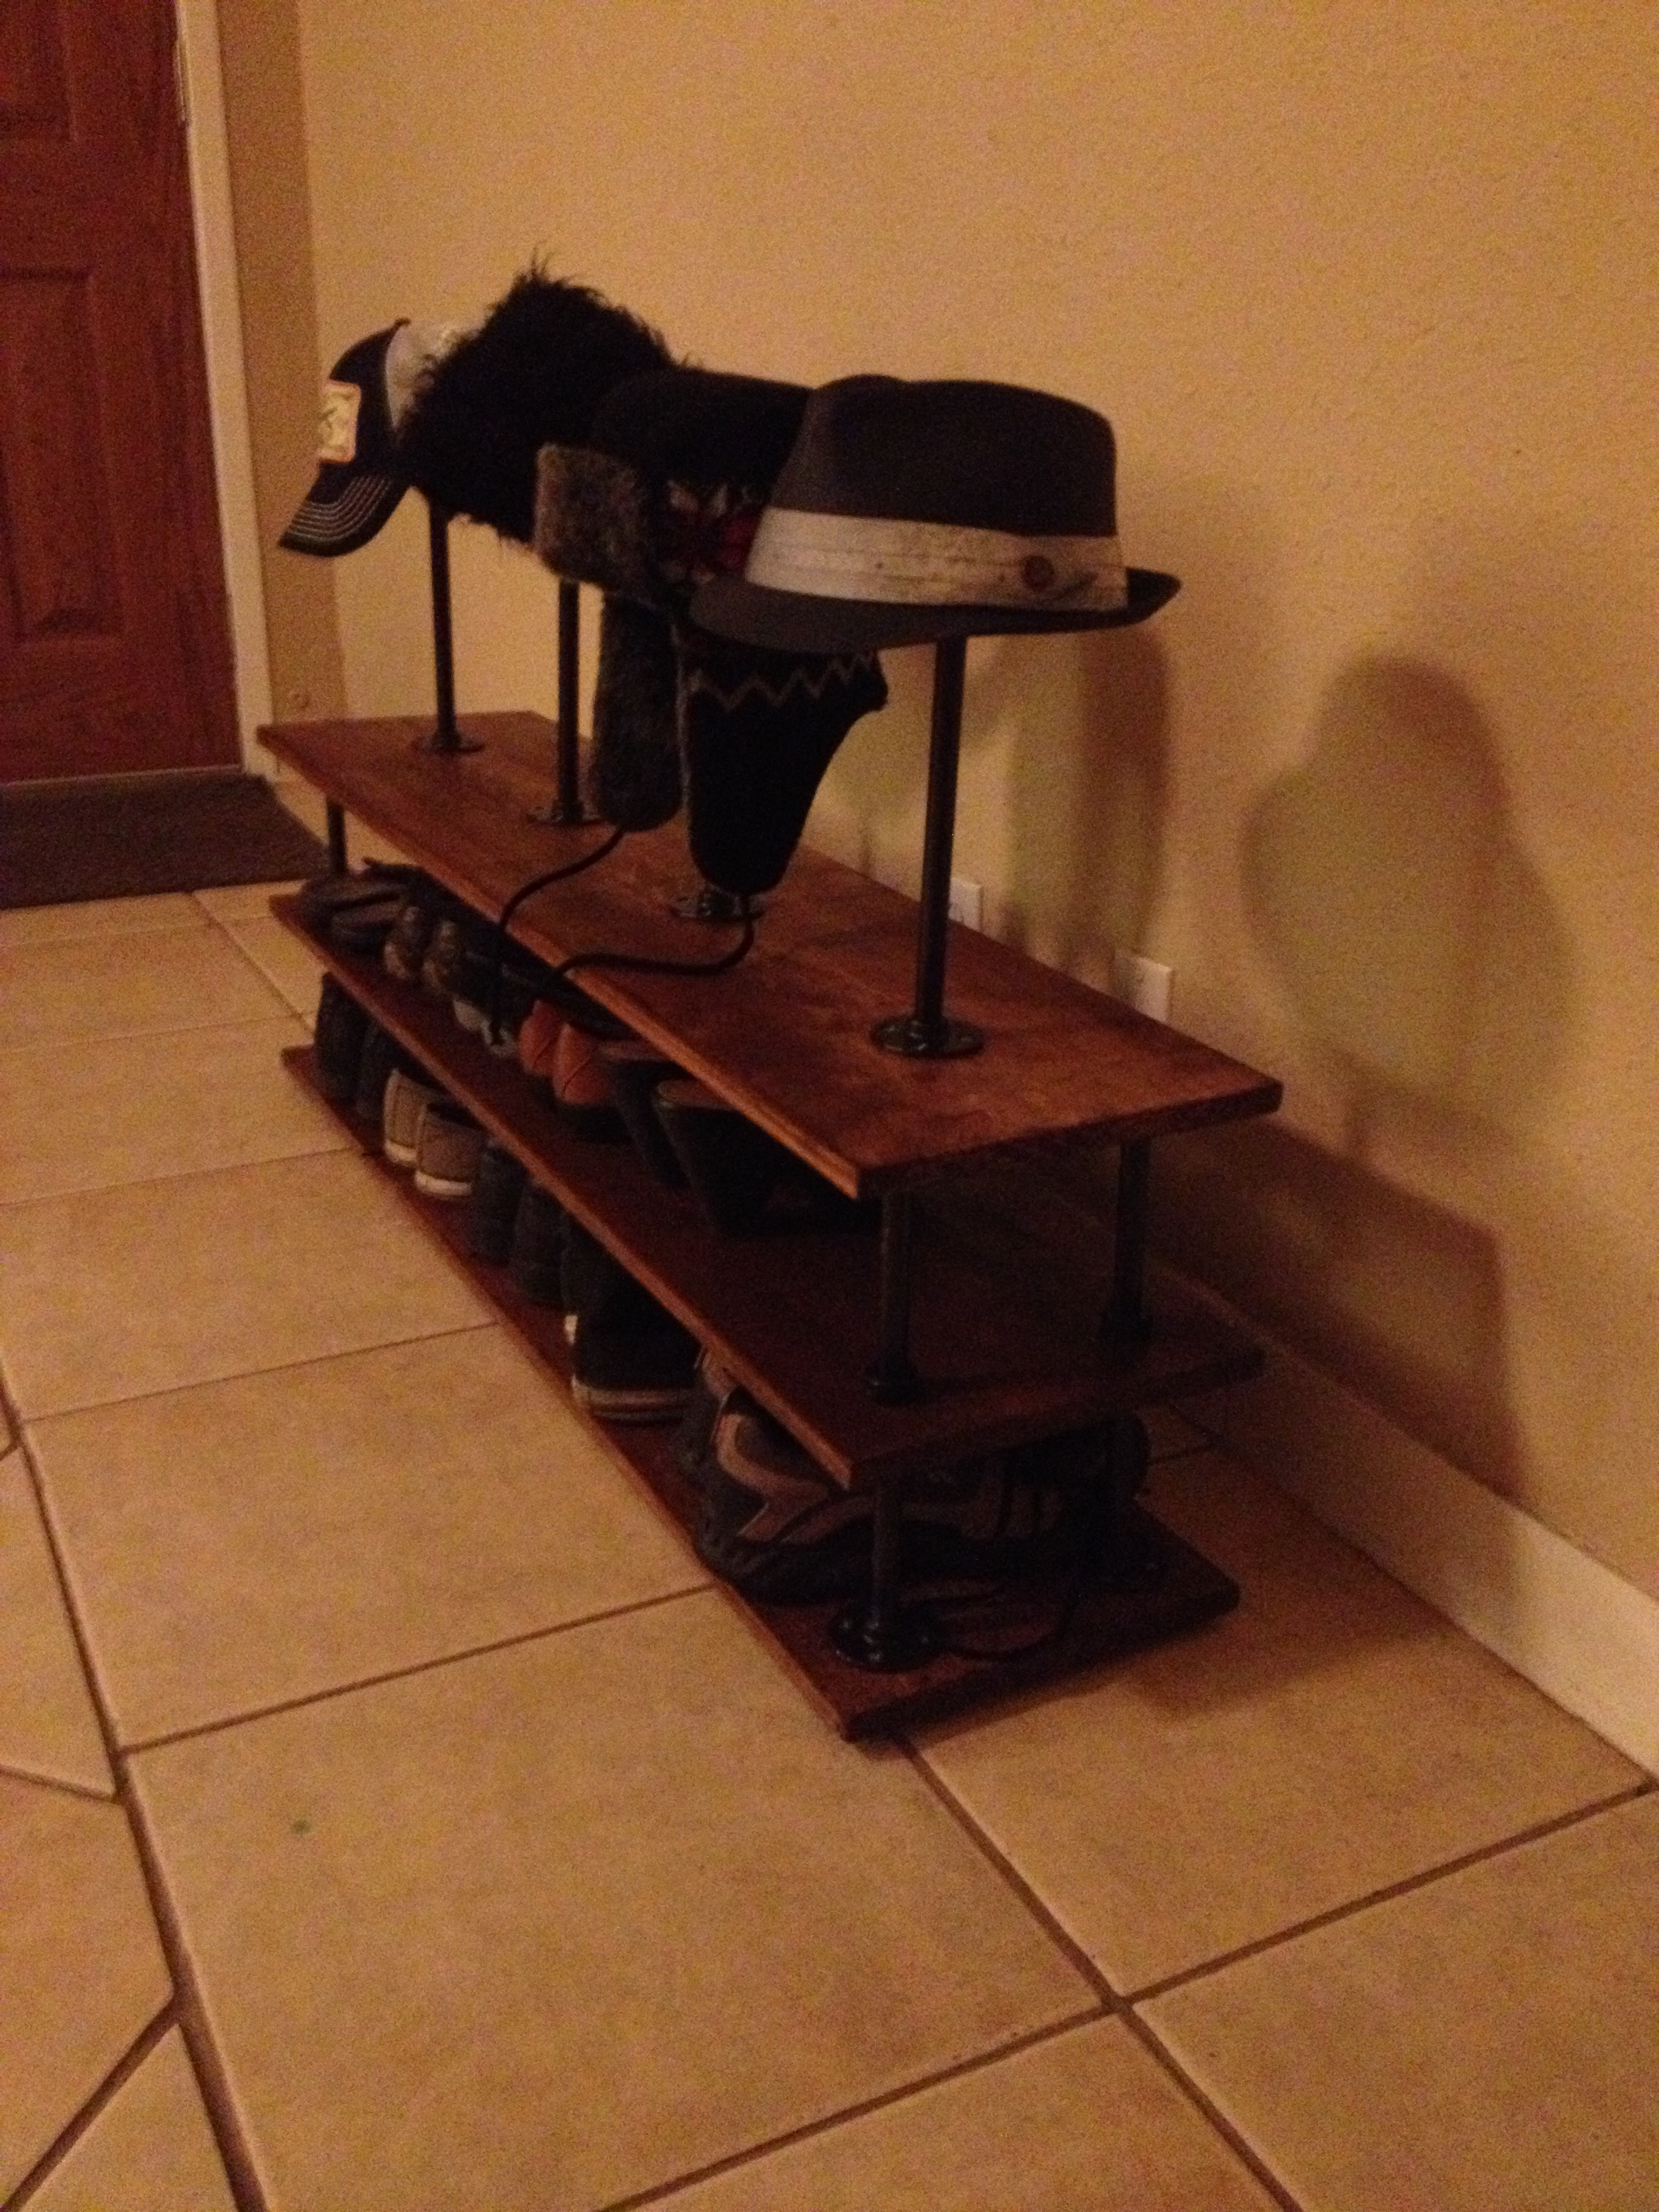
Done and done.
*Side note: Having a kid is A TON of work. Been wanting to post more regularly, but between running behind her as she discovers all the dangerous items in the house & removing all the discovered dangerous items in the house, I haven’t had loads of free time.
That being said, I’ve got a few new projects coming up on the horizon, and will get to sharing them as soon as I can.
In any case, if you’ve been enjoying the site, give me a follow on twitter @DragonMtnDesign!
1 Comment