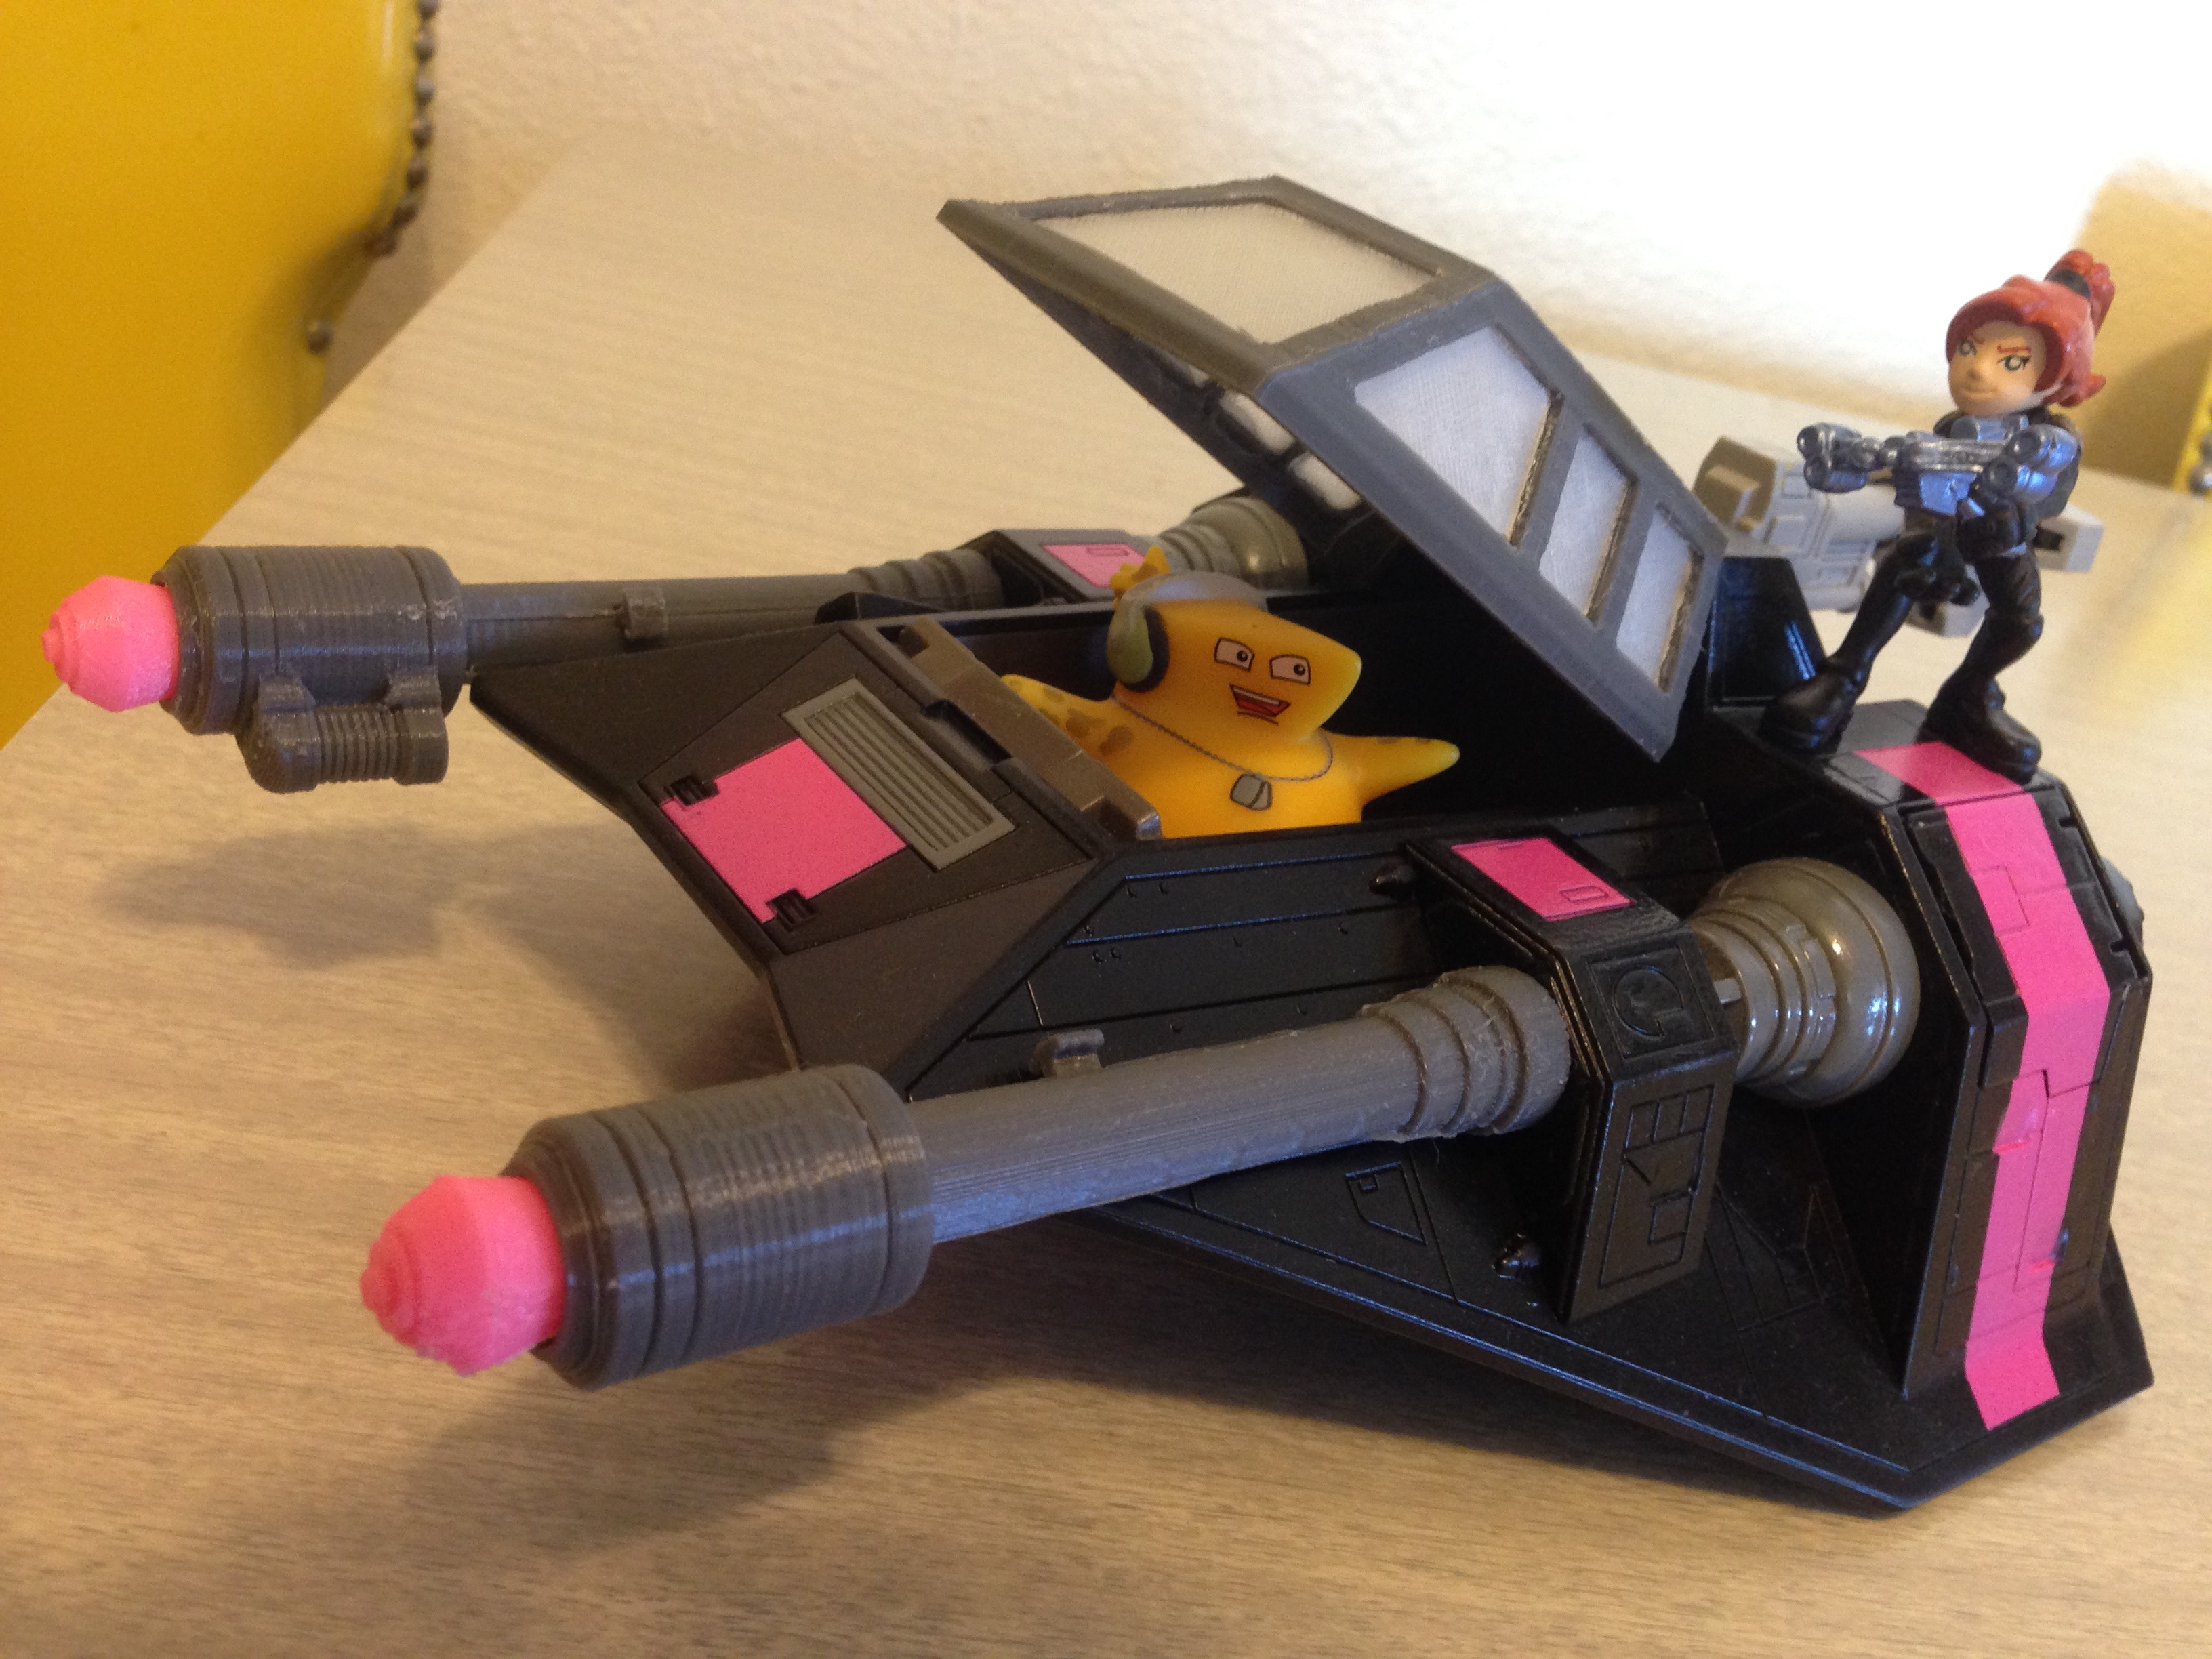
Star Wars Snowspeeder – UPGRADED

Guys, The Force Awakens opens next month!
This – this doesn’t really have anything to do with that, but still!
When my daughter was still only a few weeks old, my wife started stocking up on various clothing sizes at thrift stores, while I wheeled the little one around aimlessly.
Then I came across this beauty for the low-low price of: Two. Bucks.
Yeah, it was lacking a windscreen, and needed a bit of love to clean it up, but as an engineer and a father, neither of these items would be a problem.
After a quick weekend of measurements and modeling in Onshape, the windscreen was complete. As I looked at the “finished” product, the gears in my head started turning and I thought to myself, “You know, I could do better…”
So I modeled and replaced the rubbery gun barrels with spring-powered “missile” launchers.
Parts List:
Star Wars Snowspeeder – Playskool. Link is for Amazon, but you can find these at Target and other places. As perviously stated, I got lucky and found mine at a thrift store.
Compression Spring – Small Parts D11520. I actually couldn’t find the manufacturer’s website for these, but did find the parts on Amazon. They’re a bit more expensive than I’d like, but they were perfect.
E6000 Glue. Optional. Only needed if replacing the windscreen.
Spray Paint – Rustoleum. Optional. Get the kind that will work well with plastics.
Helpful Tools:
400 Grit Sand Paper. Optional unless you’re painting. Then it’s highly recommended.
Painter’s Tape. Same. Use it to mark off accent areas.
Small Philips Screwdriver – A few of the screws are pretty deep, so make sure yours can reach them.
3D Printer (or printing service)
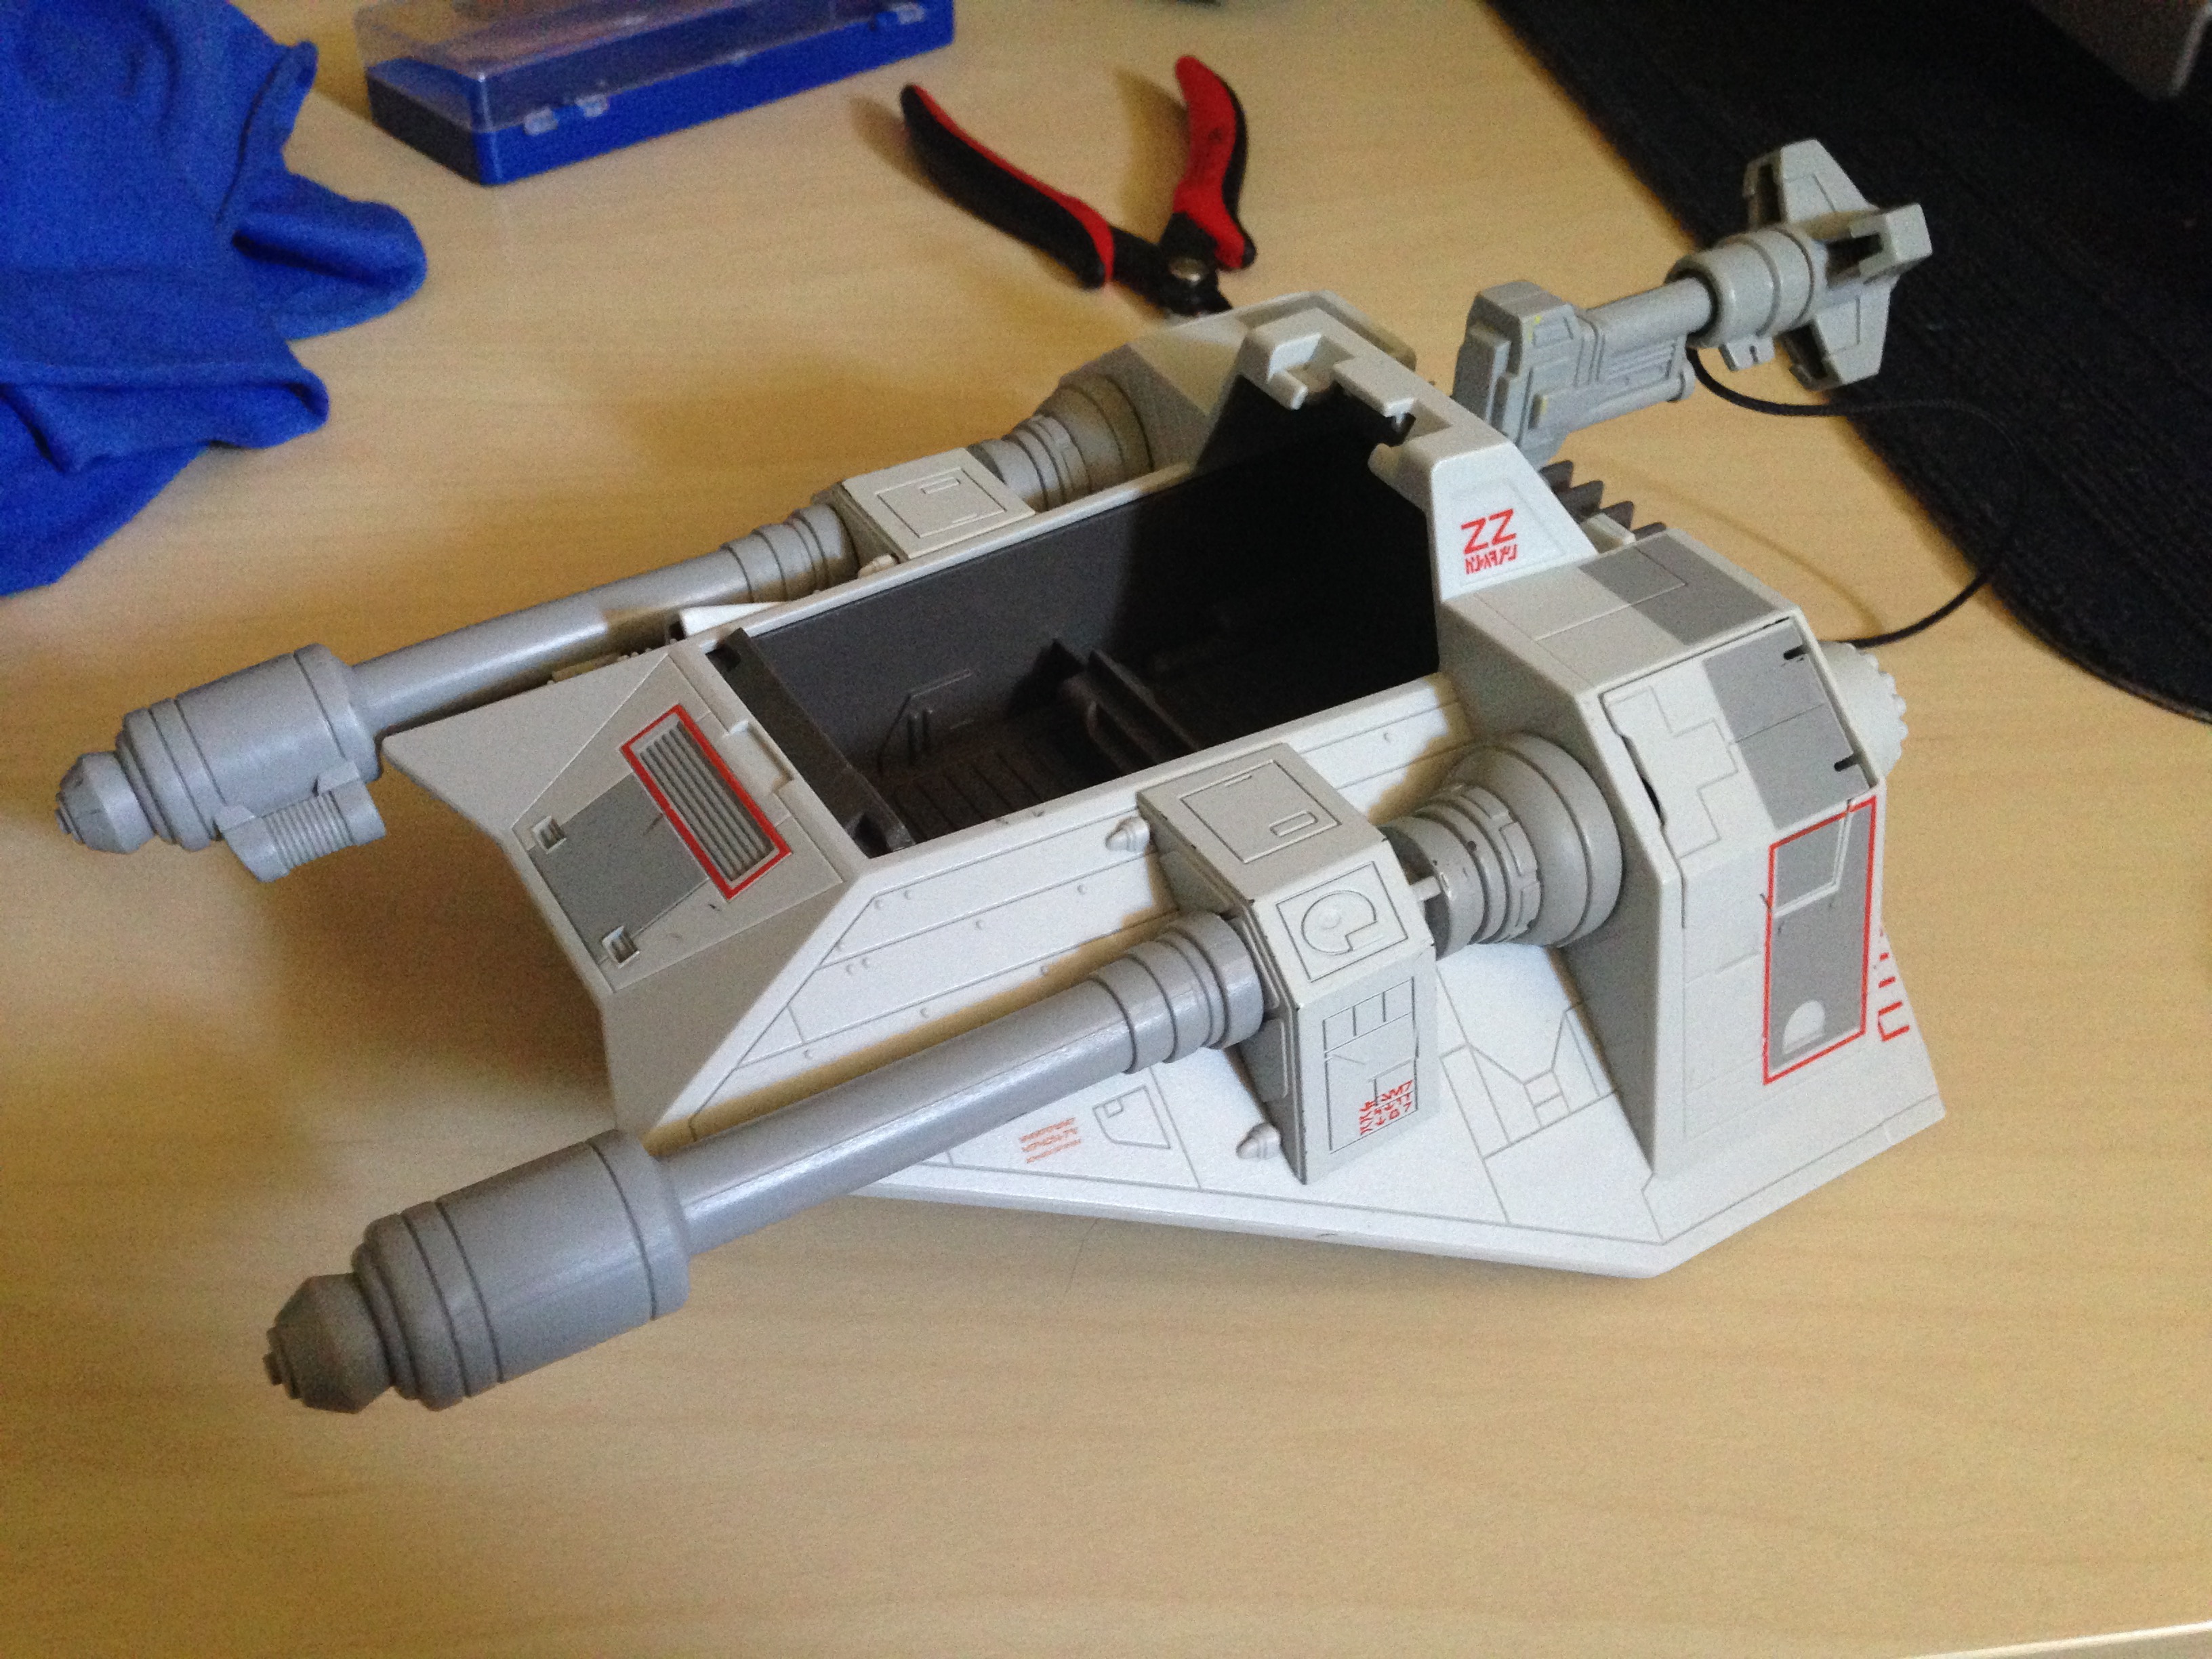
Disassembly
Using your philips screwdriver, remove all of the screws holding the bottom plate to the top (there are eight of them holding everything together)

Using the same screw driver, remove the screws holding the gun barrel assemblies from the top component (there are four in total).
Set all your screws aside in a safe place. It goes without saying, but we need those to put everything back together.
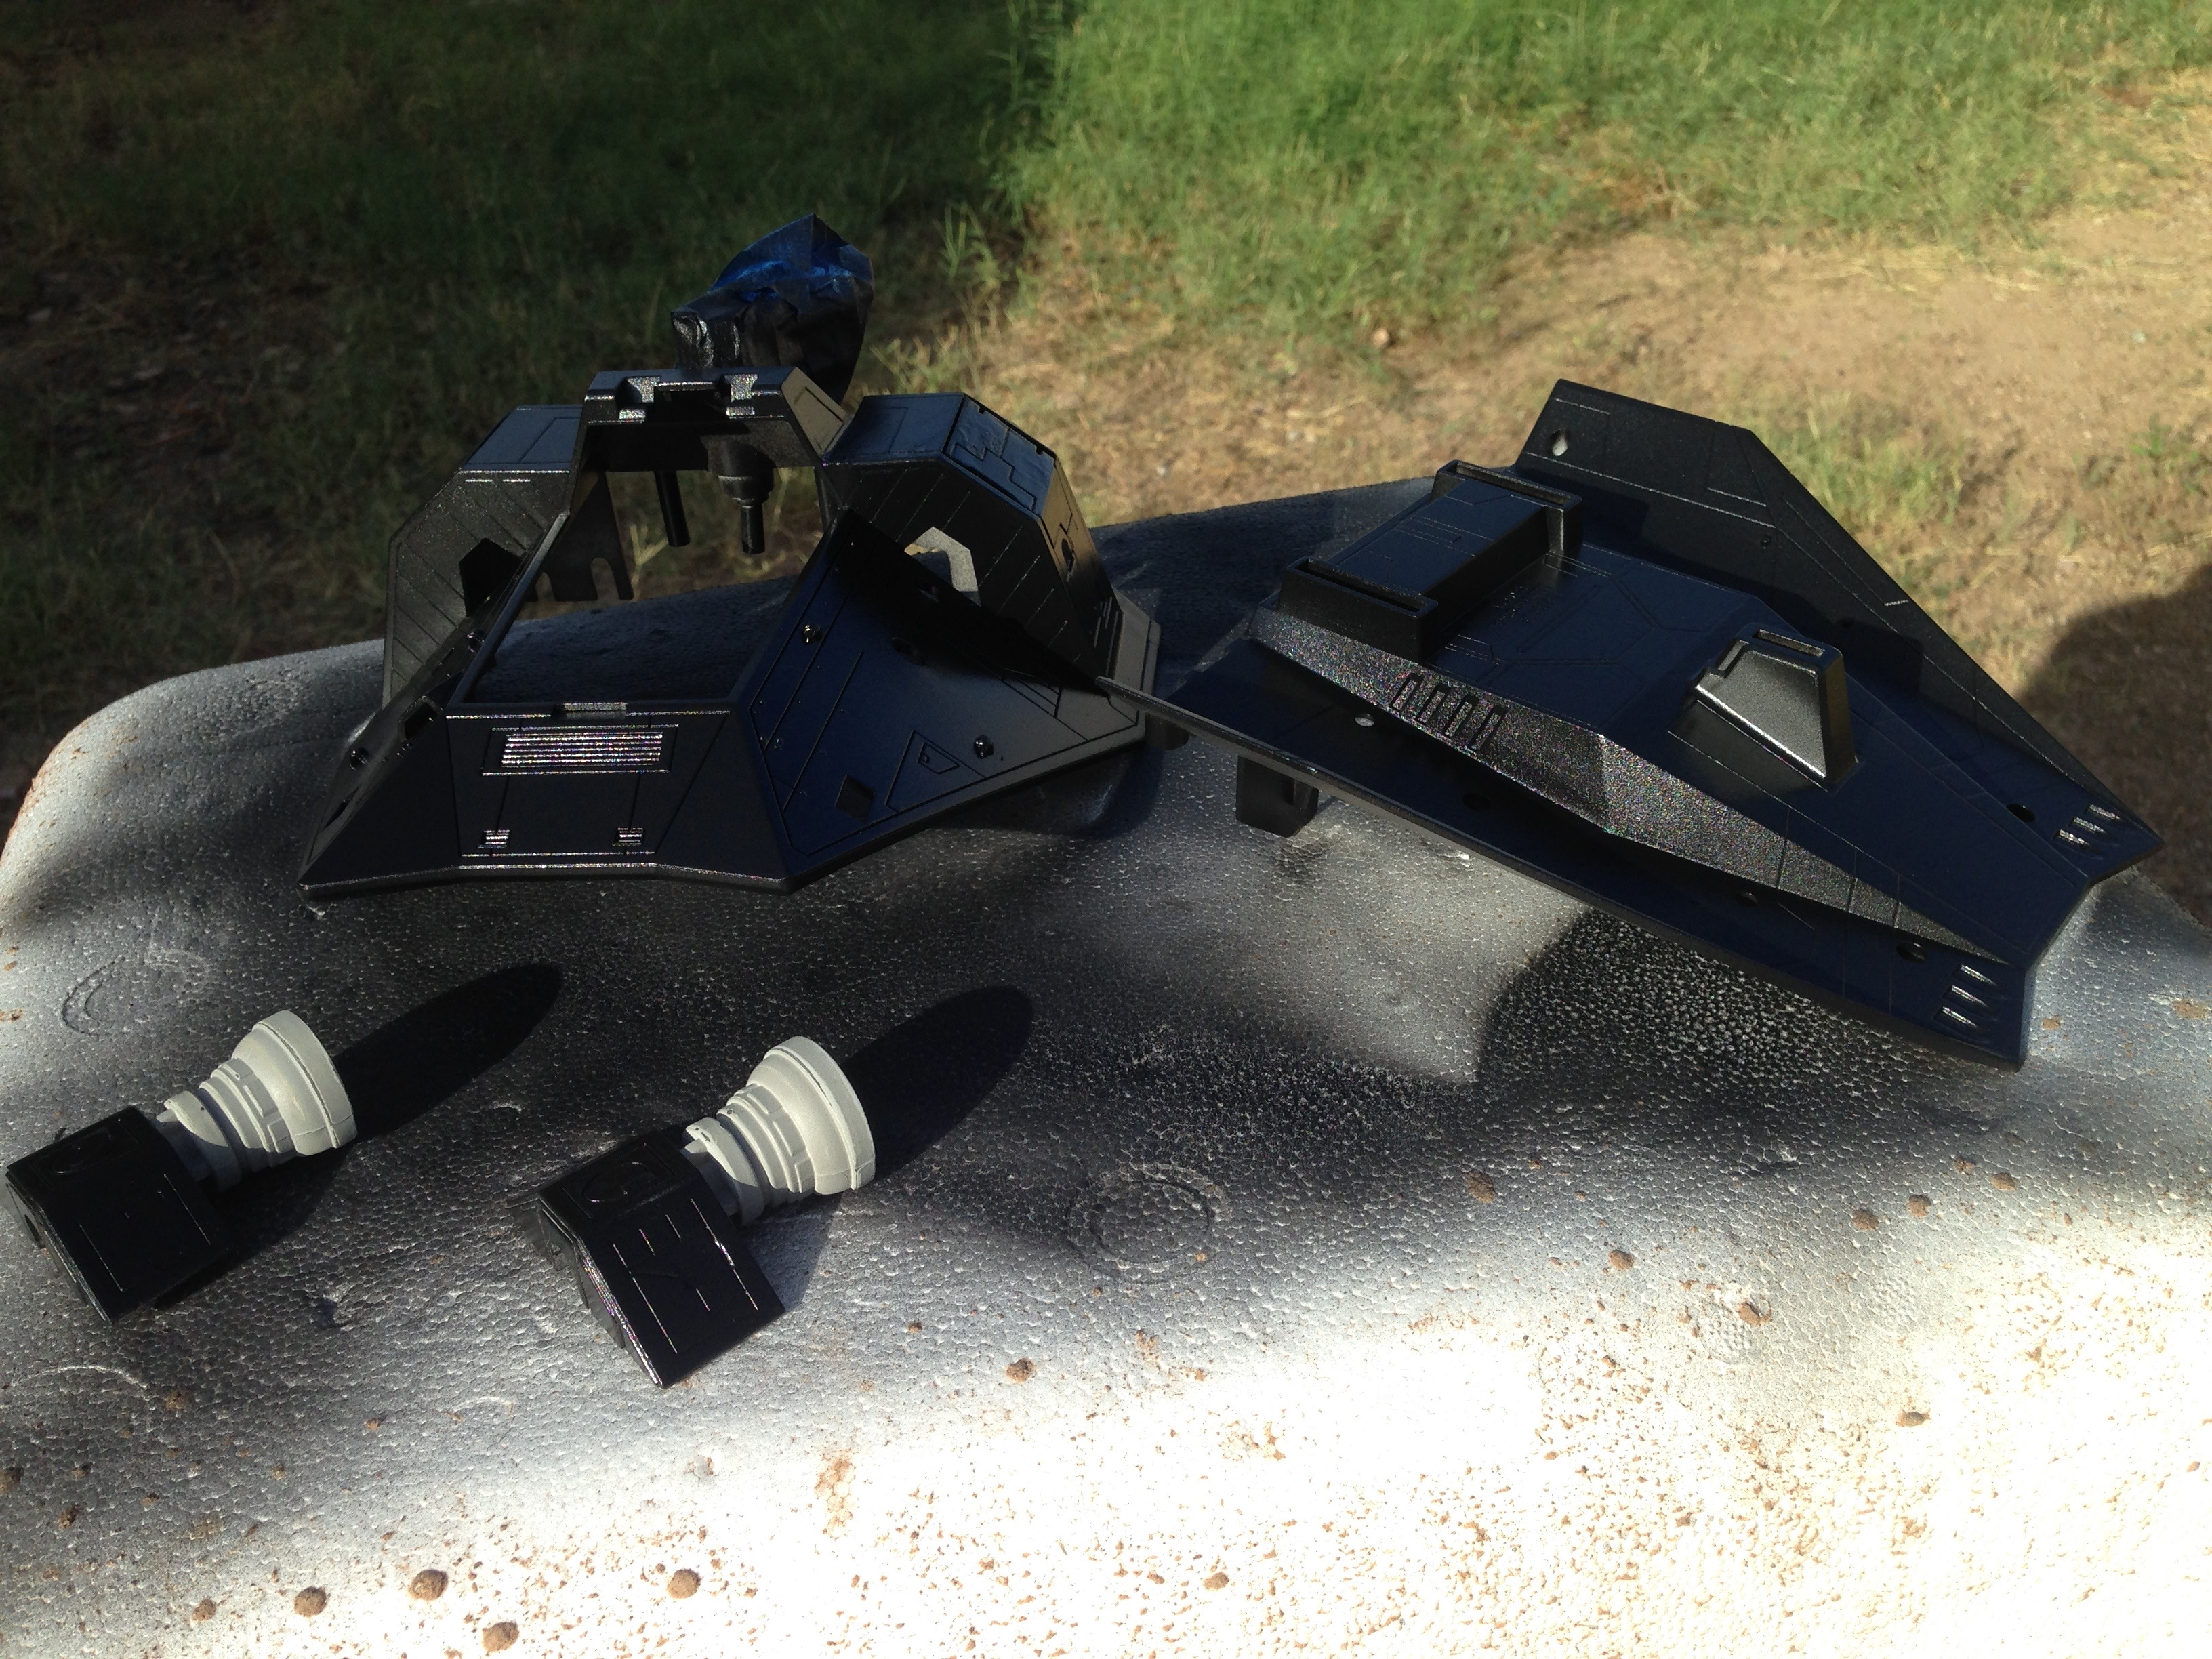
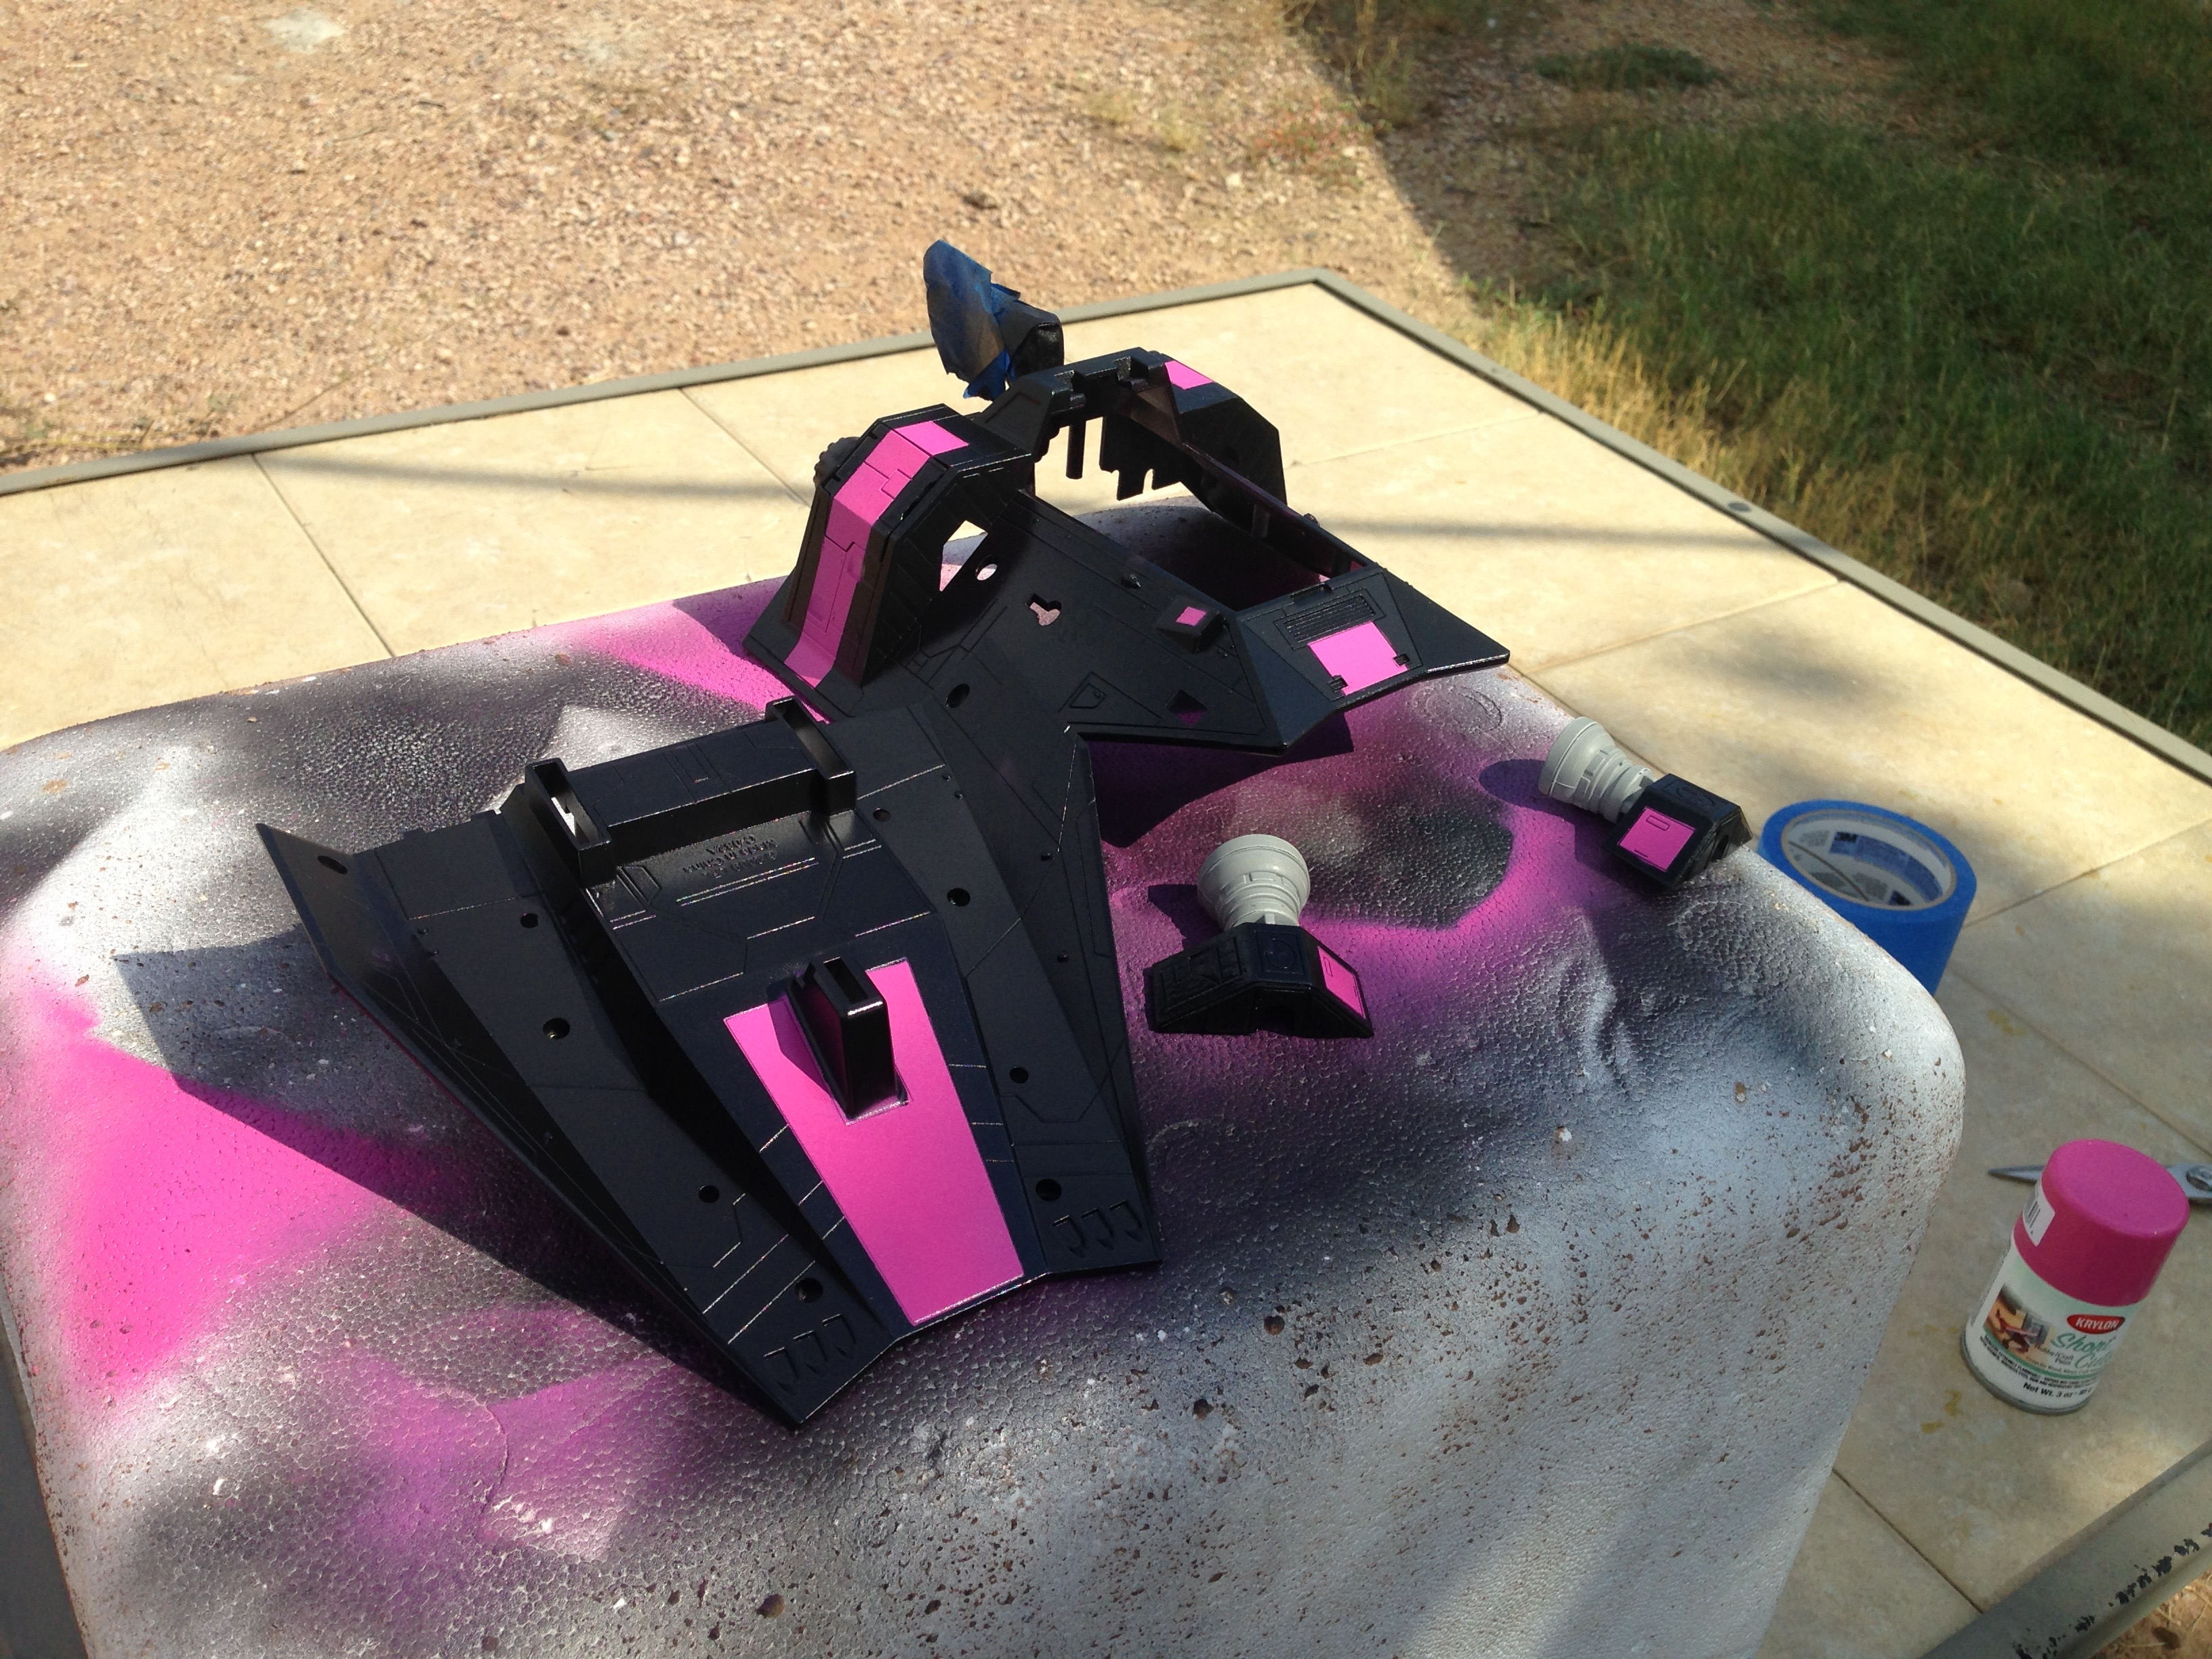
If You're Going to Paint
Now is the time to do that. Lightly rough-up the surfaces with the sand paper, tape off what you want, and hit the parts with a coat or two.
I used colors that would most closely match the filament I was using, but feel free to experiment how you will. I would love to see some full-camo, rainbow, or what-have-you Snowspeeders out there in the world.
The one part I didn’t touch with paint was the tow-cable, because I feared it wouldn’t take very well to the rubbery material.
Print Parts
Files can be found on
ThingiverseandYouMagine, and now are also available onCults3D.Designs are all going to continue to be free, but if you’ve been enjoying these projects and would like to continue to see more,
consider leaving a donation on my Cults3D page. No pressure though.5/31/2016 UPDATE: Files are ready to roll out and take down the Empire on MyMiniFactory!
4/11/2018 UPDATE: Consolidating the number of places hosting the files. More changes to come, but they’re still available for free.
March 2020 UPDATE: Files can be downloaded directly from this site at the bottom of the page. They are also available on Prusa Printers!
Also, if you want to tweak anything (i.e. upping the firing power by extending the spring-engaging surfaces of the missiles), the whole package is available on Onshape’s public files. Search for “SnowSpeederUpgrade” and they’re yours for the making.
As for printing in general: Yes, a few of these parts will require supports (the missiles especially). I would also recommend a “brim” setting on the top/bottom barrels. It might not be completely necessary, but on my first try I didn’t have it and things got weird.
Assembly
If you (like me) need a new windscreen, use a little E6000 glue to fix the “windows” to the frame.
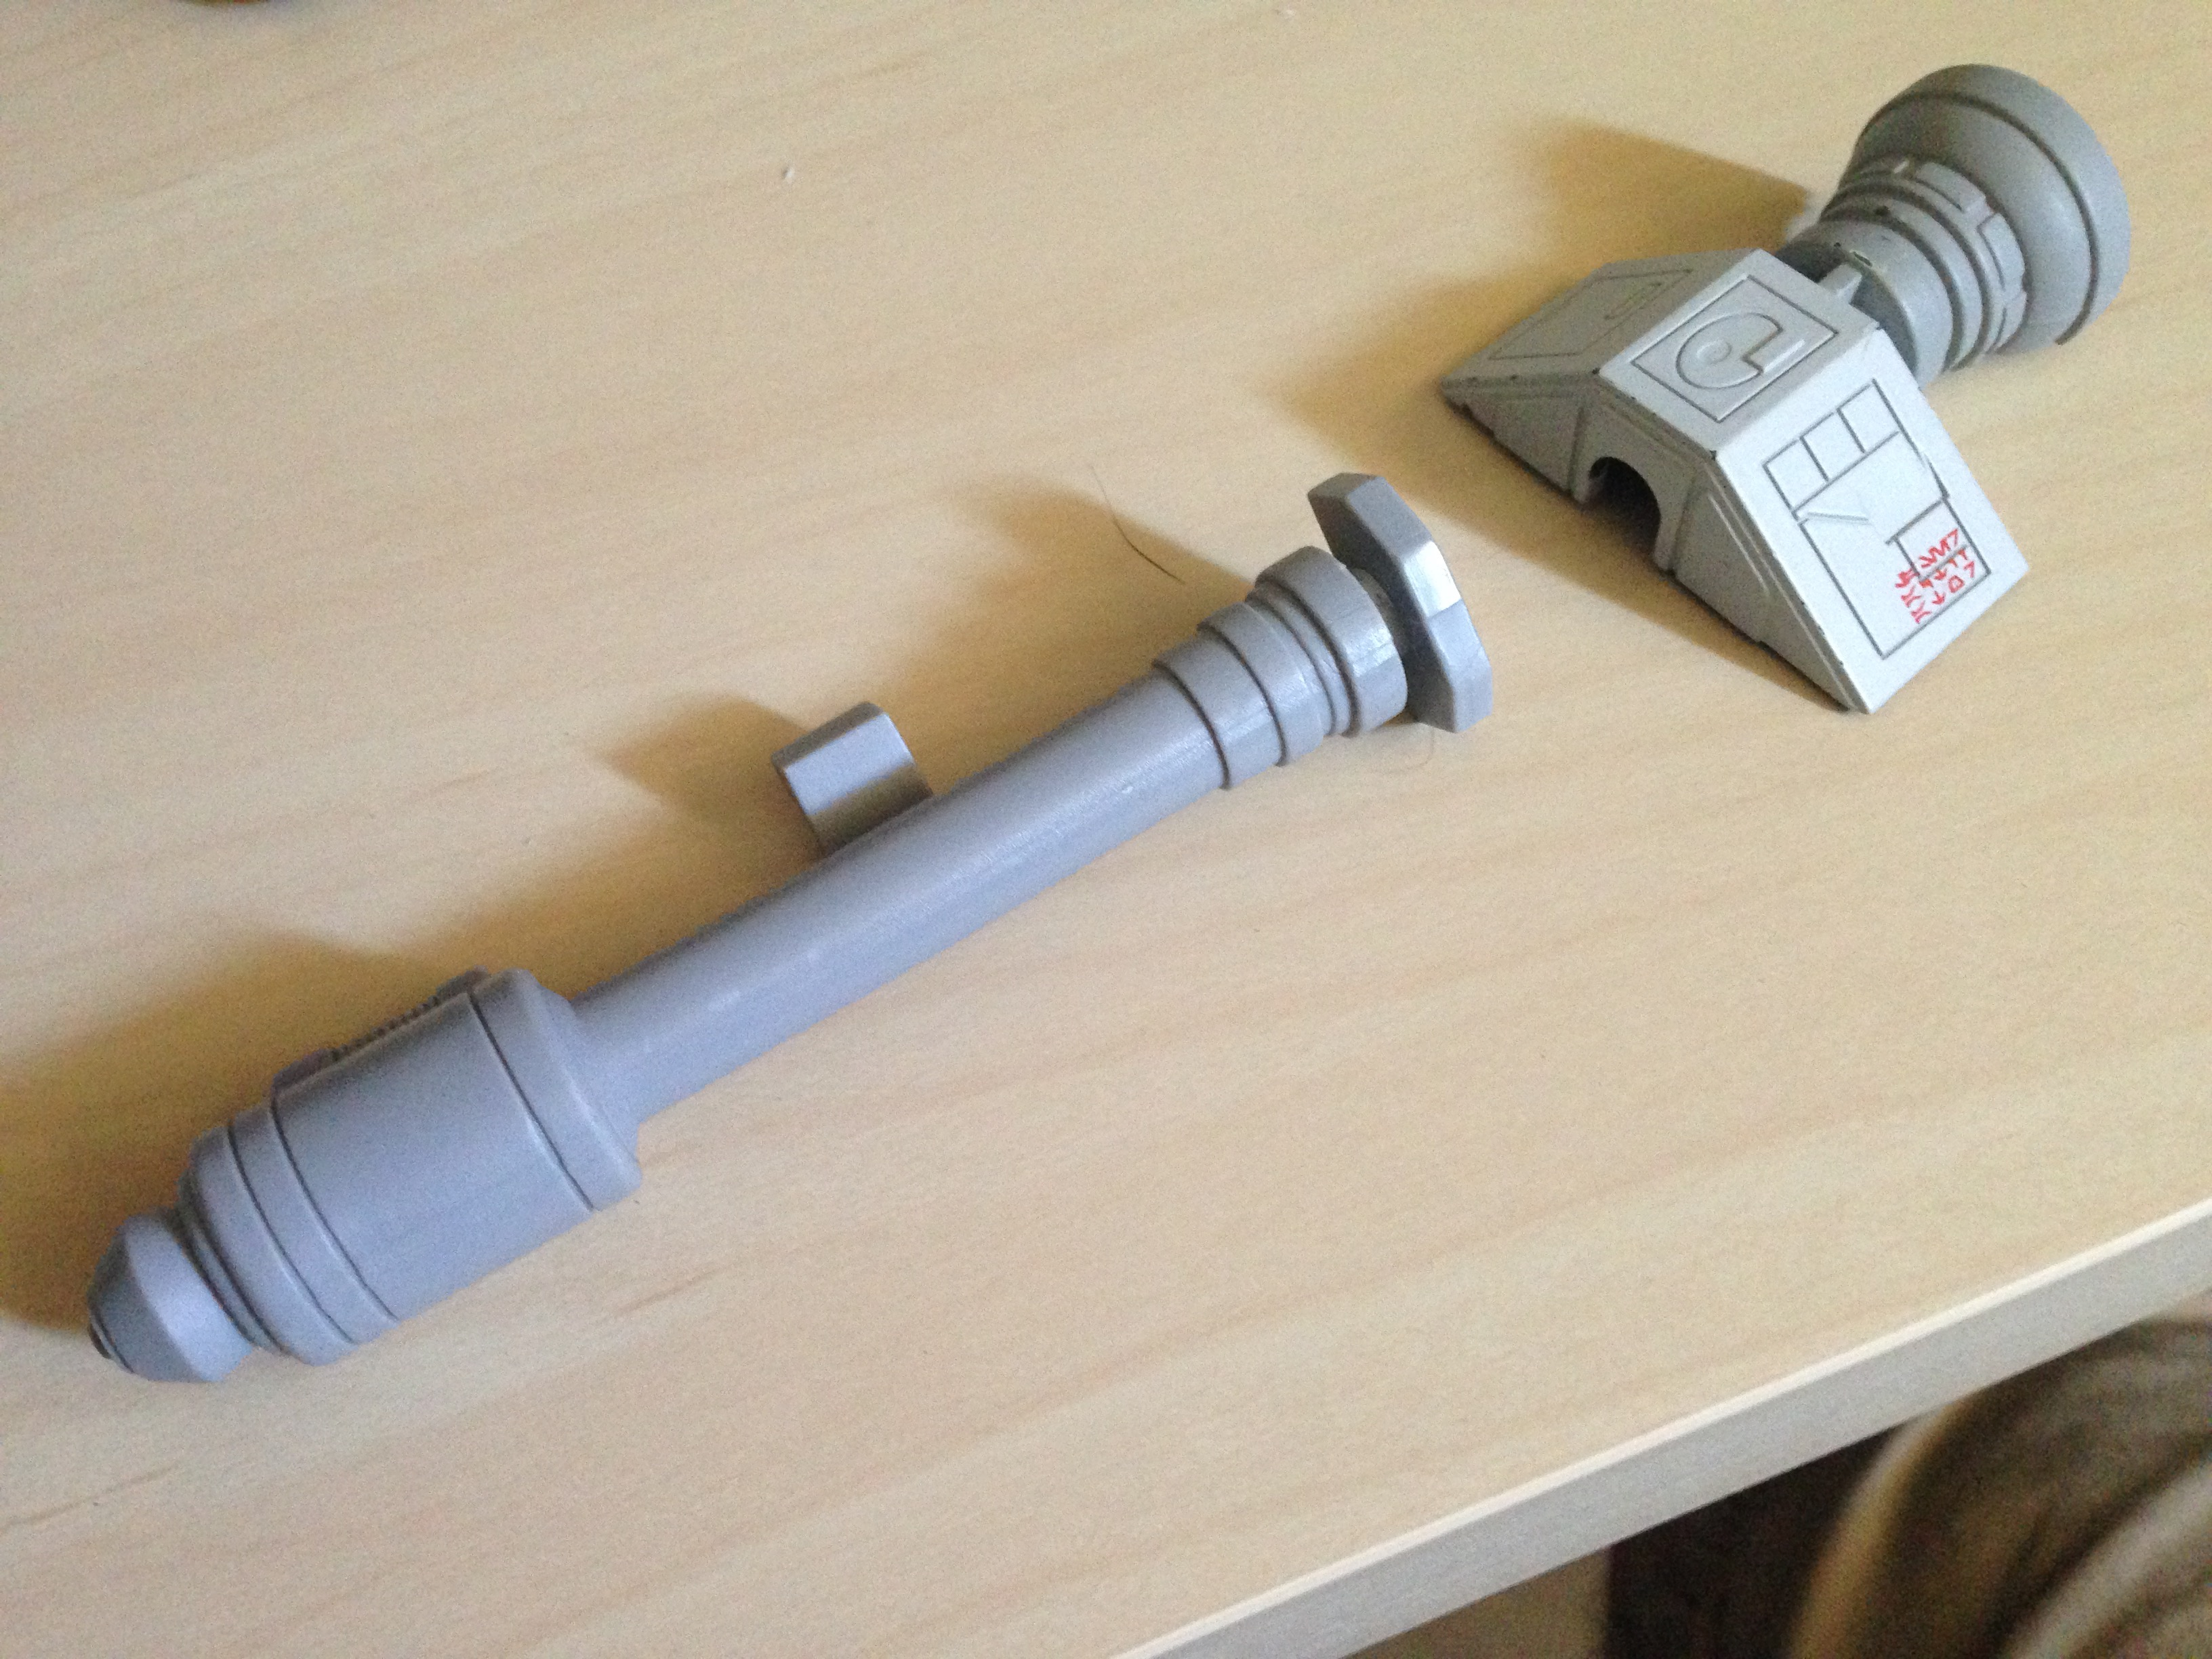
Before we get into everything, make sure to keep the “left” and “right” gun barrels separated. It’ll keep things flowing a bit more smoothly.
Insert the gun barrel mounts into the gun barrel bottoms as shown. You will have to maneuver them into place, and they will be snug.

Mate the gun barrel tops with the gun barrel bottoms, while placing the triggers into the openings.
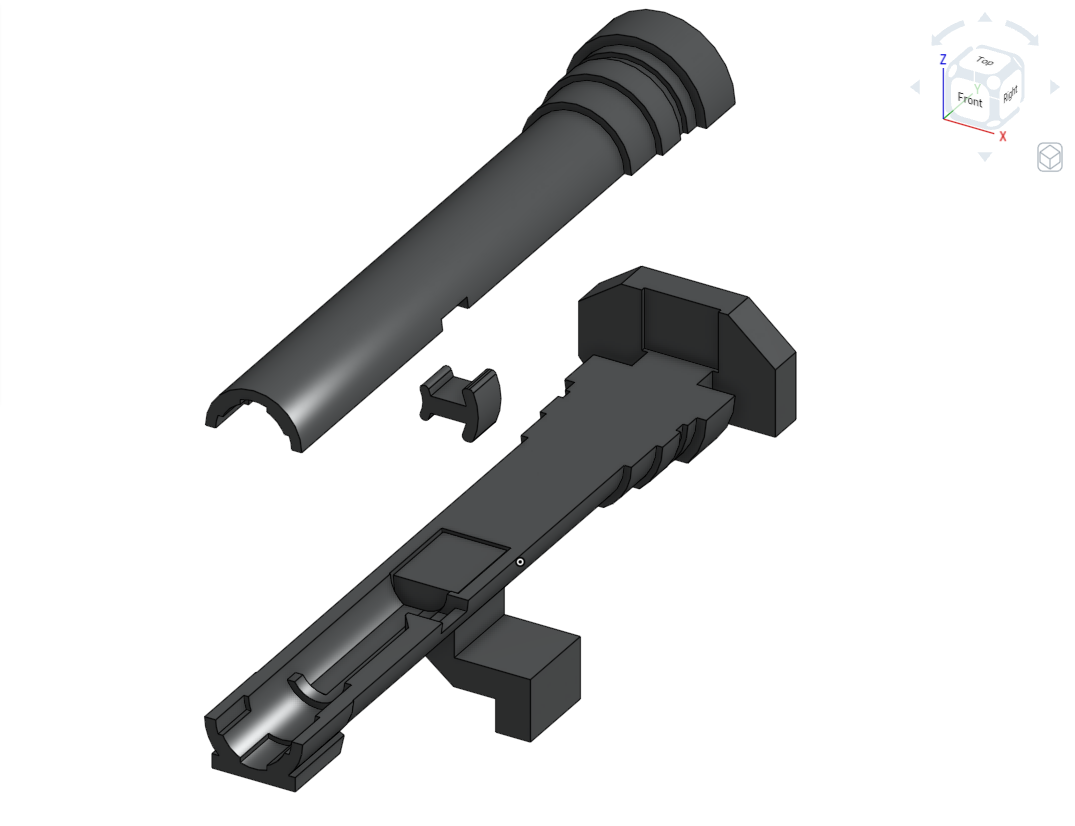
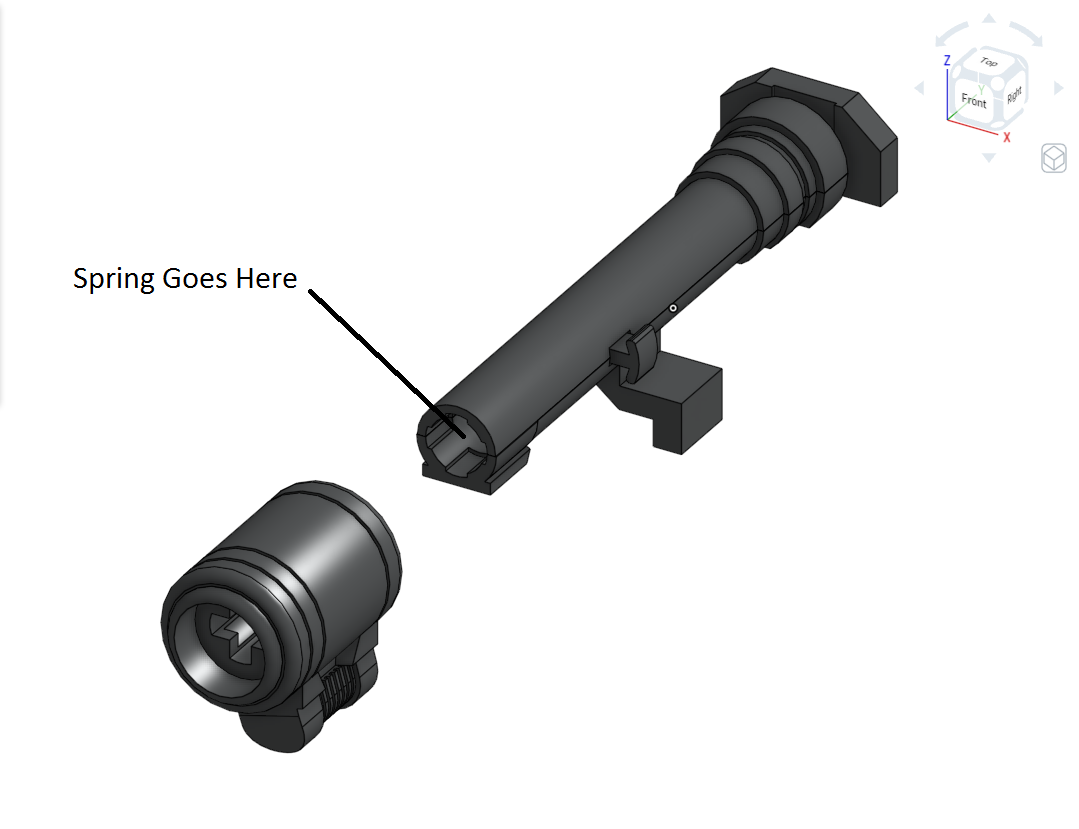
Slide the spring into the front opening of the gun barrels.
Press-fit the gun barrel fronts onto the rest of the assembly, making sure that the spring is centered and unobstructed.
Mount the new-and-improved gun barrels onto the top of the Snowspeeder the same way the originals were, and affix with the screws.
*PRO TIP* These are thread-forming screws, so the best way to put them back on without potentially ruining the plastic is to first slowly rotate counter-clockwise while adding a slight amount of pressure until you hear/feel a bump. That’s the threads lining up. Now go ahead and rotate clockwise to fasten.
Reassemble the way you found it using the screws.
Load missiles.
Playtime
Pew-Pew! @Playskool @StarWars #Snowspeeder upgraded with @Onshape pic.twitter.com/cIOcffdNcn
— DragonMtnDesign (@DragonMtnDesign) November 11, 2015
.
.
.
March 2020 UPDATE: Files are available here! Click the Download button below for a zip file.
Files are available under the Creative Commons BY-NC-SA license.
1 Comment