Recycling Truck

Since she was about a year old (maybe younger), my daughter would hear that engine rumble from down the street, drop whatever it is she was doing at that time, yell, “GARBAGE TRUCK!*” and race to the door just in time for it to stop in front of our driveway, extend the arm, grab our big blue bin, and dump it into the compactor/container.
She waves. The driver honks. It’s magical.

*It is a recycling truck.
And ever since I started working on the Blue Laser Tank, she’s been asking me to make a Recycling Truck of her very own.
Request: Fulfilled.
Parts List:
MAP-Barrel – Dragon Mountain Design (However many you want) It’s in the same grouping as the missile launchers, so have fun with those too.
Helpful Tools:
3D Printer (or printing service) capable of printing flexible materials.
E6000 Glue
Needle Nose Pliers
Small Hand Files
Print Parts
Files can be found on MyMiniFactory.
March 2020 UPDATE: Files can be downloaded directly from this site at the bottom of the page. They are also available on Prusa Printers!

Printing instructions are as follows:
Parts: RT-Axel (x3), RT-AxelWasher (x6), RT-ContainerDoorPin (x2), RT-DumpArm, RT-DumpLever, RT-DumpLinkage, RT-DumpPin (x2), RT-LeftWheelHub (x3), RT-LinkagePin (x2), and RT-RightWheelHub (x3).
Material: PLA
Infill: 20%
Support: No
Brim: NoParts: RT-Bed, RT-Cab, RT-Container, RT-ContainerDoor, RT-Hopper, and RT-Seat.
Material: PLA
Infill: 20%
Support: No
Brim: Yes (5mm). Might not be necessary, but I added it to the larger parts to keep them adhered to the bed really well.Parts: RT-DumpClip, and RT-Tire (x6).
Material: NinjaFlex SemiFlex. As noted before, this material is obsolete from NinjaFlex. However, Reddit user u/cope413 shared that “MatterHackers Pro Flex is basically identical to SemiFlex.” I haven’t tried that yet, but after comparing the Technical Data Sheets, they do indeed appear to be identical.
Infill: 20%
Support: No
Brim: NoCab
Line up the extrusions of RT-Seat with the corresponding recesses in RT-Cab and carefully snap them together.

Close the cab when complete.

Dump Mechanism
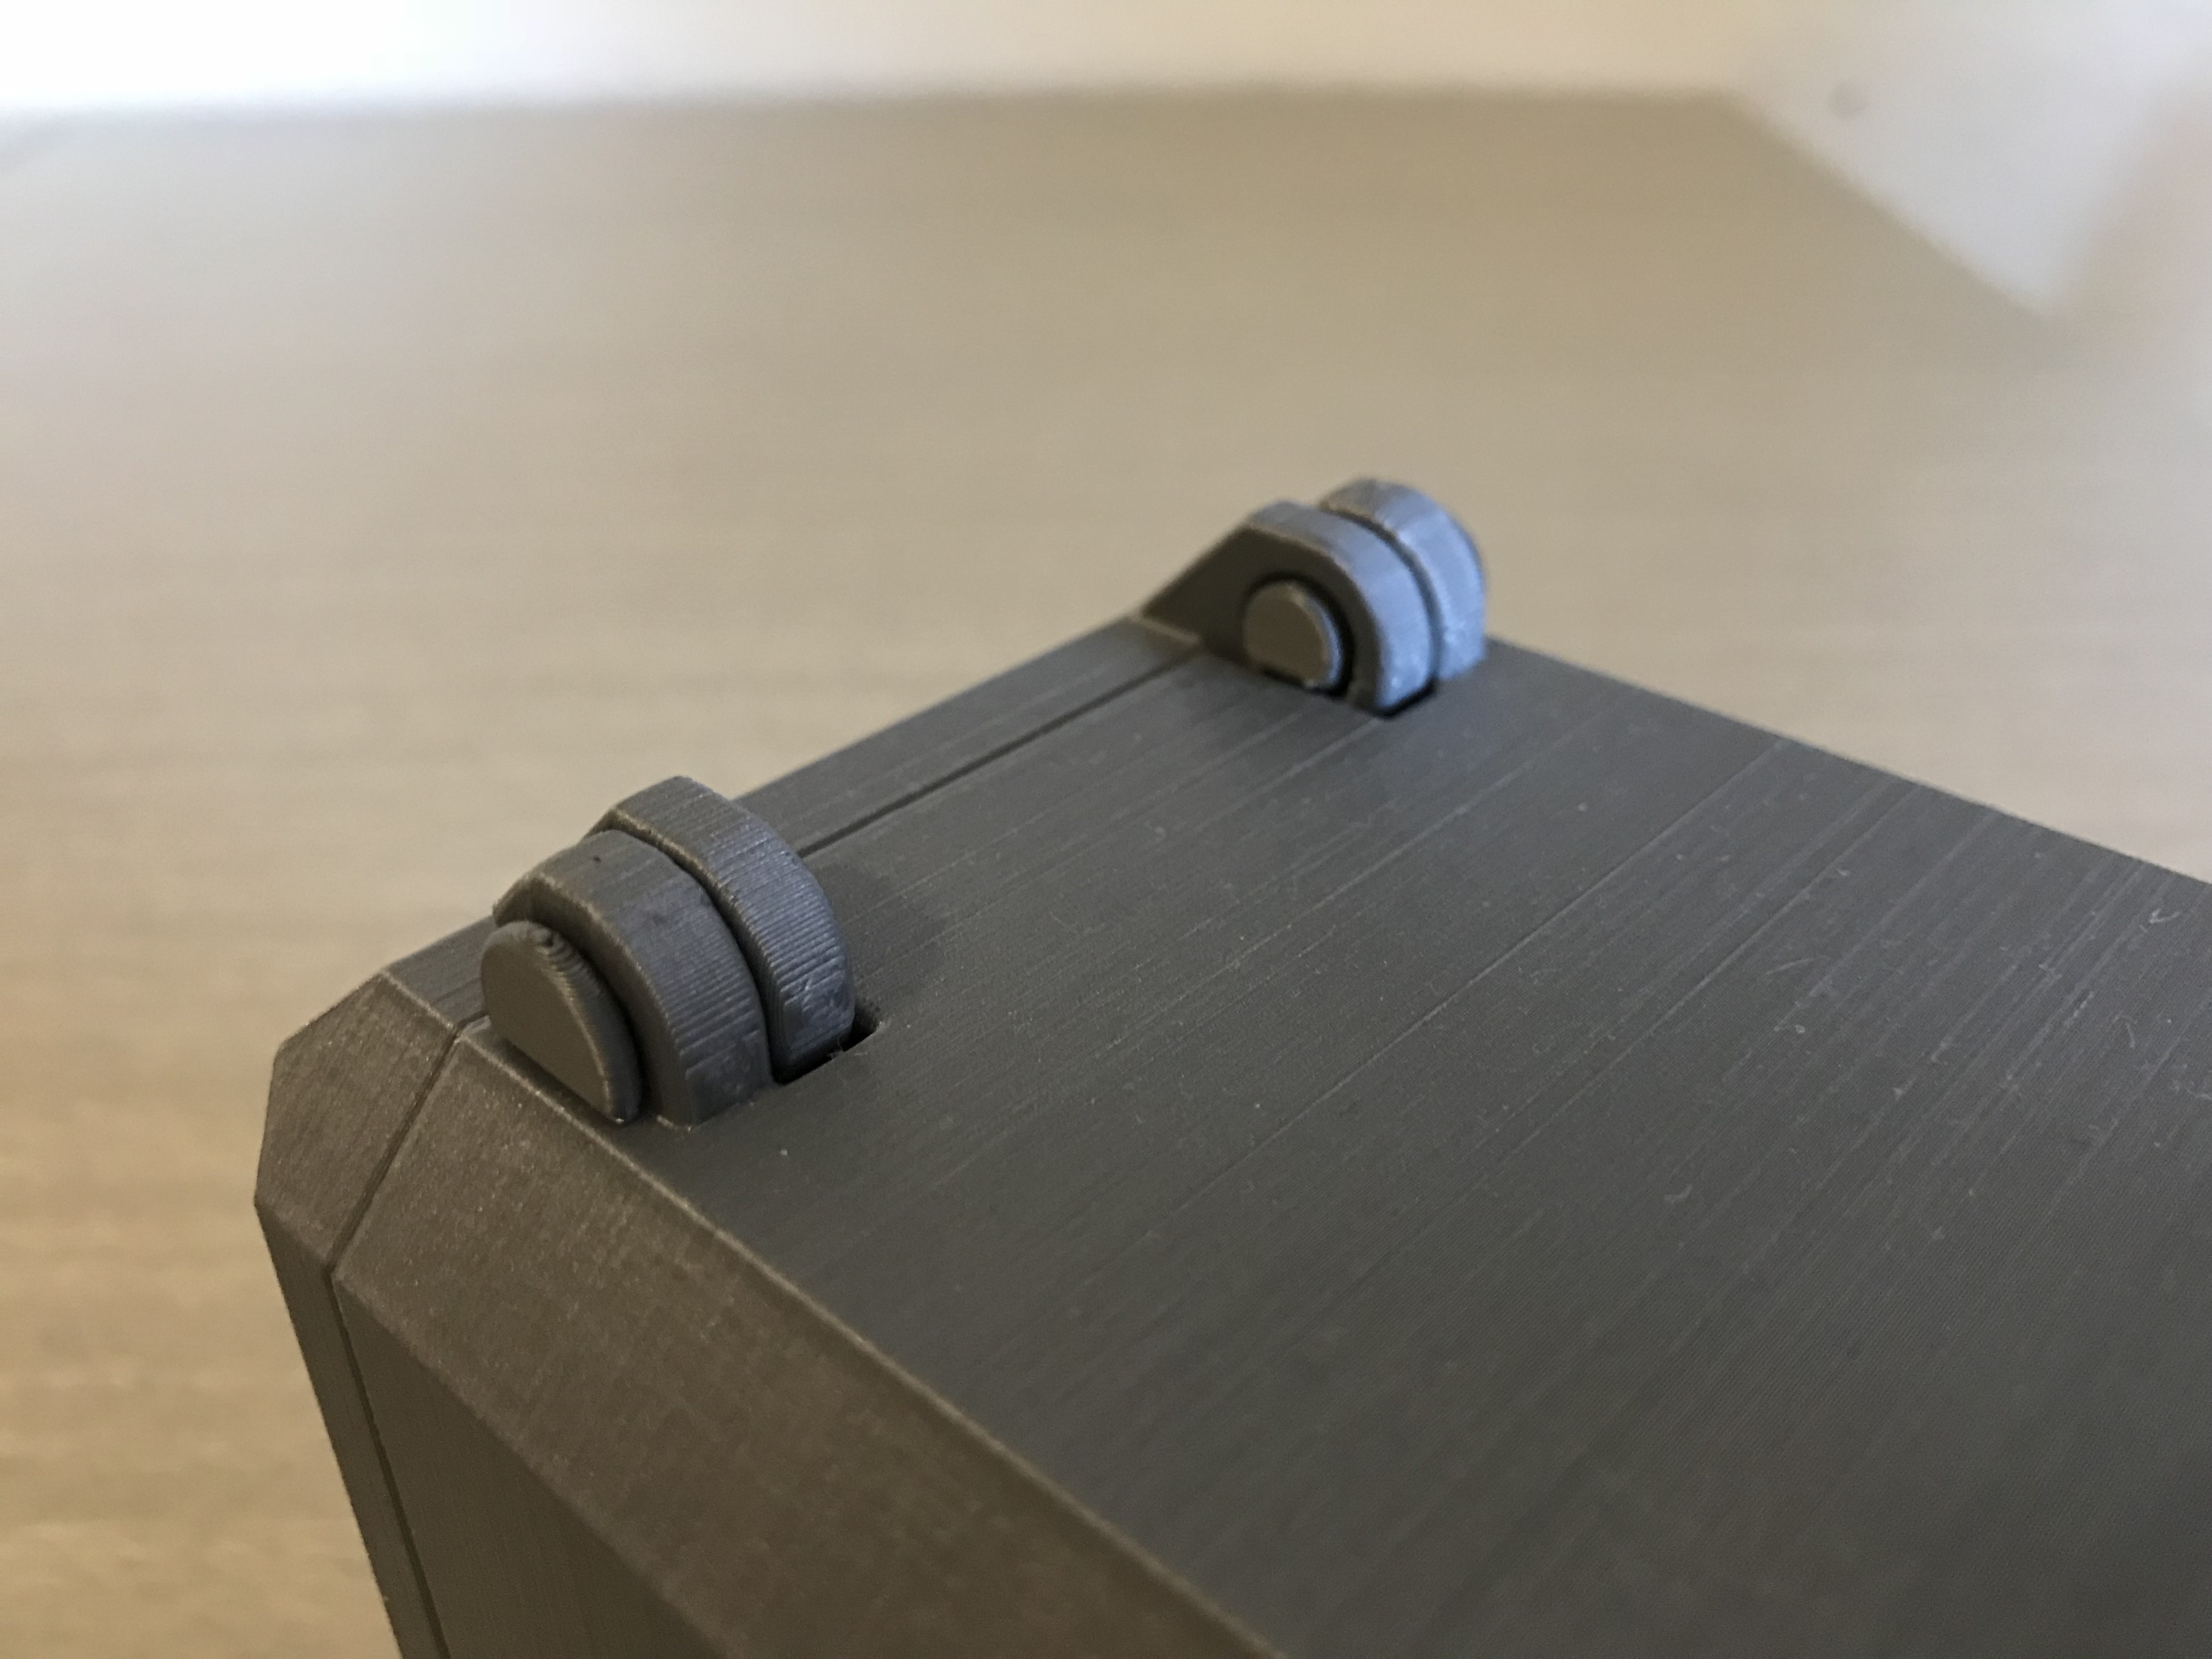
Using the needle nose pliers, squeeze and force RT-DumpClip into RT-DumpArm as shown.

RT-DumpArm is designed so that RT-DumpClip can easily rotate 90 degrees when assembled.

Once that is together, connect it and RT-DumpLever to RT-DumpLinkage by press-fitting RT-LinkagePin as shown (x2).

Main Body
Fit RT-DumpPin into the recesses of RT-Seat (x2). Use a tiny bit of glue if necessary, but make sure there is no visible excess. Getting any glue on the Dump Mechanism will lock it up. Line up the channels of RT-Seat and RT-Bed and fit them together as shown.

Slider RT-Hopper part of the way into the channel of RT-Bed as shown. Add glue to the internal channel in the location where RT-Hopper will permanently reside.

Fit the Dump Mechanism over RT-DumpPin (x2) and slide RT-Hopper the rest of the way into position, ensuring that the other end of RT-DumpPin fits within the recesses of RT-Hopper (x2), and that no excess glue has gotten onto the Dump Mechanism.

Container
Fit RT-ContainerDoor onto RT-Container and secure them together with RT-ContainerDoorPin (x2). Use a small hand file if there are any fit issues, and use a small amount of glue on the external mating surface. Make sure none of the glue gets on the internal surfaces, or RT-ContainerDoor could be frozen in place.

Add glue to the internal channel ONLY between RT-Hopper and the hole where the nearest axel will be. It is important not to get any glue in the axel holes. Slide the Container Assembly onto the Main Body as shown.

Wheels
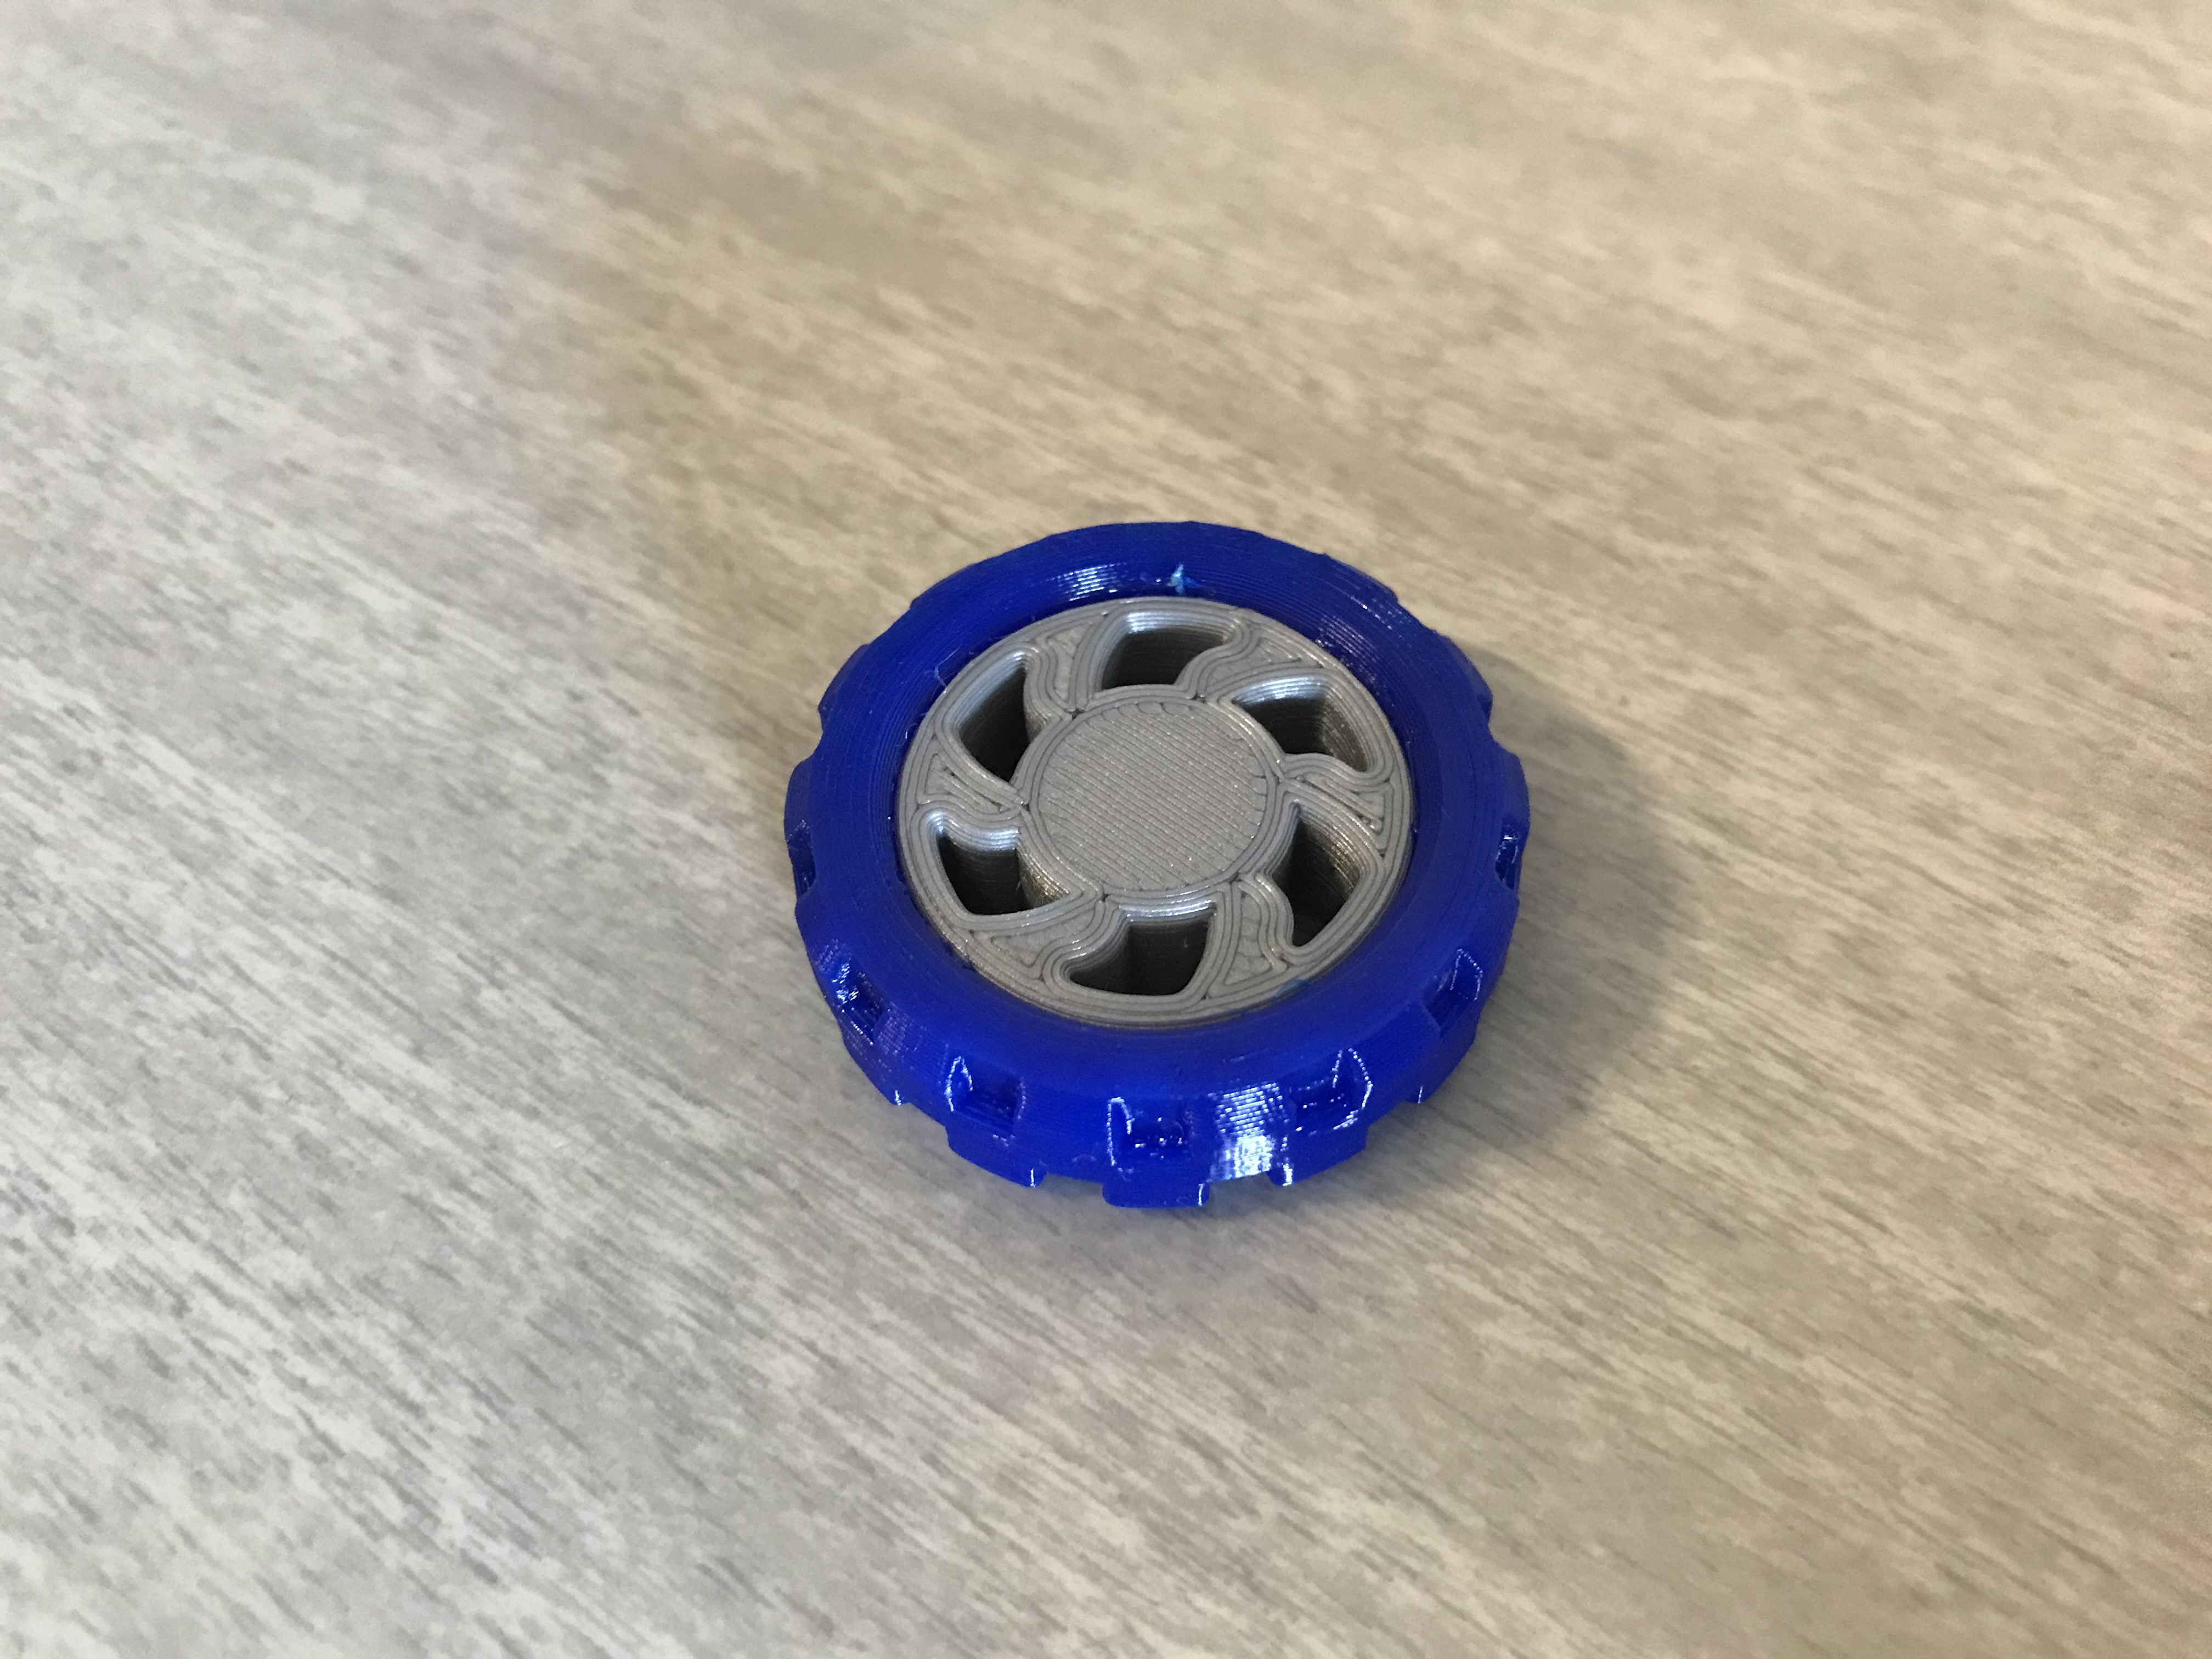
Press RT-LeftWheelHub (x3) and RT-RightWheelHub (x3) into RT-Tire (x6). Keep them separated by right/left.
Add a little glue to the inside mating surfaces of RT-RightWheelHub and press in RT-Axel (x3). Make sure there is no excess glue visible.
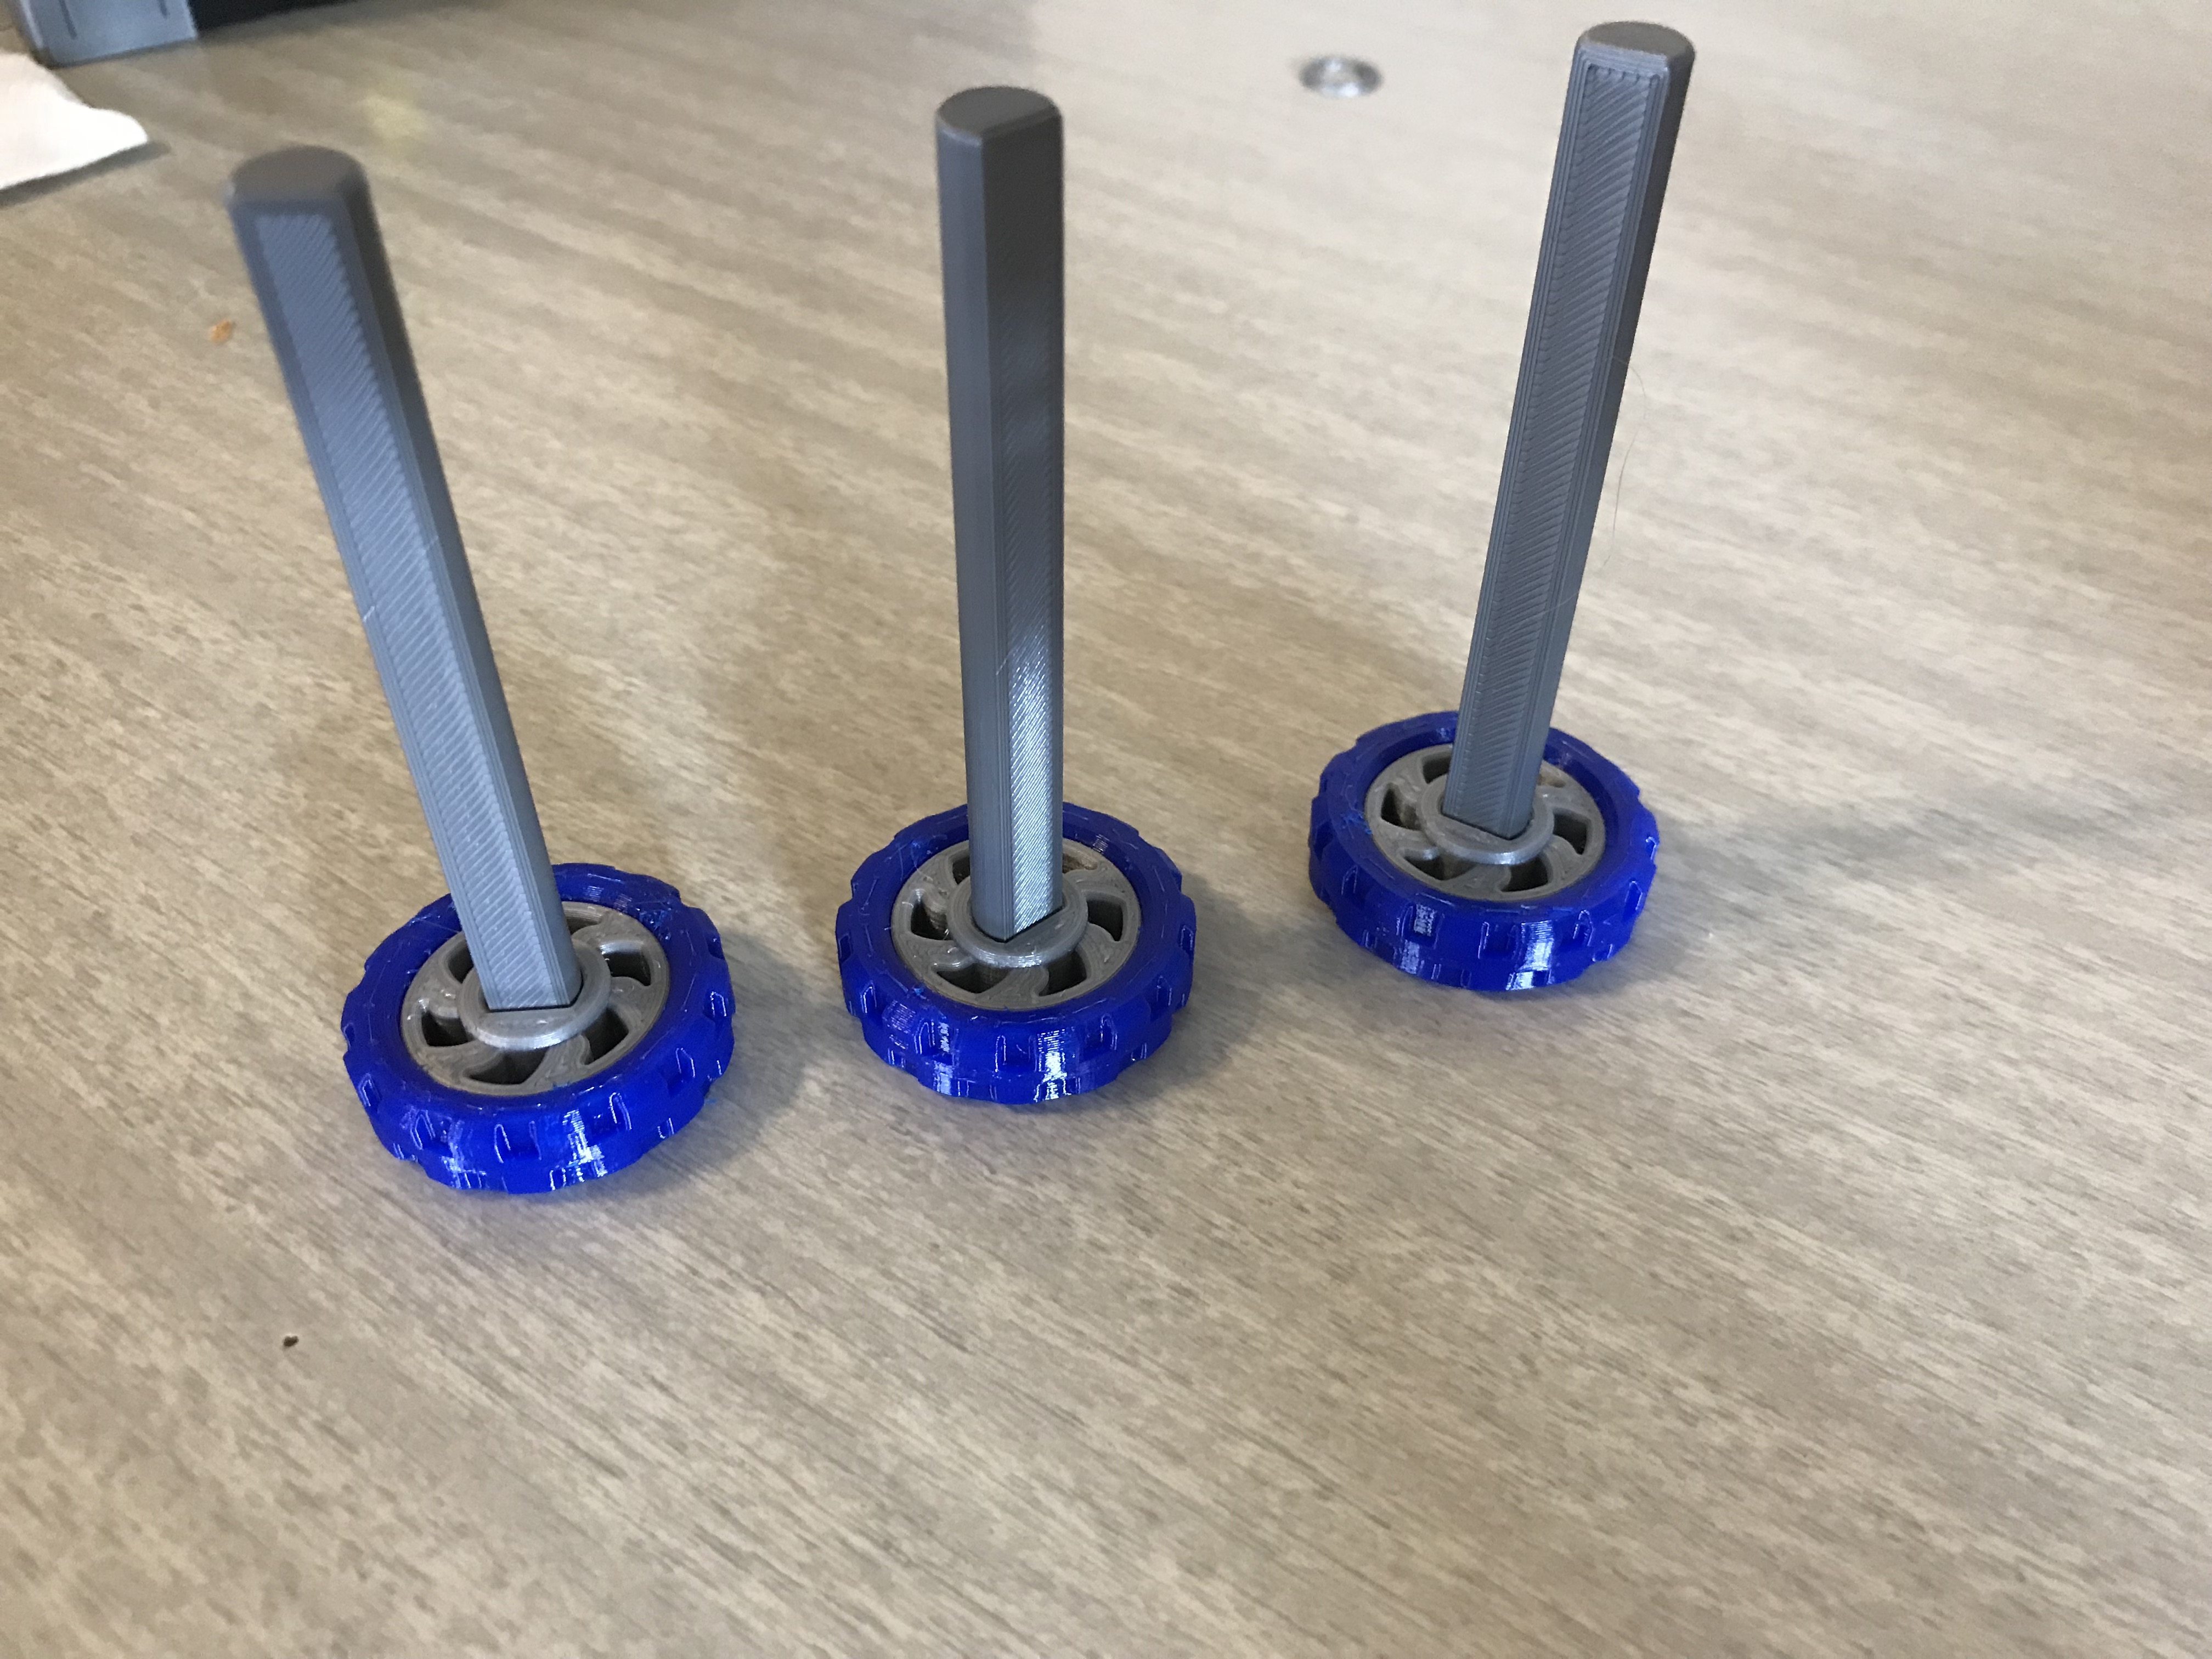
Slide RT-AxelWasher over RT-Axel (x3).
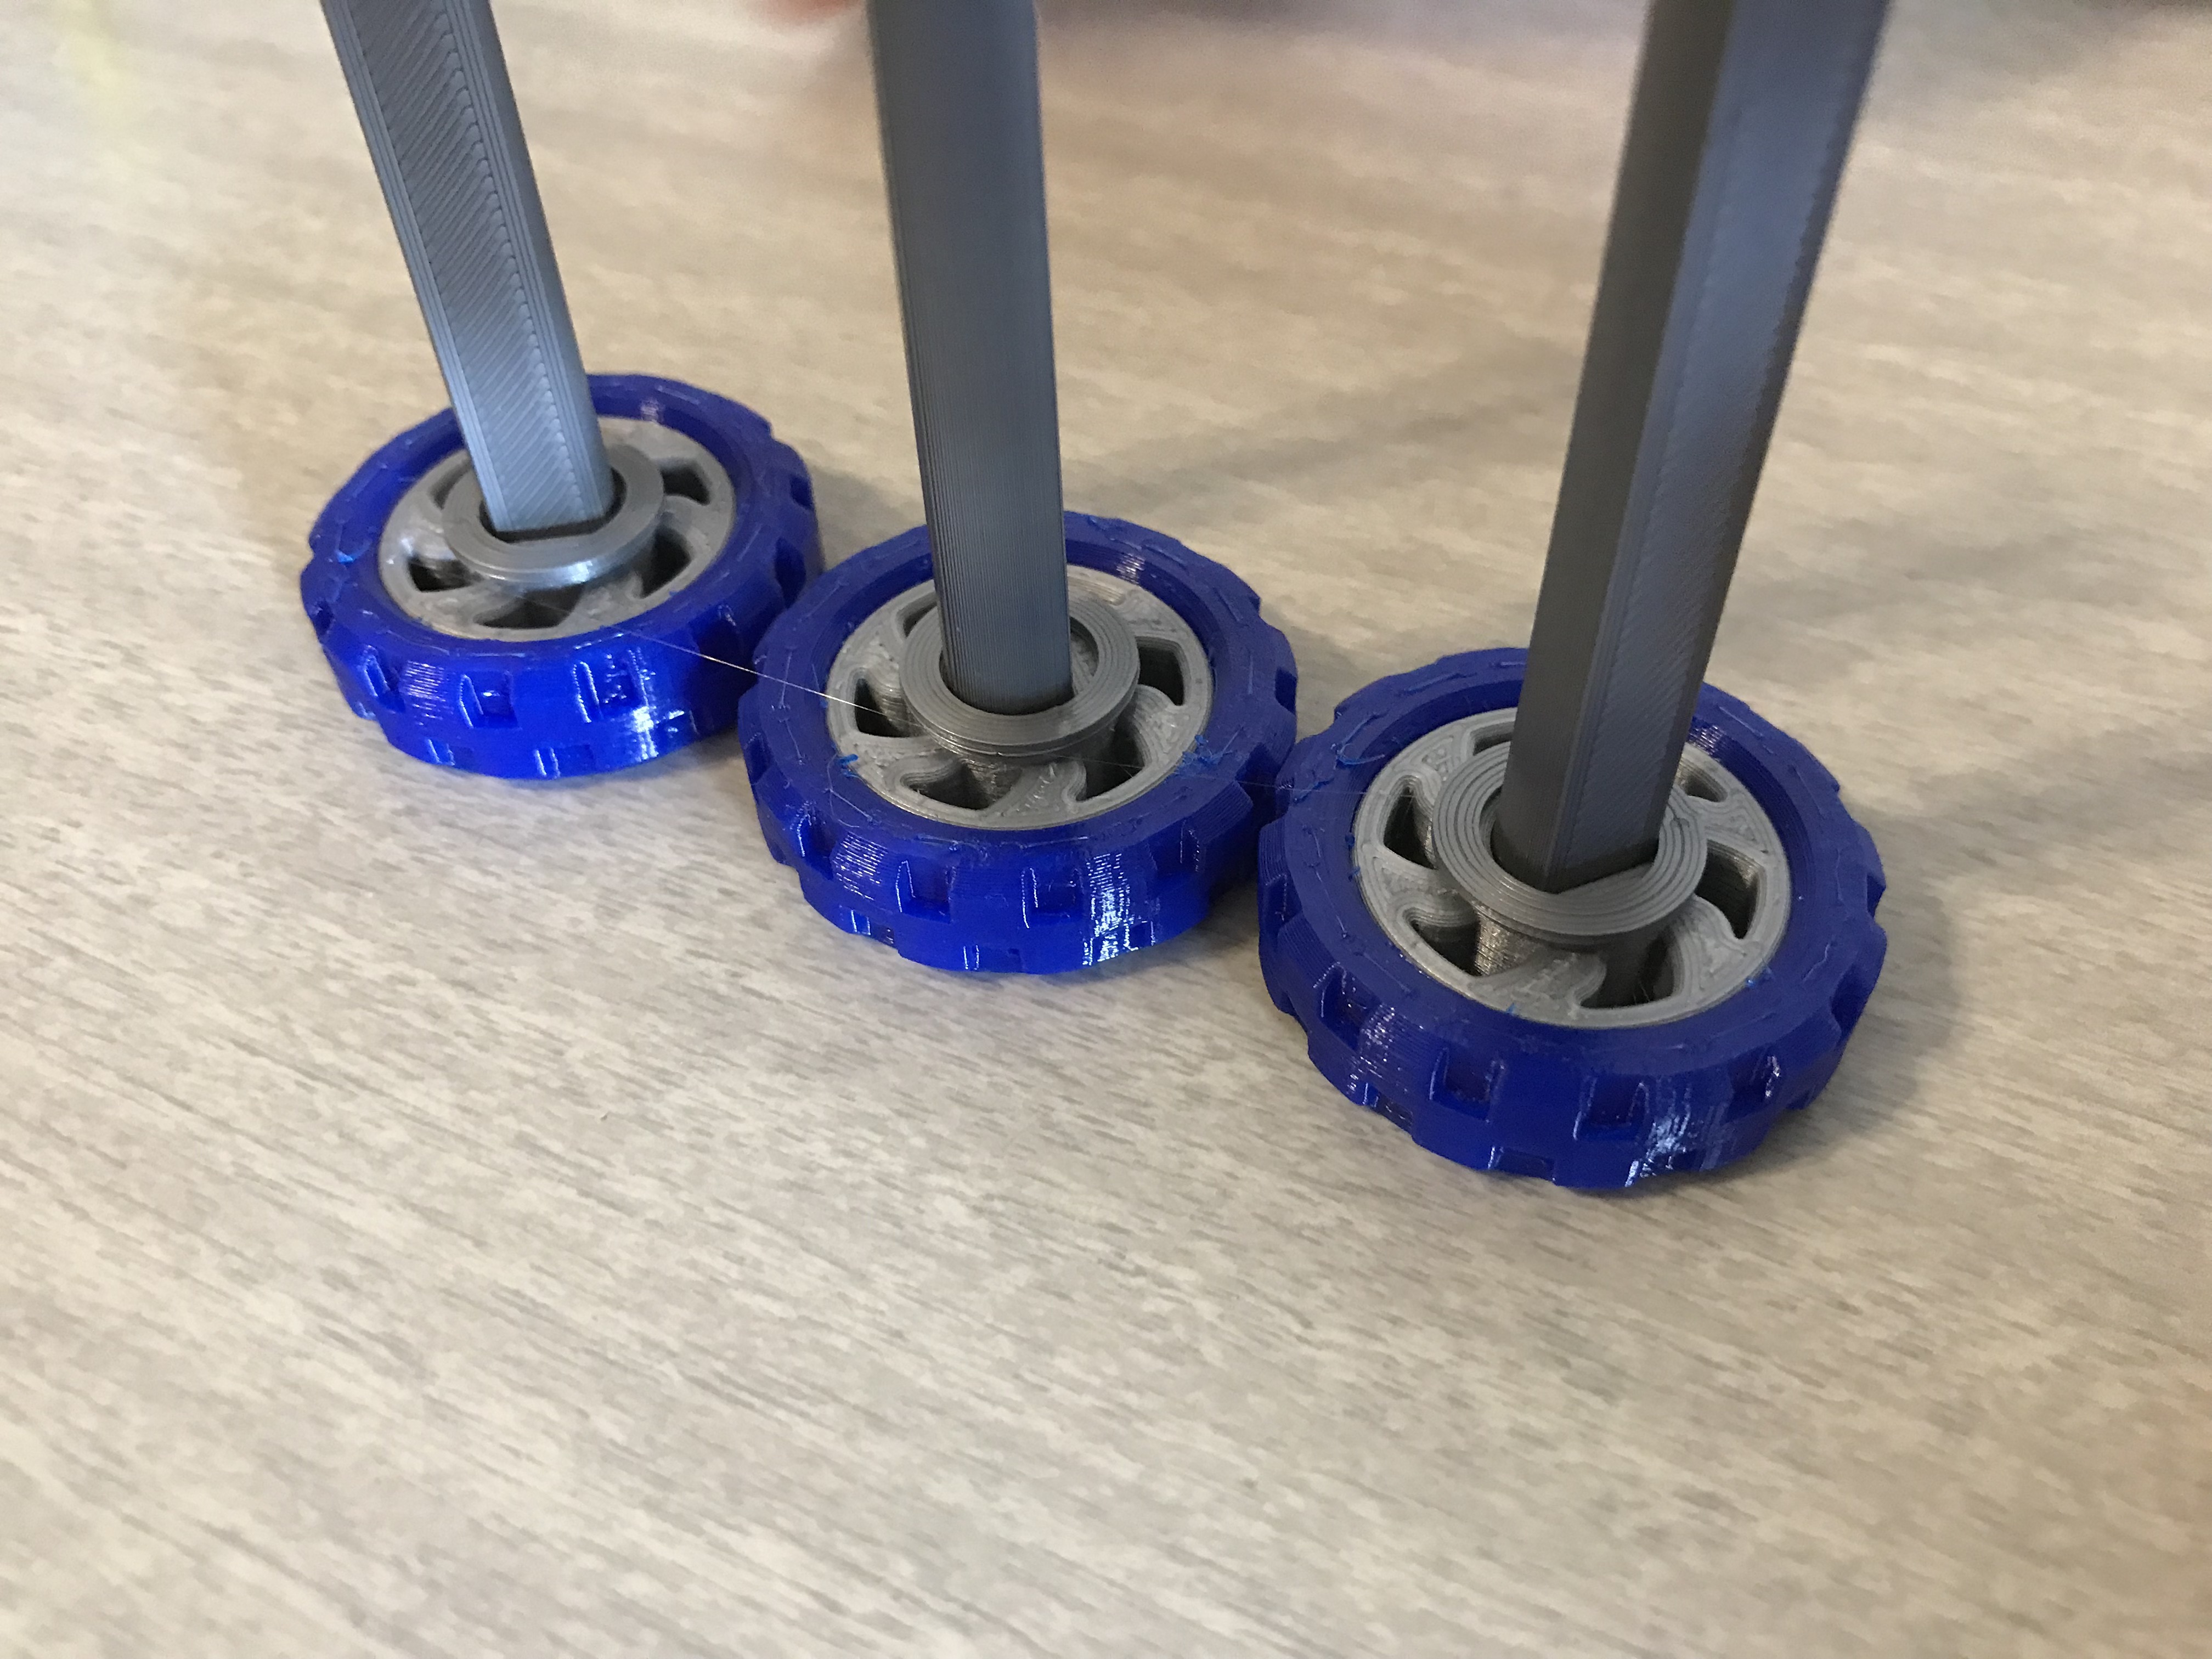
Fit the RT-RightWheelHub/RT-Axel assembly into the holes of the Main Assembly as shown.

Add a little glue to the inside mating surfaces of RT-LeftWheelHub. Slide RT-AxelWasher over the exposed RT-Axel (x3), and fit RT-LeftWheelHub onto RT-Axel (x3).

Clean Up Your Neighborhood
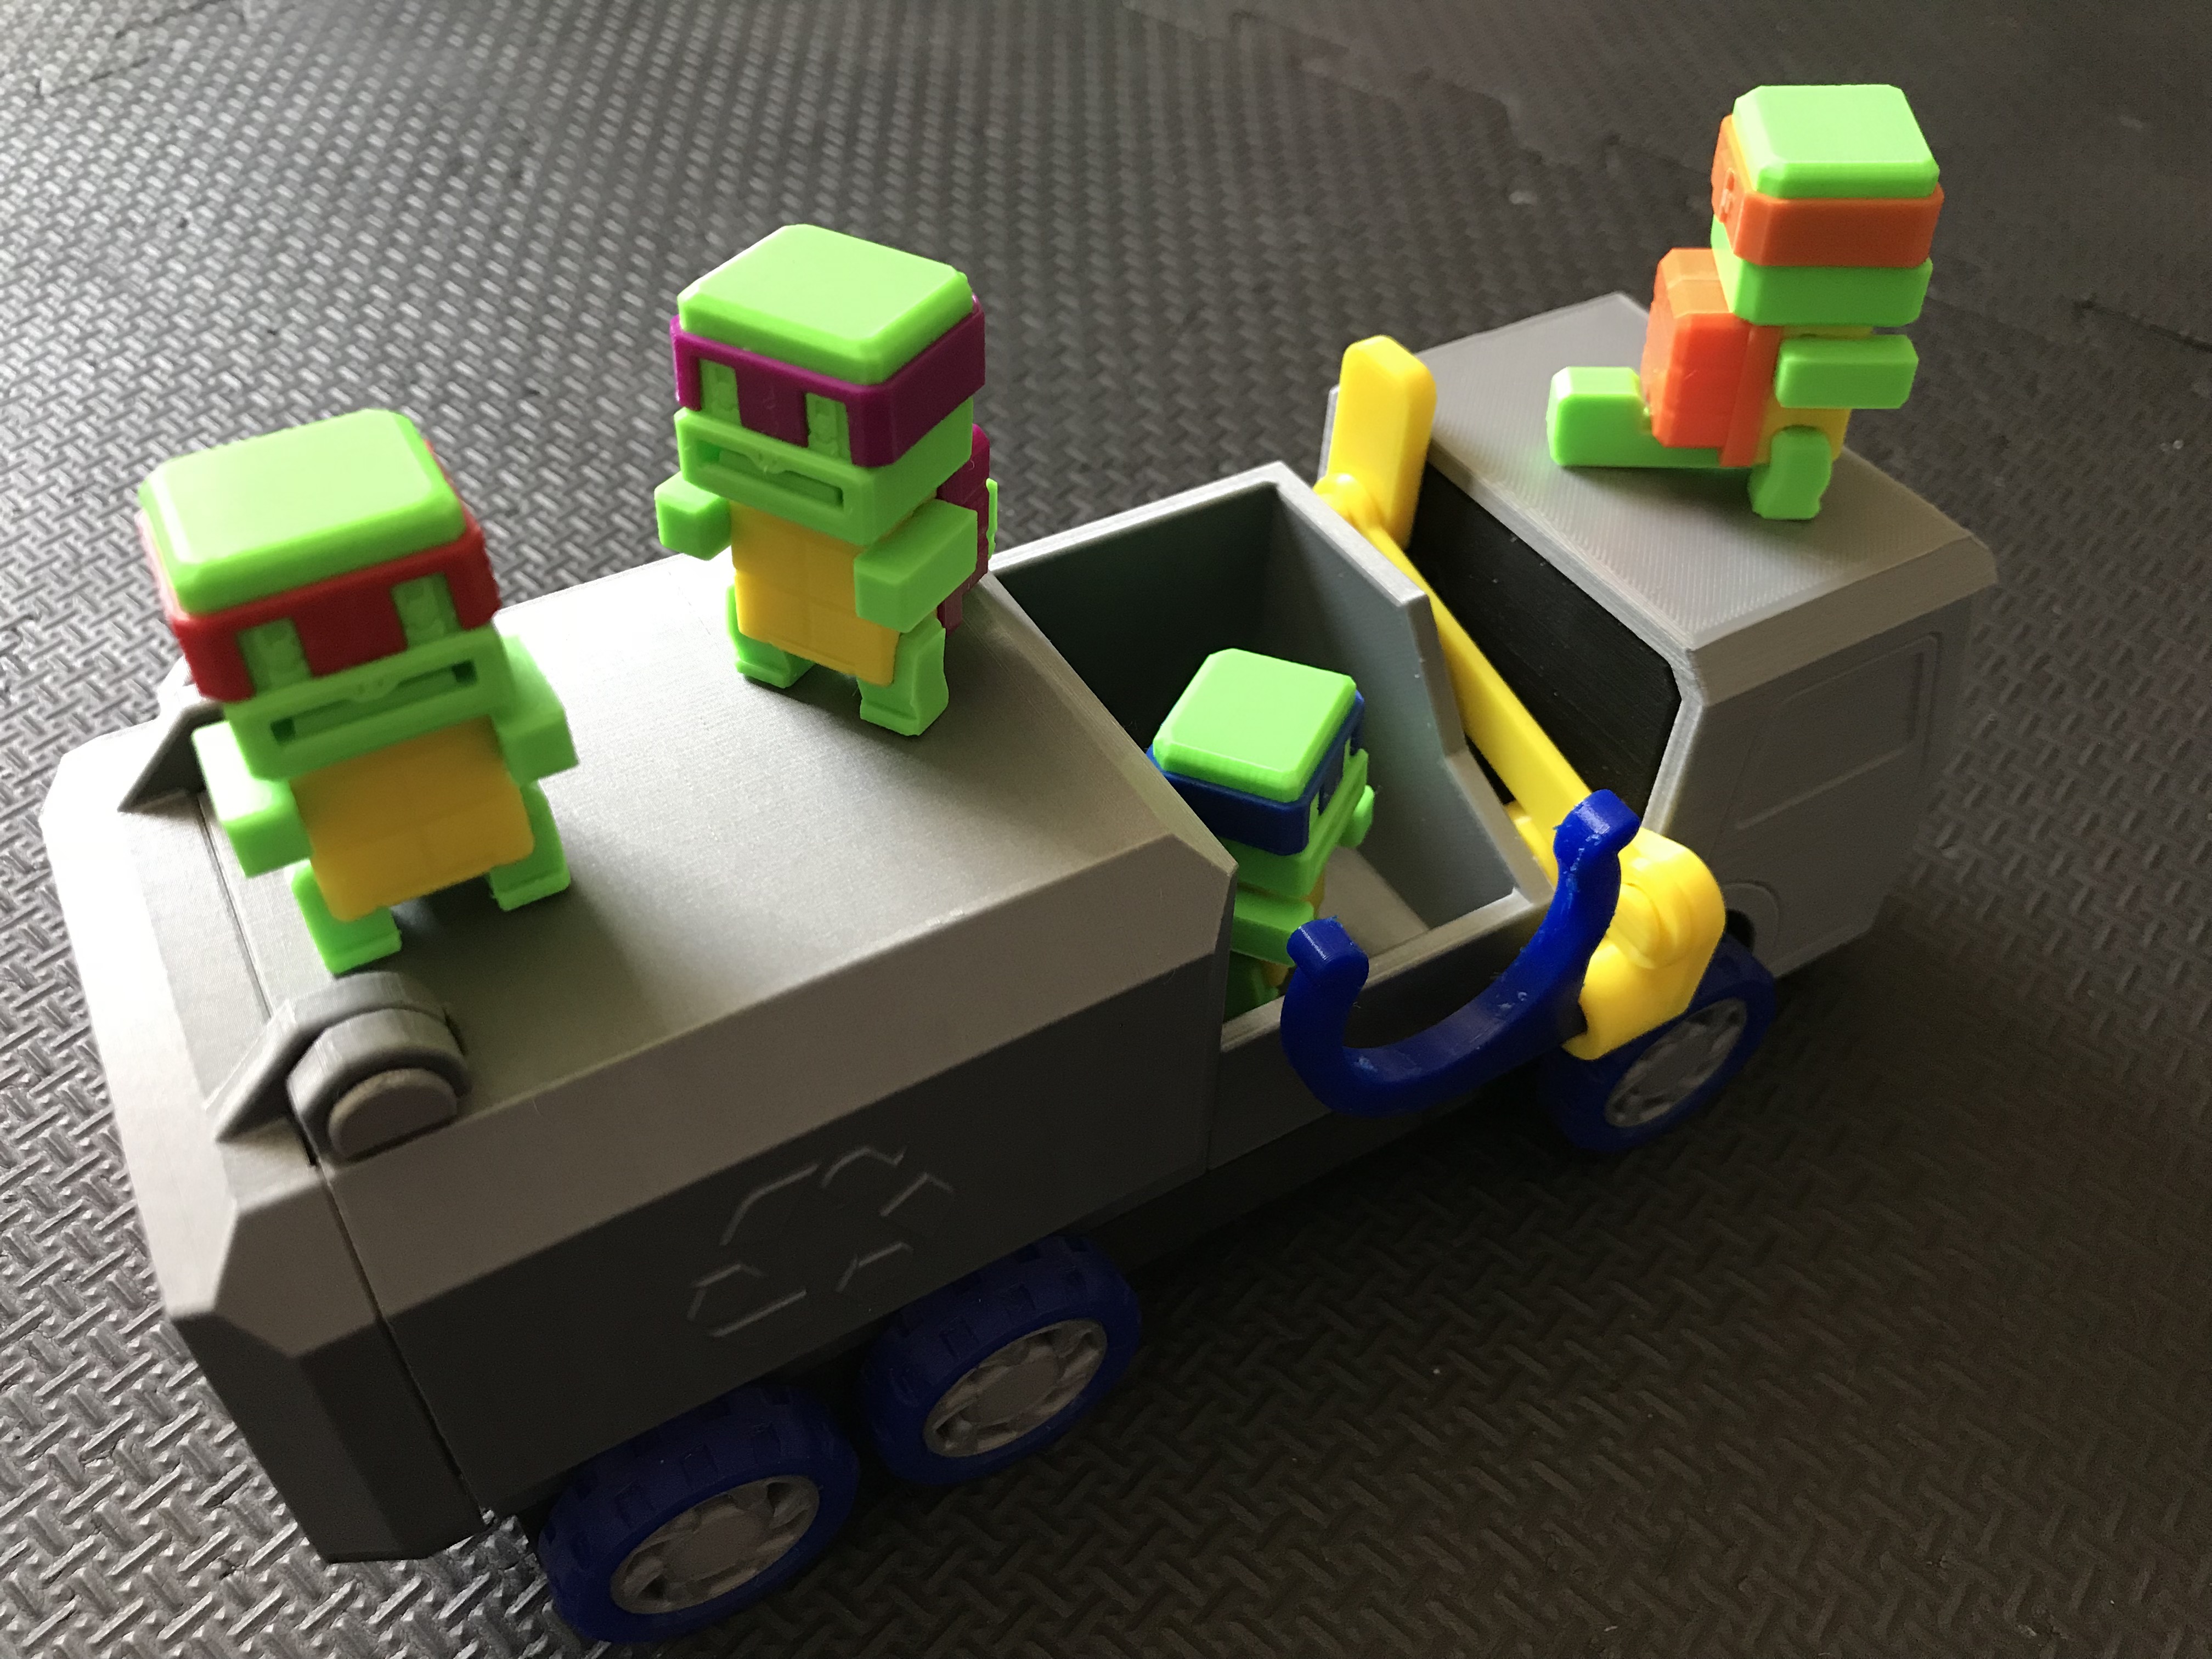
For the sake of space/time/sanity/material, this design is scaled a little differently than many of the other vehicles I’ve designed in the past. One Imaginext-type figure will fit inside the cab area, or if you’ve got smaller would-be sanitation engineers, the cab may fit more than one.

In any case, add a driver, and have fun rolling around and dumping stuff into the container.


Like what you’re seeing here? Follow me on Twitter @DragonMtnDesign. You may also occasionally bump into me on Reddit: u/DragonMountainDesign.
.
.
.
March 2020 UPDATE: Files are available here! Click the Download button below for a zip file.
Files are available under the Creative Commons BY-NC-SA license.