Cheekymandos – TechMech

MAYBE FIGHTING FOR FREEDOM!
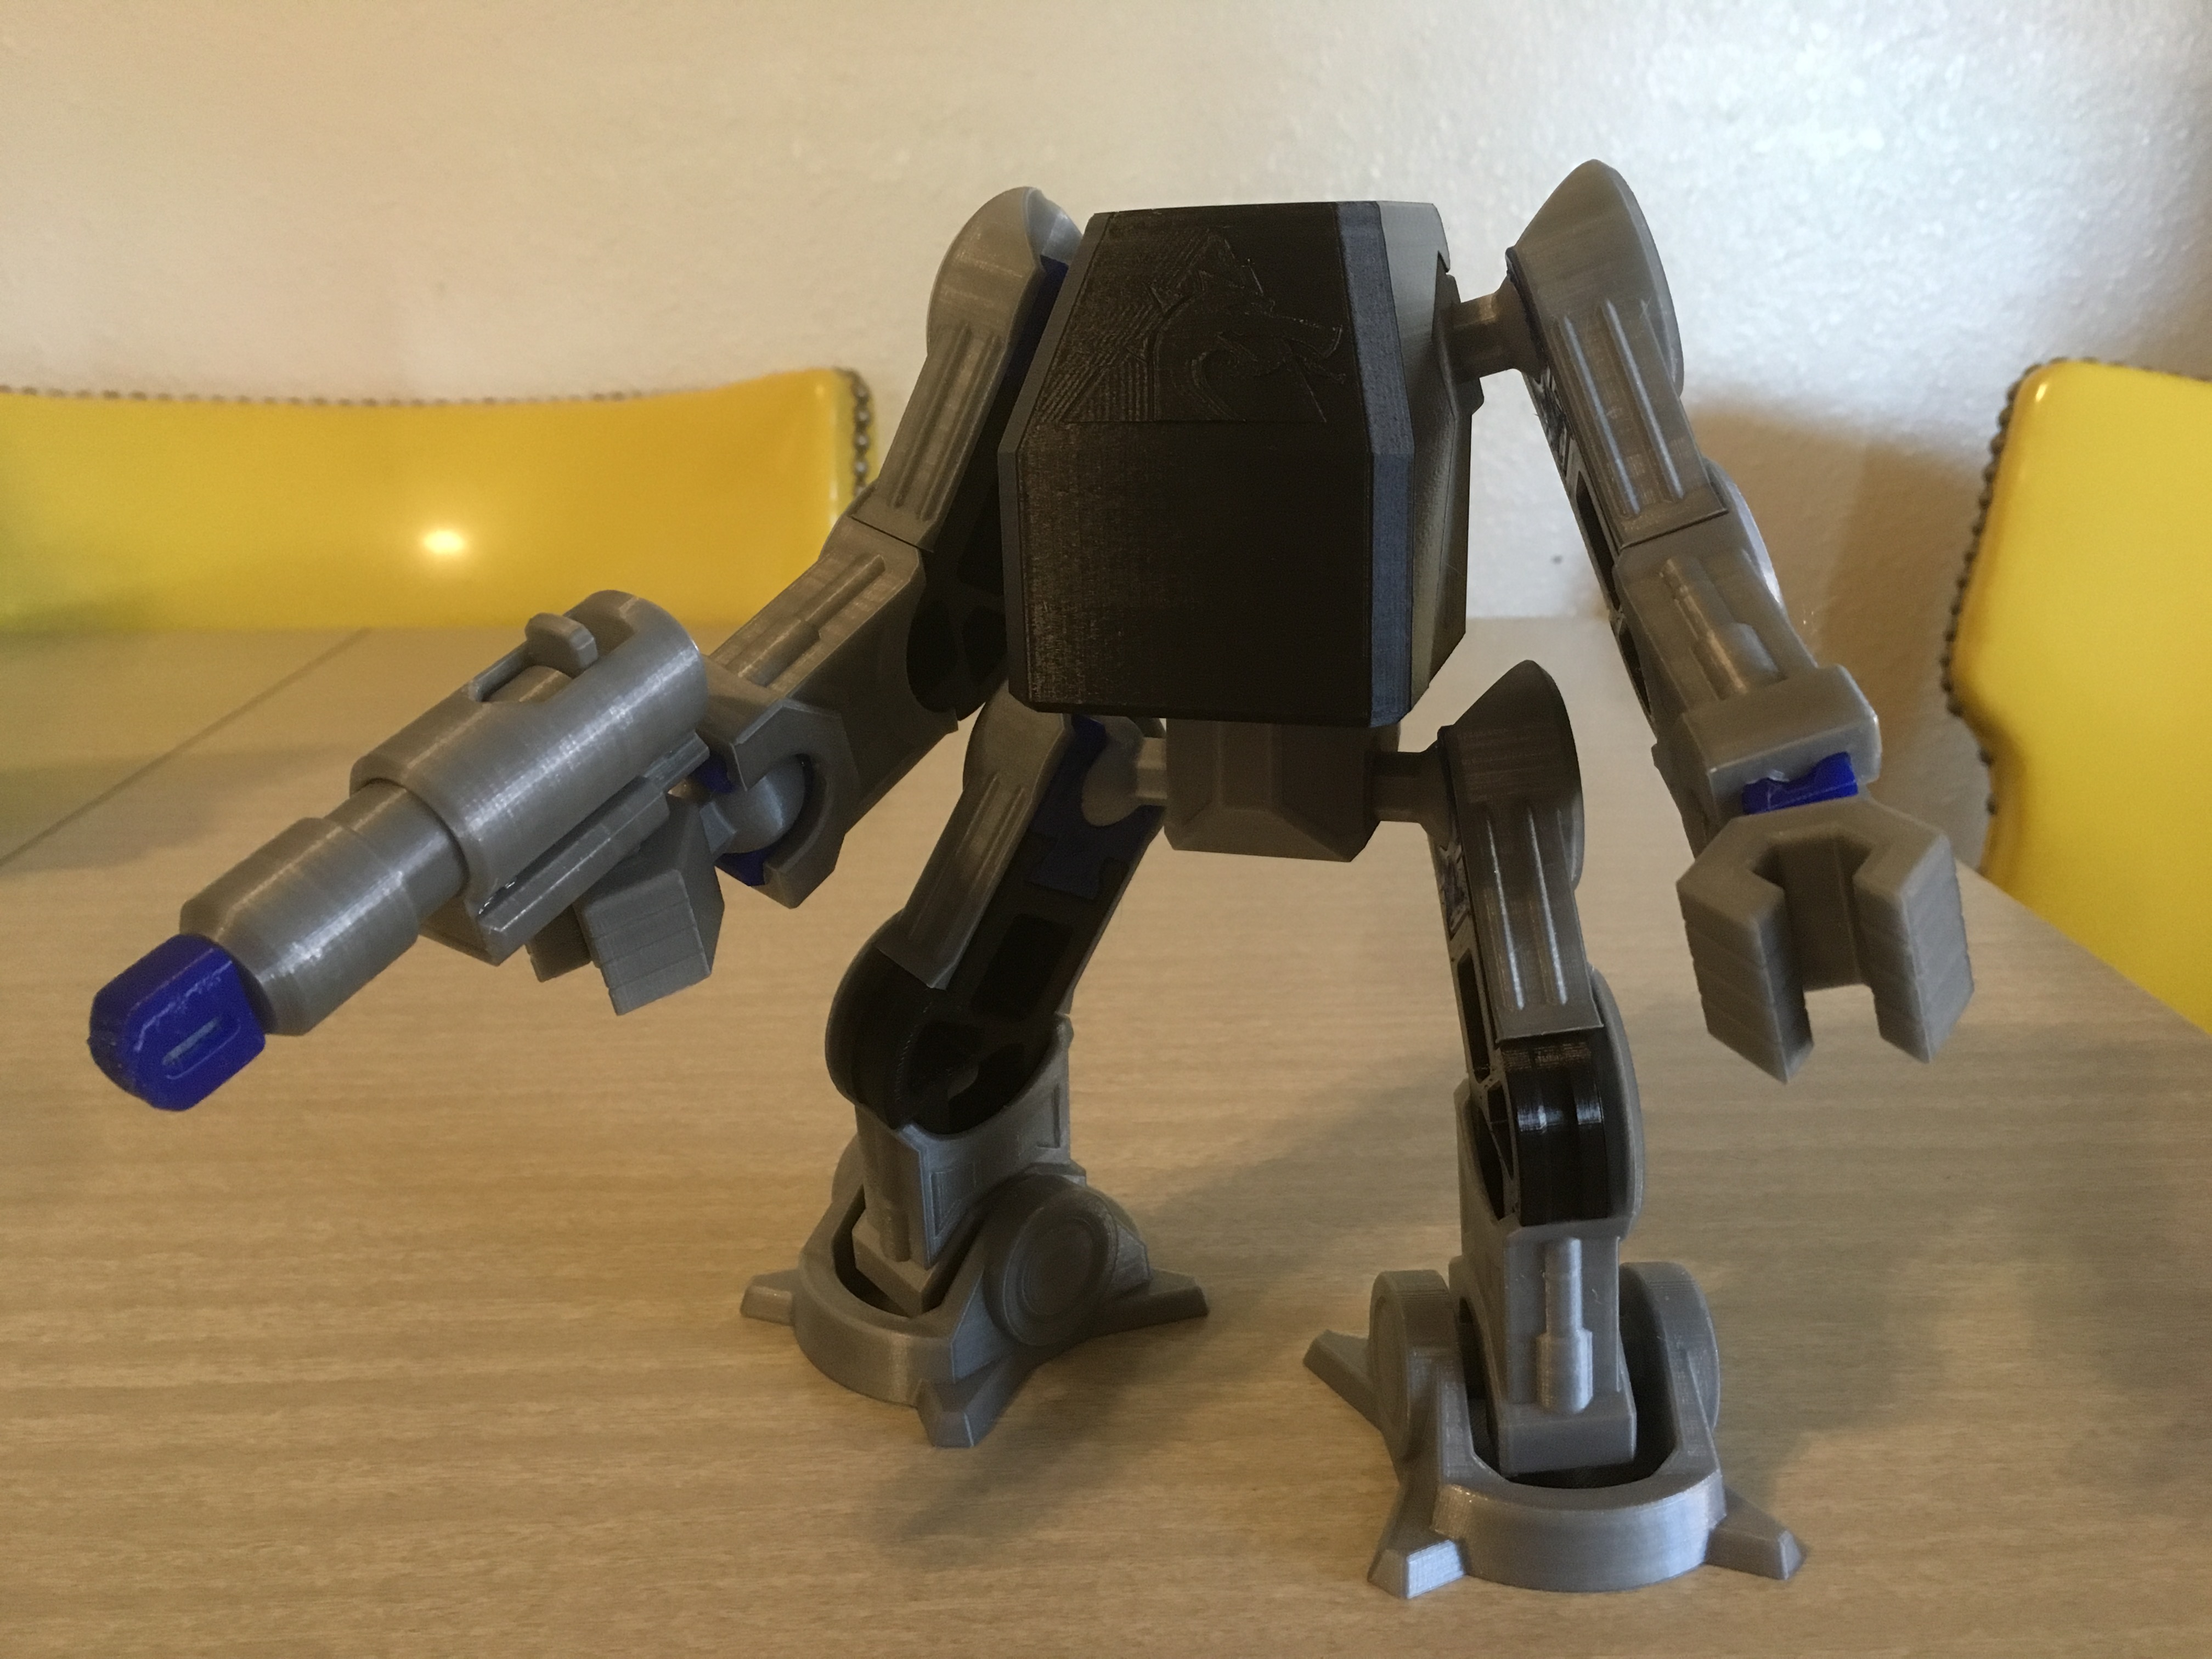
This… may have been the most fun Cheekymando project to create. While inspiration for this did not come directly from an old GI Joe vehicle, nothing captures my imagination quite like a hulking, piloted robot. This was essentially inevitable. My favorite part about this design:
The. Limbs. Are. Modular.
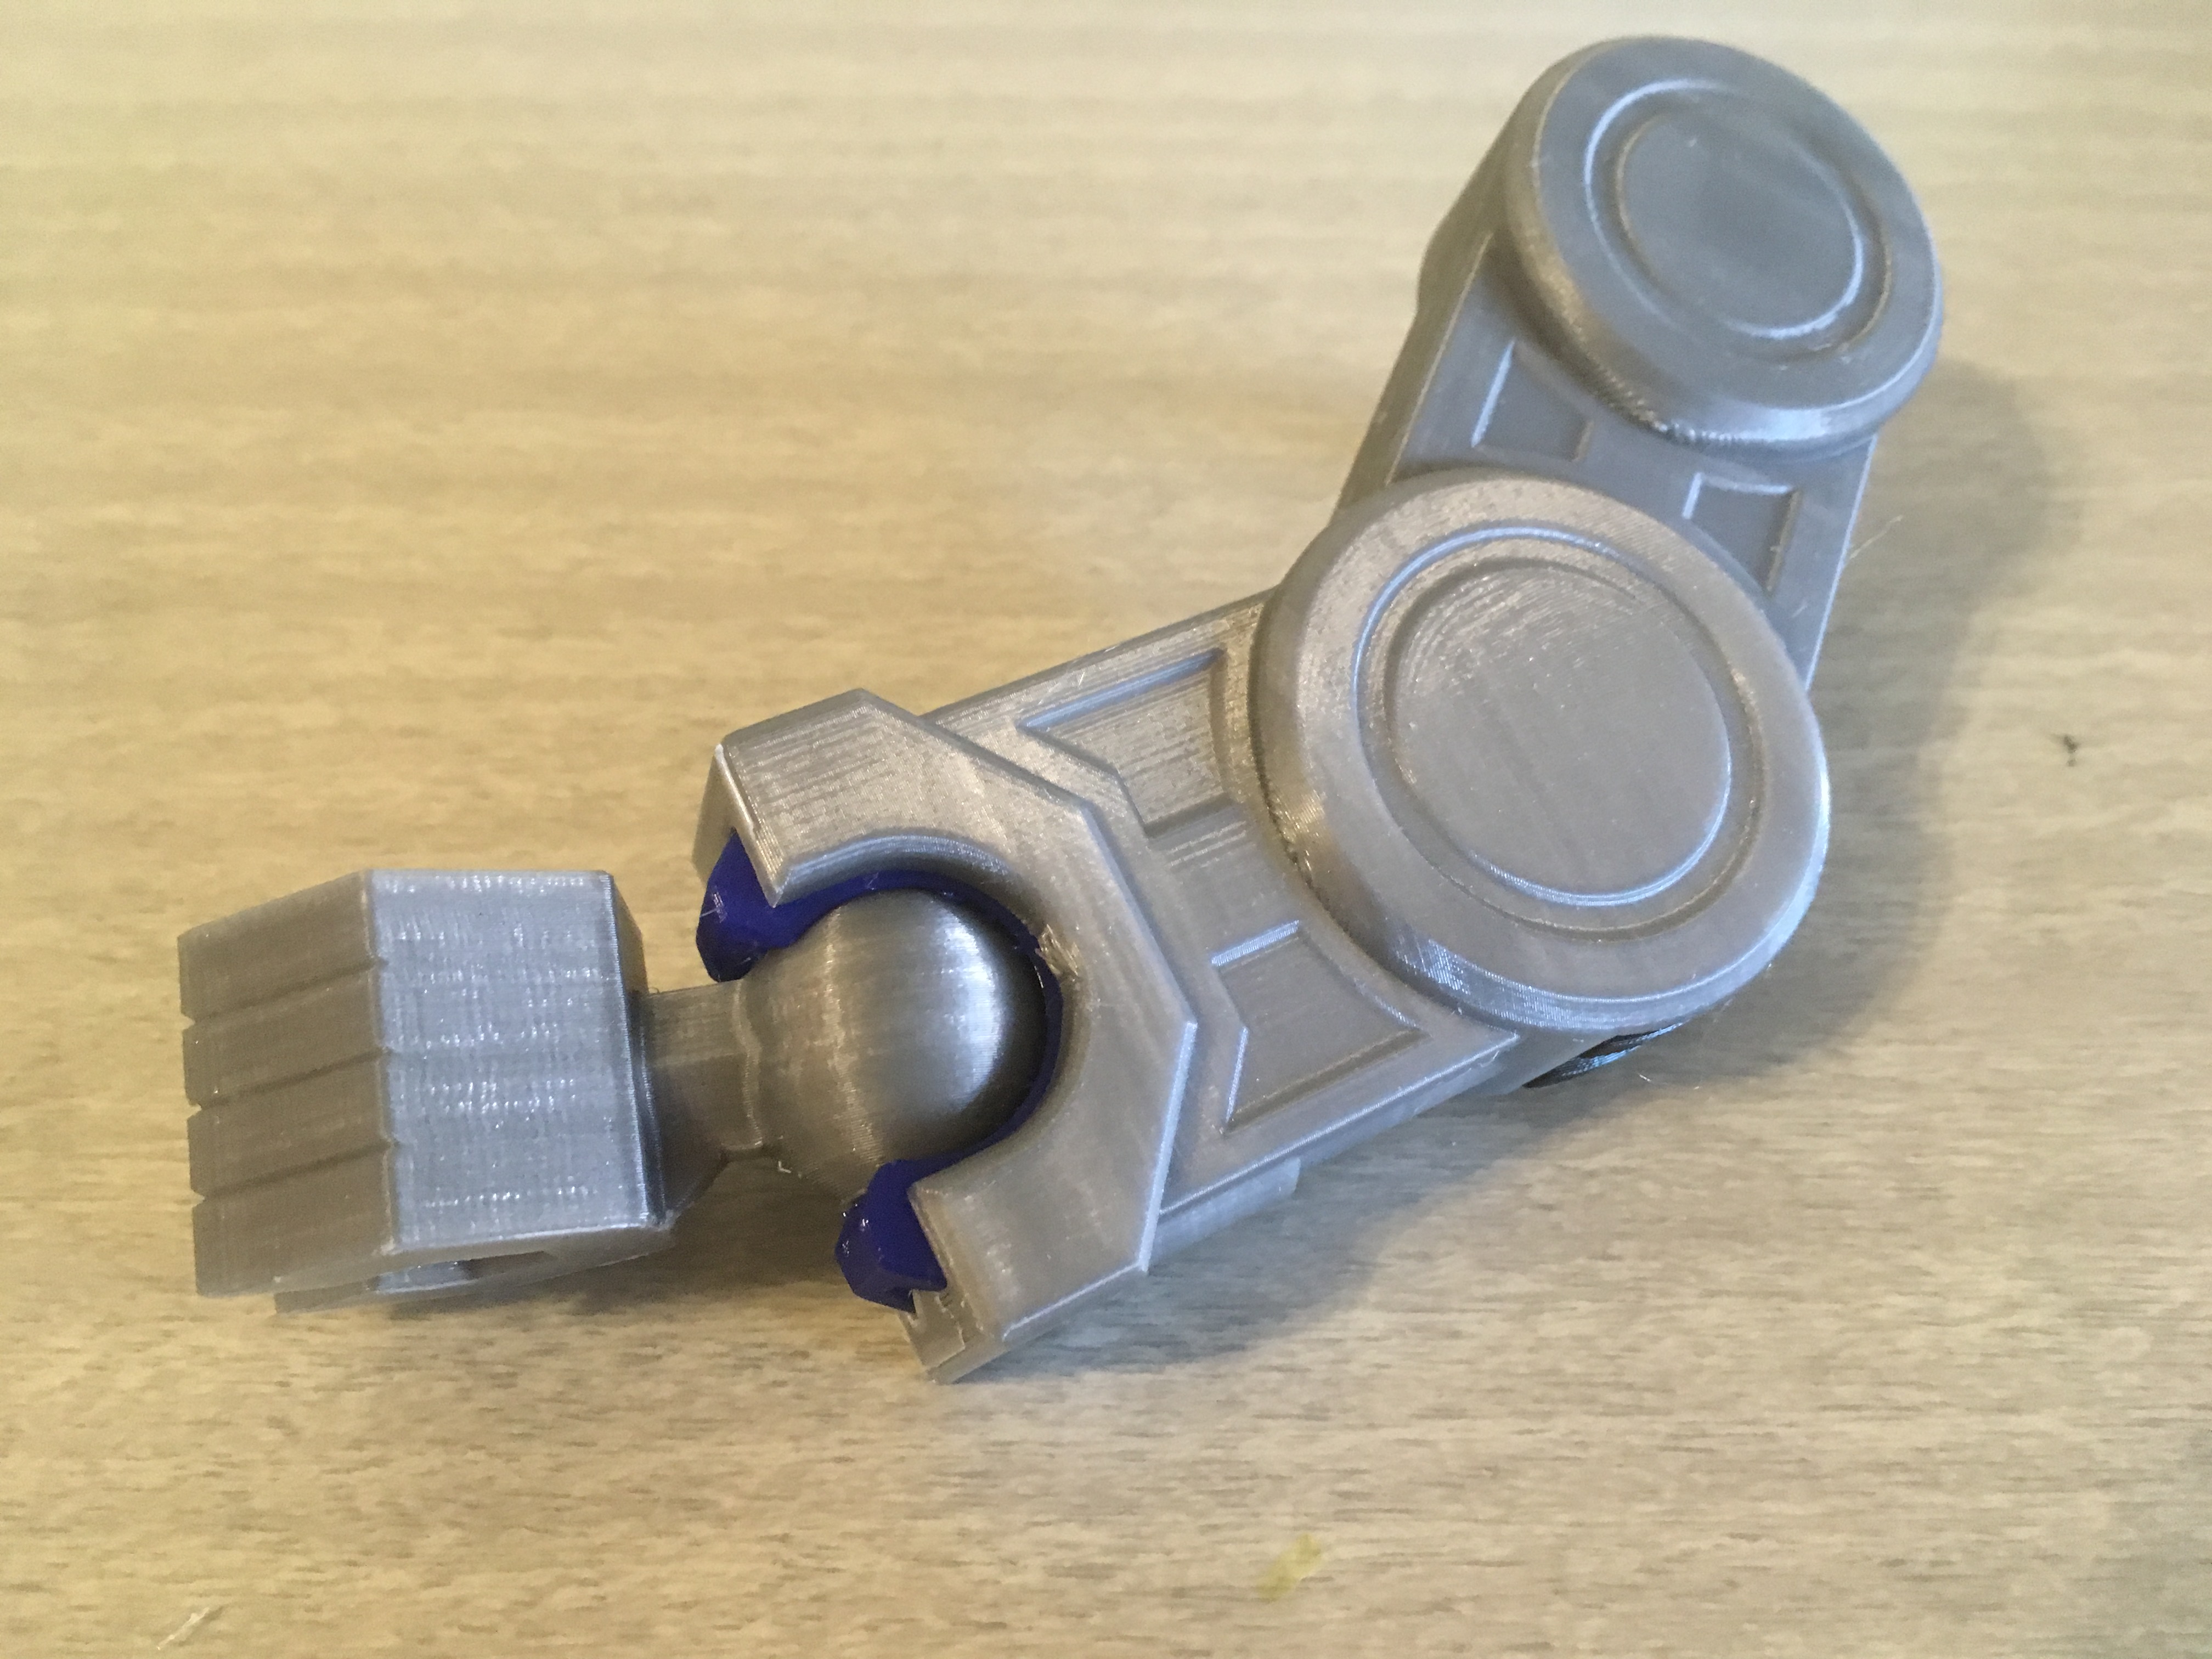
They were the first section tackled, and for simplicity, were developed so that all four limbs use the same six components in different configurations (plus hand/foot terminations). I’m quite pleased with how they turned out aesthetically and functionally. The TM-UpperCover and TM-LowerCover parts work with the DMD-Socket parts to achieve a solid rigidity and smooth ball/socket joints.
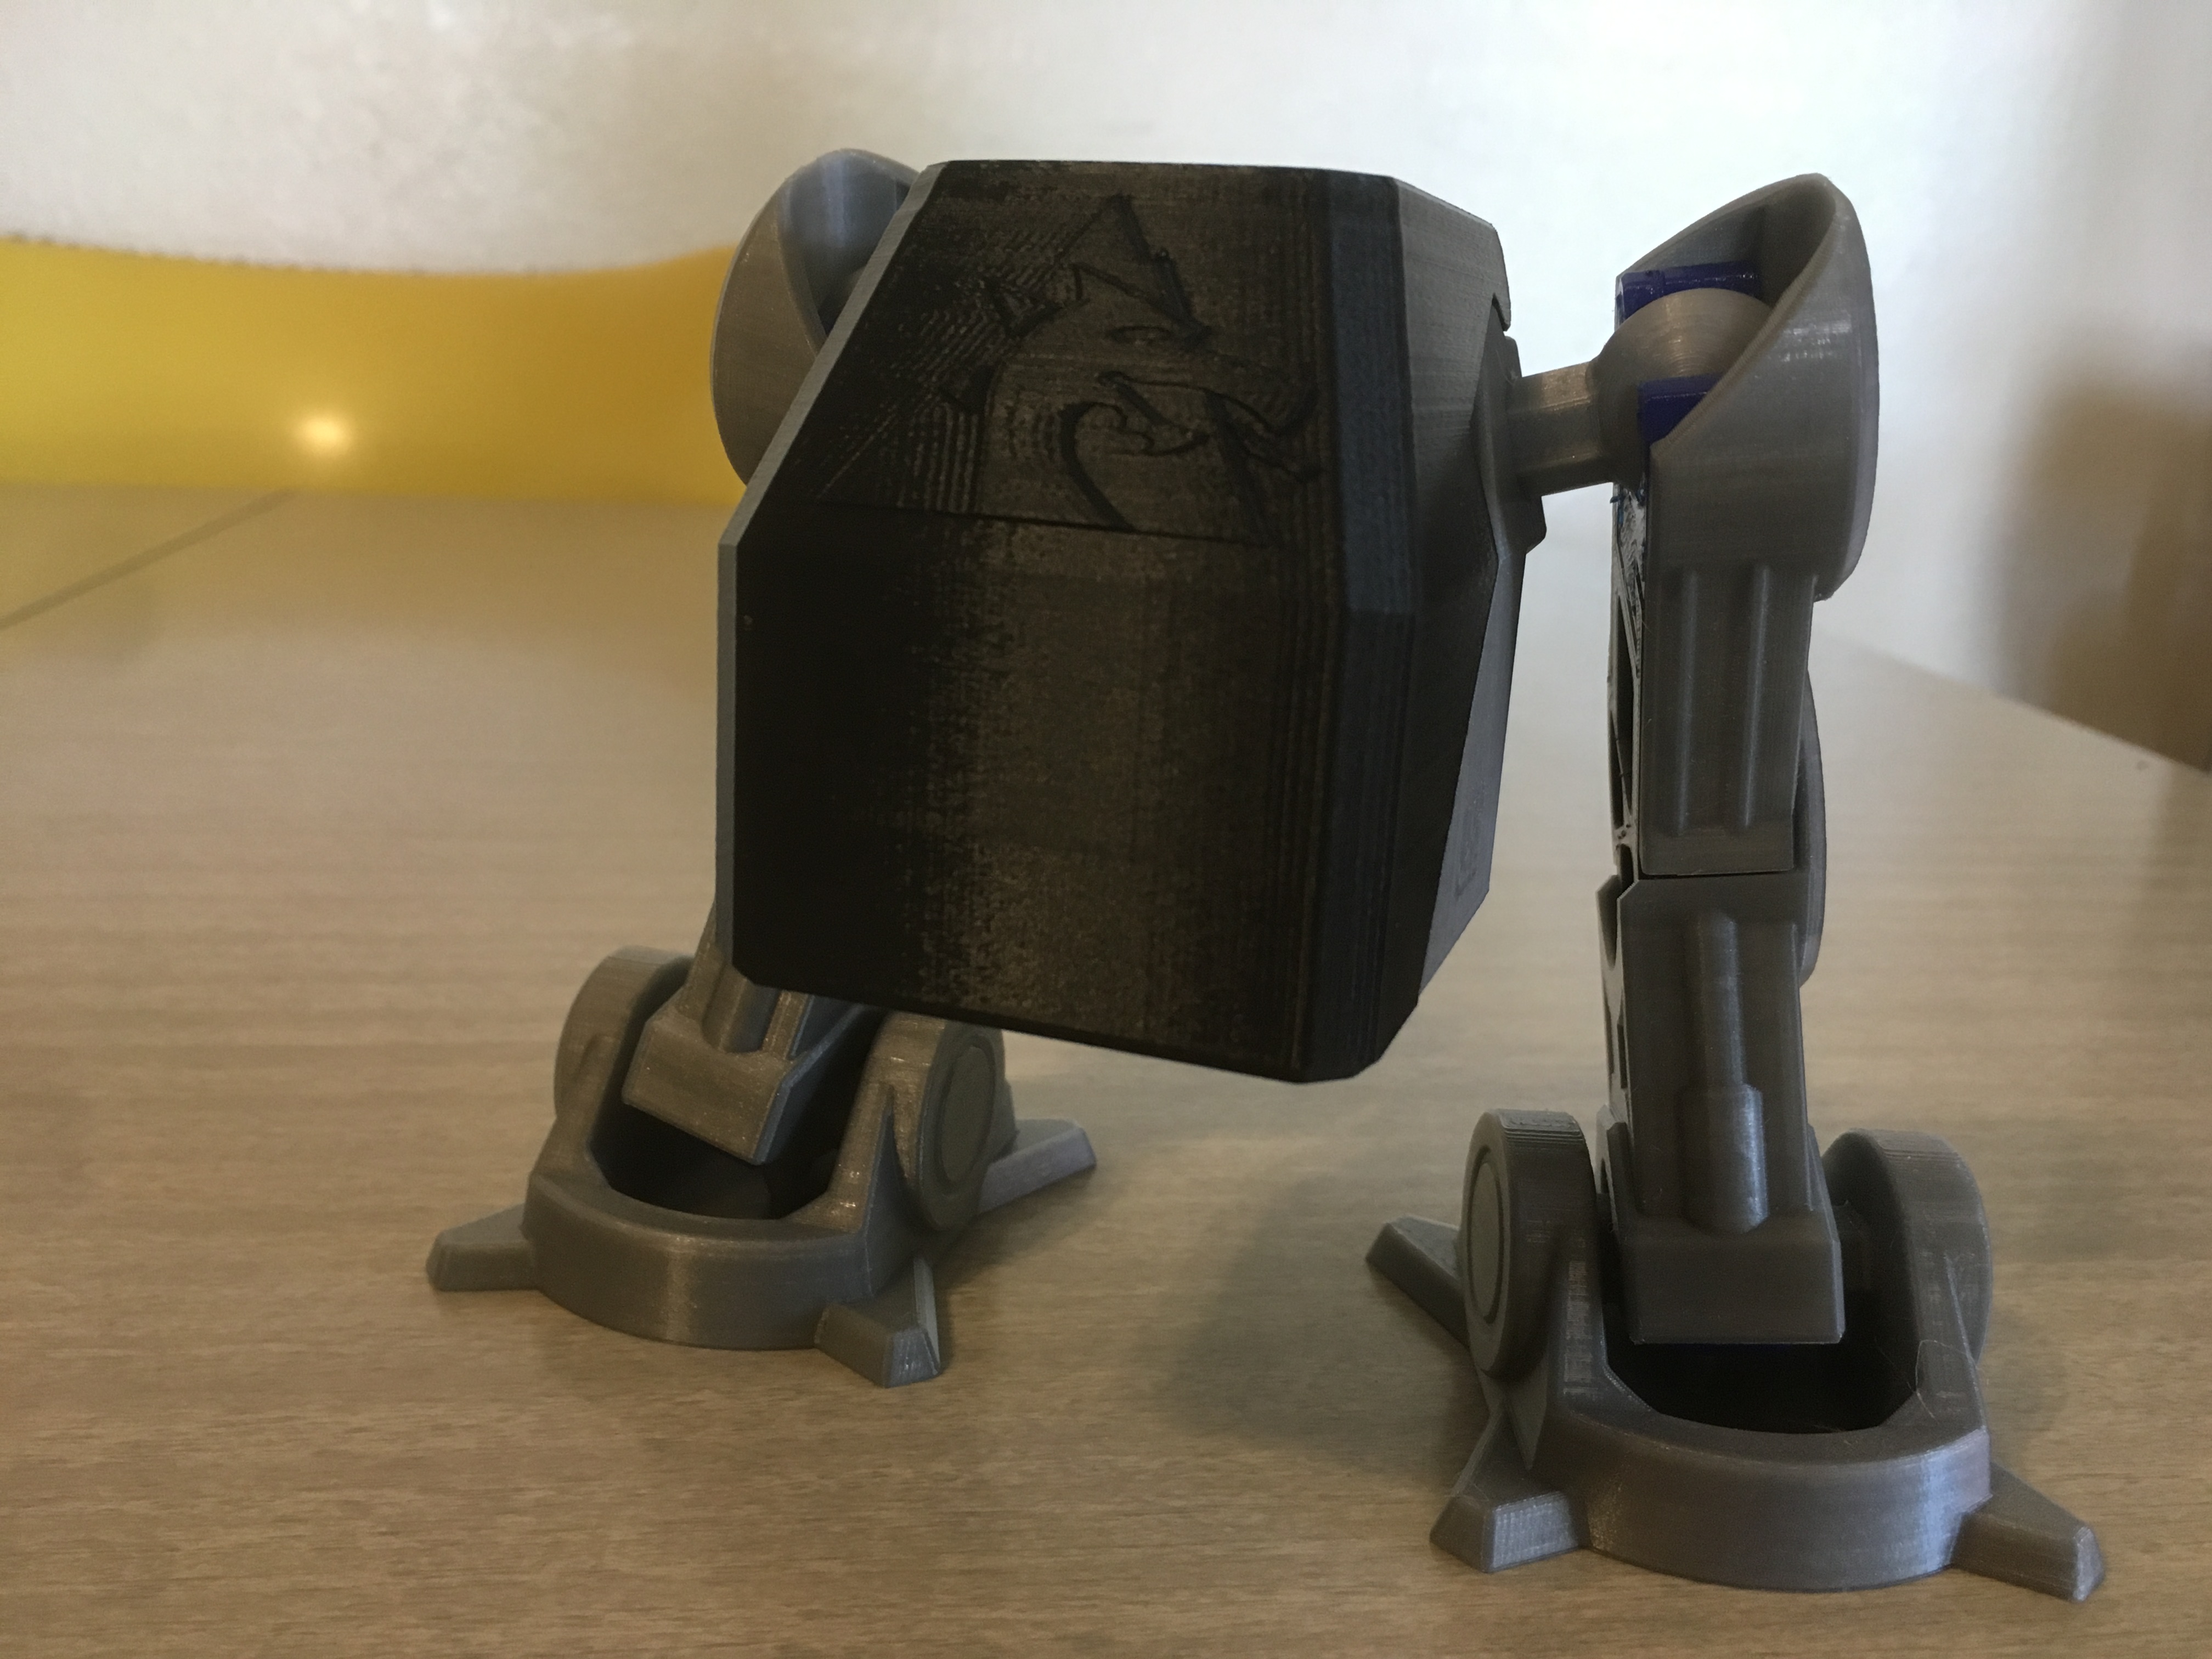
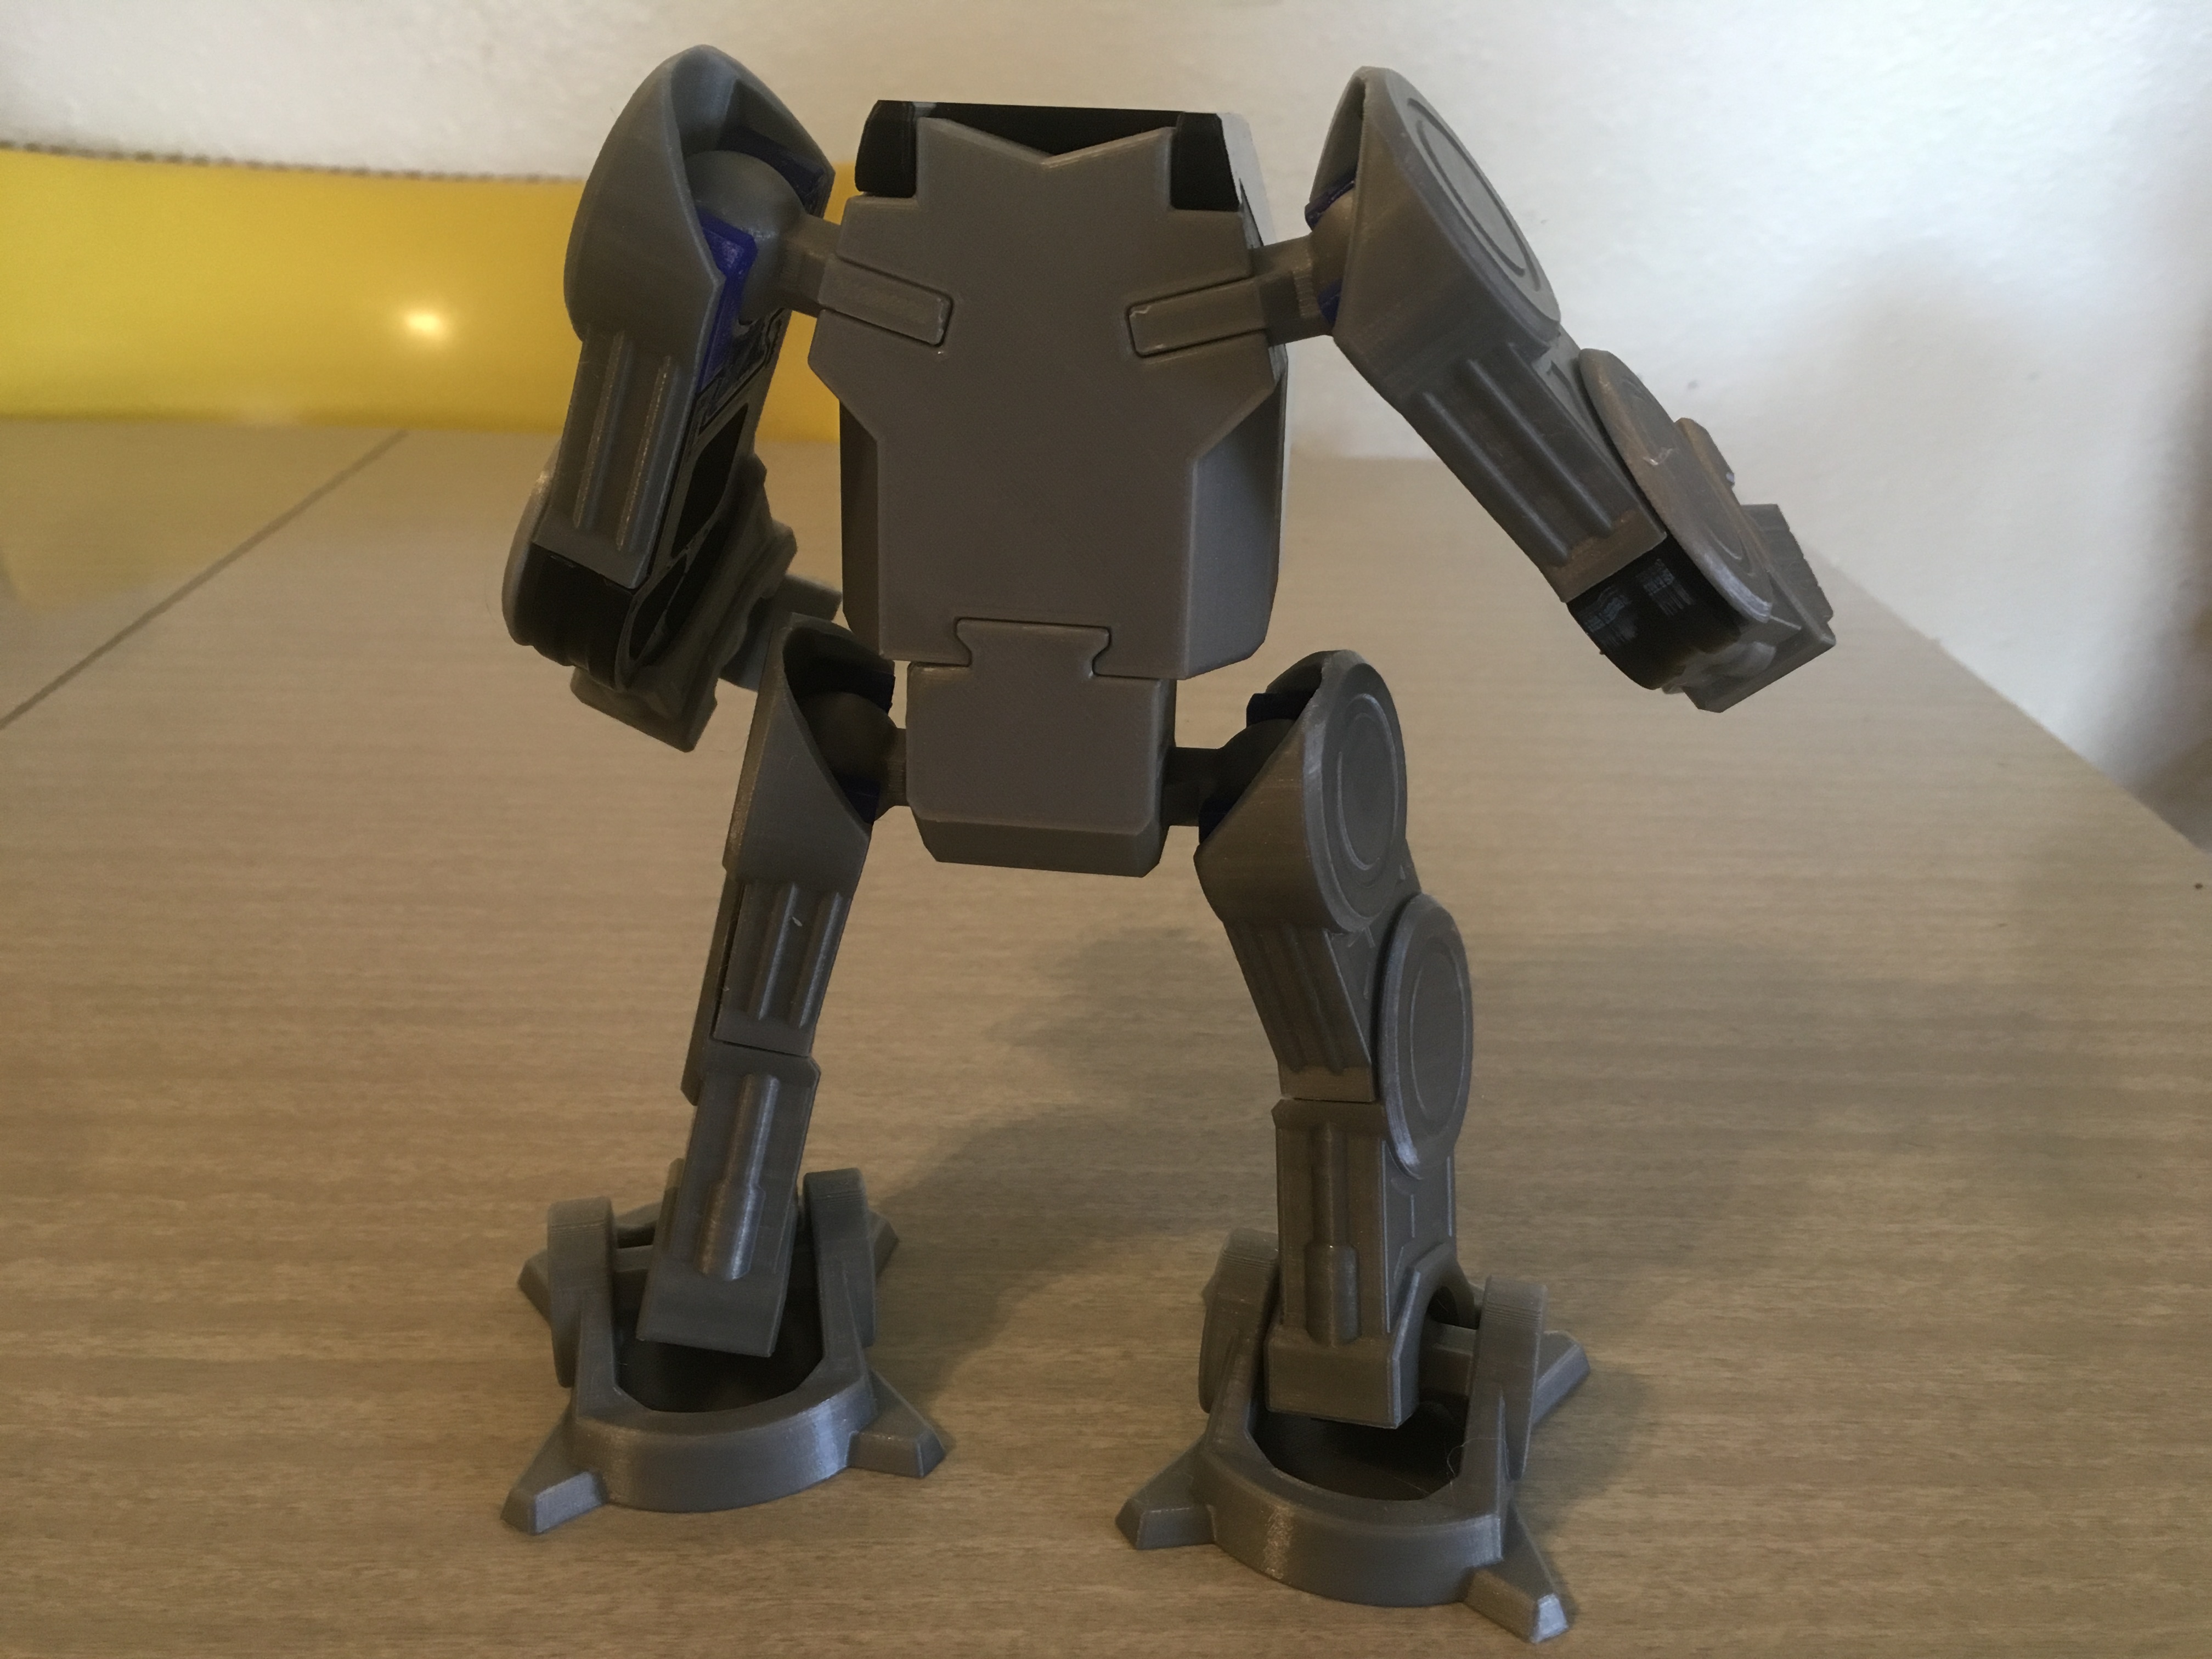
They’re pretty versatile too. I mean, if you want, you could slim down the amount of printing you need to do, and end up with something like a low-rent AT-ST or Bubble Walker:
Also, if you’ve been looking to create something with ball/socket joints and like what I’ve started here, you can download the Fusion 360 file for the joints HERE.
Parts List:
Missile Launcher – Dragon Mountain Design (X1… or X2)
Helpful Tools:
3D Printer (or printing service)
E6000 Glue
Print out Parts
Files can be found on
Thingiverse,YouMagine,Cults3D, and MyMiniFactory.4/11/2018 UPDATE: Consolidating the number of places hosting the files. More changes to come, but they’re still available for free.
March 2020 UPDATE: Files can be downloaded directly from this site at the bottom of the page. They are also available on Prusa Printers!
Material: Ninjaflex Semiflex for DMD-Socket, PLA for everything else.
Infill: 20%
Brim: Recommended for DMD-Ball and TM-Fist.
Supports: Not necessary, but may provide better results on DMD-Ball and TM-Fist.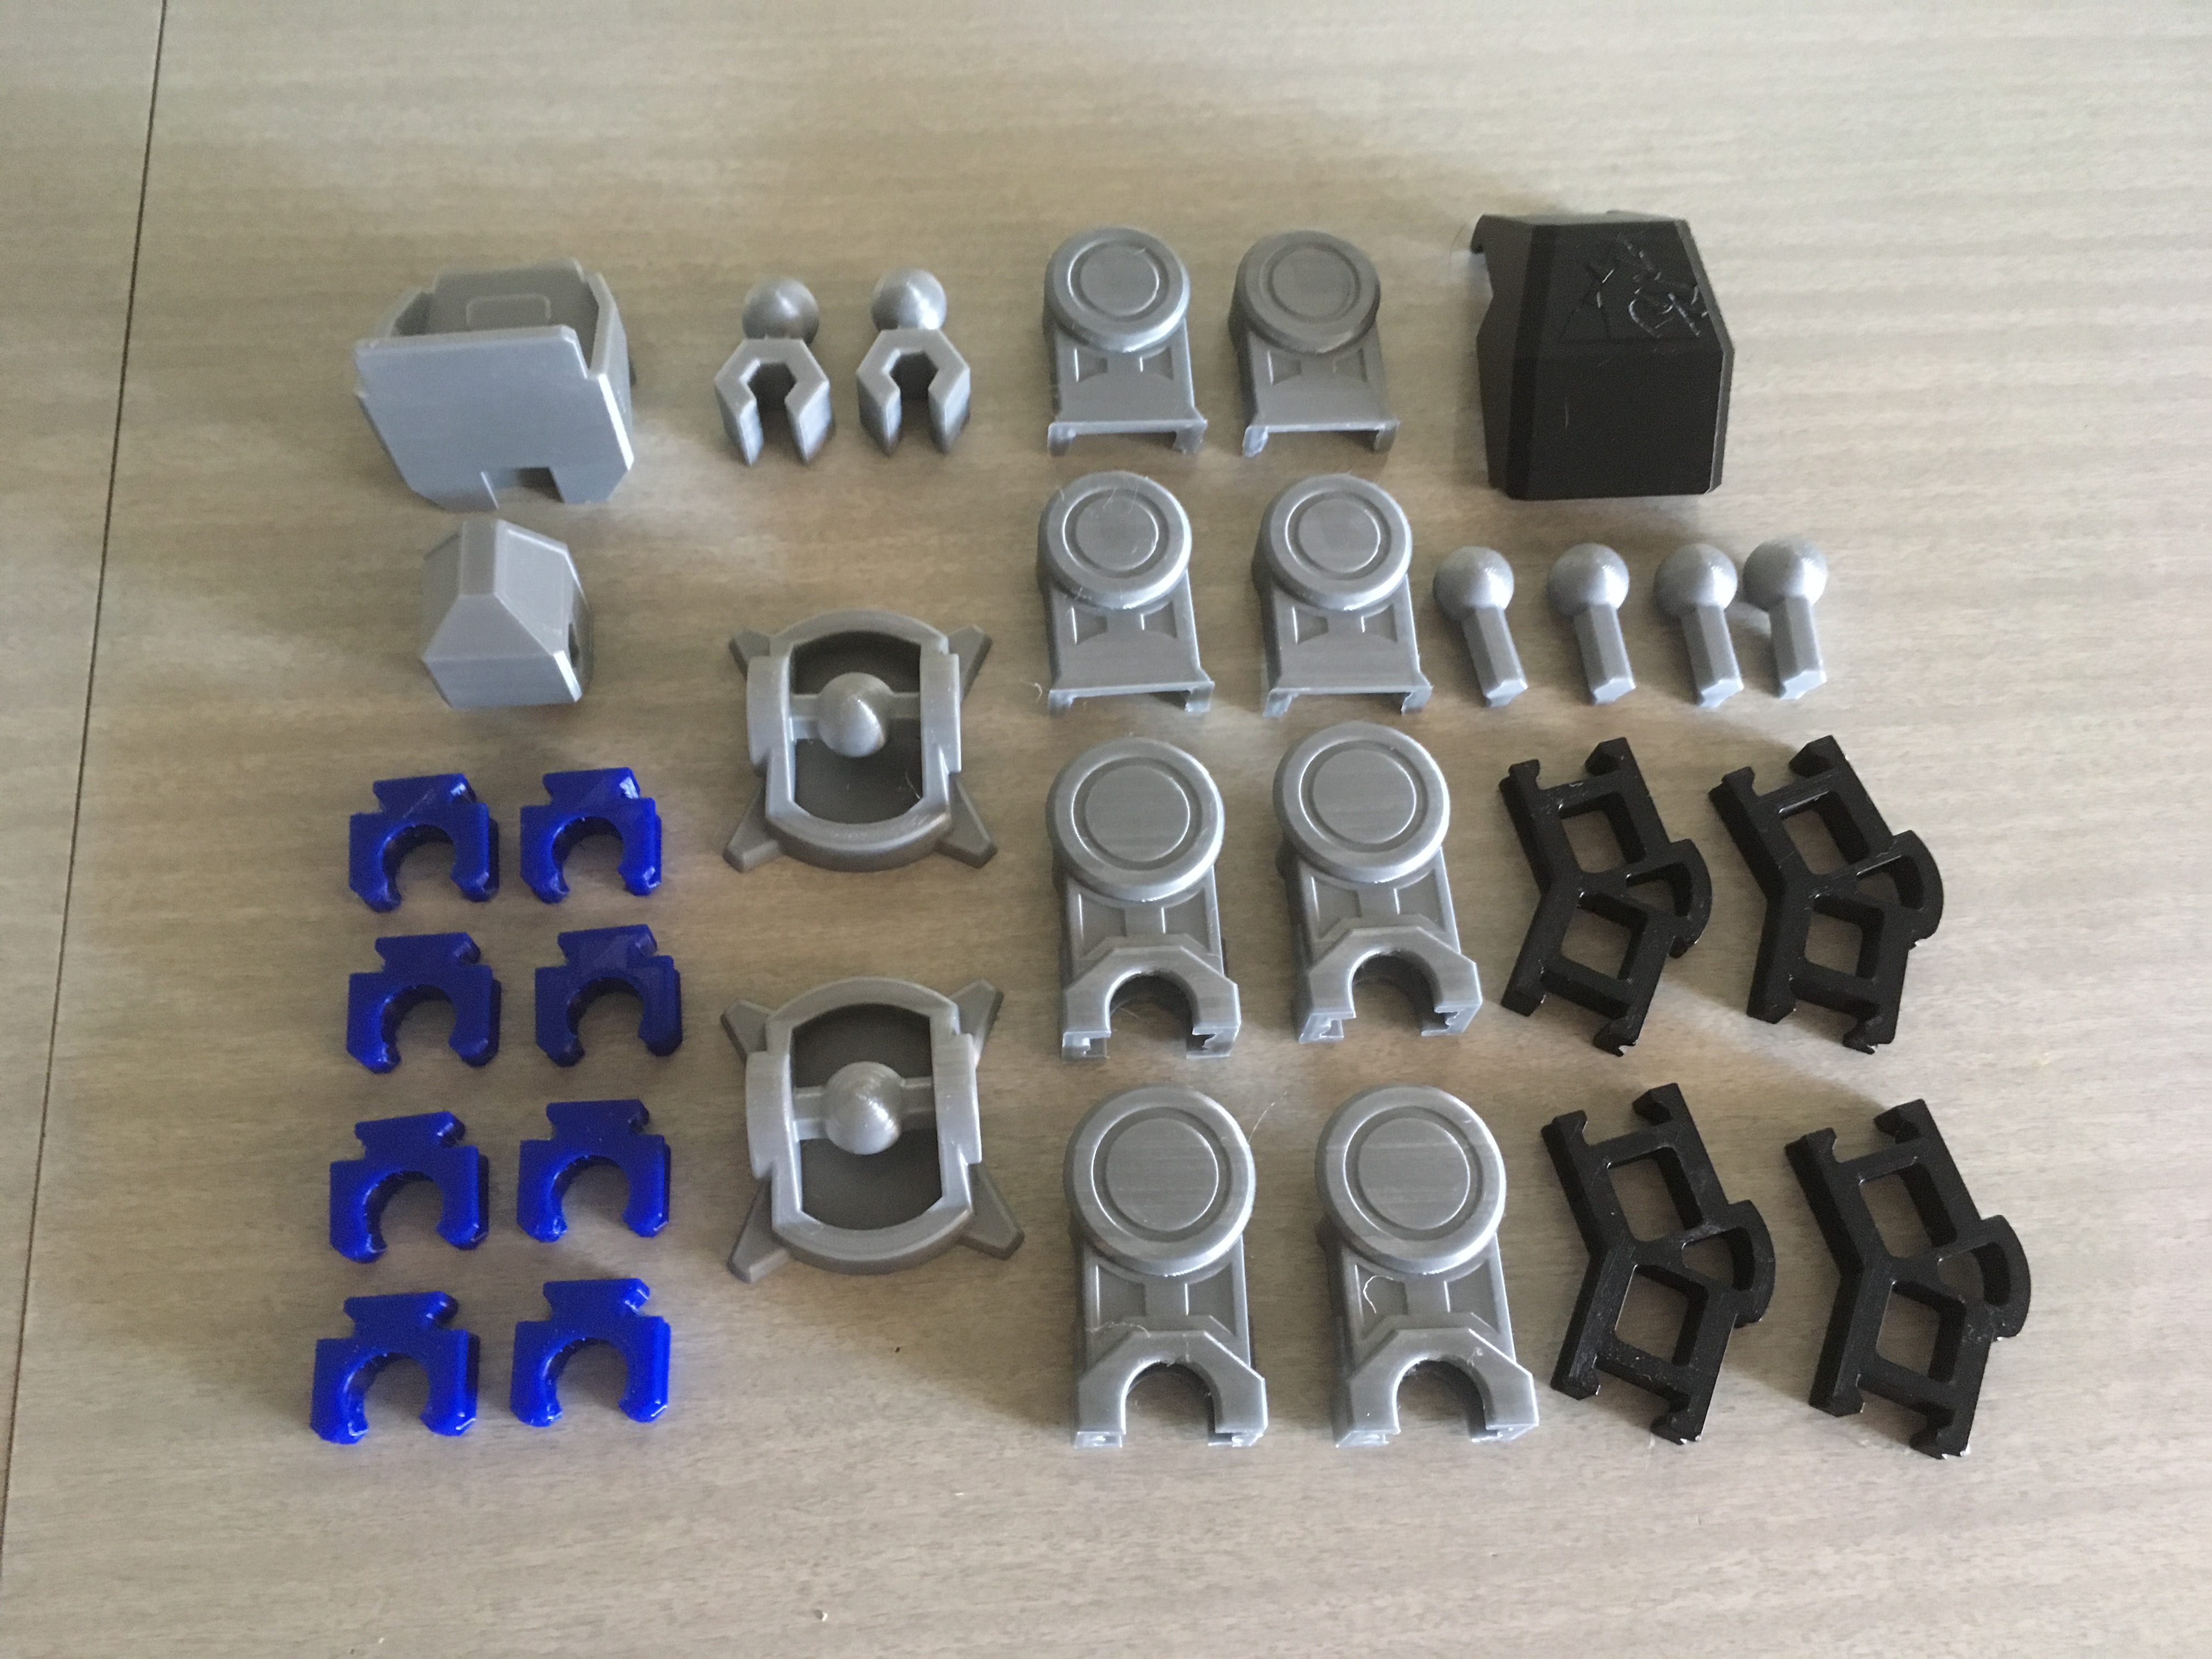
In the end, you’ll have:
DMD-Ball X4
DMD-Socket X8
TM-Cockpit X1
TM-Canopy X1
TM-Hips X1
TM-Limb X4
TM-UpperCover X4
TM-LowerCover X4
TM-Fist X2
TM-Foot X2
TM-Blaster X1 (or X2. It’s up to you)Assemble Limbs
Fit DMD-Socket into each end of TM-Limb. Do this four times.
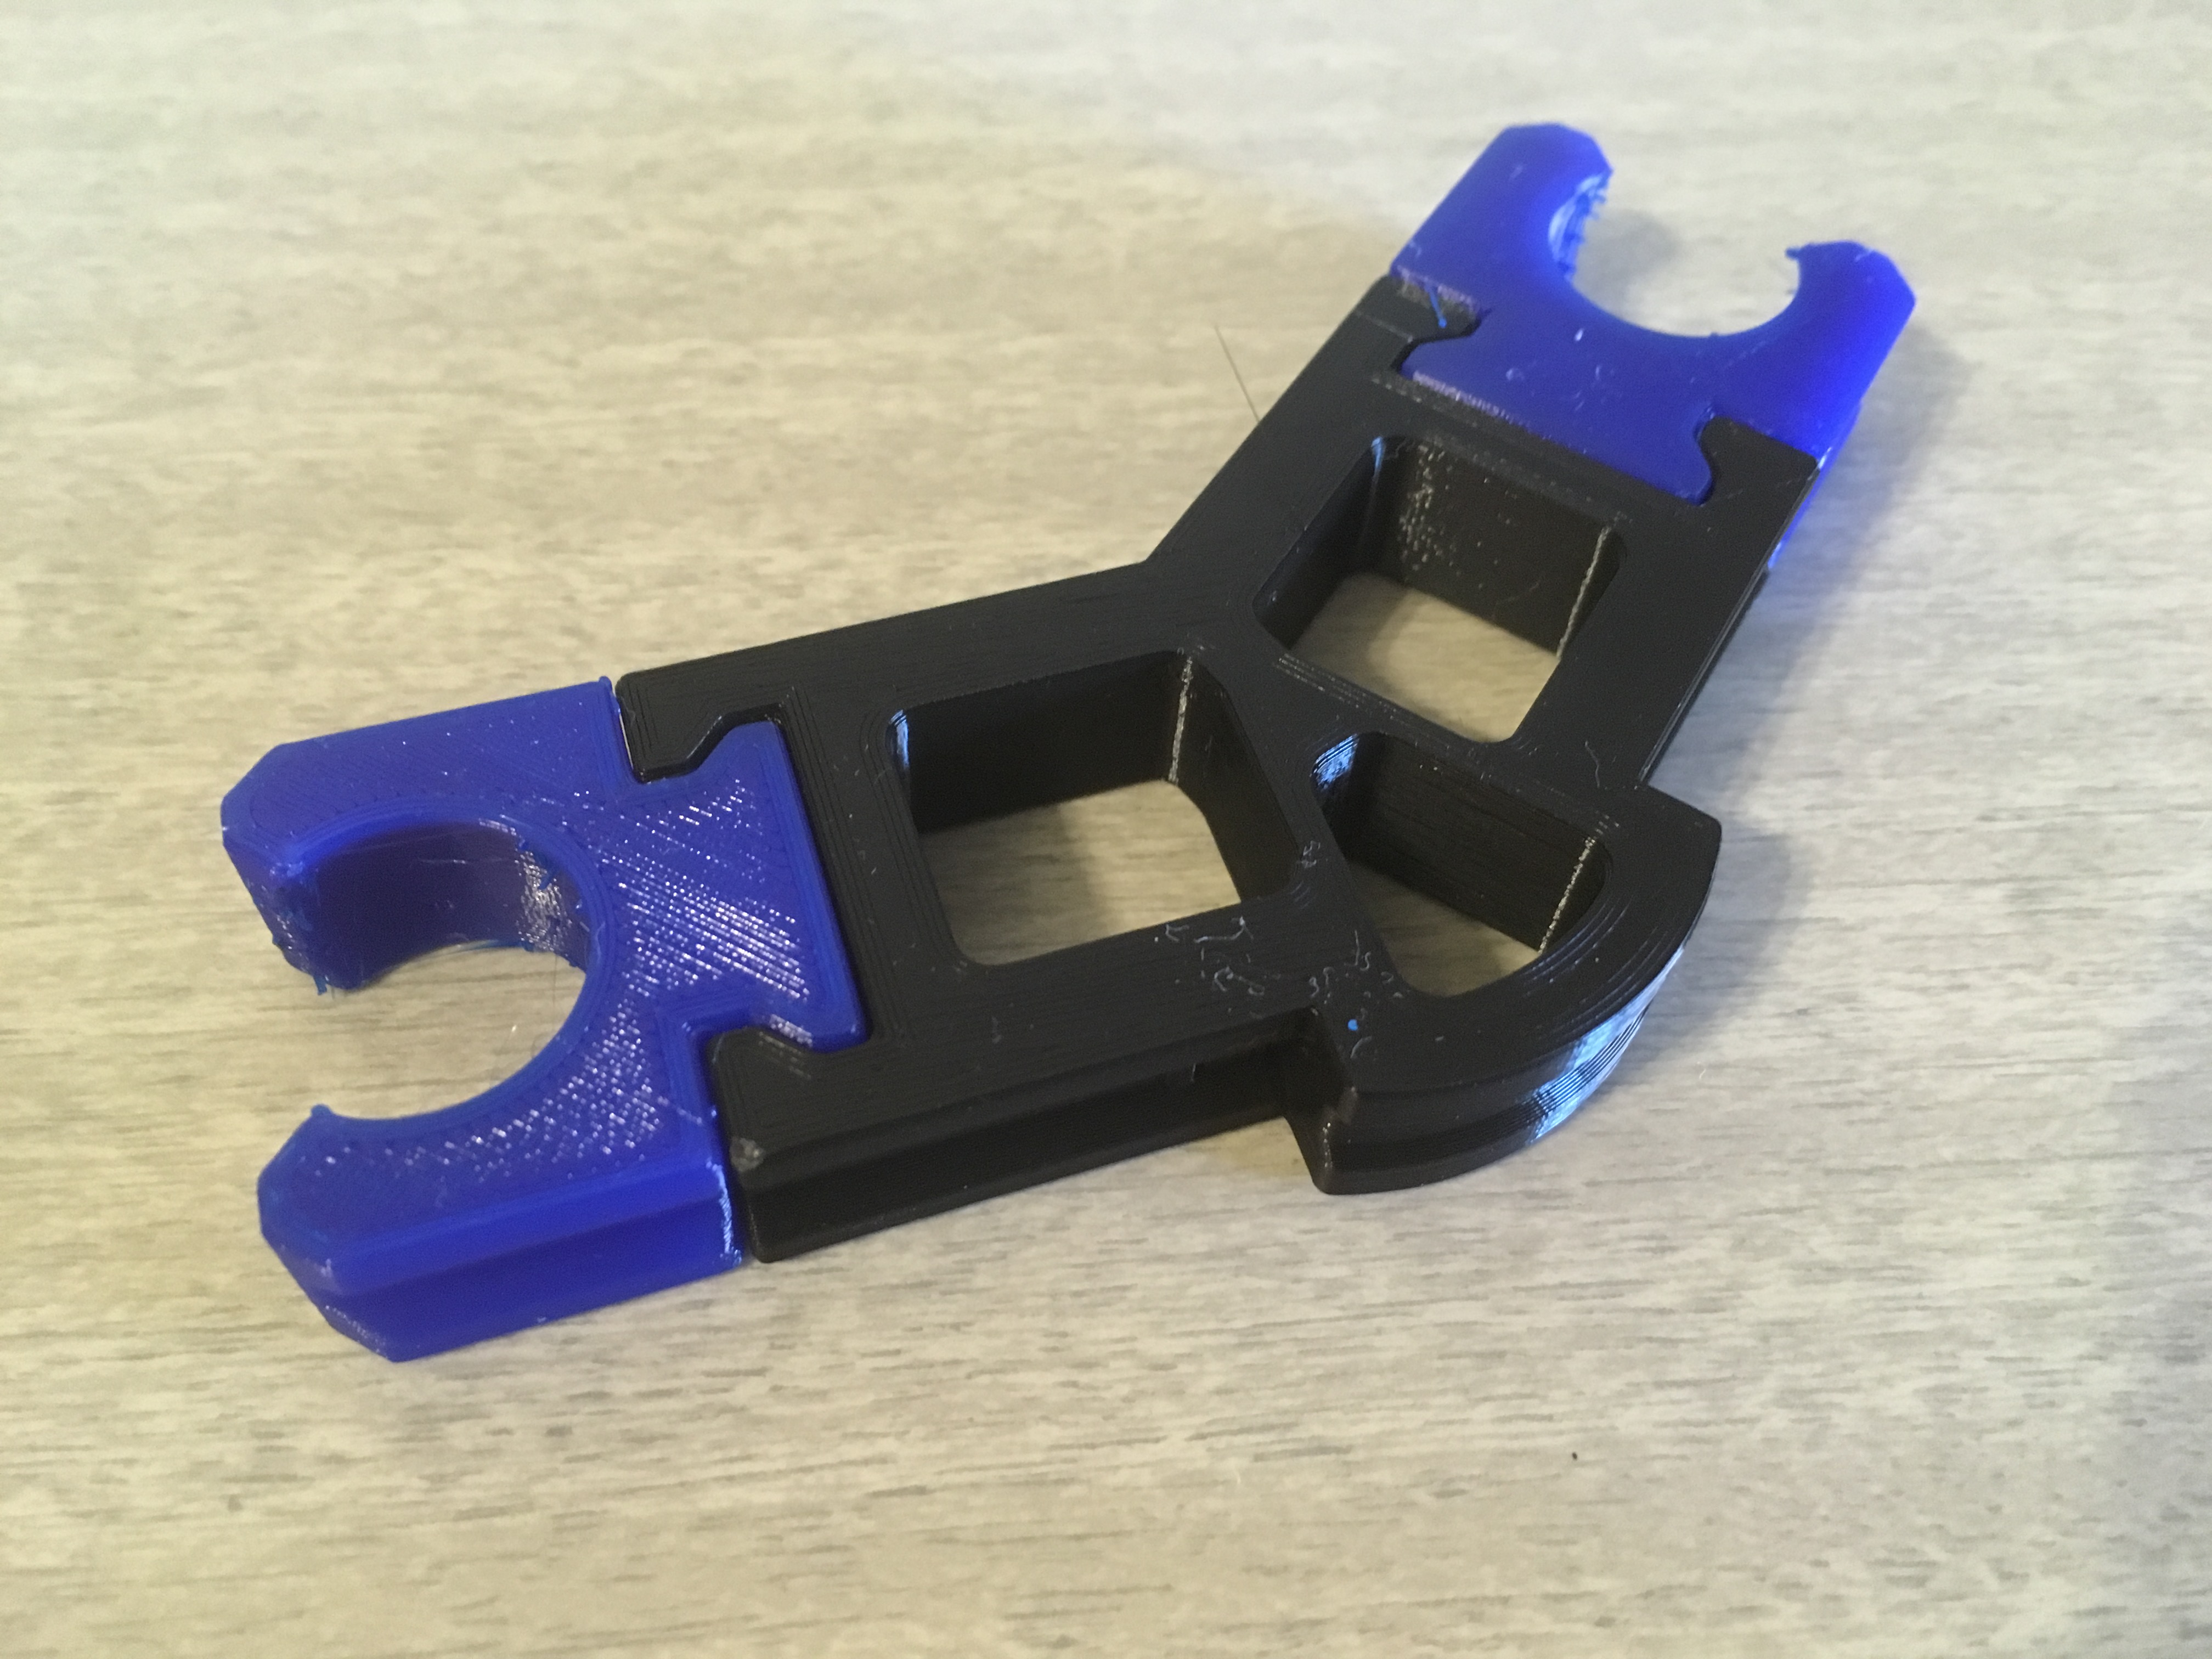
Slide TM-UpperCover and TM-LowerCover over the assembled limbs in two left/right sets as shown.
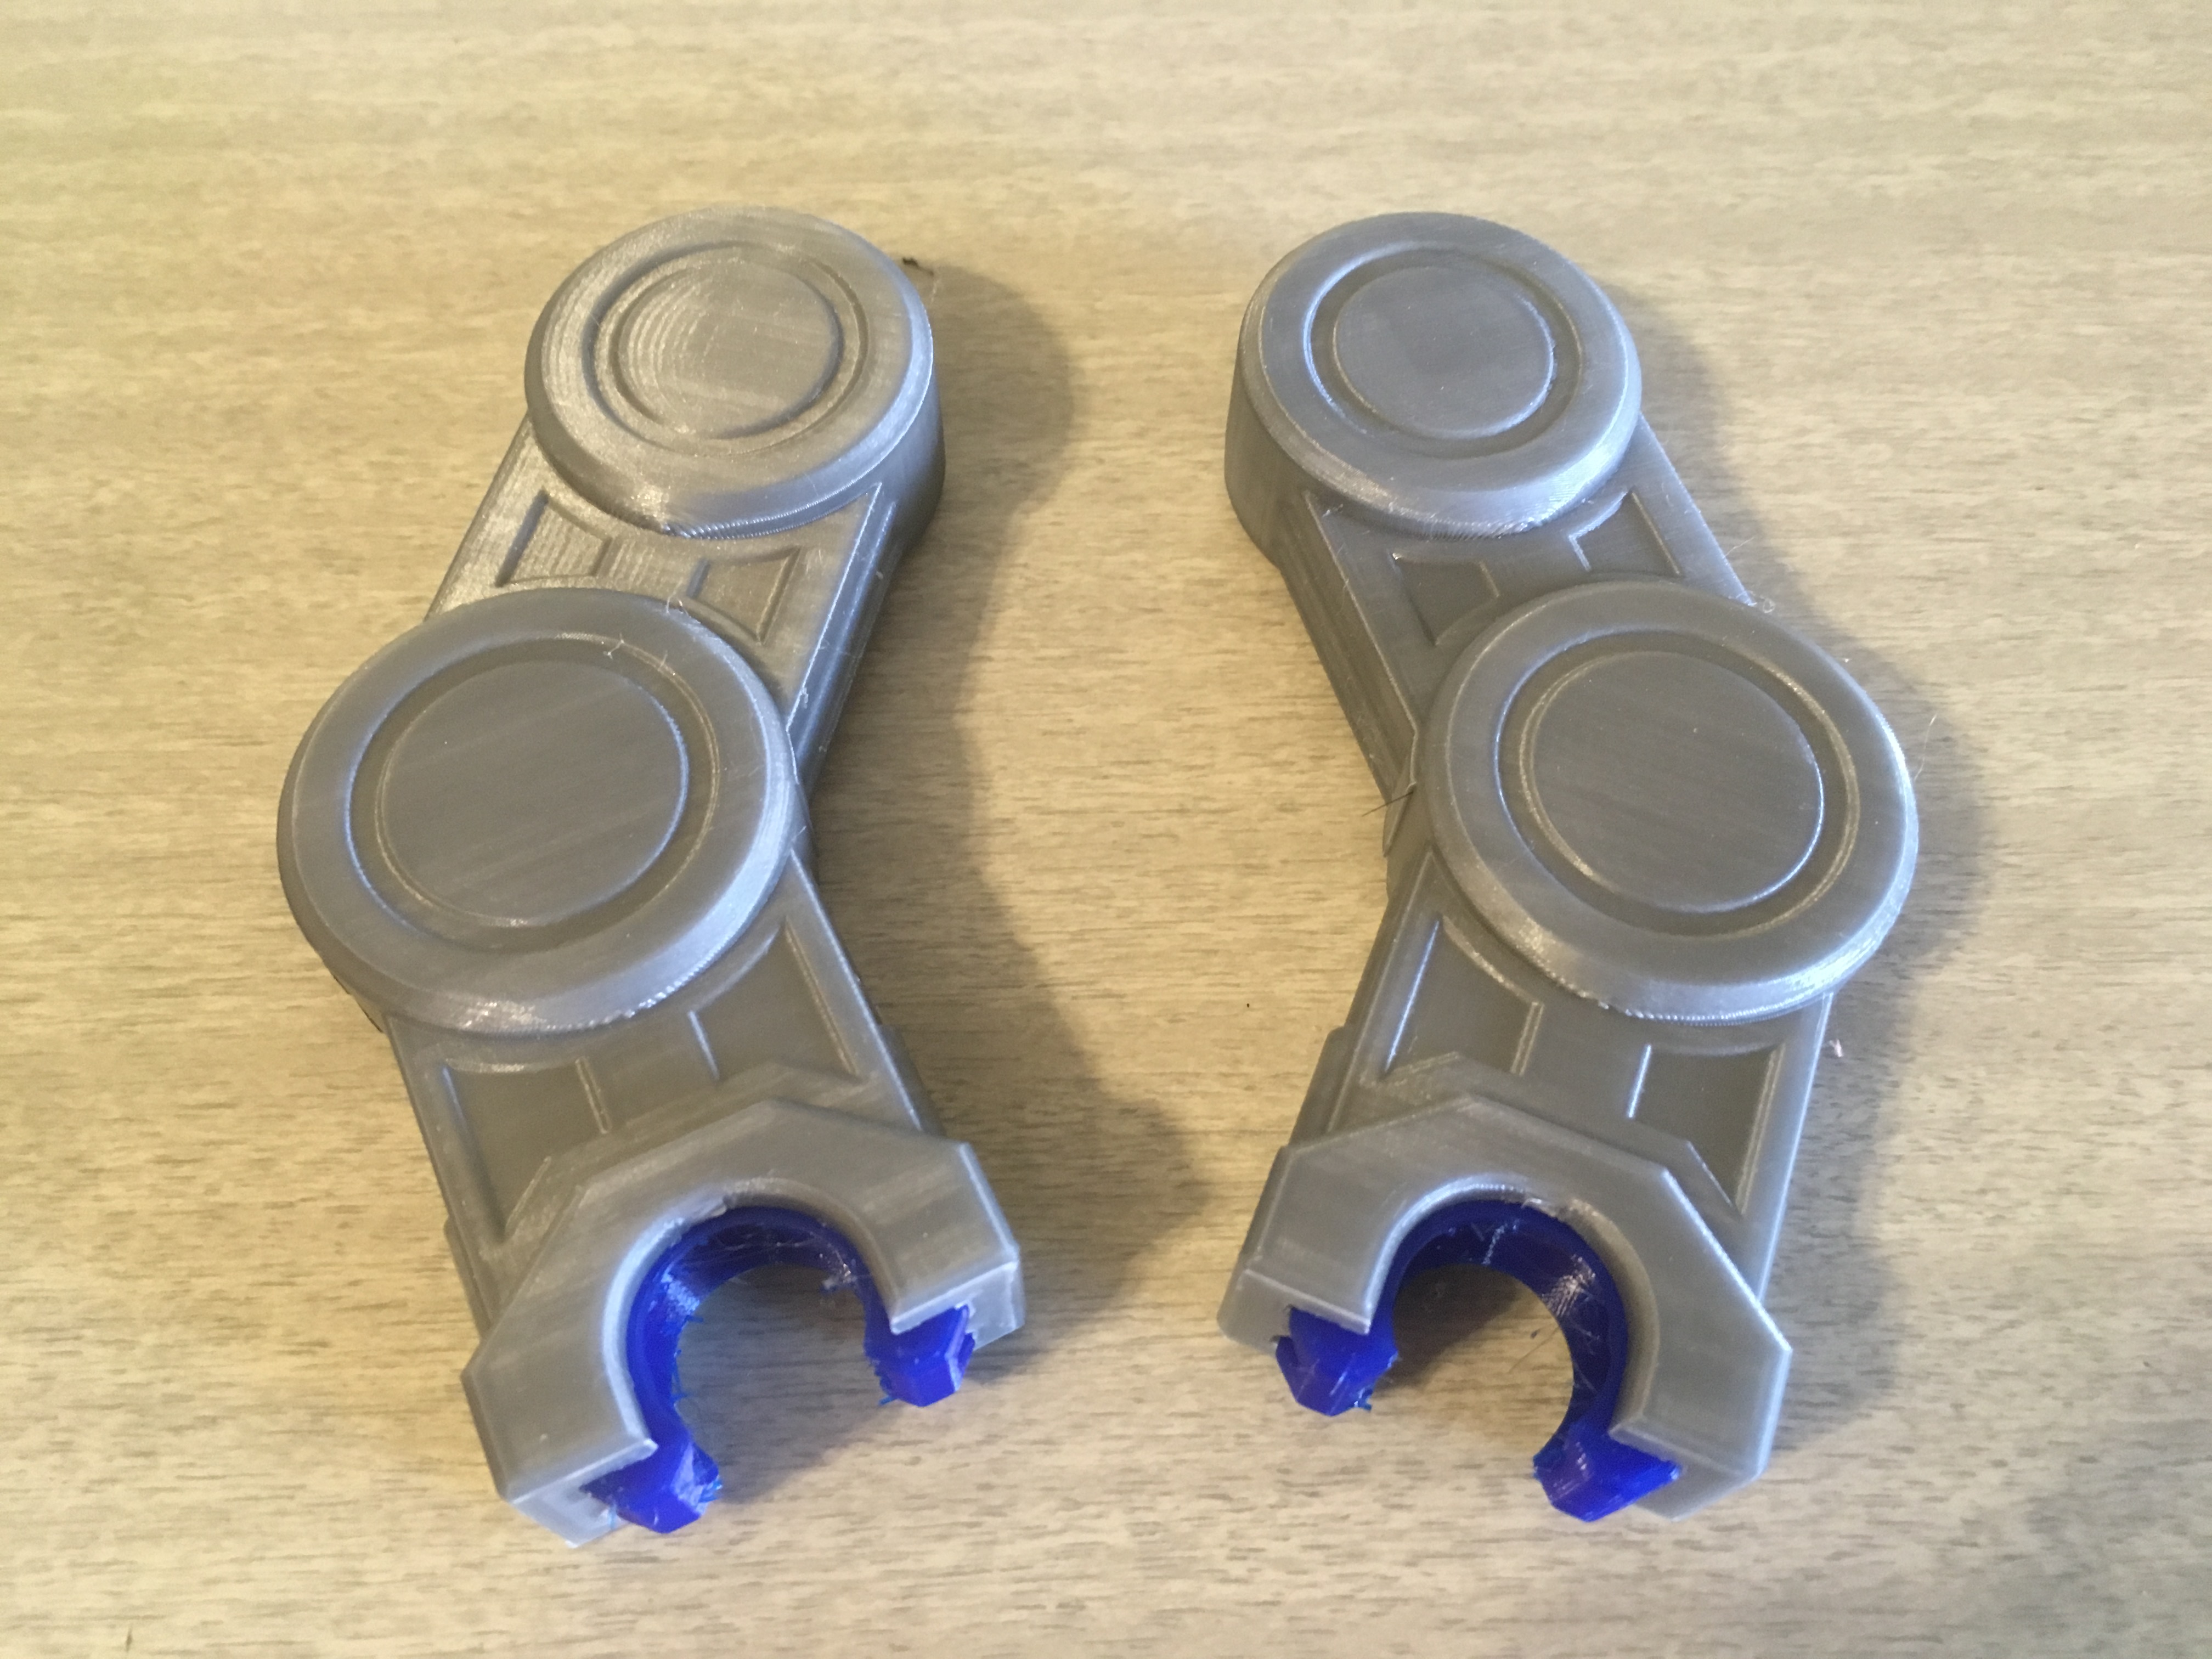
Terminate Limbs
Each left/right set of limbs should get either feet or hands. The best way to fit the balls into the sockets is to ease them in by pivoting the ball joints as you apply pressure.

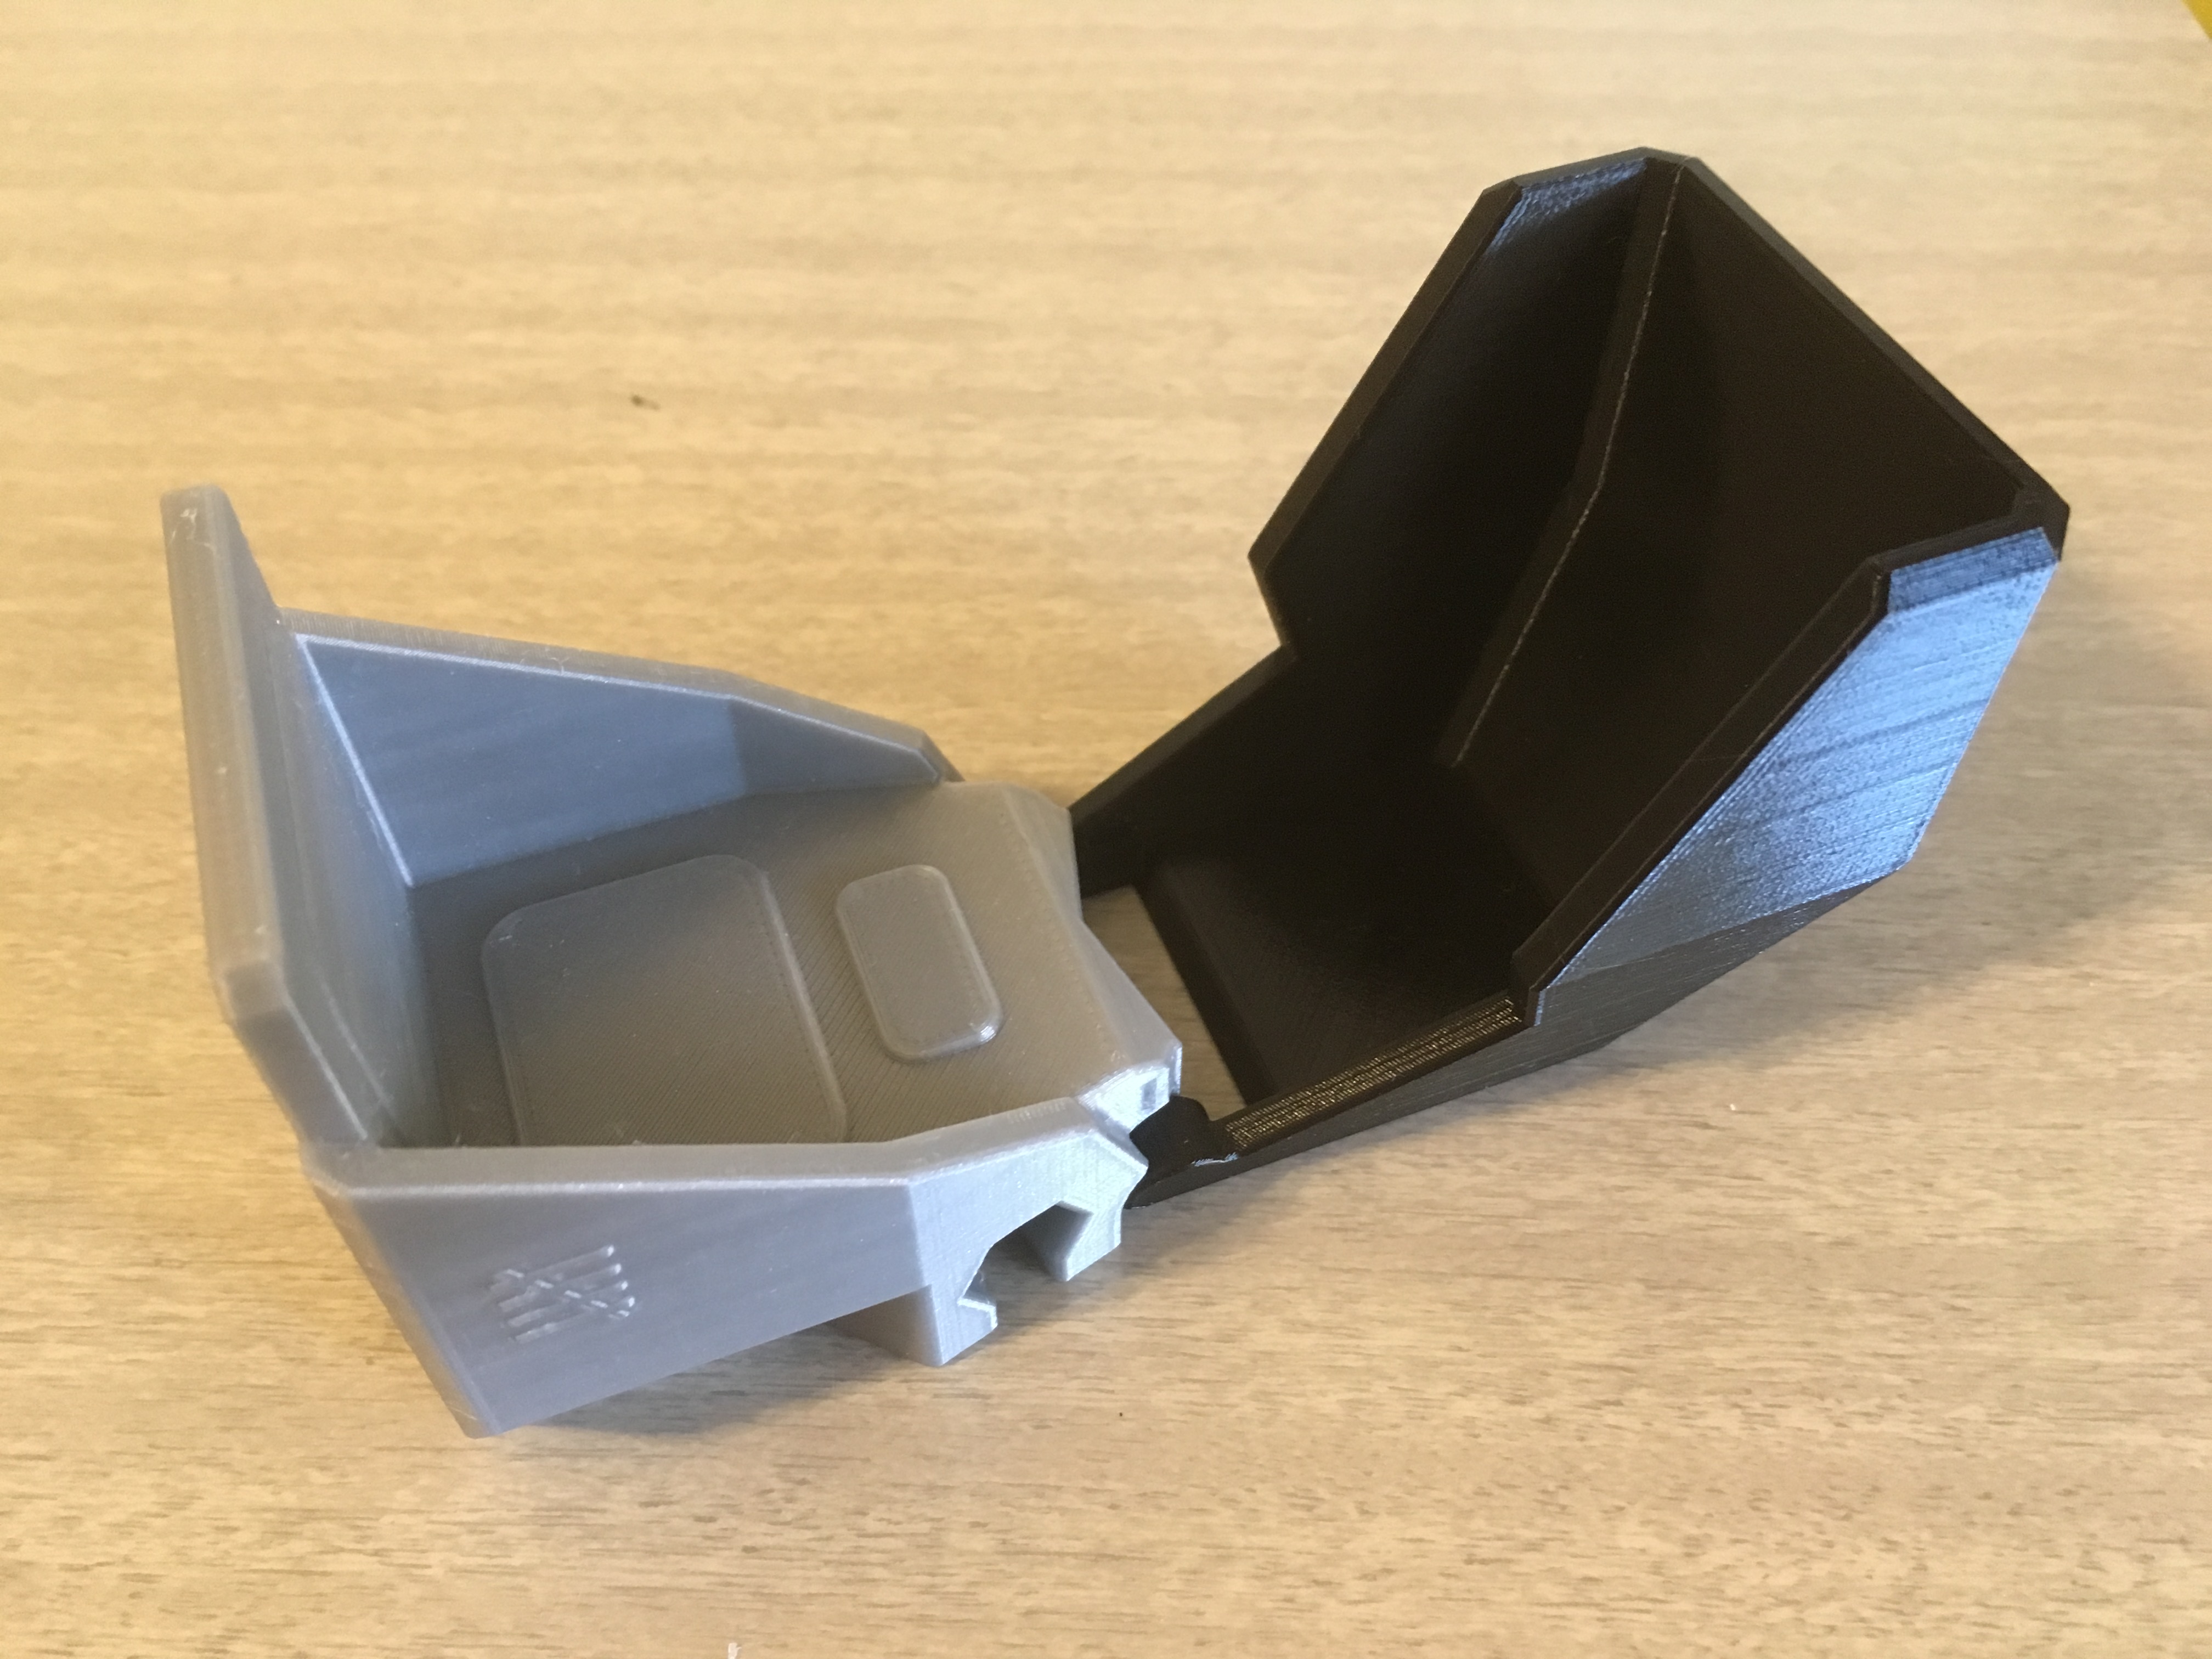
Assemble Cockpit
TM-Canopy snaps right onto TM-Cockpit, and locks into the “closed” position so it’s not flopping around all the time.

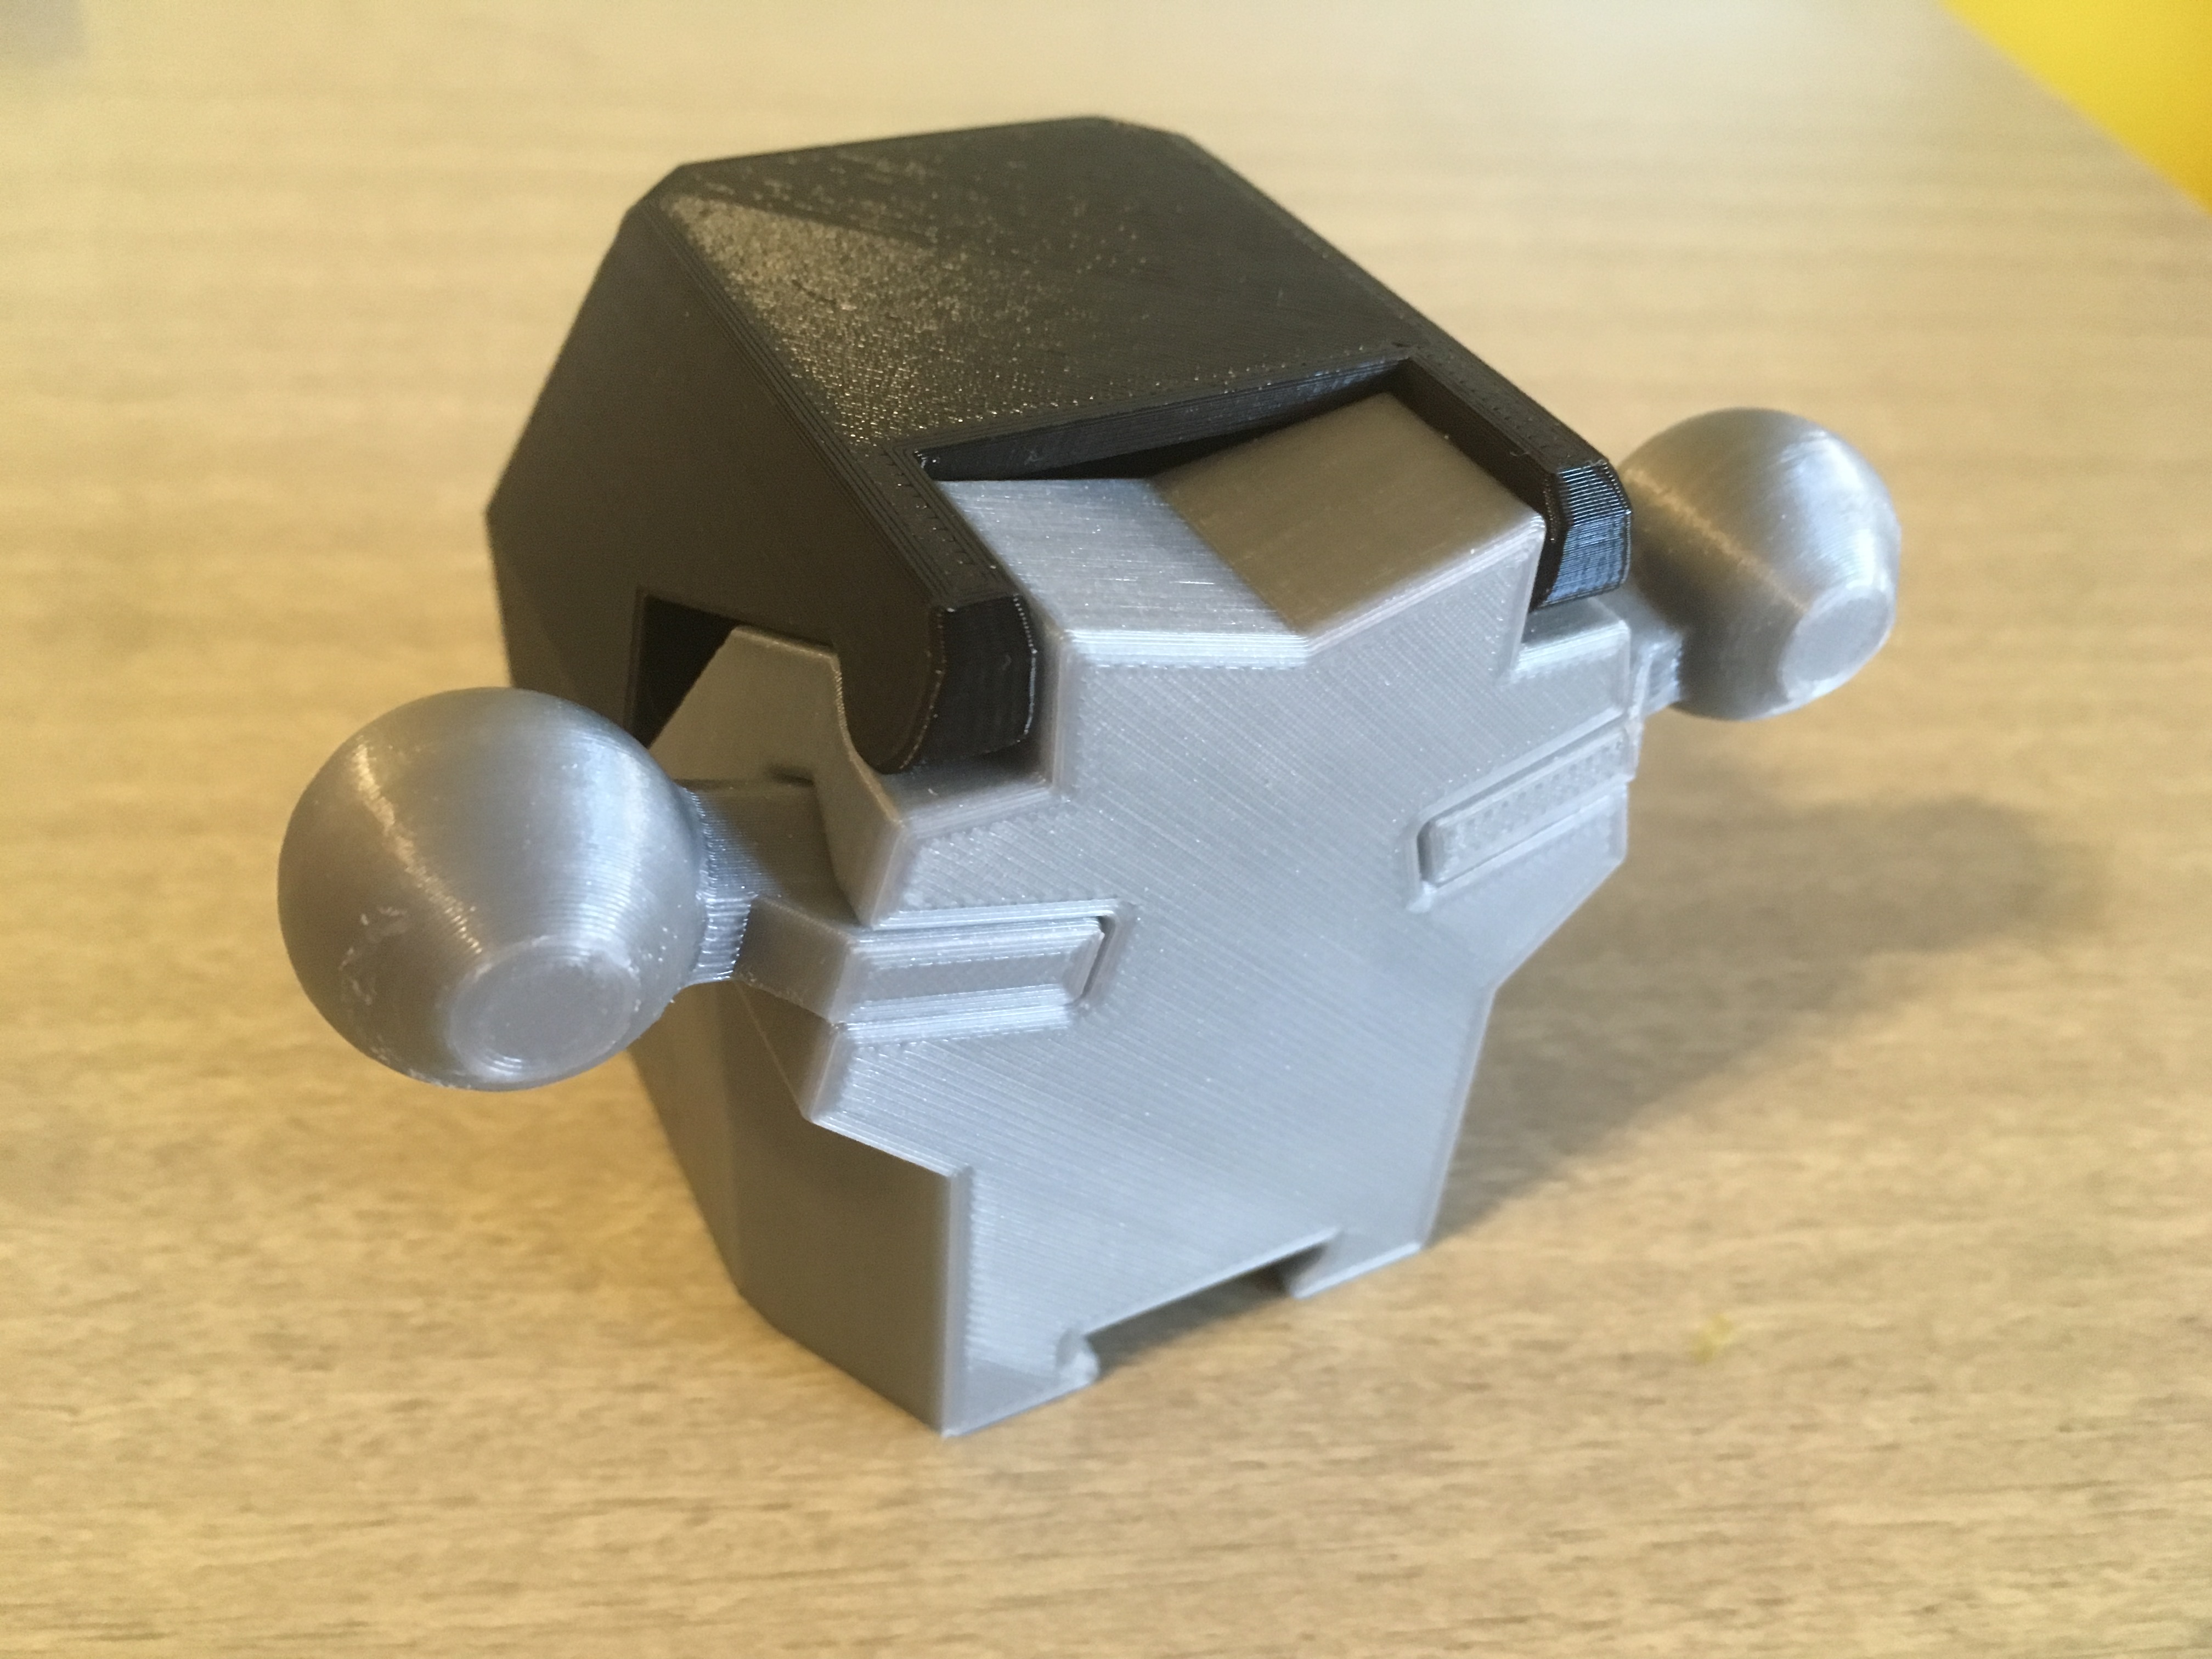
Ball Joints
Press-fit DMD-Ball into the corresponding parts of TM-Cockpit and TM-Hips. Use some E6000 glue if necessary.
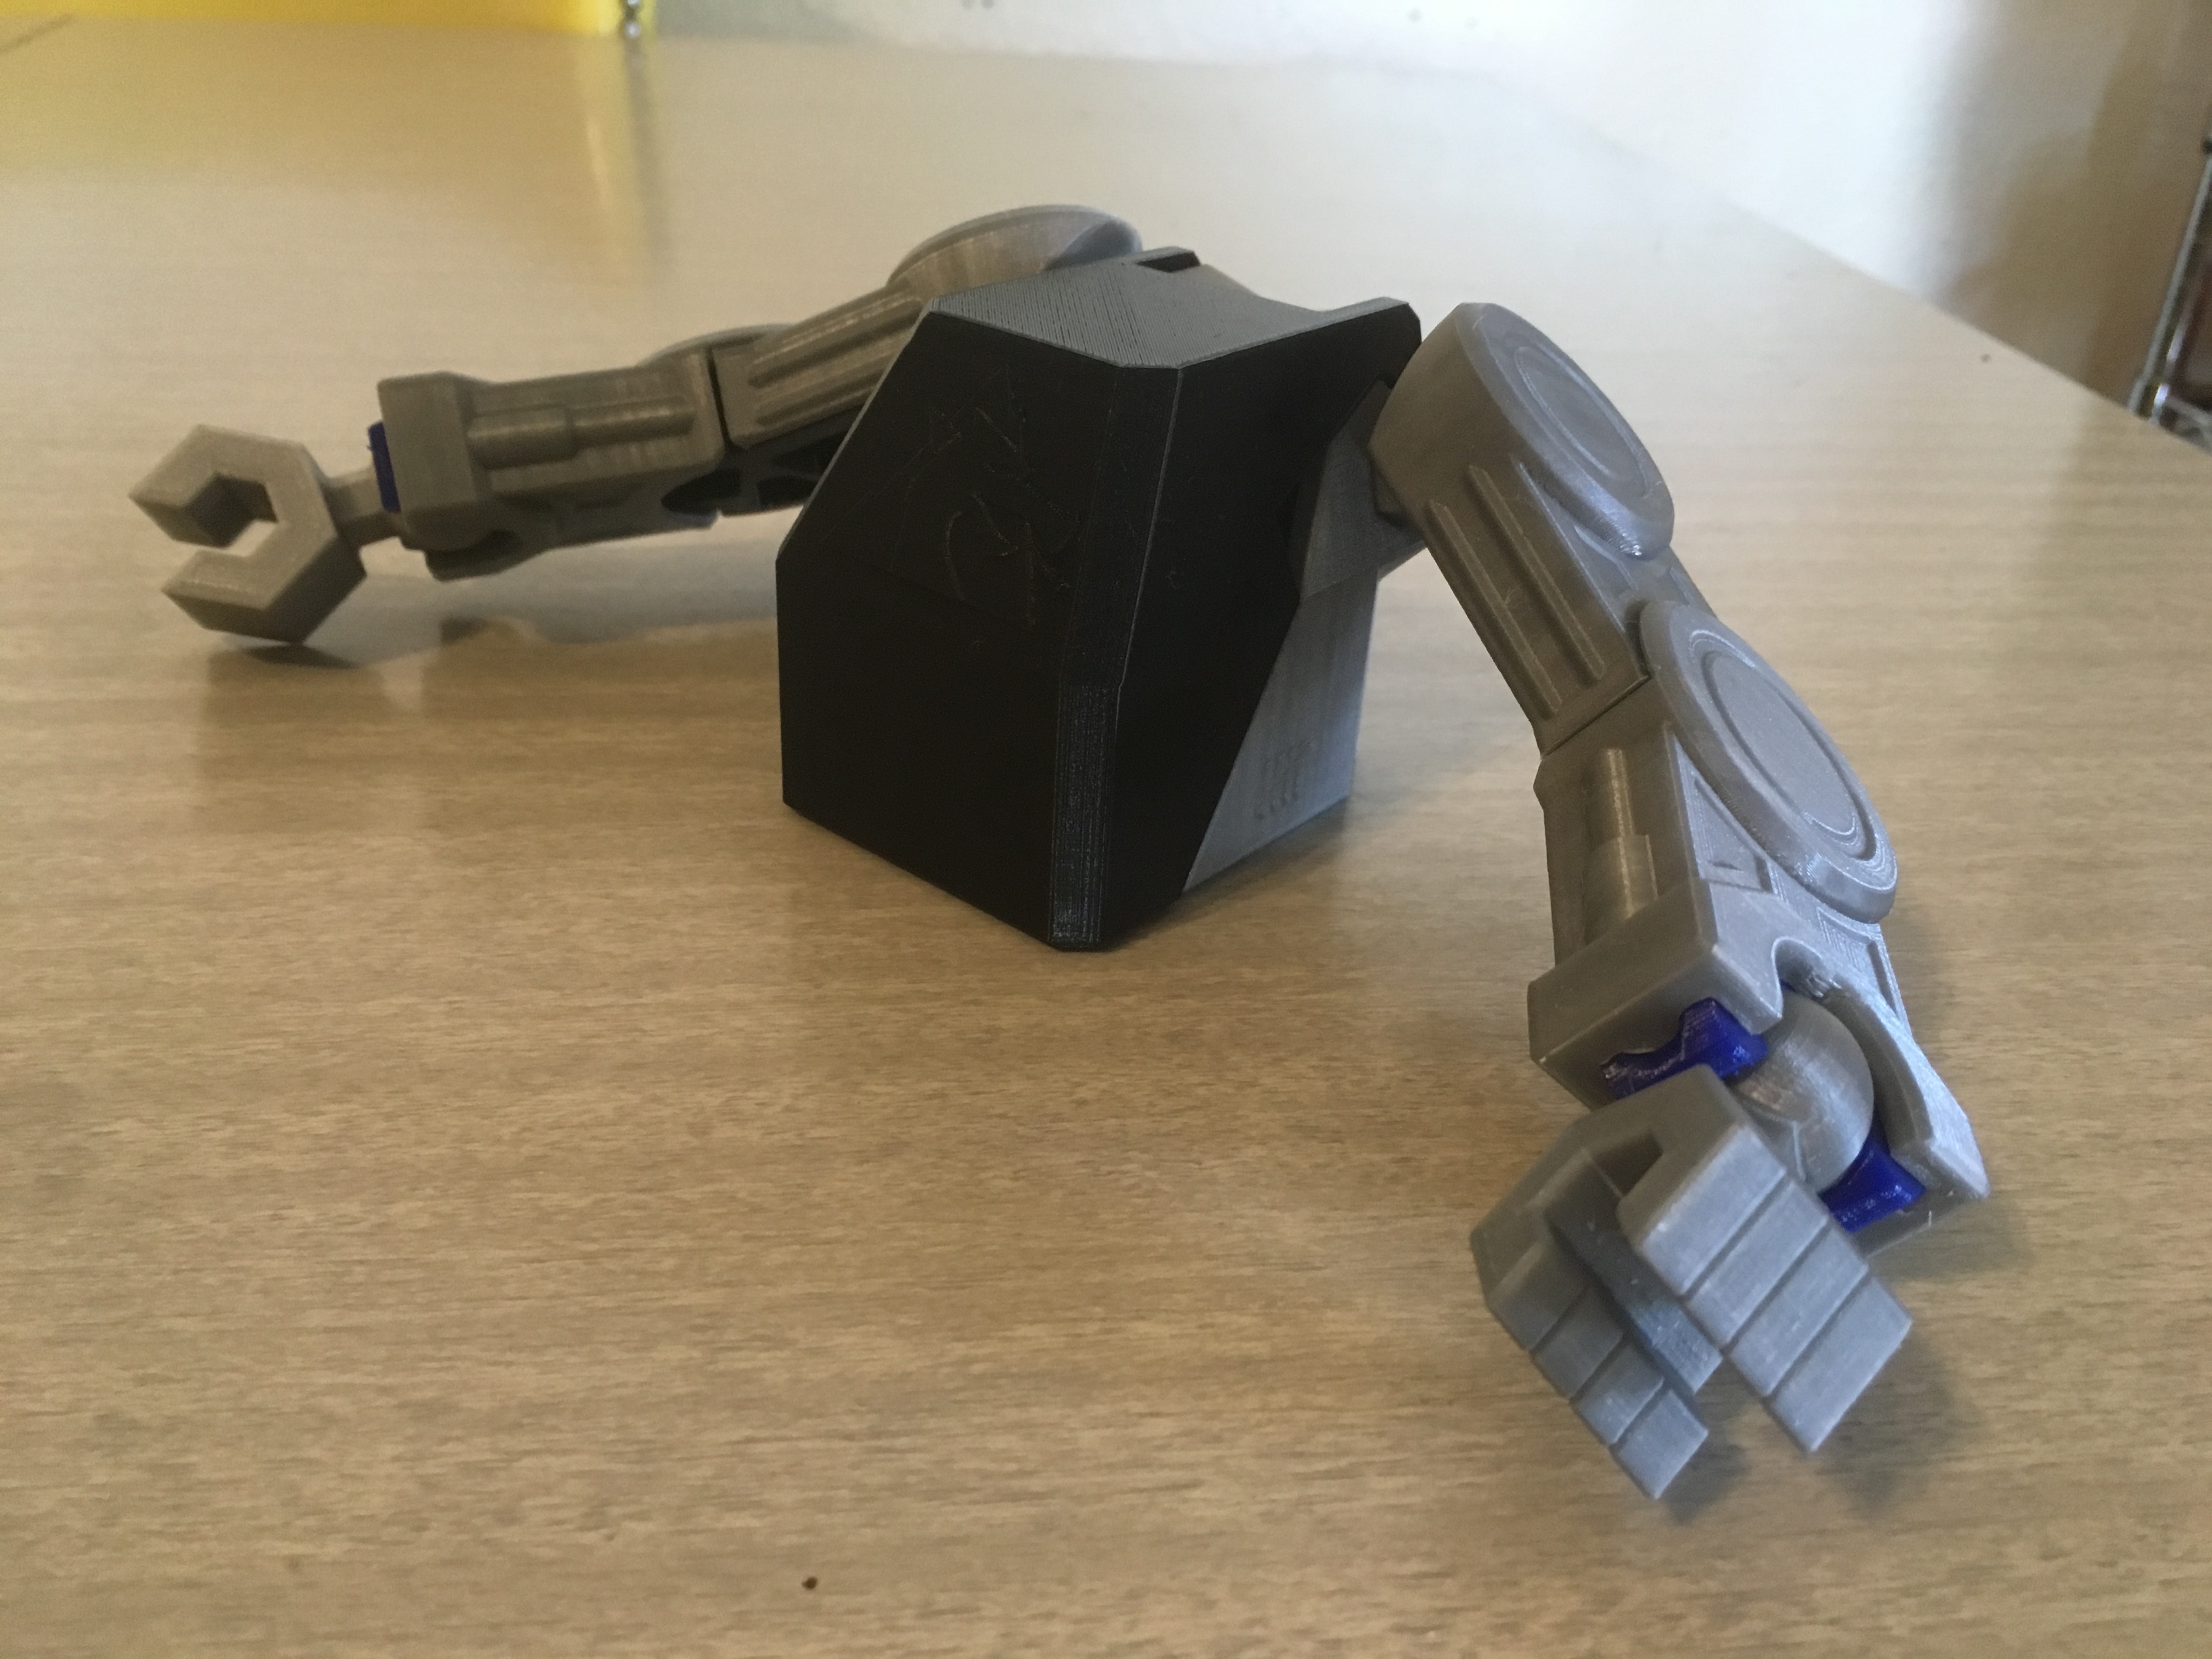
Attach Limbs
Apply the same procedure of easing the sockets over the balls by pivoting them back and forth while applying pressure.

Connect Top to Bottom
Press-fit the TM-Hips assembly into the slot in the TM-Cockpit assembly. Use some E6000 glue if necessary.
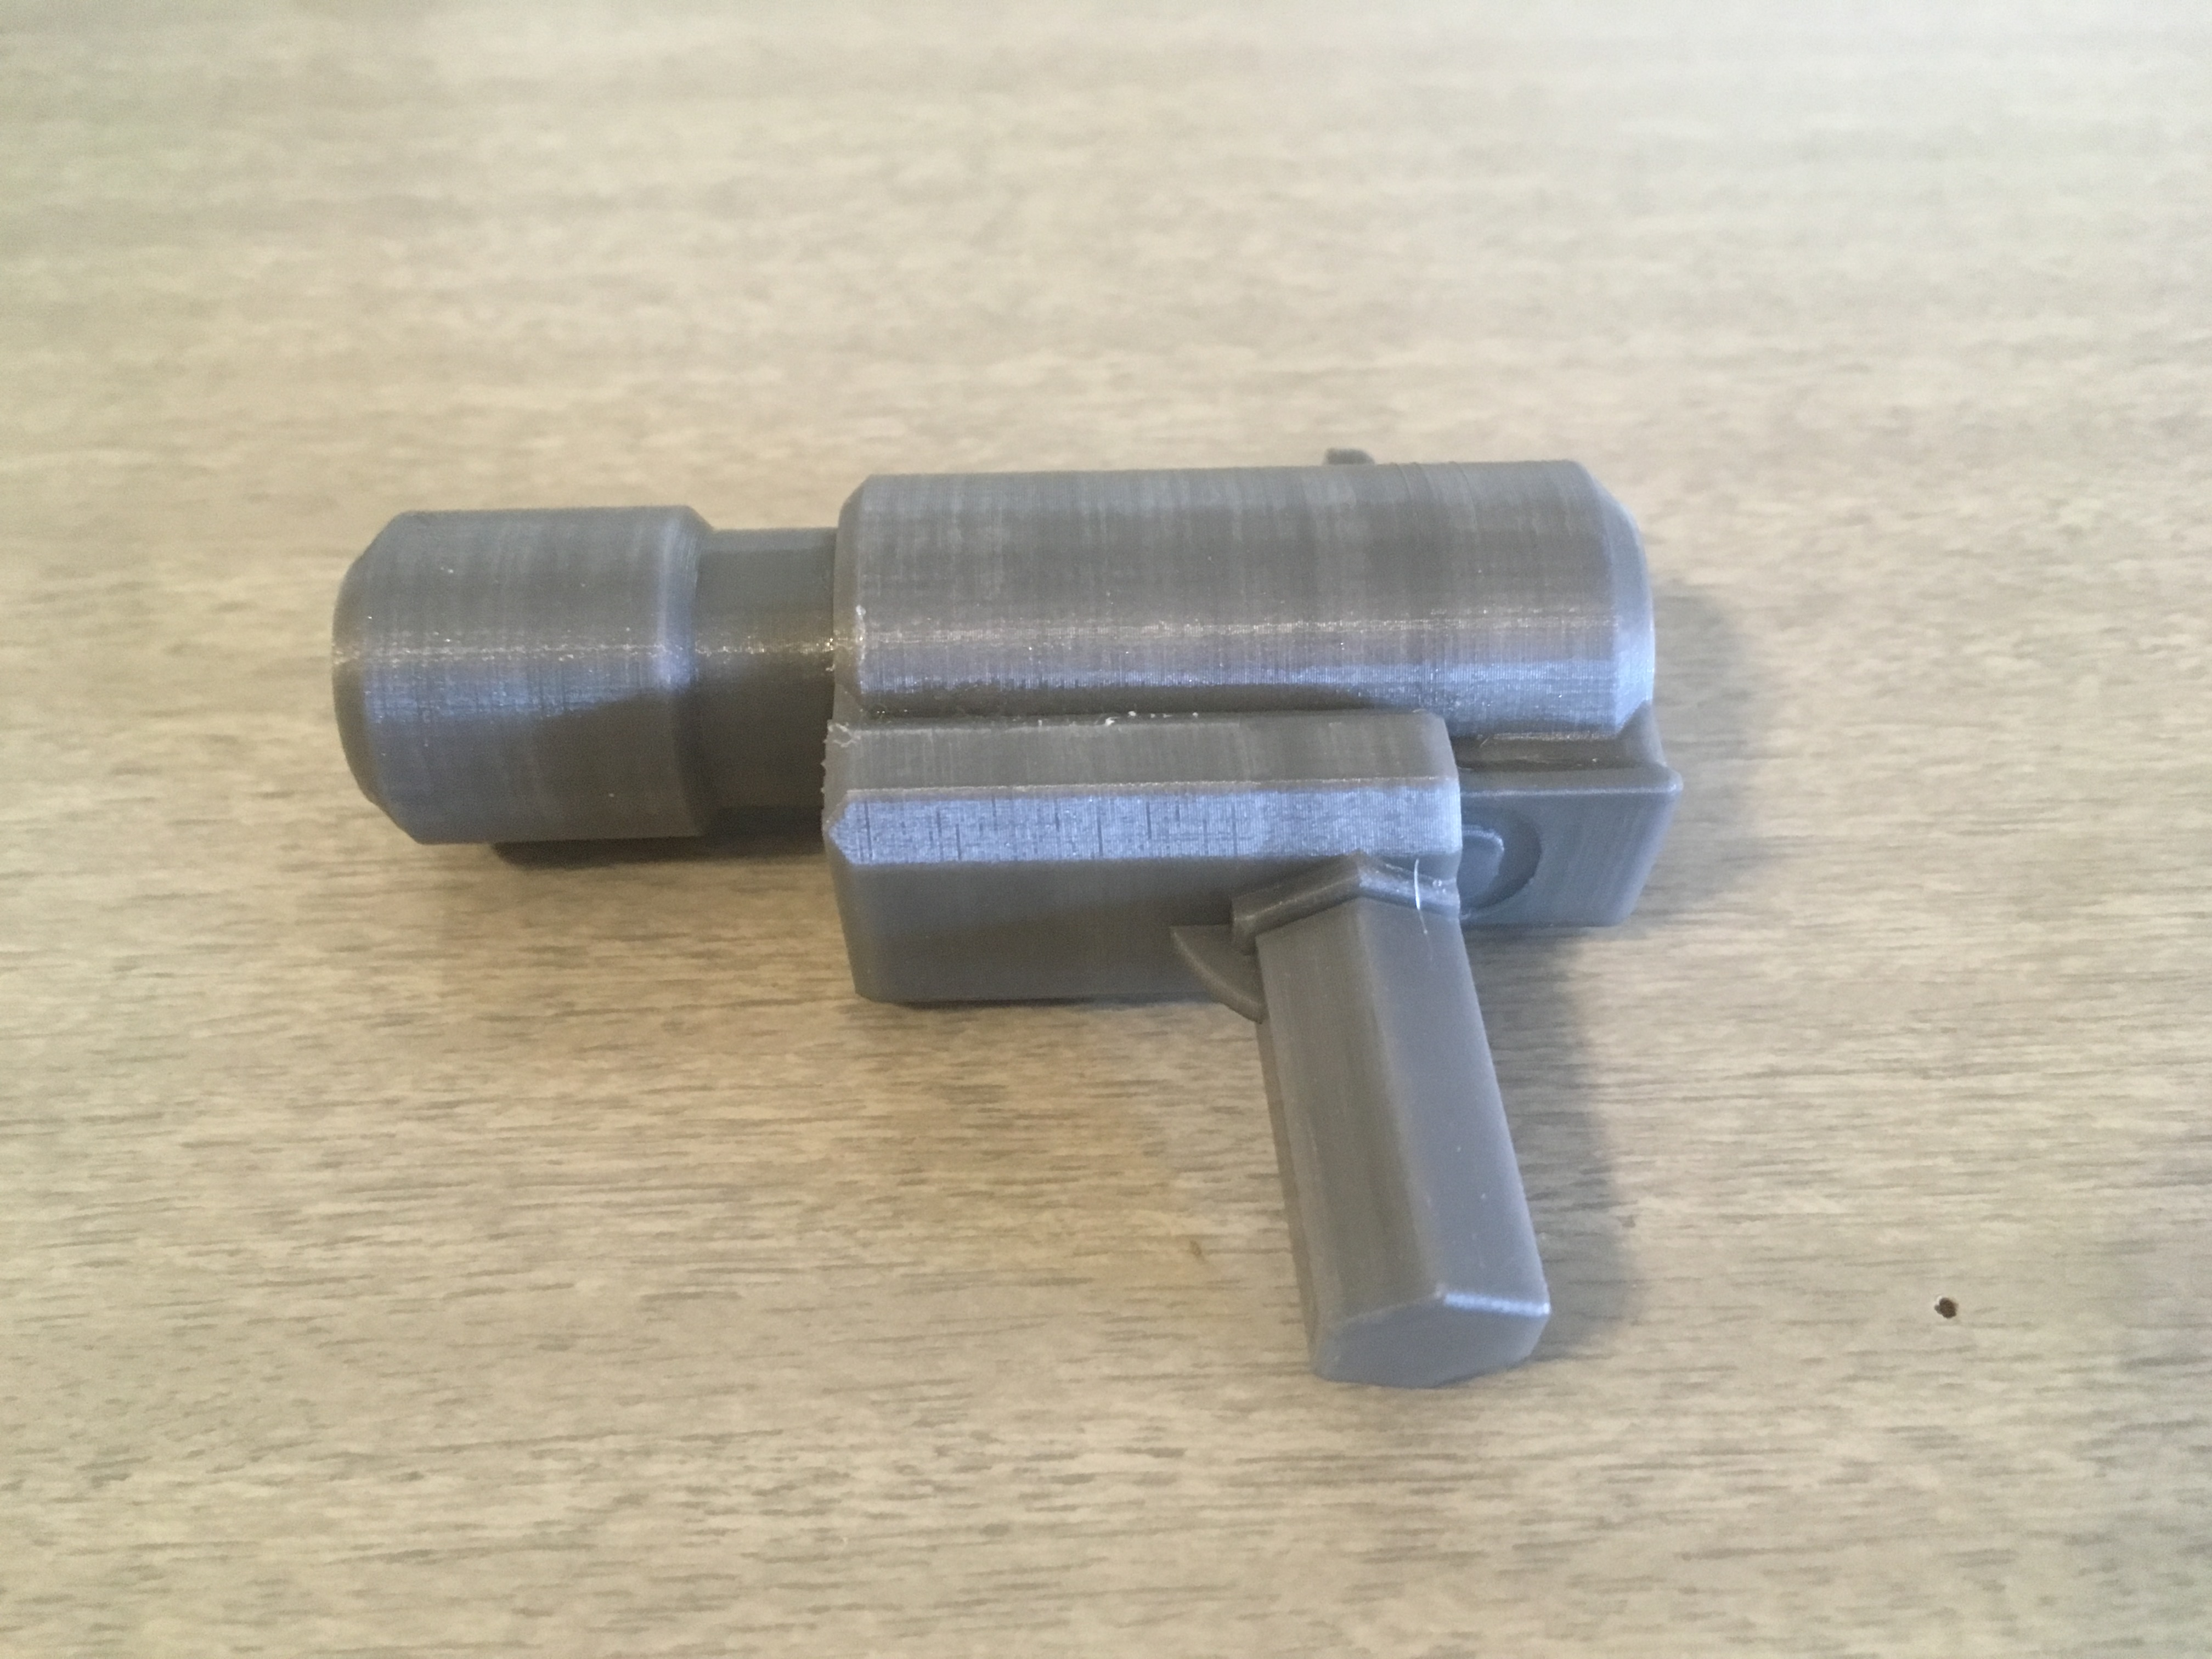
Weaponize
Press-fit DMD-MissileLauncher into TM-Blaster. Use E6000 glue if necessary.
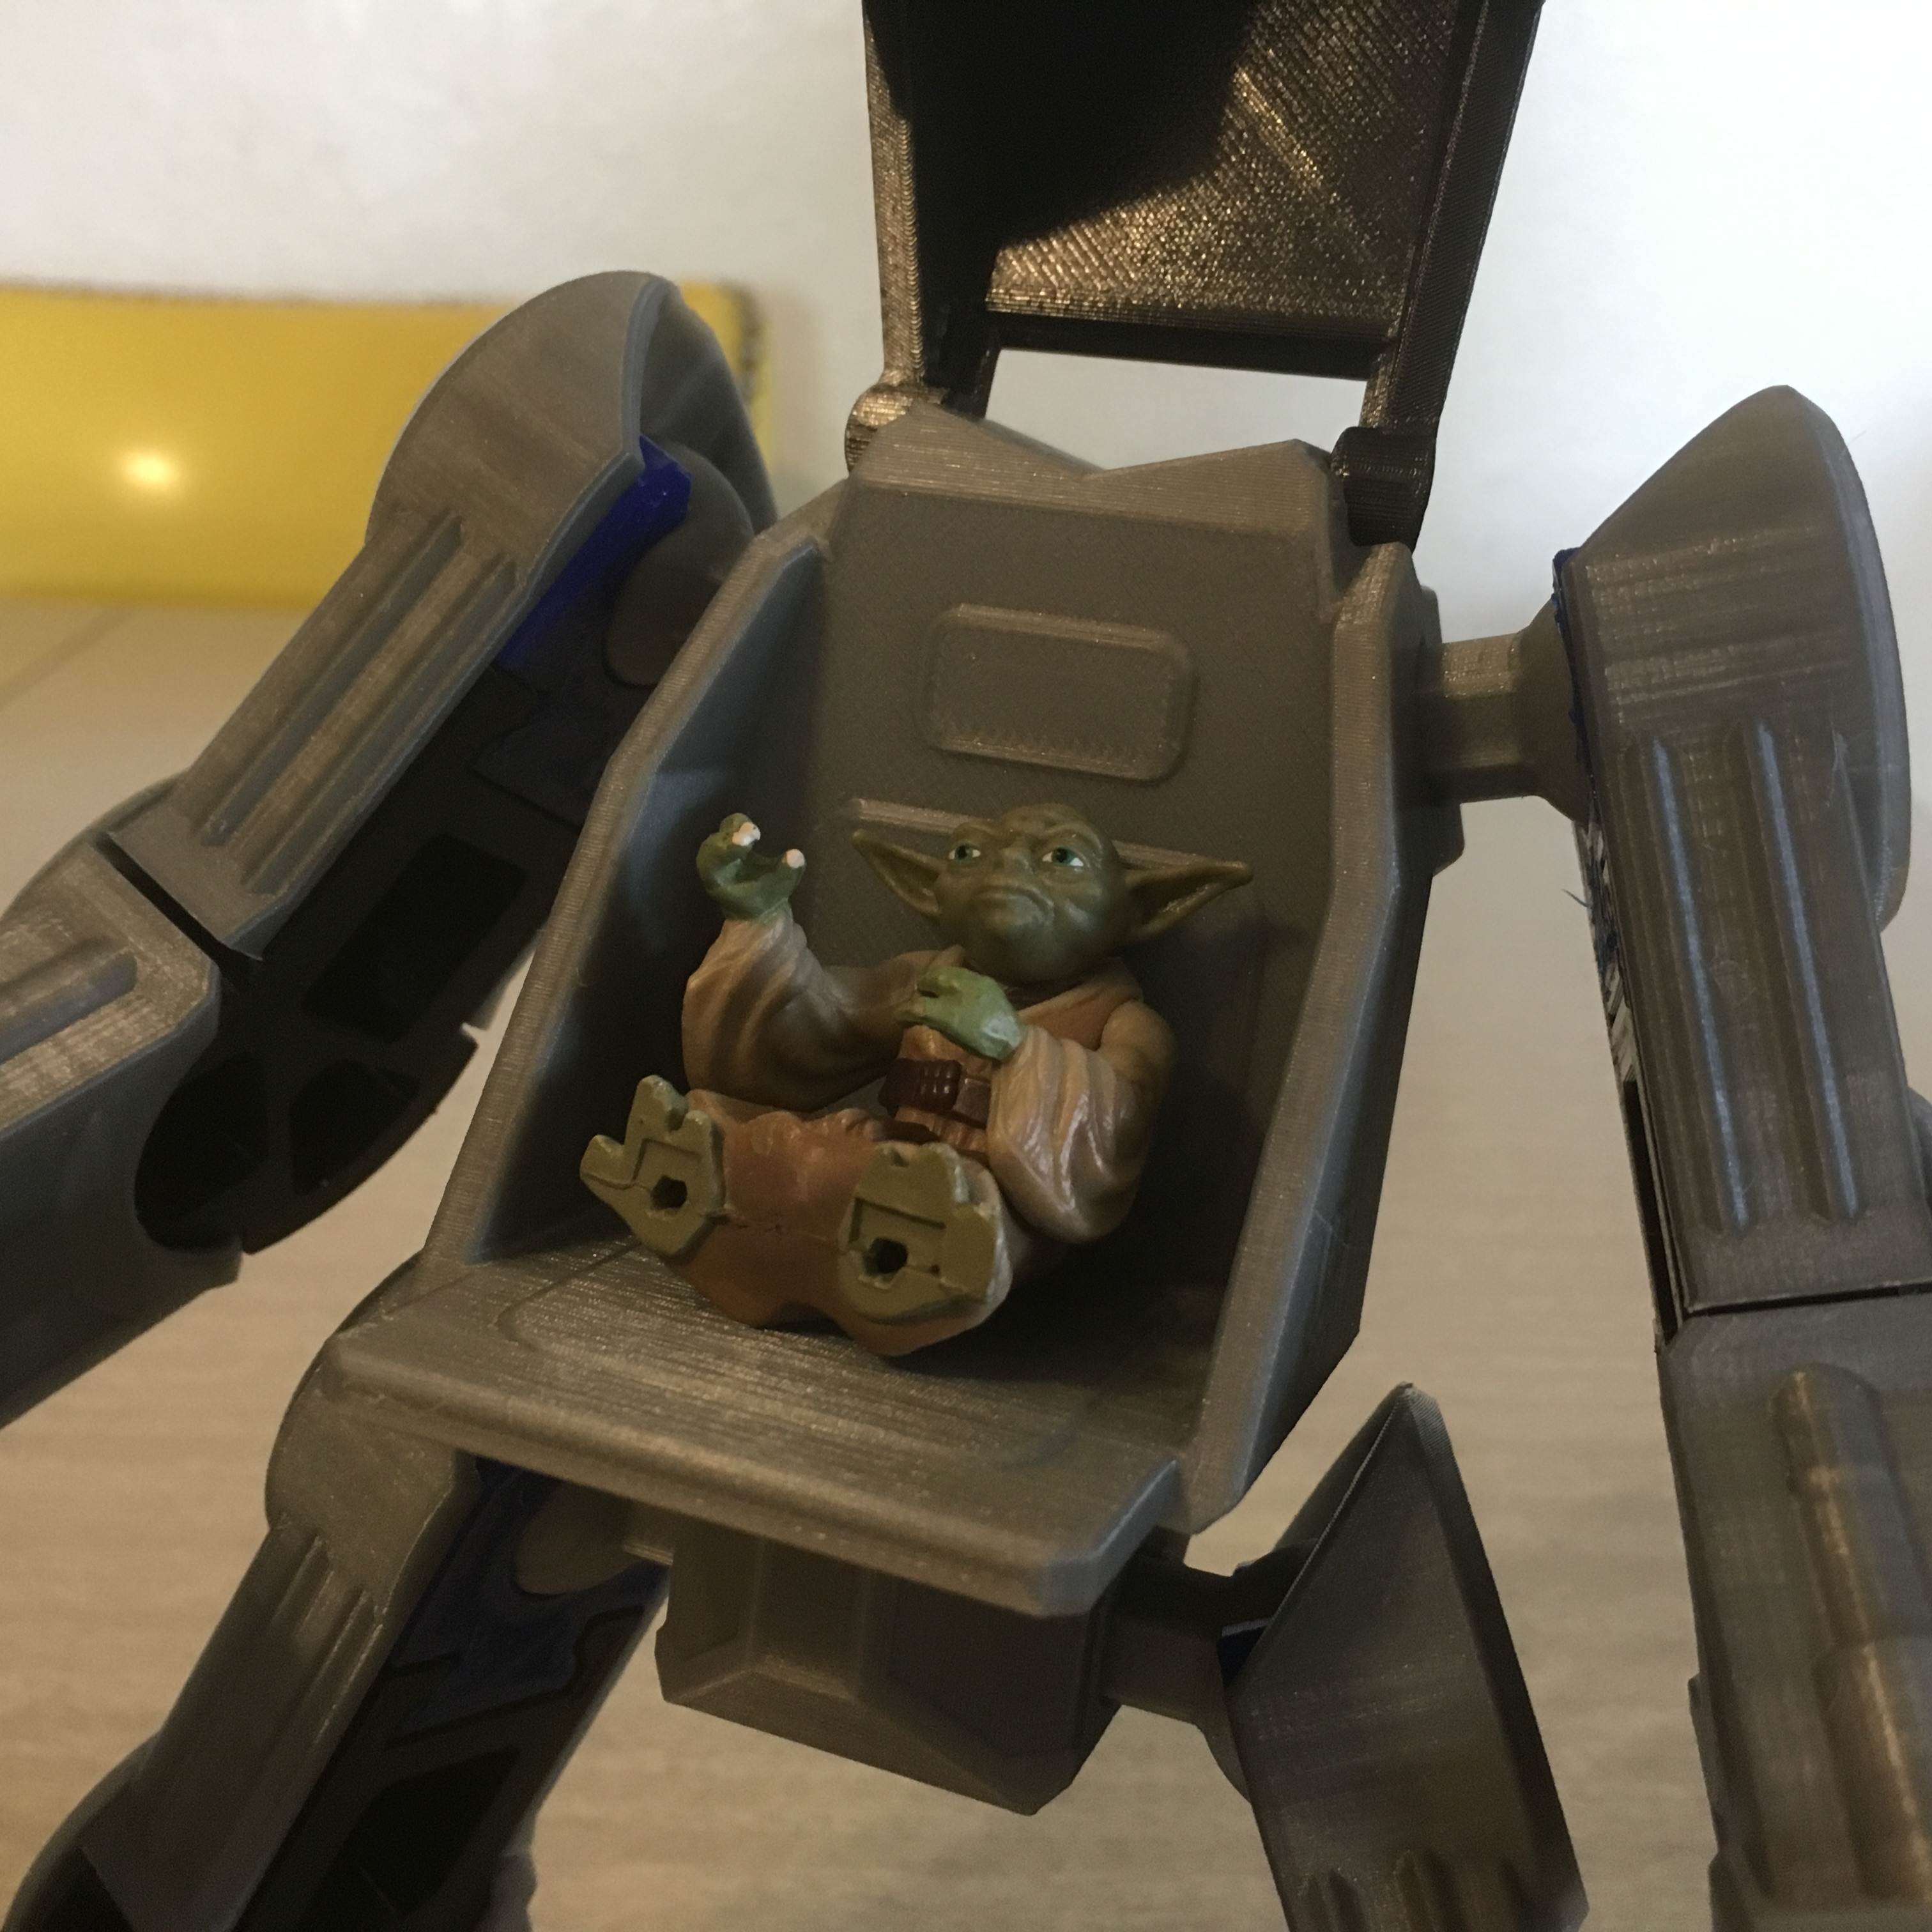
Be a Good Mission...Guy...
As with all the Cheekymandos projects, a variety of action figures can pilot the TechMech.
This about concludes Cheekymandos Series 1! I’ve had a lot of fun with these projects, I hope they’ve brought you some enjoyment, and I’m kicking around a possible Series 2 in my head.
Maybe… We’ll see…
Anyway, like what you see here? Follow me on Twitter @DragonMtnDesign for updates and previews and whatnot.
Also, the project sabbatical starts now! My wife and I welcomed our son to the world just as the final parts for the TechMech came off the printer.
.
.
.
March 2020 UPDATE: Files are available here! Click the Download button below for a zip file.
Files are available under the Creative Commons BY-NC-SA license.
1 Comment