8BitDo Zero Controller Case
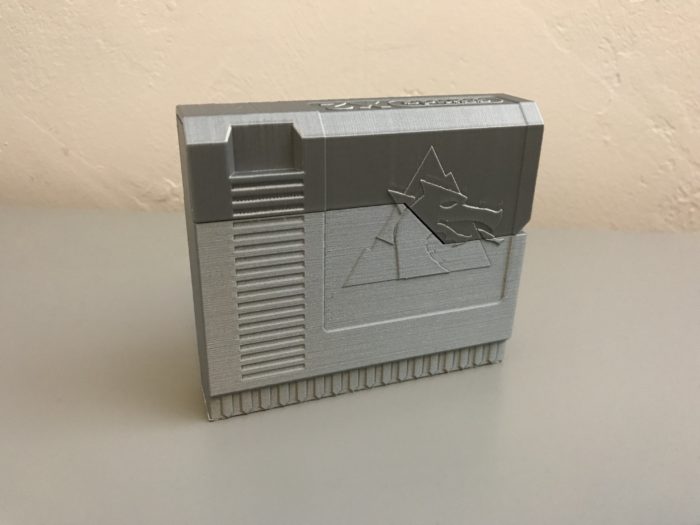
Designed to look like a retro game cartridge! Fits tiny retro game controllers!
I found out about these little controllers at least a year ago from the r/RetroPie community. At that time, I was wanting to start sharing some games with my kids and was researching Bluetooth boards that could be used to design custom controllers for smaller hands. u/ibargarai46 saw my post for advice and suggested the 8BitDo Zero controllers instead.
This suggestion has probably saved me months of frustration and head scratching. Thank you, u/ibargarai46… thank you…
These little bite-sized controllers are wonderful. I’ve had great success using them with RetroPie, and on a couple of android tablets.
Let’s get on to the build!
Parts List:
8BitDo Zero Controller (x2) – While you technically don’t need these to make the case, why would you make it without them?
Helpful tools:
3D Printer (or printing service)
1. Print out Parts
Files can be found on MyMiniFactory.
March 2020 UPDATE: Files can be downloaded directly from this site at the bottom of the page. They are also available on Prusa Printers!
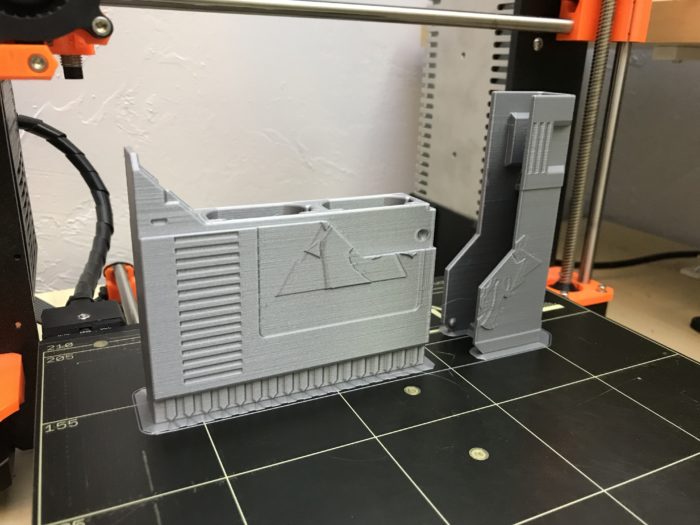
They’re designed to be printed as shown without supports, but as you can see, the difference in layer orientation is quite visible (at least with the Hatchbox Silver PLA I selected). Brim is probably not necessary, but it was a 15+ hour print and I didn’t want to take any chances.
2. Assemble
The pin features of CC-Lid are designed to snap right on to the hole features of CC-Main. The fit between the two pieces are on the tighter side than where I usually design things of this nature, but they worked together very well for me with no post-processing.


3. Load Controllers
There is room for the two controllers and one of the little USB charging cables that come with them.
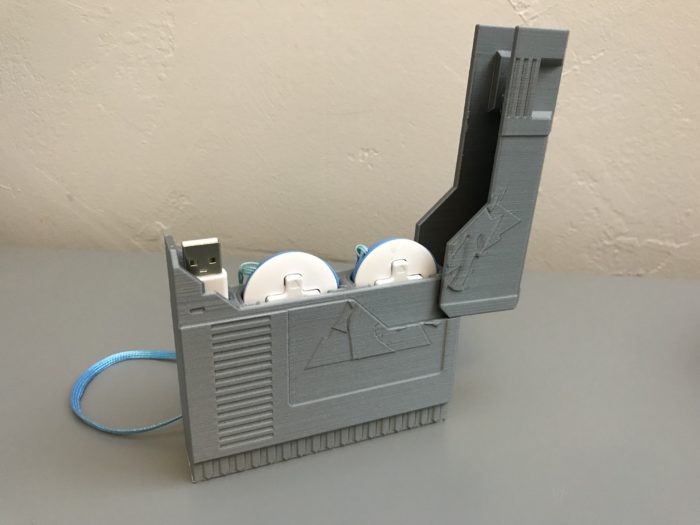
Why only one cable? I haven’t run into too many instances where I needed to charge both controllers simultaneously. Aside from that, I figured if you somehow lose the one you’re carrying around with you, you’ll still have a spare somewhere else.
If you’ve got the wrist straps attached, there’s plenty of room in the CC-Lid component to tuck them away when closing up.
And that’s it!
If you like what you’re seeing here, leave me a comment below or give me a follow on Twitter @DragonMtnDesign. If you see u/DragonMountainDesign on Reddit, “Hello there!”
.
.
.
March 2020 UPDATE: Files are available here! Click the Download button below for a zip file.
Files are available under the Creative Commons BY-NC-SA license.
2 Comments
Hi,
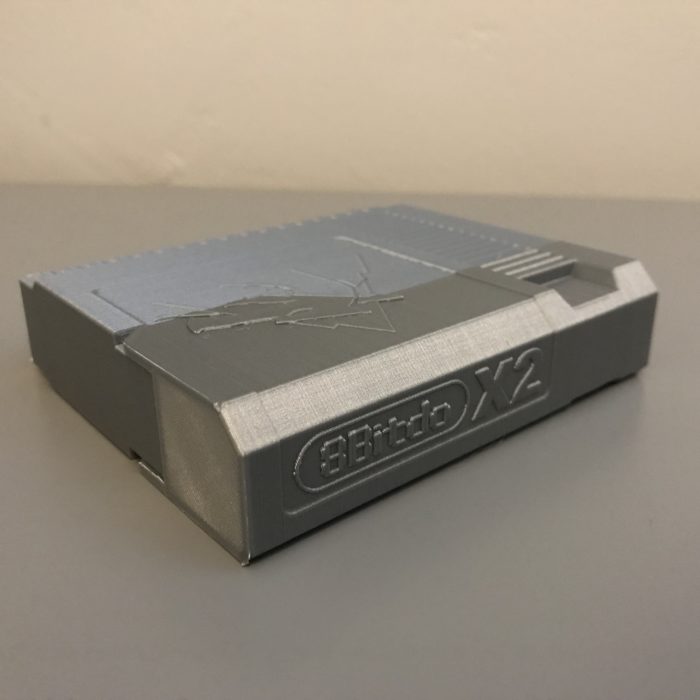
Nice design, do you know if it also fits the new 8bitdo Zero 2?
Thank you! I actually do not know if those will fit. I do not have any around to test that. If you have them, and want to check, please let me know how it goes!