Cheekymandos – Missile Action Playset
PRINT ALL OUR PLAYSETS AND TOYS!
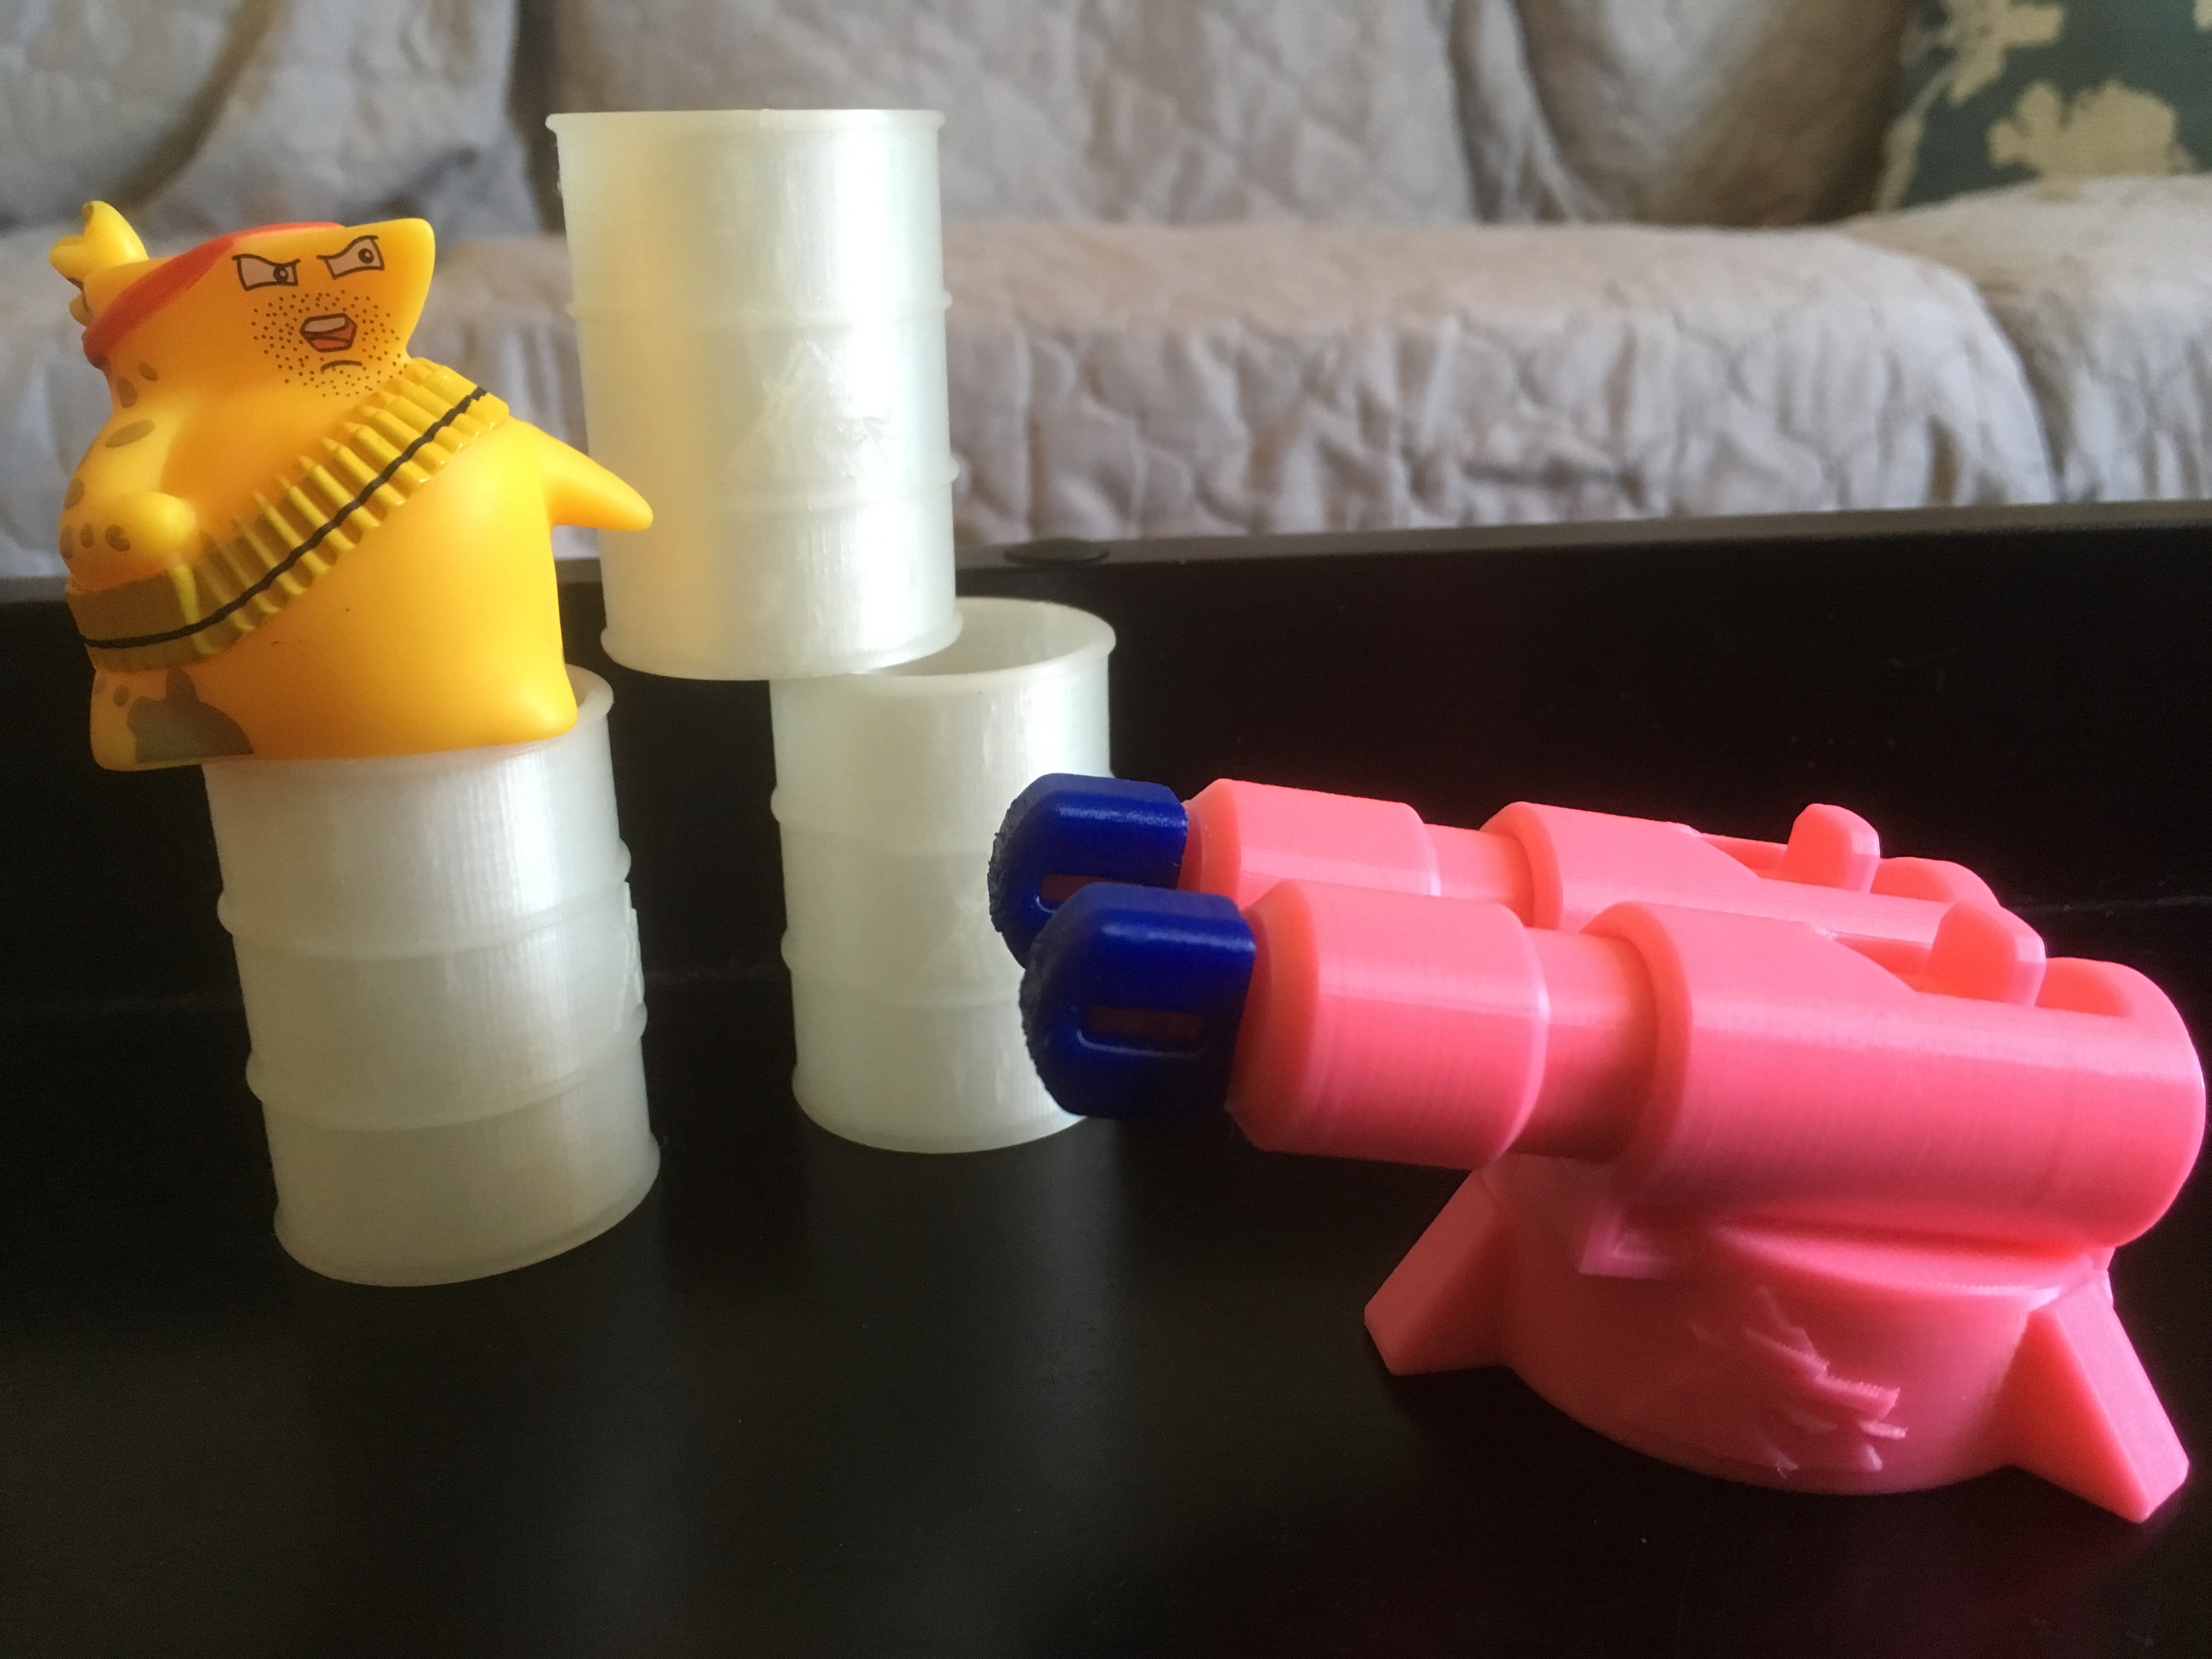
For the uninitiated, Homestarrunner.com was pretty much the best thing about the internet (for me and many of my friends at least) during the early 2000’s. Much time has passed since then, and my nearly-two-year-old daughter has discovered what she refers to as my “Cheekymando” action figures (as well as their toons). To continue to bridge that gap, I submit the following, and hope to expand on this theme more in the future.
Parts List:
0.438″ OD x 1.875″ L x 3.41lb Max Load Compression Spring – McMaster 9657K340 (Grab a pack or two depending on how many you want to build)
Helpful Tools:
3D Printer (or printing service)
E6000 Glue (Maybe)
Print Out Parts
Files can be found on
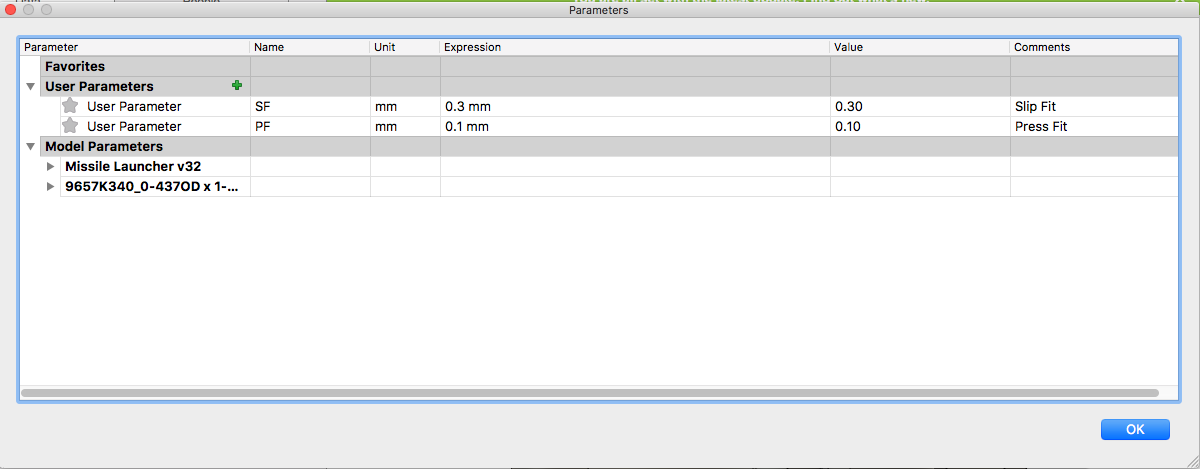
Thingiverse,YouMagine,Cults3D, and MyMiniFactory. Parts were printed in PLA at 20% infill. The Missile Head component is made with Ninjaflex Semiflex. Grab sample amounts HERE and/or HERE. Make as many as you feel necessary to fill out your ranks. The Prusa i3 Mk2s is incredibly precise, so the slip-fit (SF) and press-fit (PF) gaps are probably a lot tighter than what may work on other printers. Because of this, HERE is a link to the Fusion file for you to make your own tweaks and/or add these missile launchers to your own designs (all I ask for is acknowledgement/recognition/link-backs of design usage). Both the SF and PF parameters can be quickly edited in the Equations menu.4/11/2018 UPDATE: Consolidating the number of places hosting the files. More changes to come, but they’re still available for free.
March 2020 UPDATE: Files can be downloaded directly from this site at the bottom of the page. They are also available on Prusa Printers!
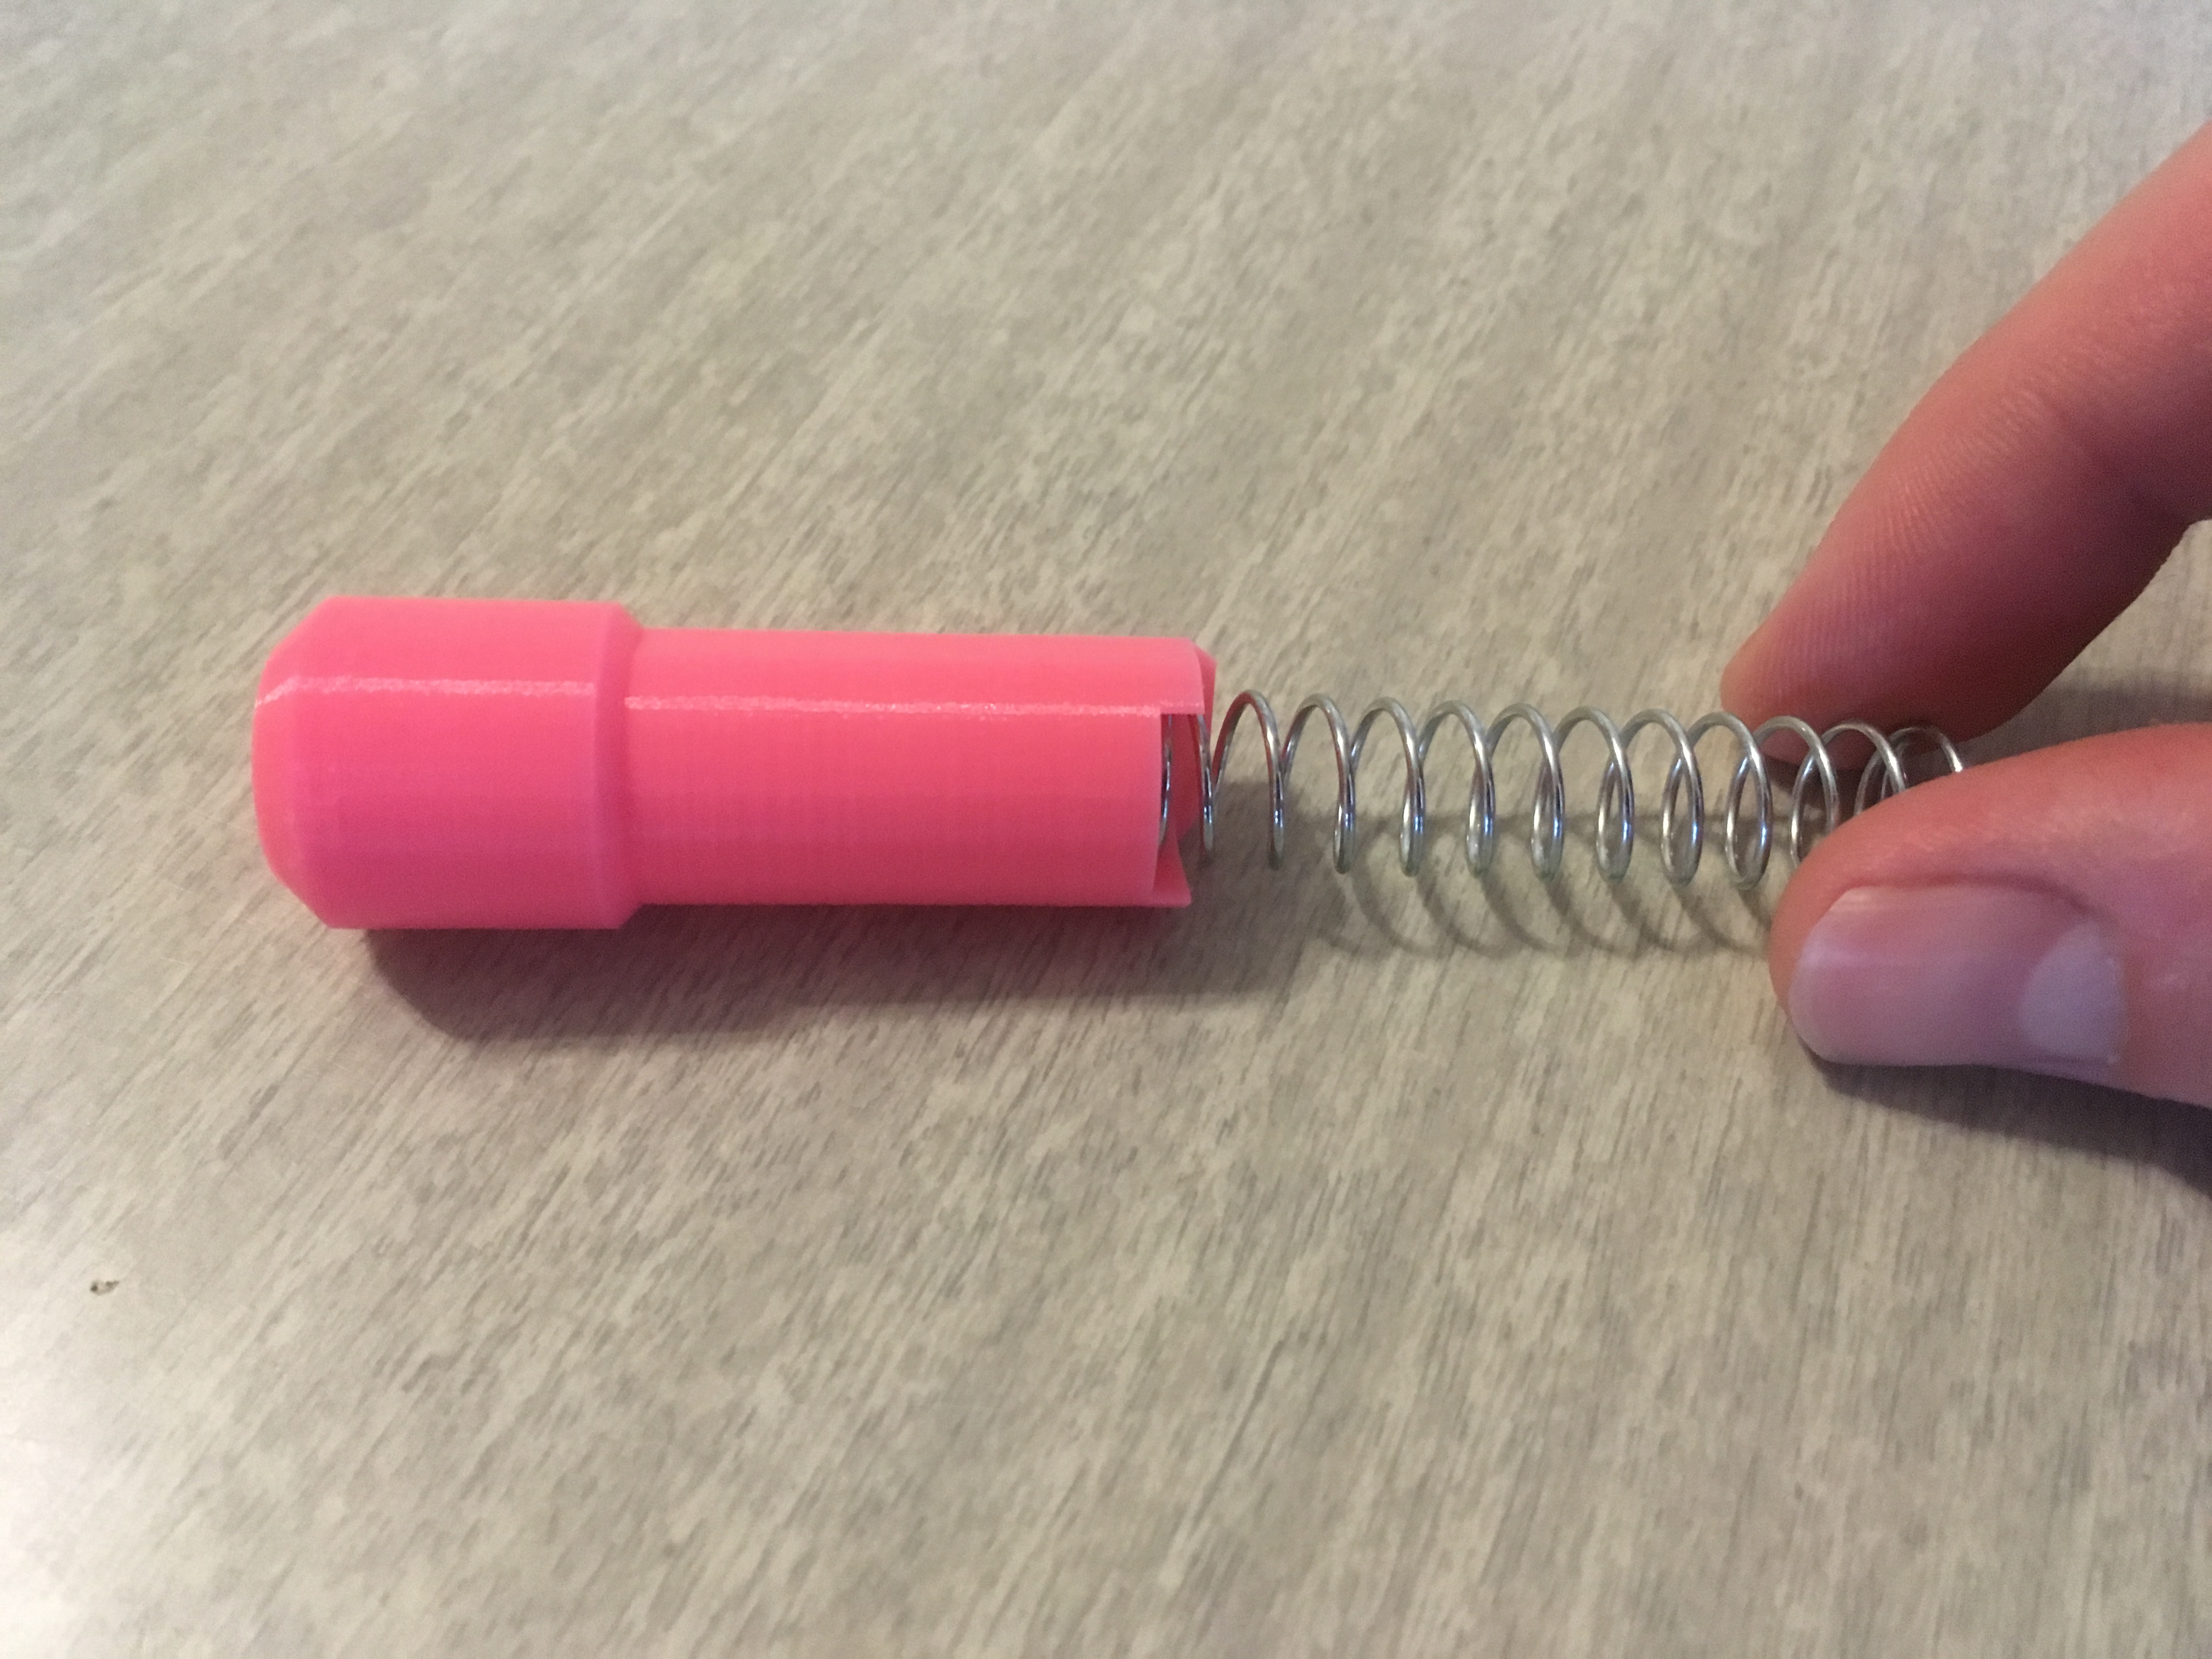
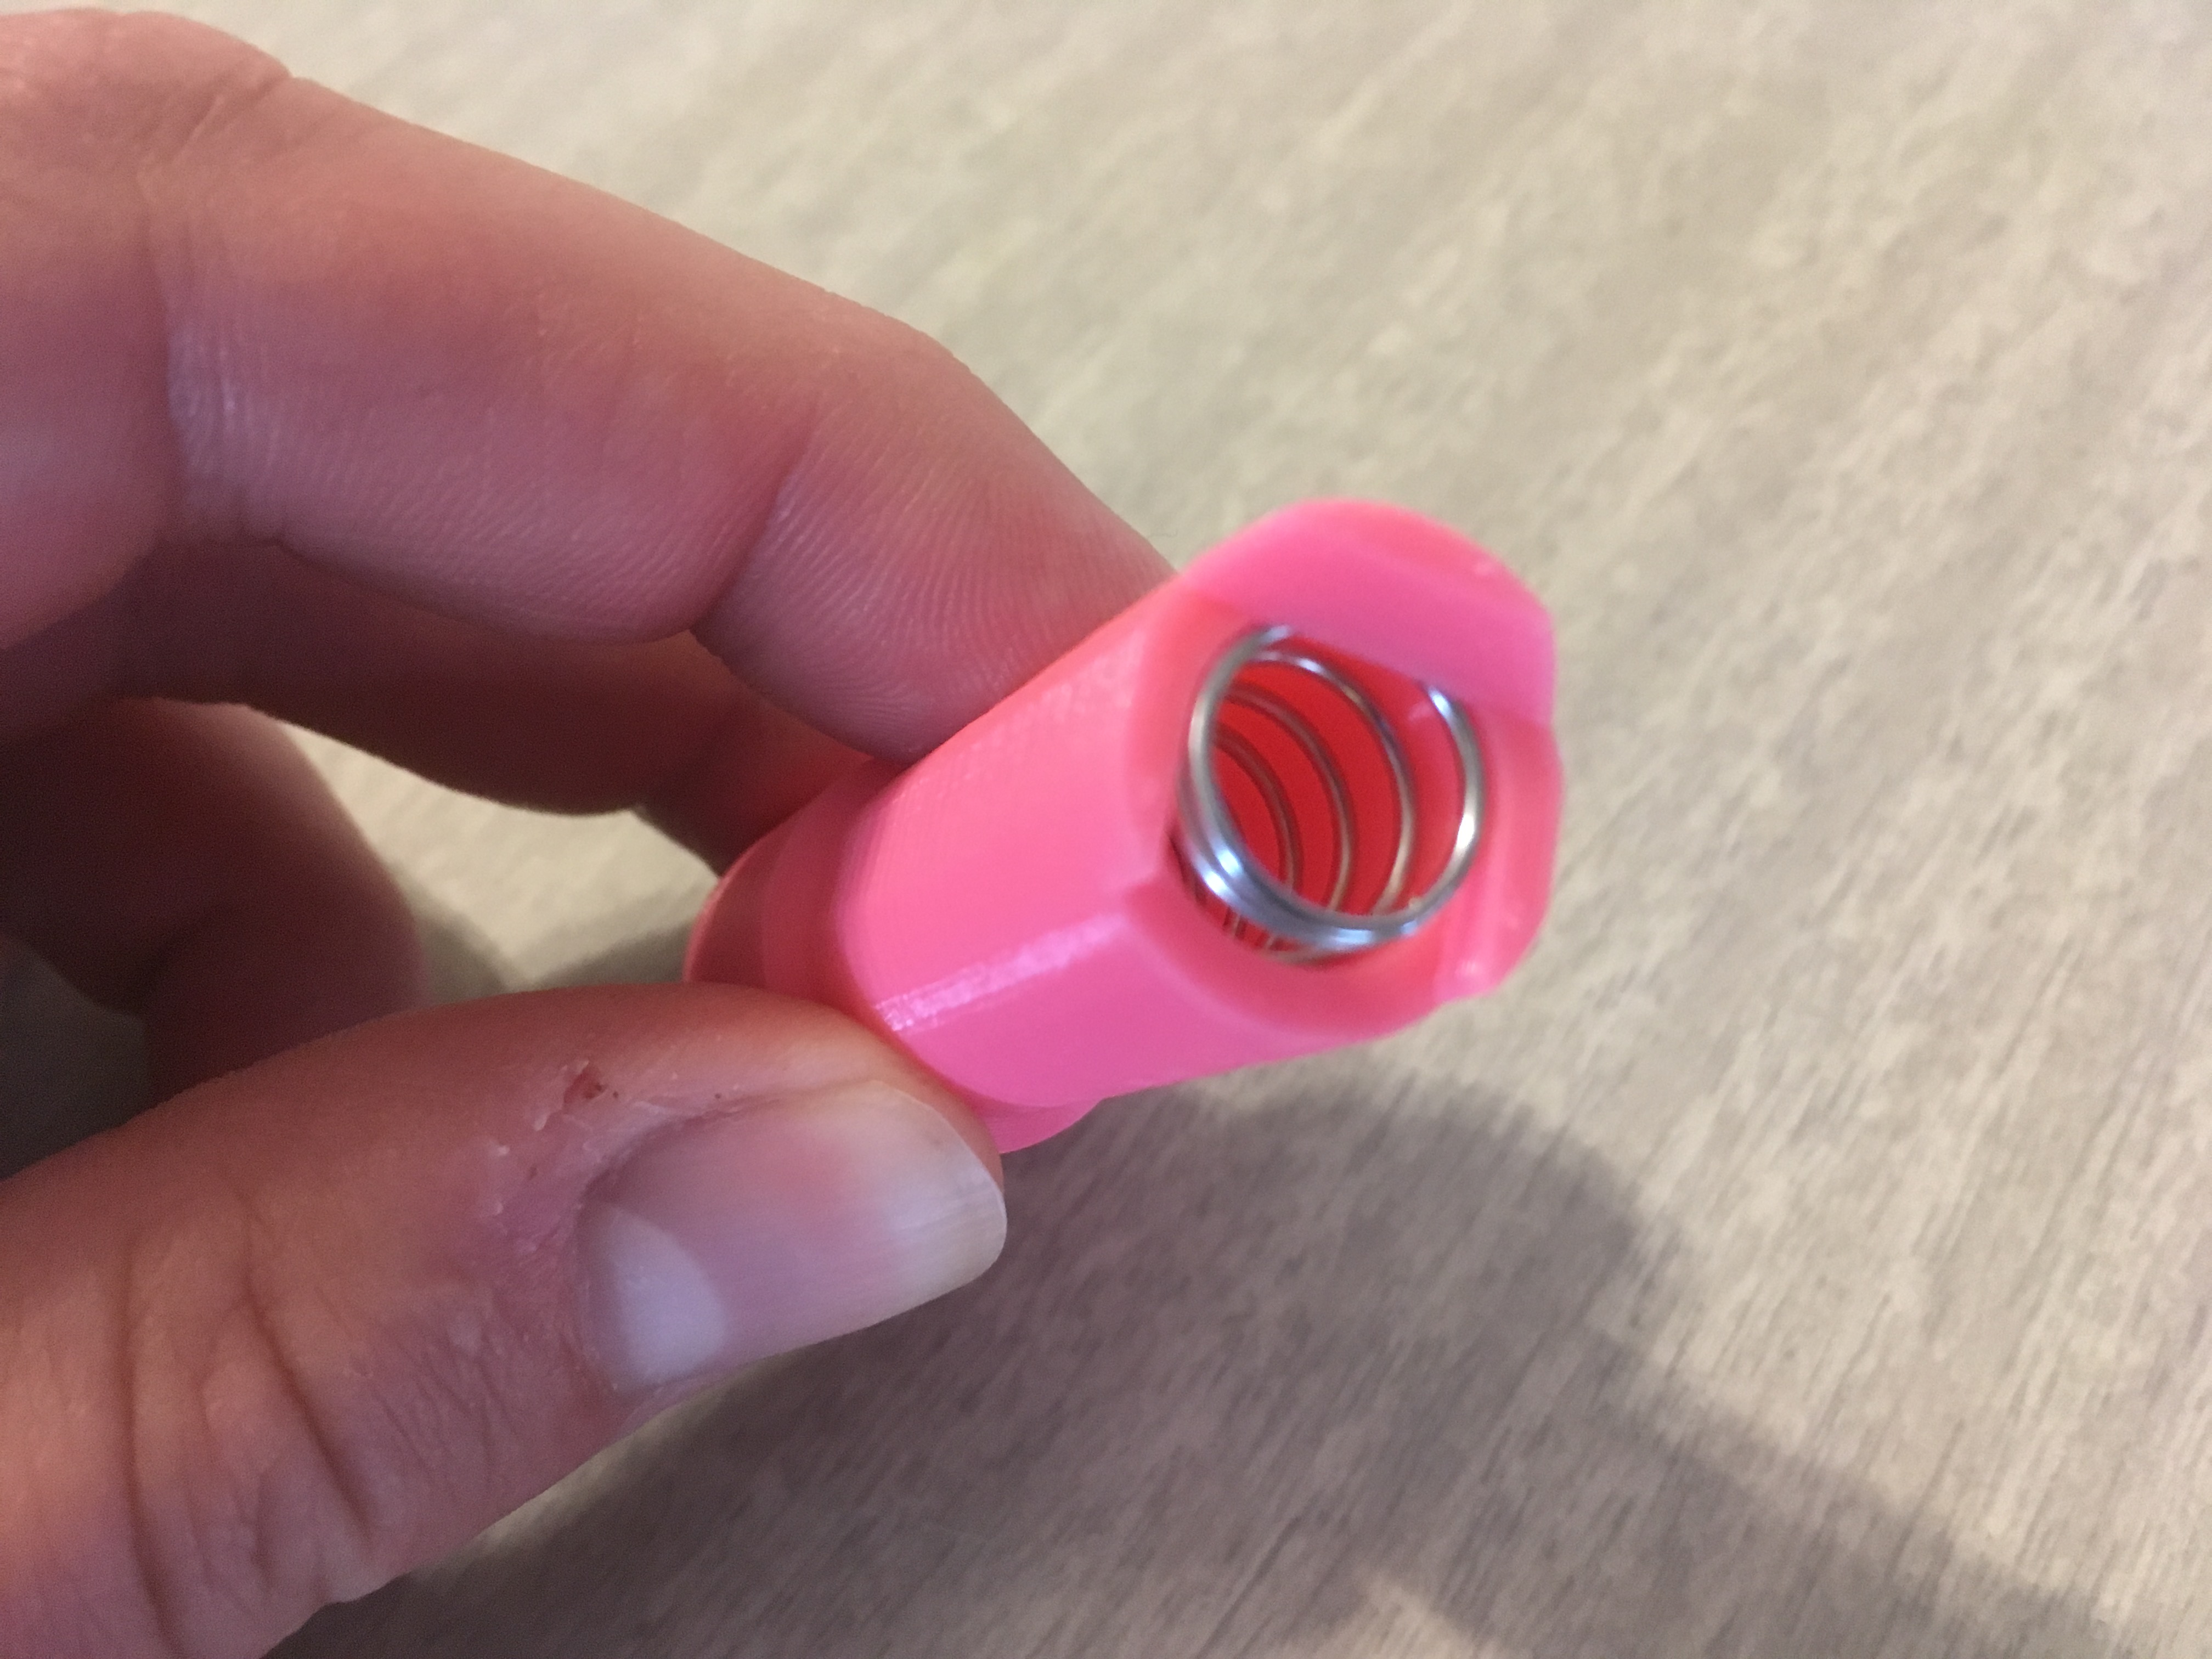
Thread the Spring
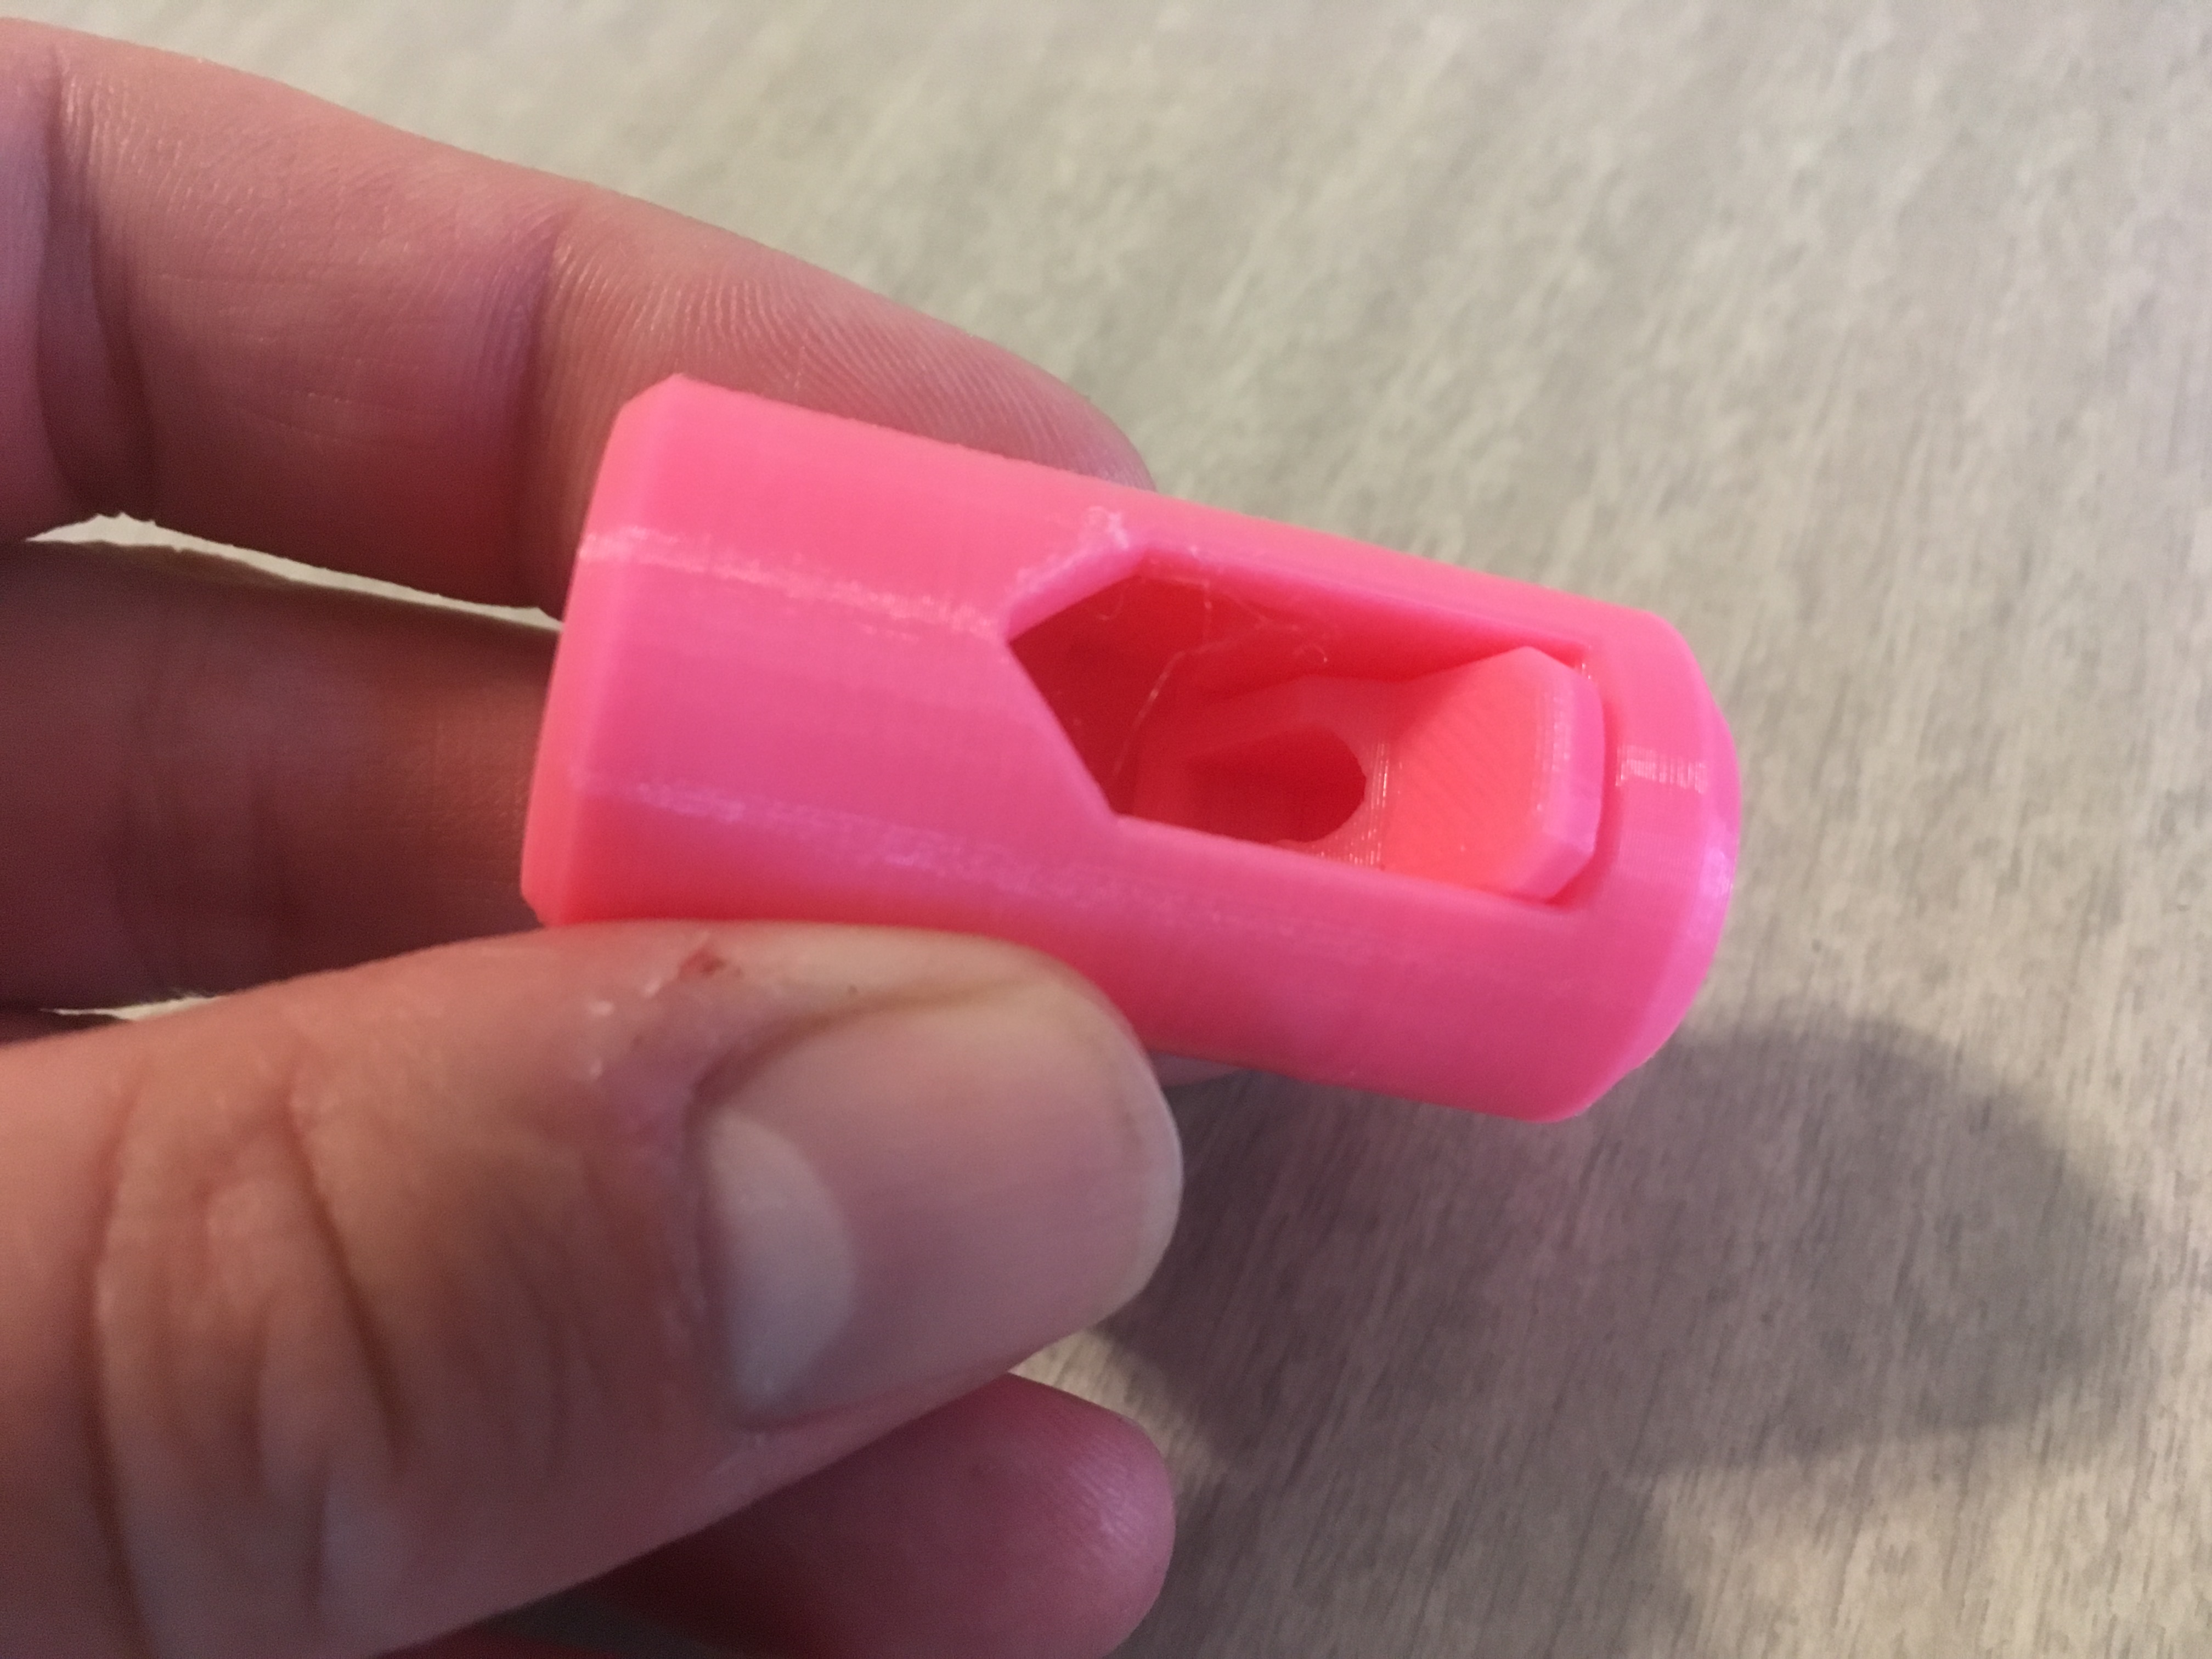
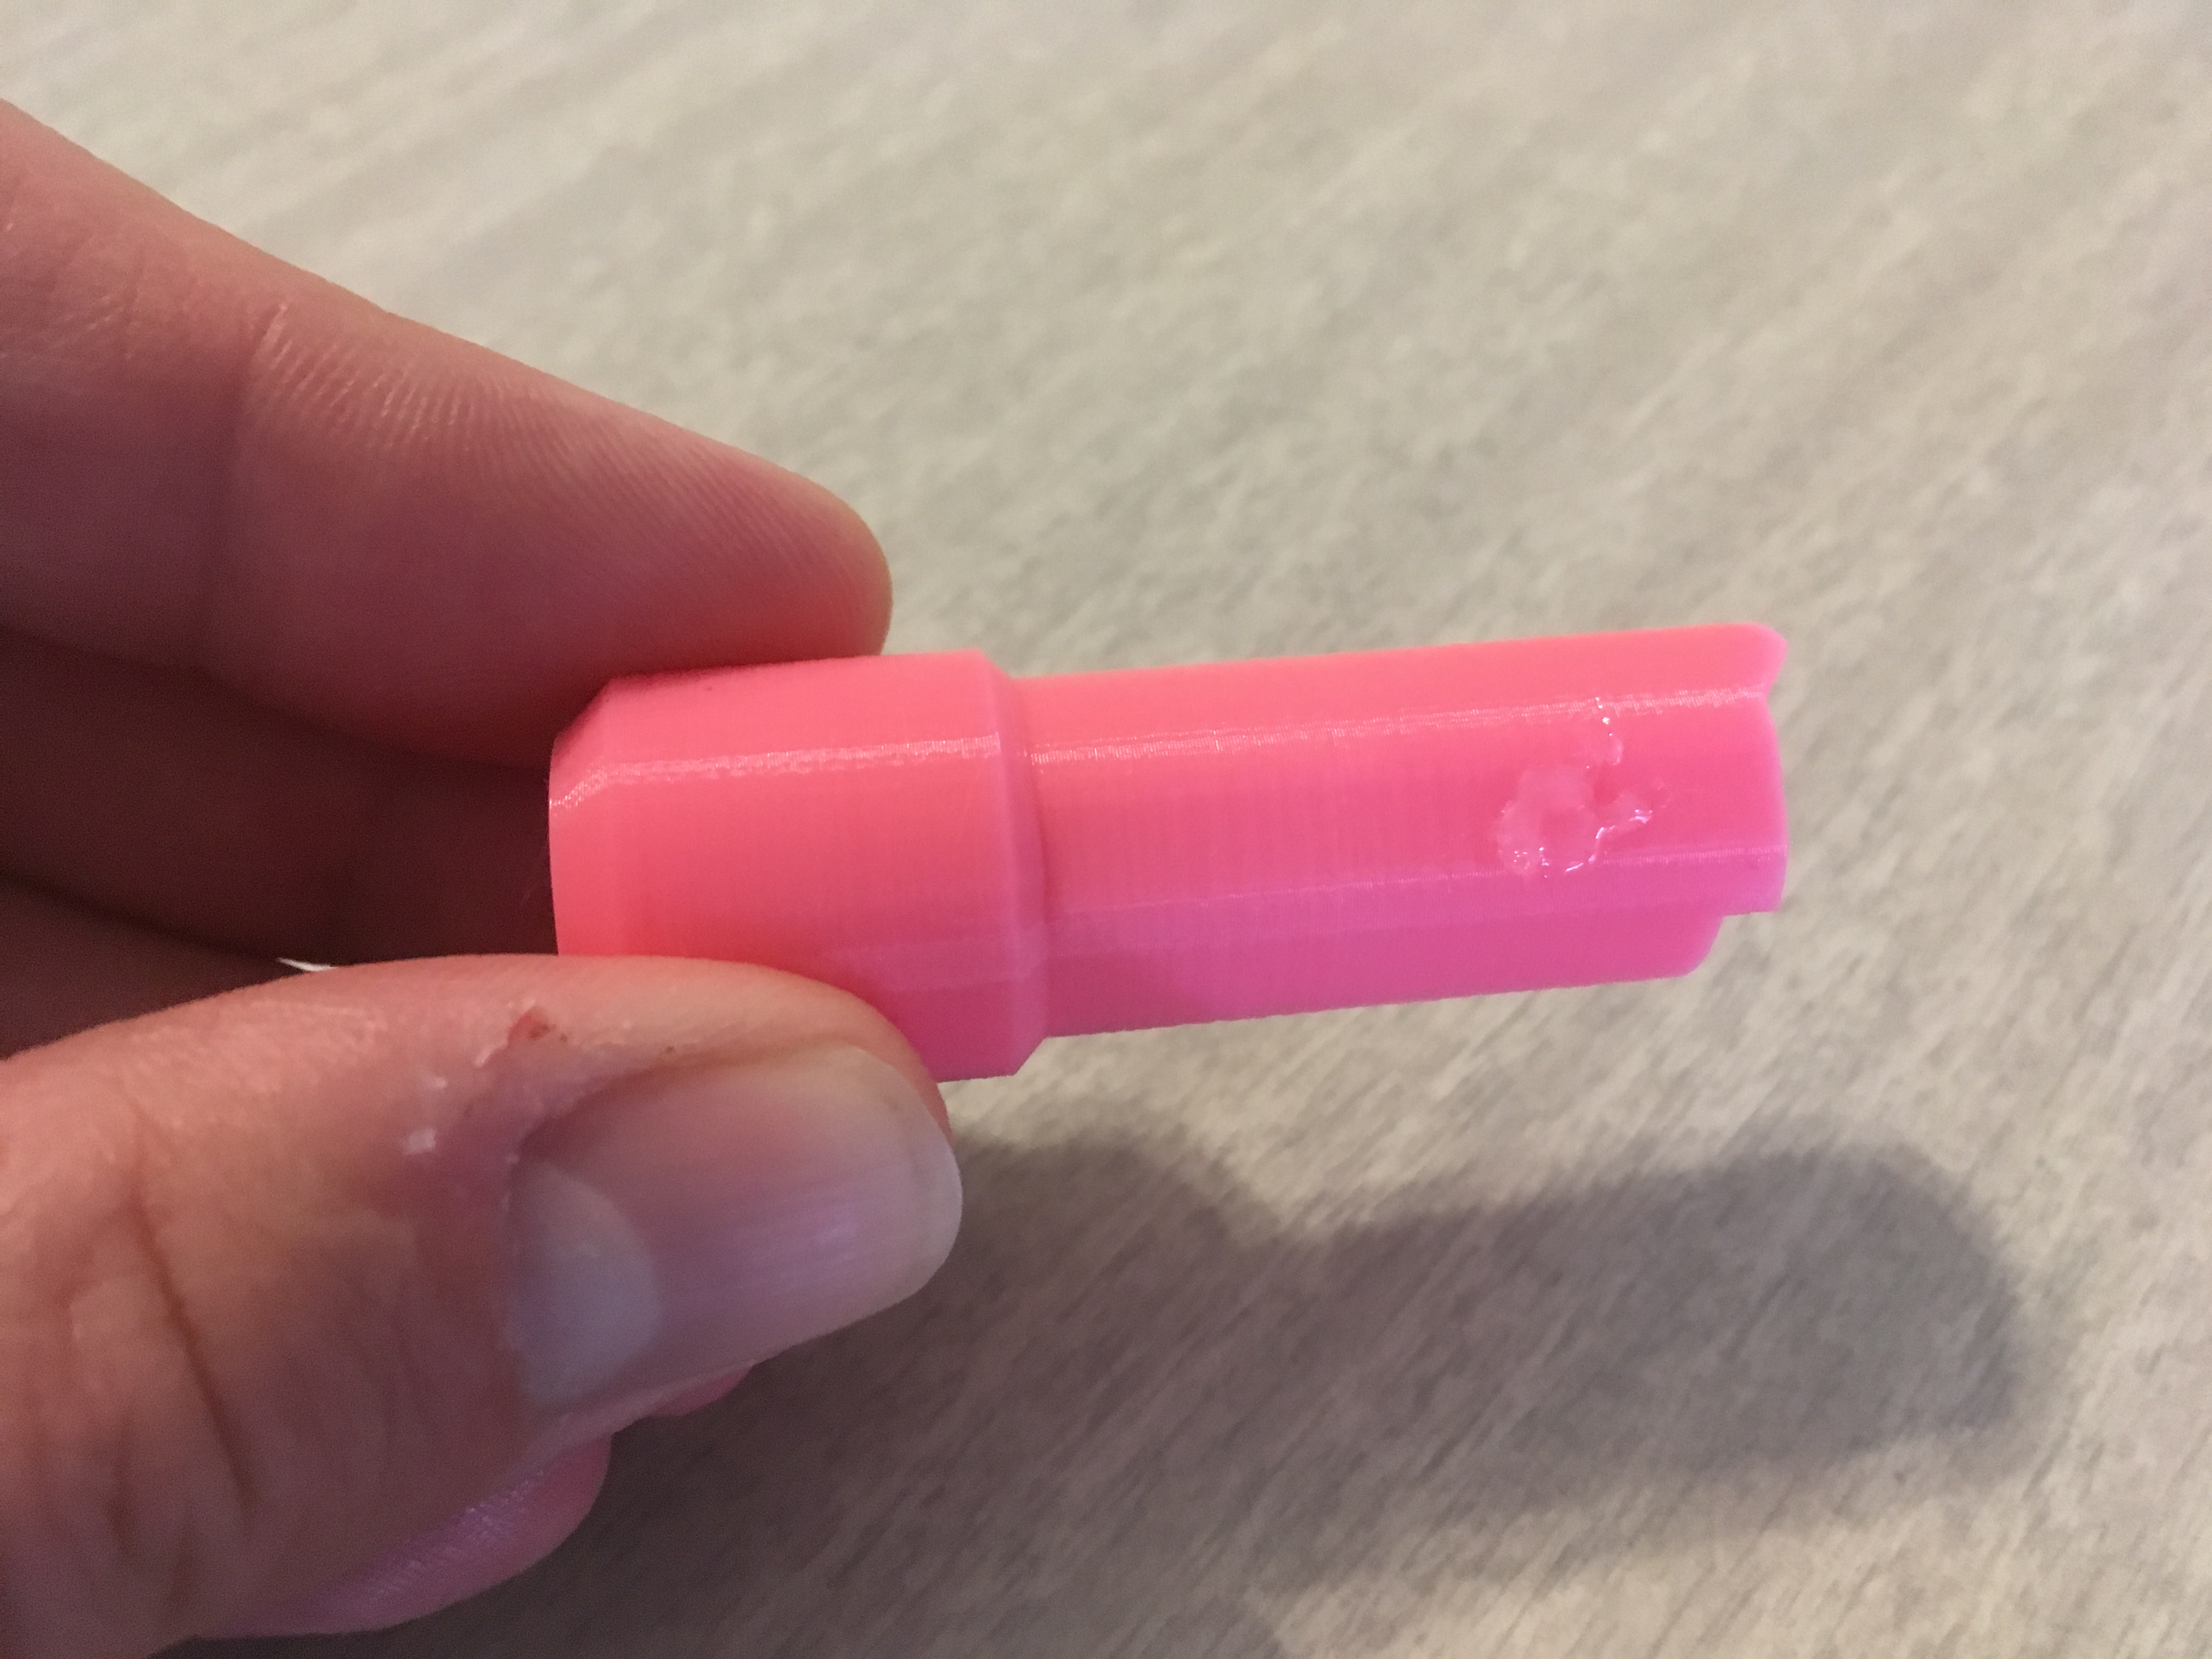
Fit the spring in the open end of the cylinder, and rotate clockwise. Flex/pop the end under the lip to finish.
Insert Latch
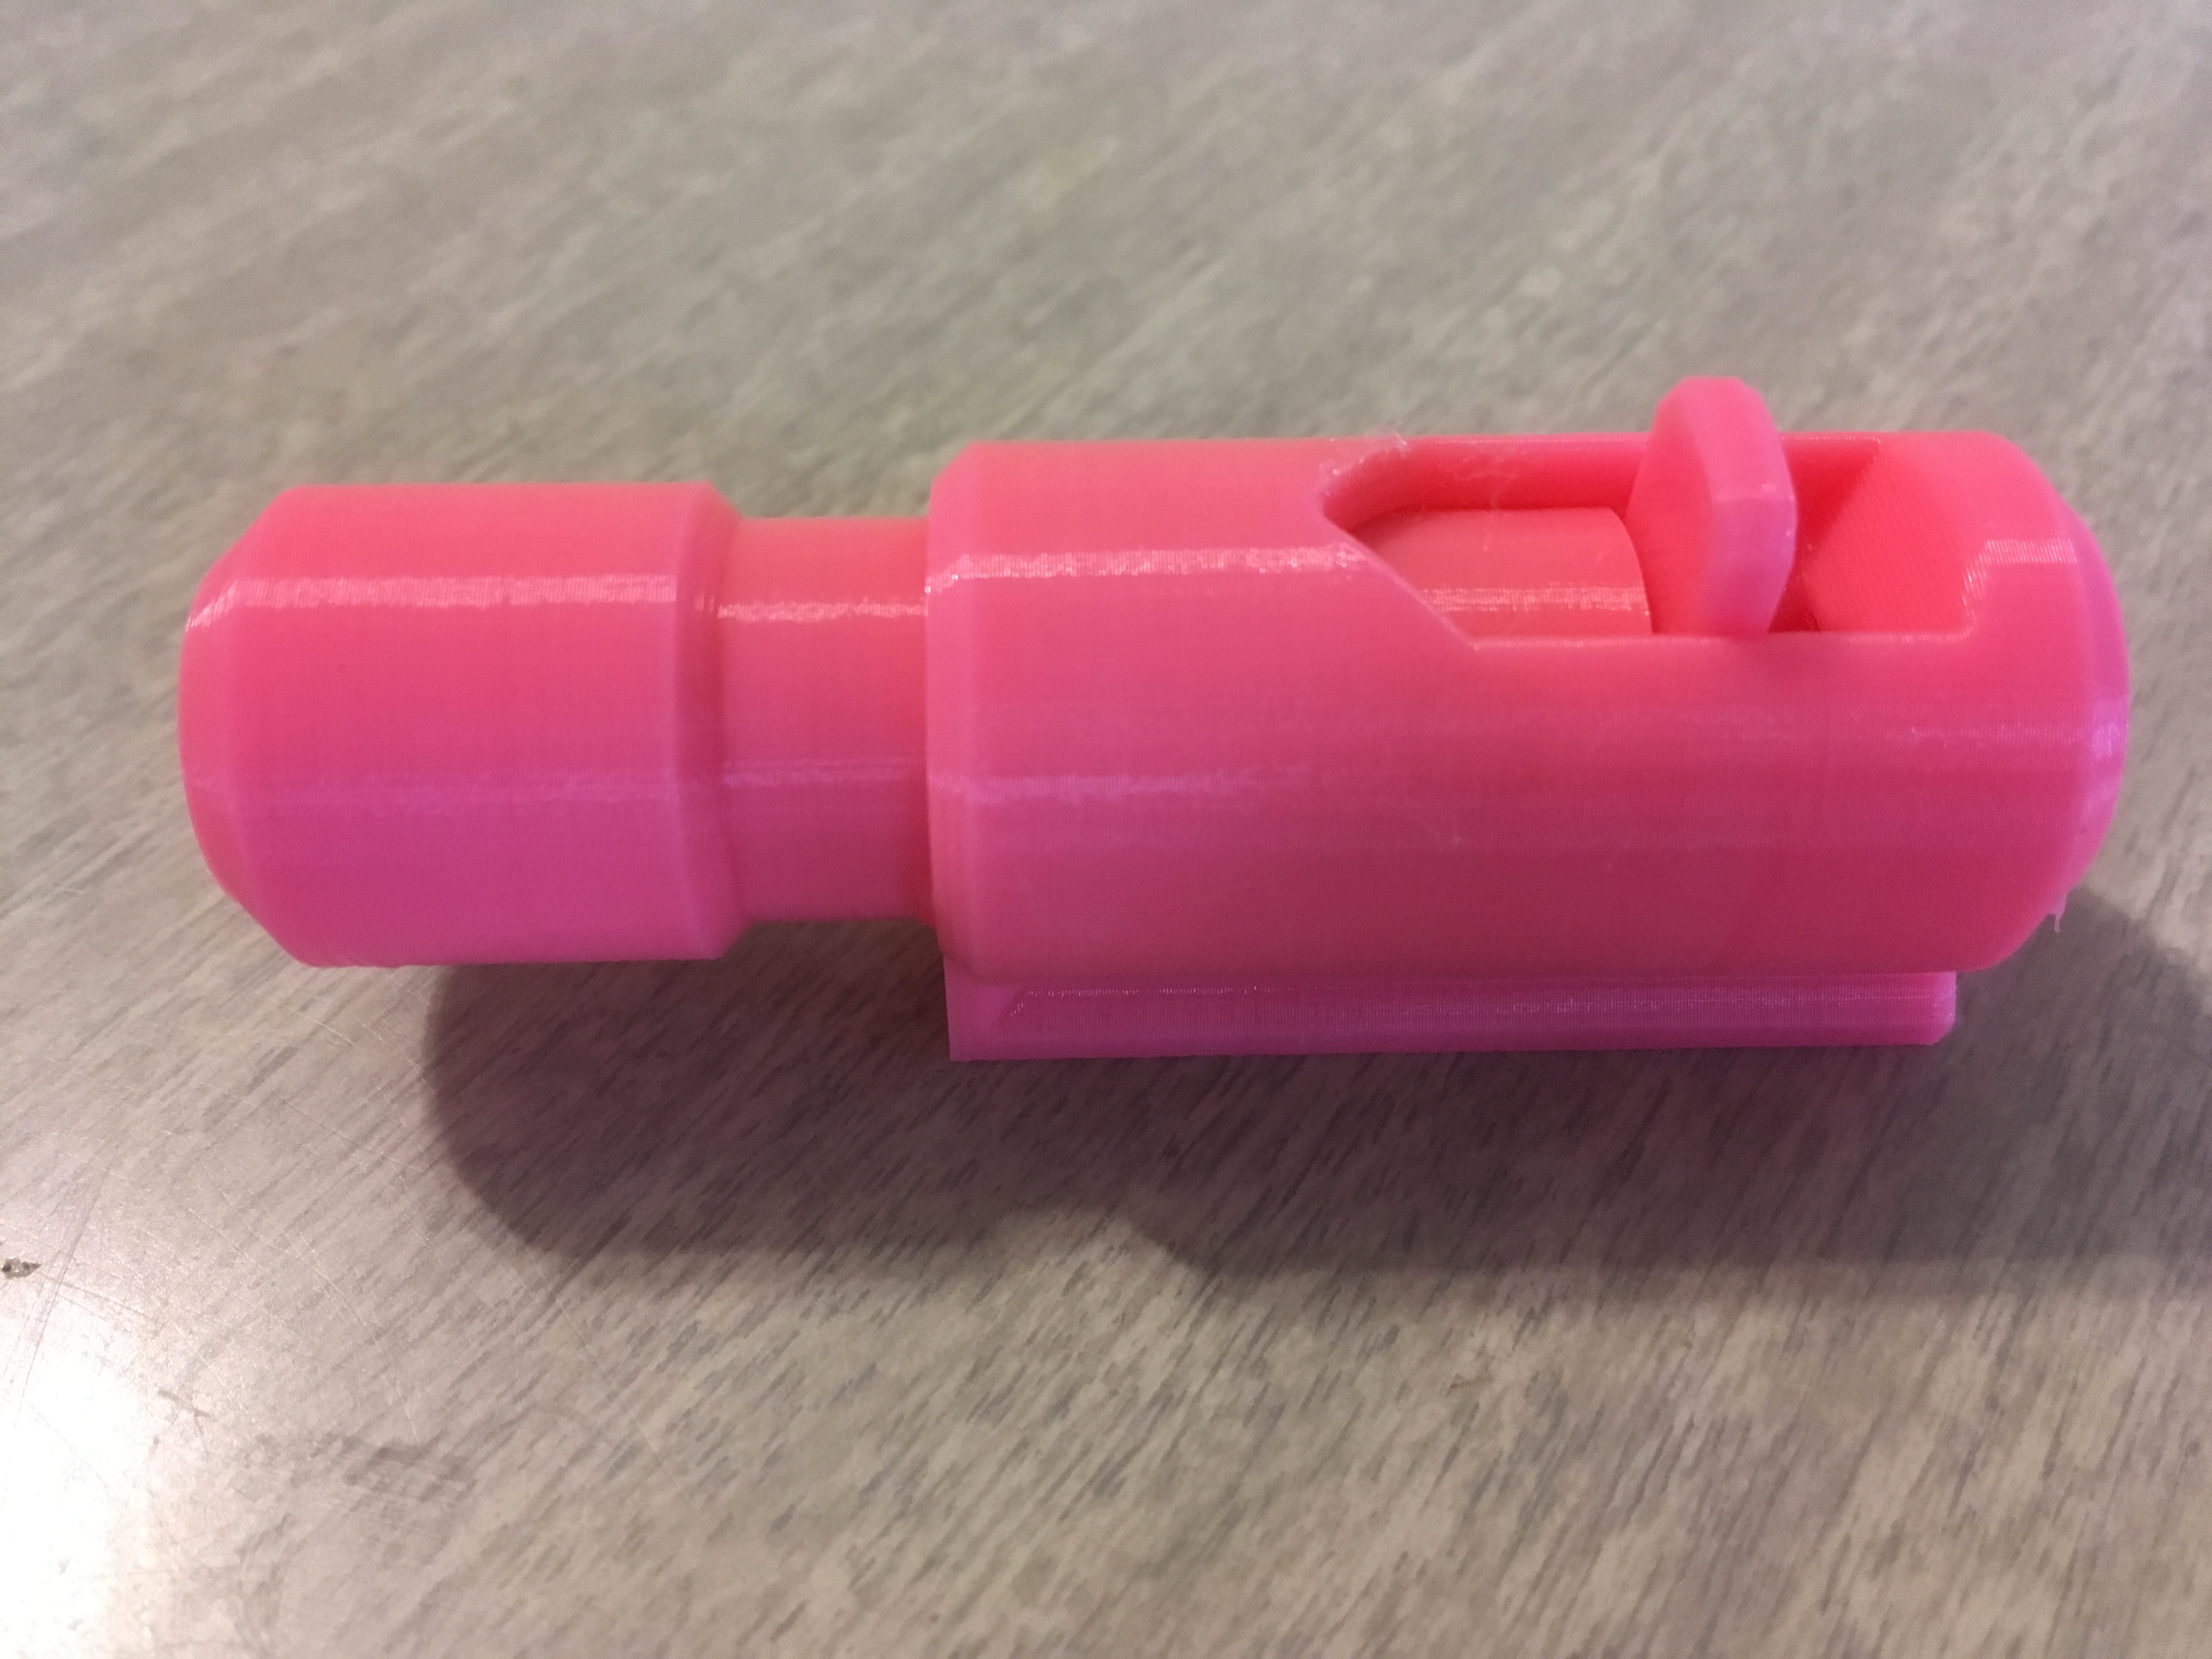
Fit inside as shown. Pivot points will seat within recesses.
Combine
Use a little E6000 glue if necessary. Do not get any near the spring or latch!
Assemble Missile
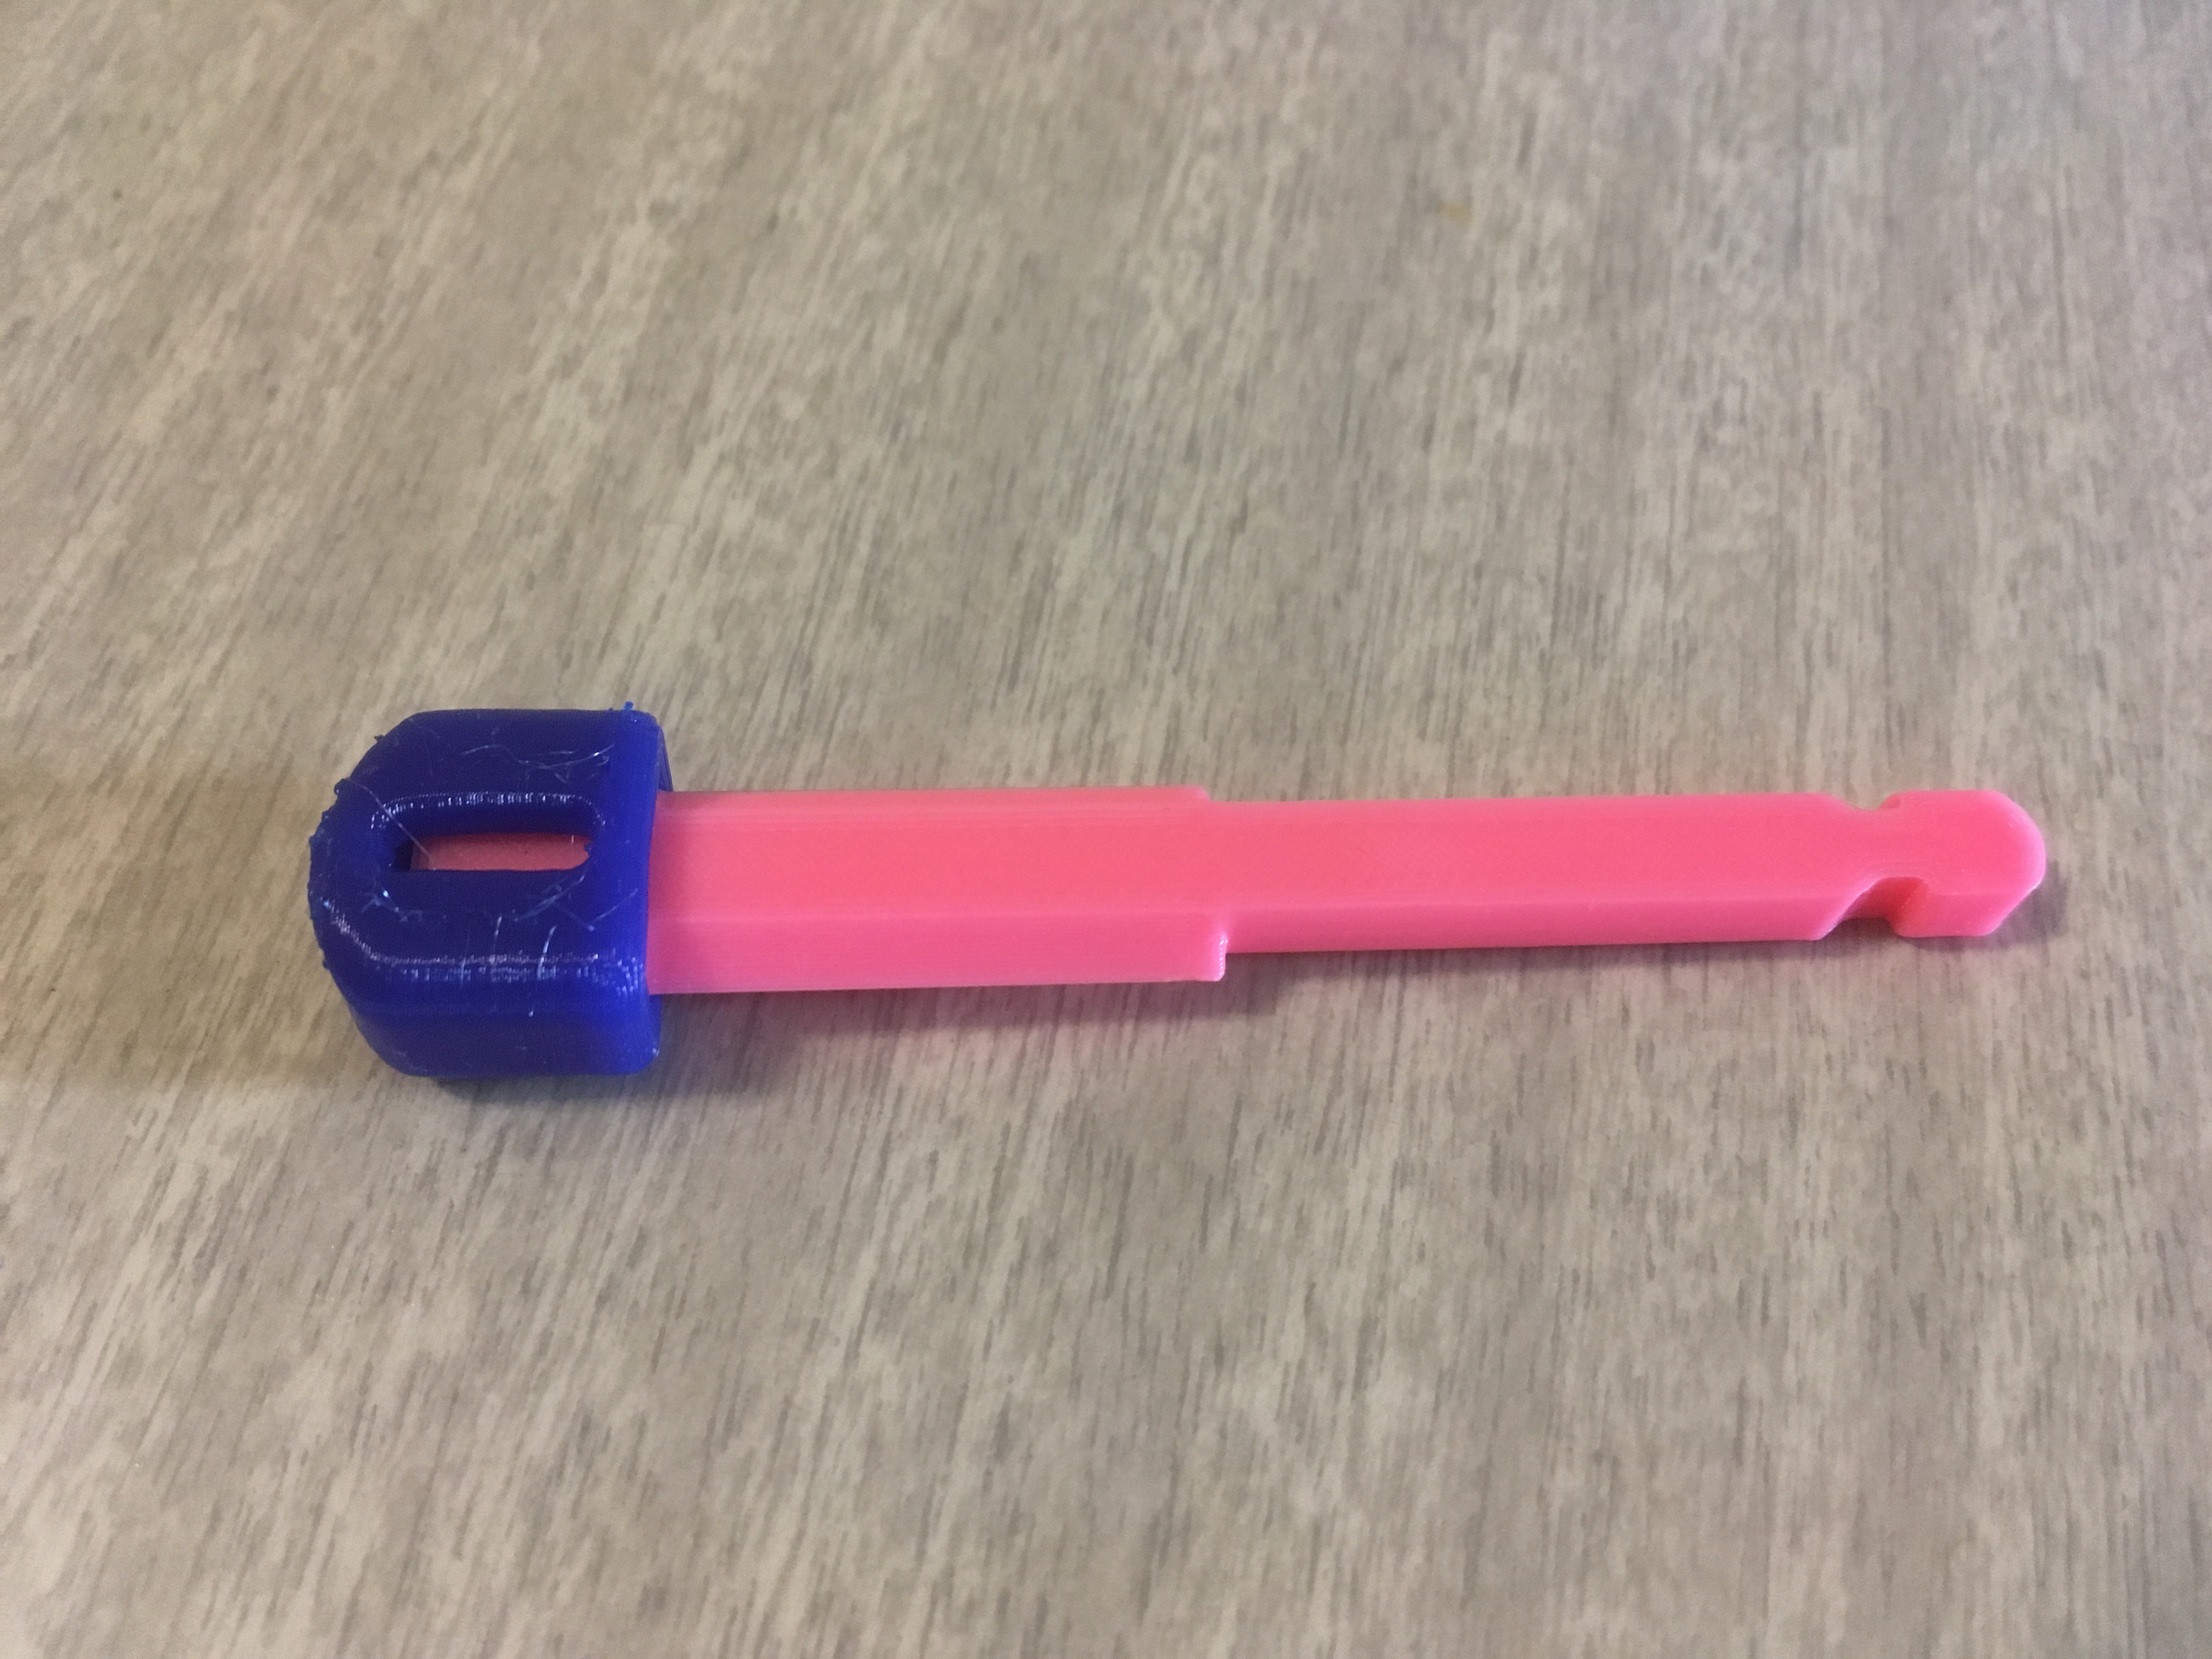
Pop the head onto the body.
Repeat Steps 2-5
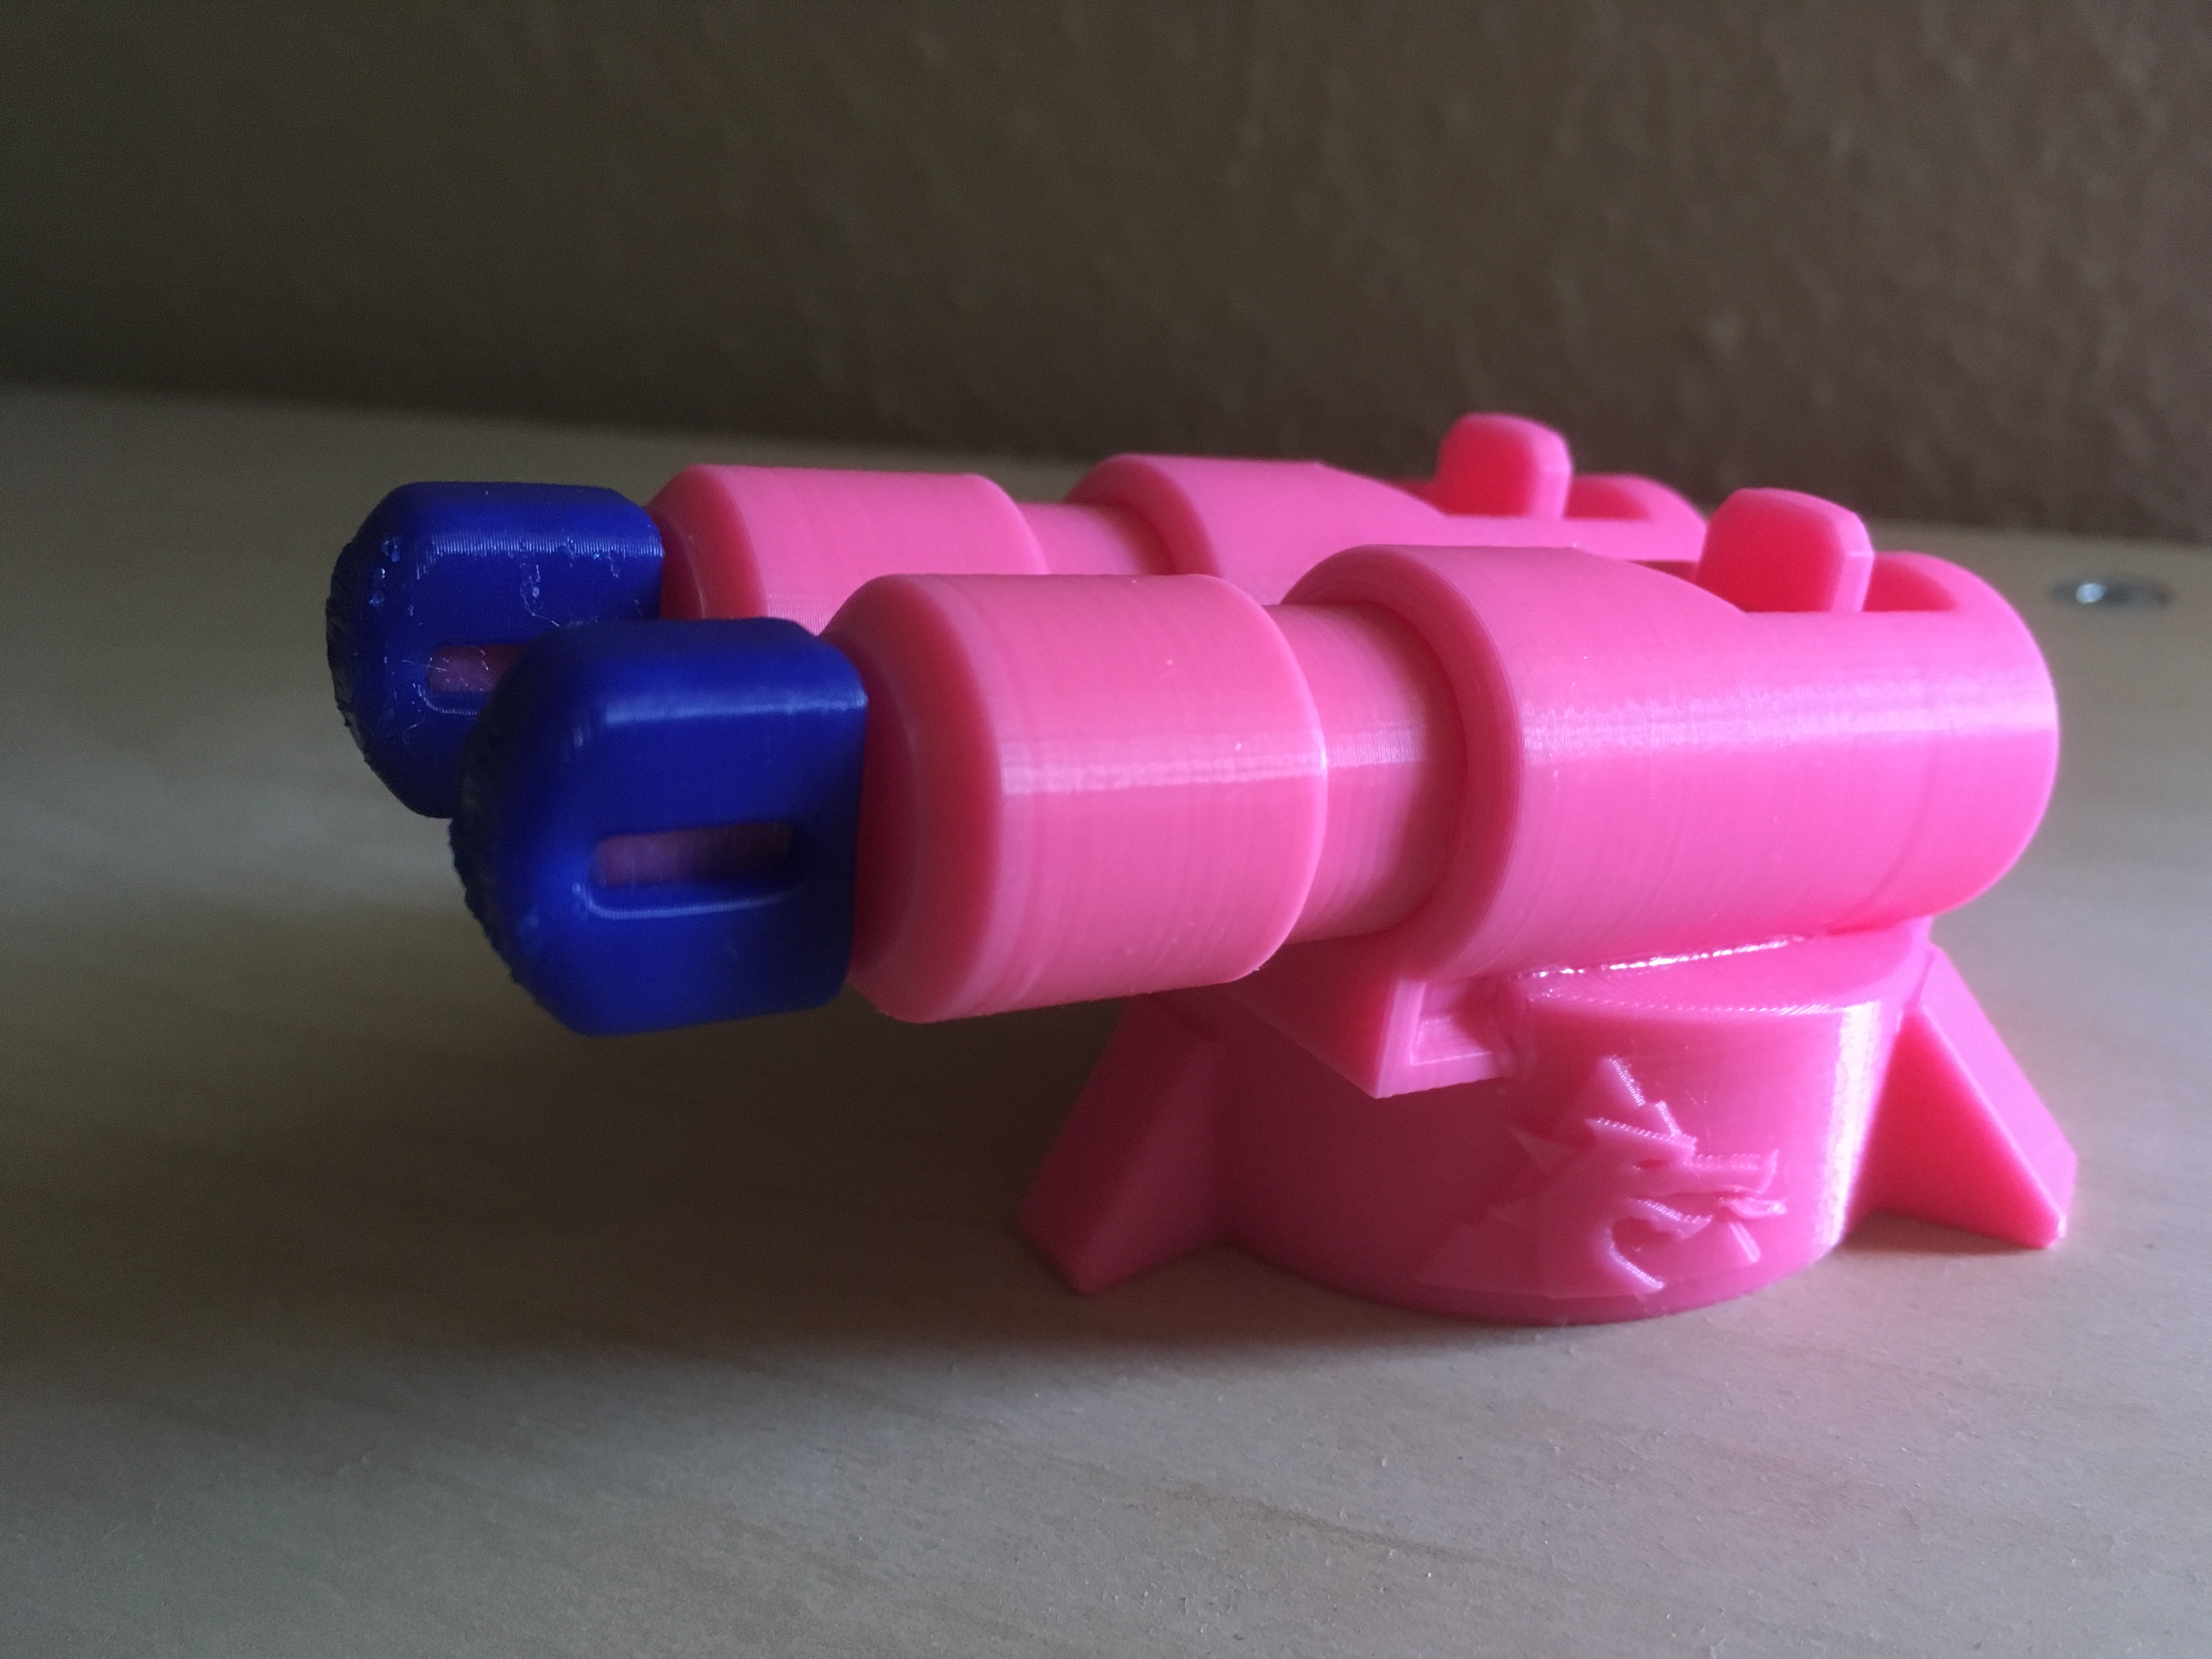
You need two of the launchers to complete one of the turrets.
Install Onto Base
Again with the E6000 if necessary.
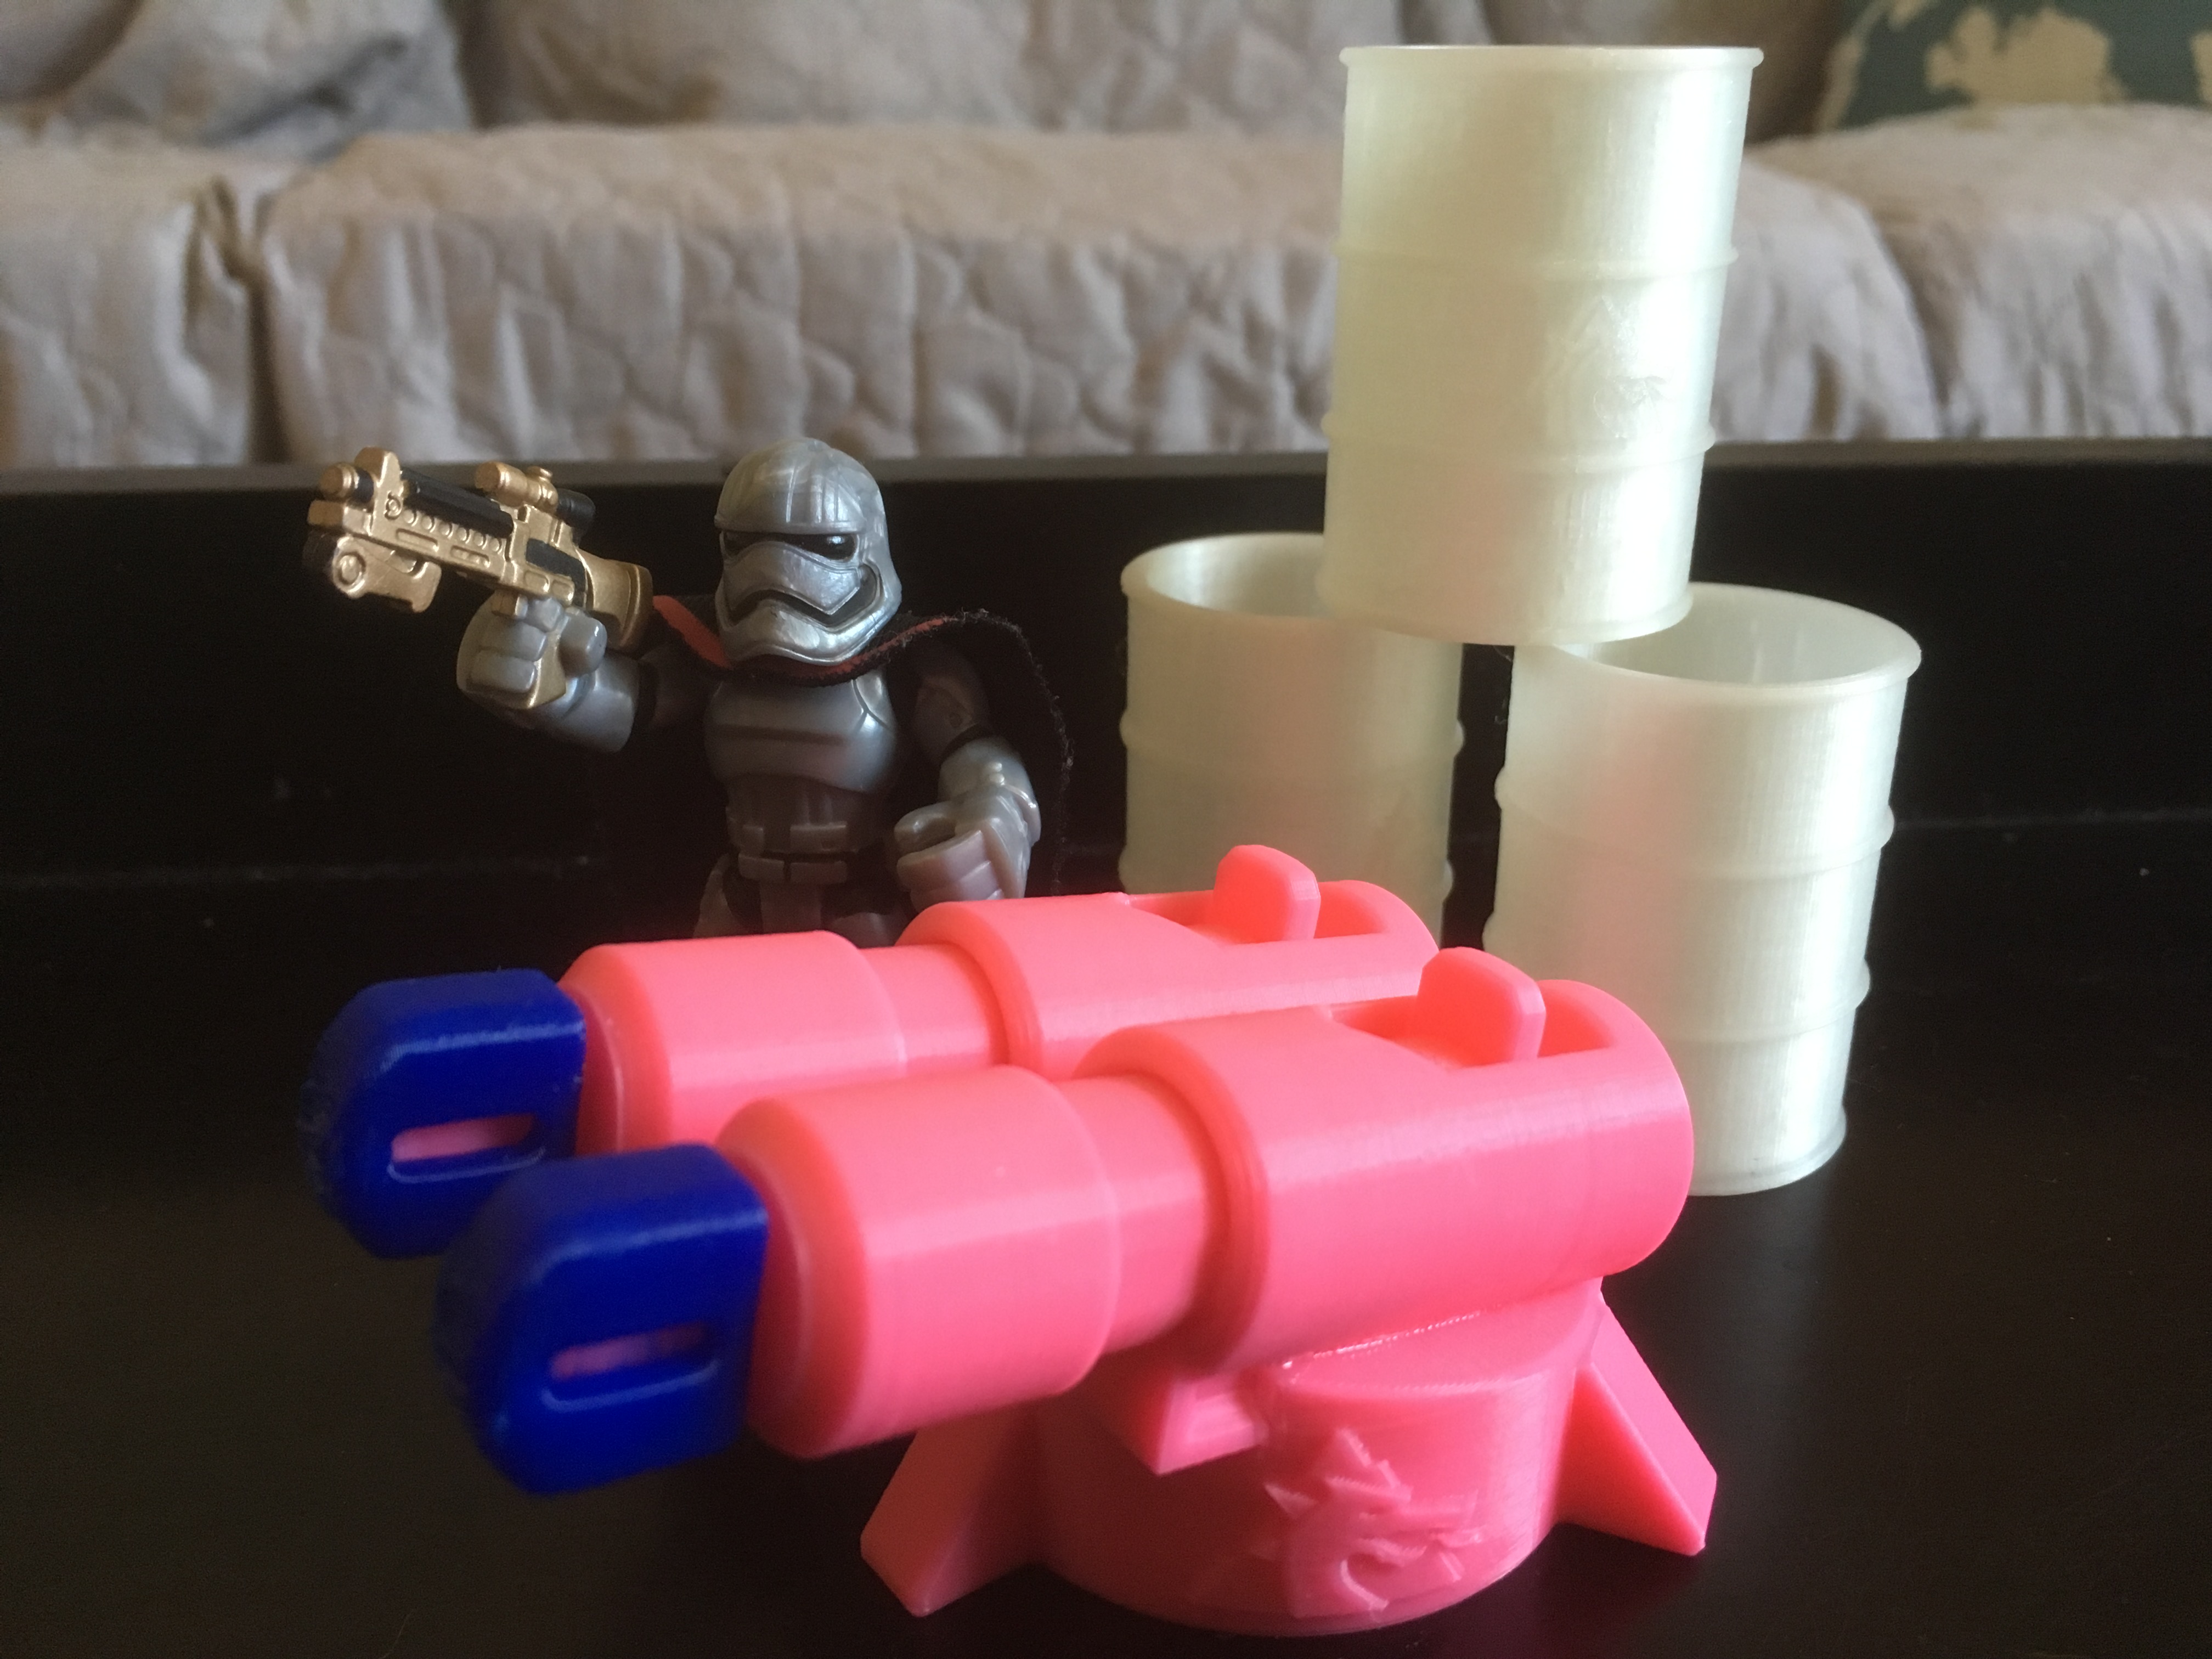
Rock-Rock-On!
Don’t have the Cheat Commandos action figures? Good news! Get them on the Homestar Runner store while they’re still available. Don’t want them? Other small action figures will suffice.
Like what you’re seeing? Give me a follow on Twitter @DragonMtnDesign for previews/updates/random musings.
Later this month: Spring-powered missile launchers. Get. Excited. #Cheekymandos pic.twitter.com/dzQPTippsc
— DragonMtnDesign (@DragonMtnDesign) May 5, 2017
.
.
.
March 2020 UPDATE: Files are available here! Click the Download button below for a zip file.
Files are available under the Creative Commons BY-NC-SA license.

9 Comments