TMNT Action Figures Vol. III
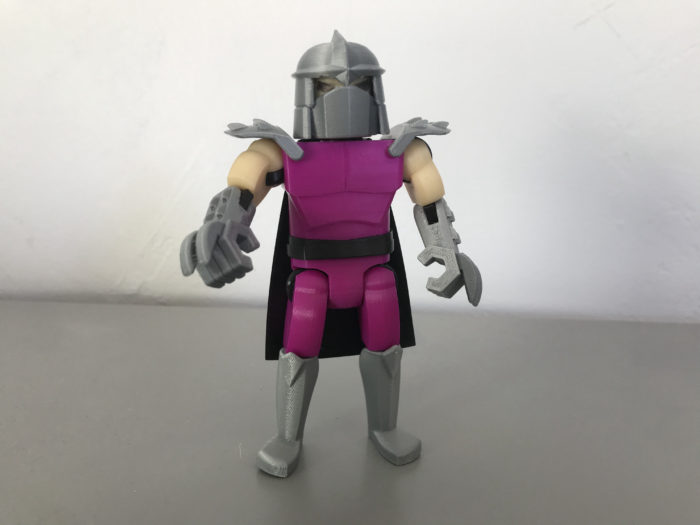
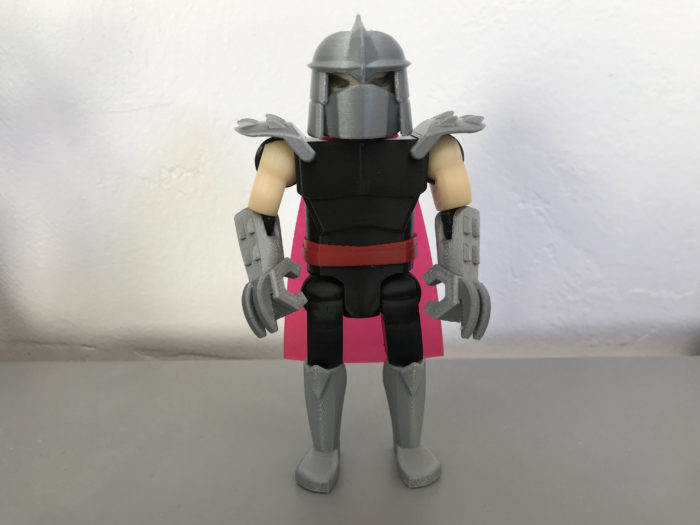
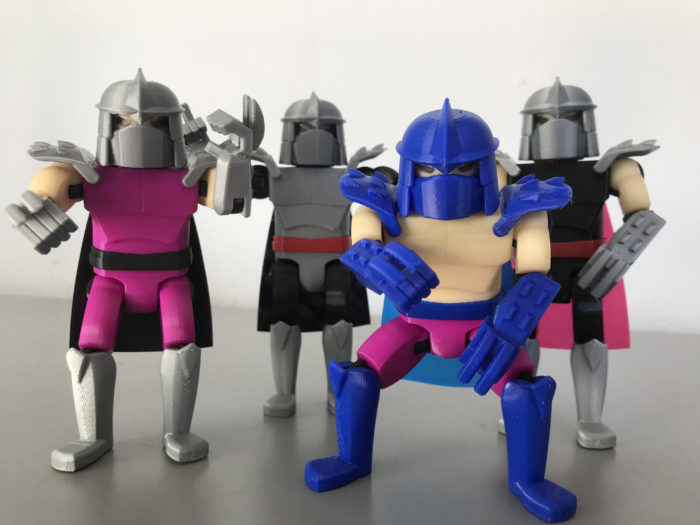
Enter: The Shredder!
I was really hoping to have more than one character as a part of this release, but plans unfortunately change when the software you’re comfortable using nerfs itself (more details on this later).
Anyway, I’m really proud of this project! Designing human forms with articulated joints in a parametric modeling software that can be printed without support materials was a personal challenge I’ve been working up to for some time. Does this mean I’ve “arrived” as a toy designer? No. I will always have much to learn.
But even small victories should be celebrated.
Anyway, let’s do this.
Helpful Tools
Adhesive
Flush Cutters (or knife)
Permanent Marker (Optional)
1. Print out Parts
Direct download of files available at the bottom of the page.

TS-AssemblyPin, TS-Head, TS-Helmet, TS-LeftLowerArm, TS-LeftLowerLeg, TS-LeftUpperArm, TS-LeftUpperLeg, TS-LowerBody, TS-RightLowerArm, TS-RightLowerLeg, TS-RightUpperArm, TS-RightUpperLeg, TS-UpperBody
Material: PLA
Infill: 15 to 20%
Supports: No
Brim: No
TS-Claw (x2), TS-LeftShoulderPad, TS-RightShoulderPad
Material: PLA
Infill: 50% or higher
Supports: No
Brim: No
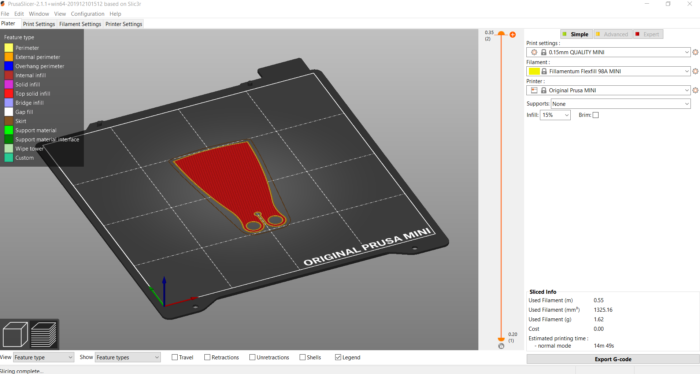
AFJ (x5), AFJ-Elbow (x4), TS-Cape, TS-Belt
Material: Flex 98A
Infill: 15 to 20%
Supports: No
Brim: No
Important note on TS-Cape: It’s designed to be two layers of flexible filament using the stock flexible 98A settings for the Prusa Mini.
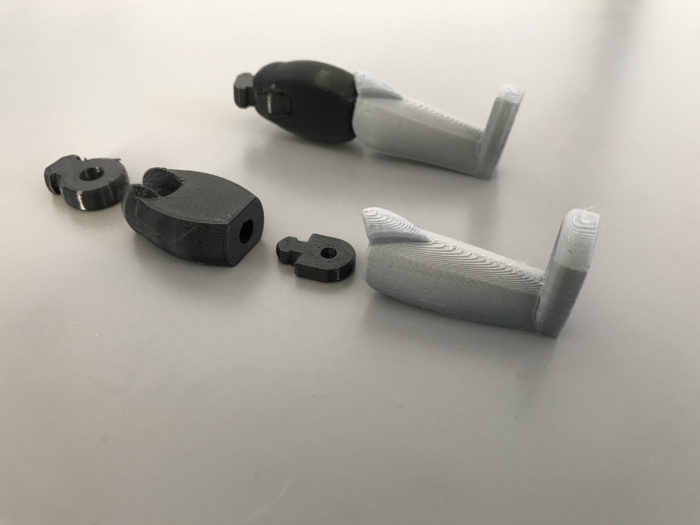
2. Assemble Arms
Press-fit the articulated flex joints into the upper arm components as shown. Snap-fit TS-Claw to the lower arm components as shown. Press-fit the lower arm assemblies to the articulated elbow components of the upper arm assemblies as shown.

3. Assemble Legs
Press-fit the articulated flex joints into the upper leg components as shown. Press-fit the lower leg components to the articulated “elbow” components of the upper leg assemblies as shown.
4. Assemble Trunk
Press-fit TS-AssemblyPin into TS-UpperBody as shown (use a little glue if necessary). Fit TS-Belt over the recessed area of TS-LowerBody, and press-fit the subassemblies together on the TS-AssemblePin as shown (use a little glue if necessary).


5. Assemble Head
Press-fit AFJ into TS-Head as shown. Fit the circles of TS-Cape concentrically over the “neck” of the articulated flex joint as shown.


6. Assemble Body
Press-fit the articulated flex joints into their corresponding body features as shown.


7. Shoulder Pads
This definitely deserves its own step. Snap them onto the shoulder features as shown.
8. Eyes (Optional)
Using a Sharpie or other permanent marker, fill in the eyes of that horribly-modeled face.

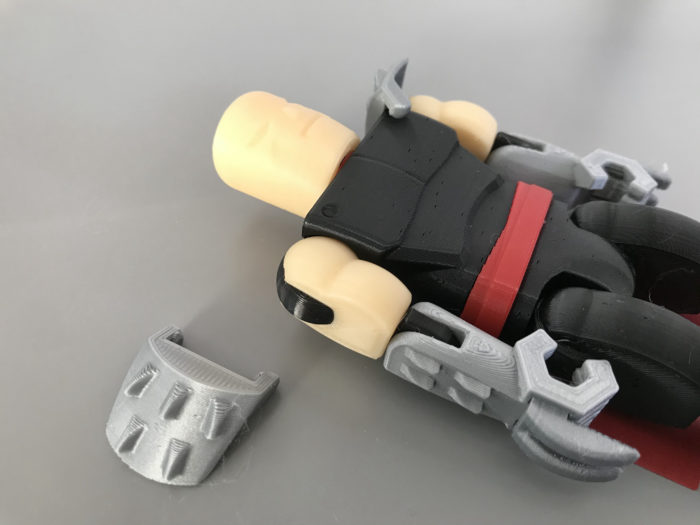
9. Helmet
This is the one place a little post-processing may be required. I tried to make the helmet printable without any support material, and got really close without making the helmet look weird. As a result, you may get a little bit of a drooped area right above the eyes. This can be cleaned off with flush cutters or a knife.
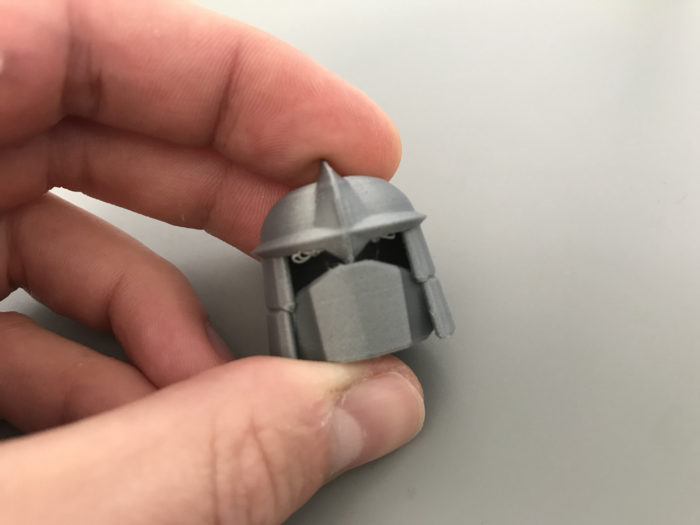

Use glue to adhere the helmet to the head (if you so desire).
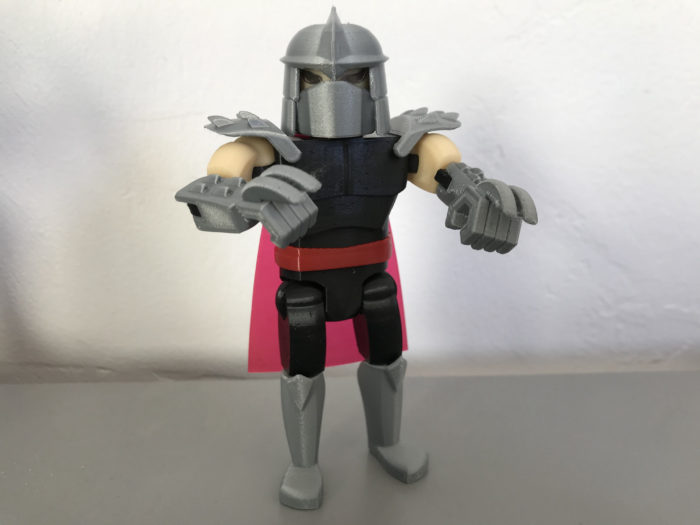
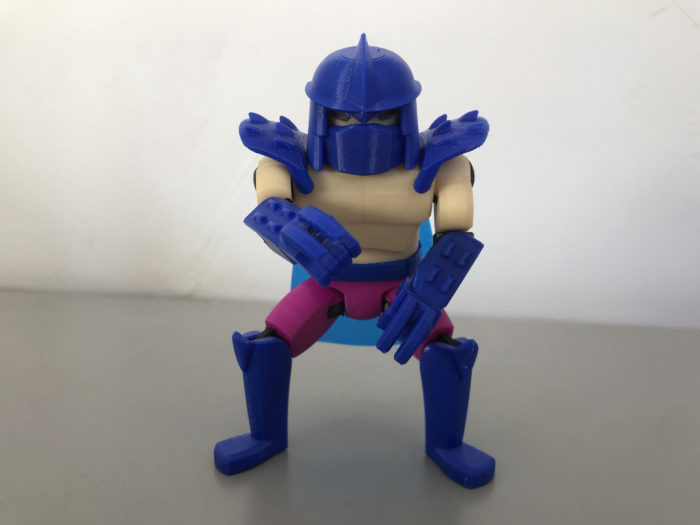
10. Destroy Those Wretched Turtles!
I had way too much fun printing out various colors for Christmas gifts.

So… this will likely be my last design using Fusion 360, and possibly my last action figure for a while. As many in the maker community are painfully aware of at this point in time, Autodesk has once again changed the hobbyist/free license by reducing functionality. This isn’t the first time they’ve done this, and it is doubtful that it will be the last. Seeing the patterns, it’s become clear that the software cannot be viewed as a long-term solution for myself and many others in the maker community.
“But you’ve used it for years without paying! How can you complain?” you might ask.
Well, yes, and I’m very grateful that I was able to use Fusion 360 for as long as I did. I looked into the paid version a few times over the years in the hopes of supporting the creators and developers so that it could stay free for others, but the paid tier was far too expensive to justify for hobby use (I know it’s significantly less than SolidWorks and other enterprise software). In the random chance that this message reaches Autodesk, let it be known that I would have happily, happily paid somewhere in the $10/month range to maintain a hobby version where I could collaborate with at least one friend, export to any file format, and not have to worry about “10 active files.”
But we’re here now. Autodesk has lost my trust.
With that in mind, I’m making a shift to learning FreeCAD. I’ve got a lot of work to do to understand the workflows of an entirely new software, and in many ways it feels like I’m starting from scratch, but we’ll get there. I have already started supporting one of the developers of FreeCAD via Patreon, and am looking into supporting at least one more, or increasing my support.
Anyway, let’s get to the important business. The real reason you’re here. The files!
Files
Click the Download button below for a zip file with all the components.
Files are available under the Creative Commons BY-NC-SA license.
Like what you’re seeing here? Leave me a comment below, follow me on twitter @DragonMtnDesign, say “hey” if you see me or my work around on Reddit (u/DragonMountainDesign), and wear a mask when out and about to show others that you care about their well being.
4 Comments
I’m getting a 3d printer now. I have to. The ziplines for the turtles? And those Mutagen containers….ahhhhh. I’m so psyched. Thanks for gifting all this awesomeness to me.
You are welcome! Glad to hear you are excited.
Just getting started on printing the main foot clan villain himself this weekend! Absolutely in love with your figure designs! I have Slash and Raph finished with the rest of the turtles getting wrapped up tonight into tomorrow. These are the best designed printable toys I have encountered! Hoping you do some foot ninjas and other charavters in the future! Thanks so much for making an awesome toyline!
Thank you for the kind words! We will see what the future holds. 🙂