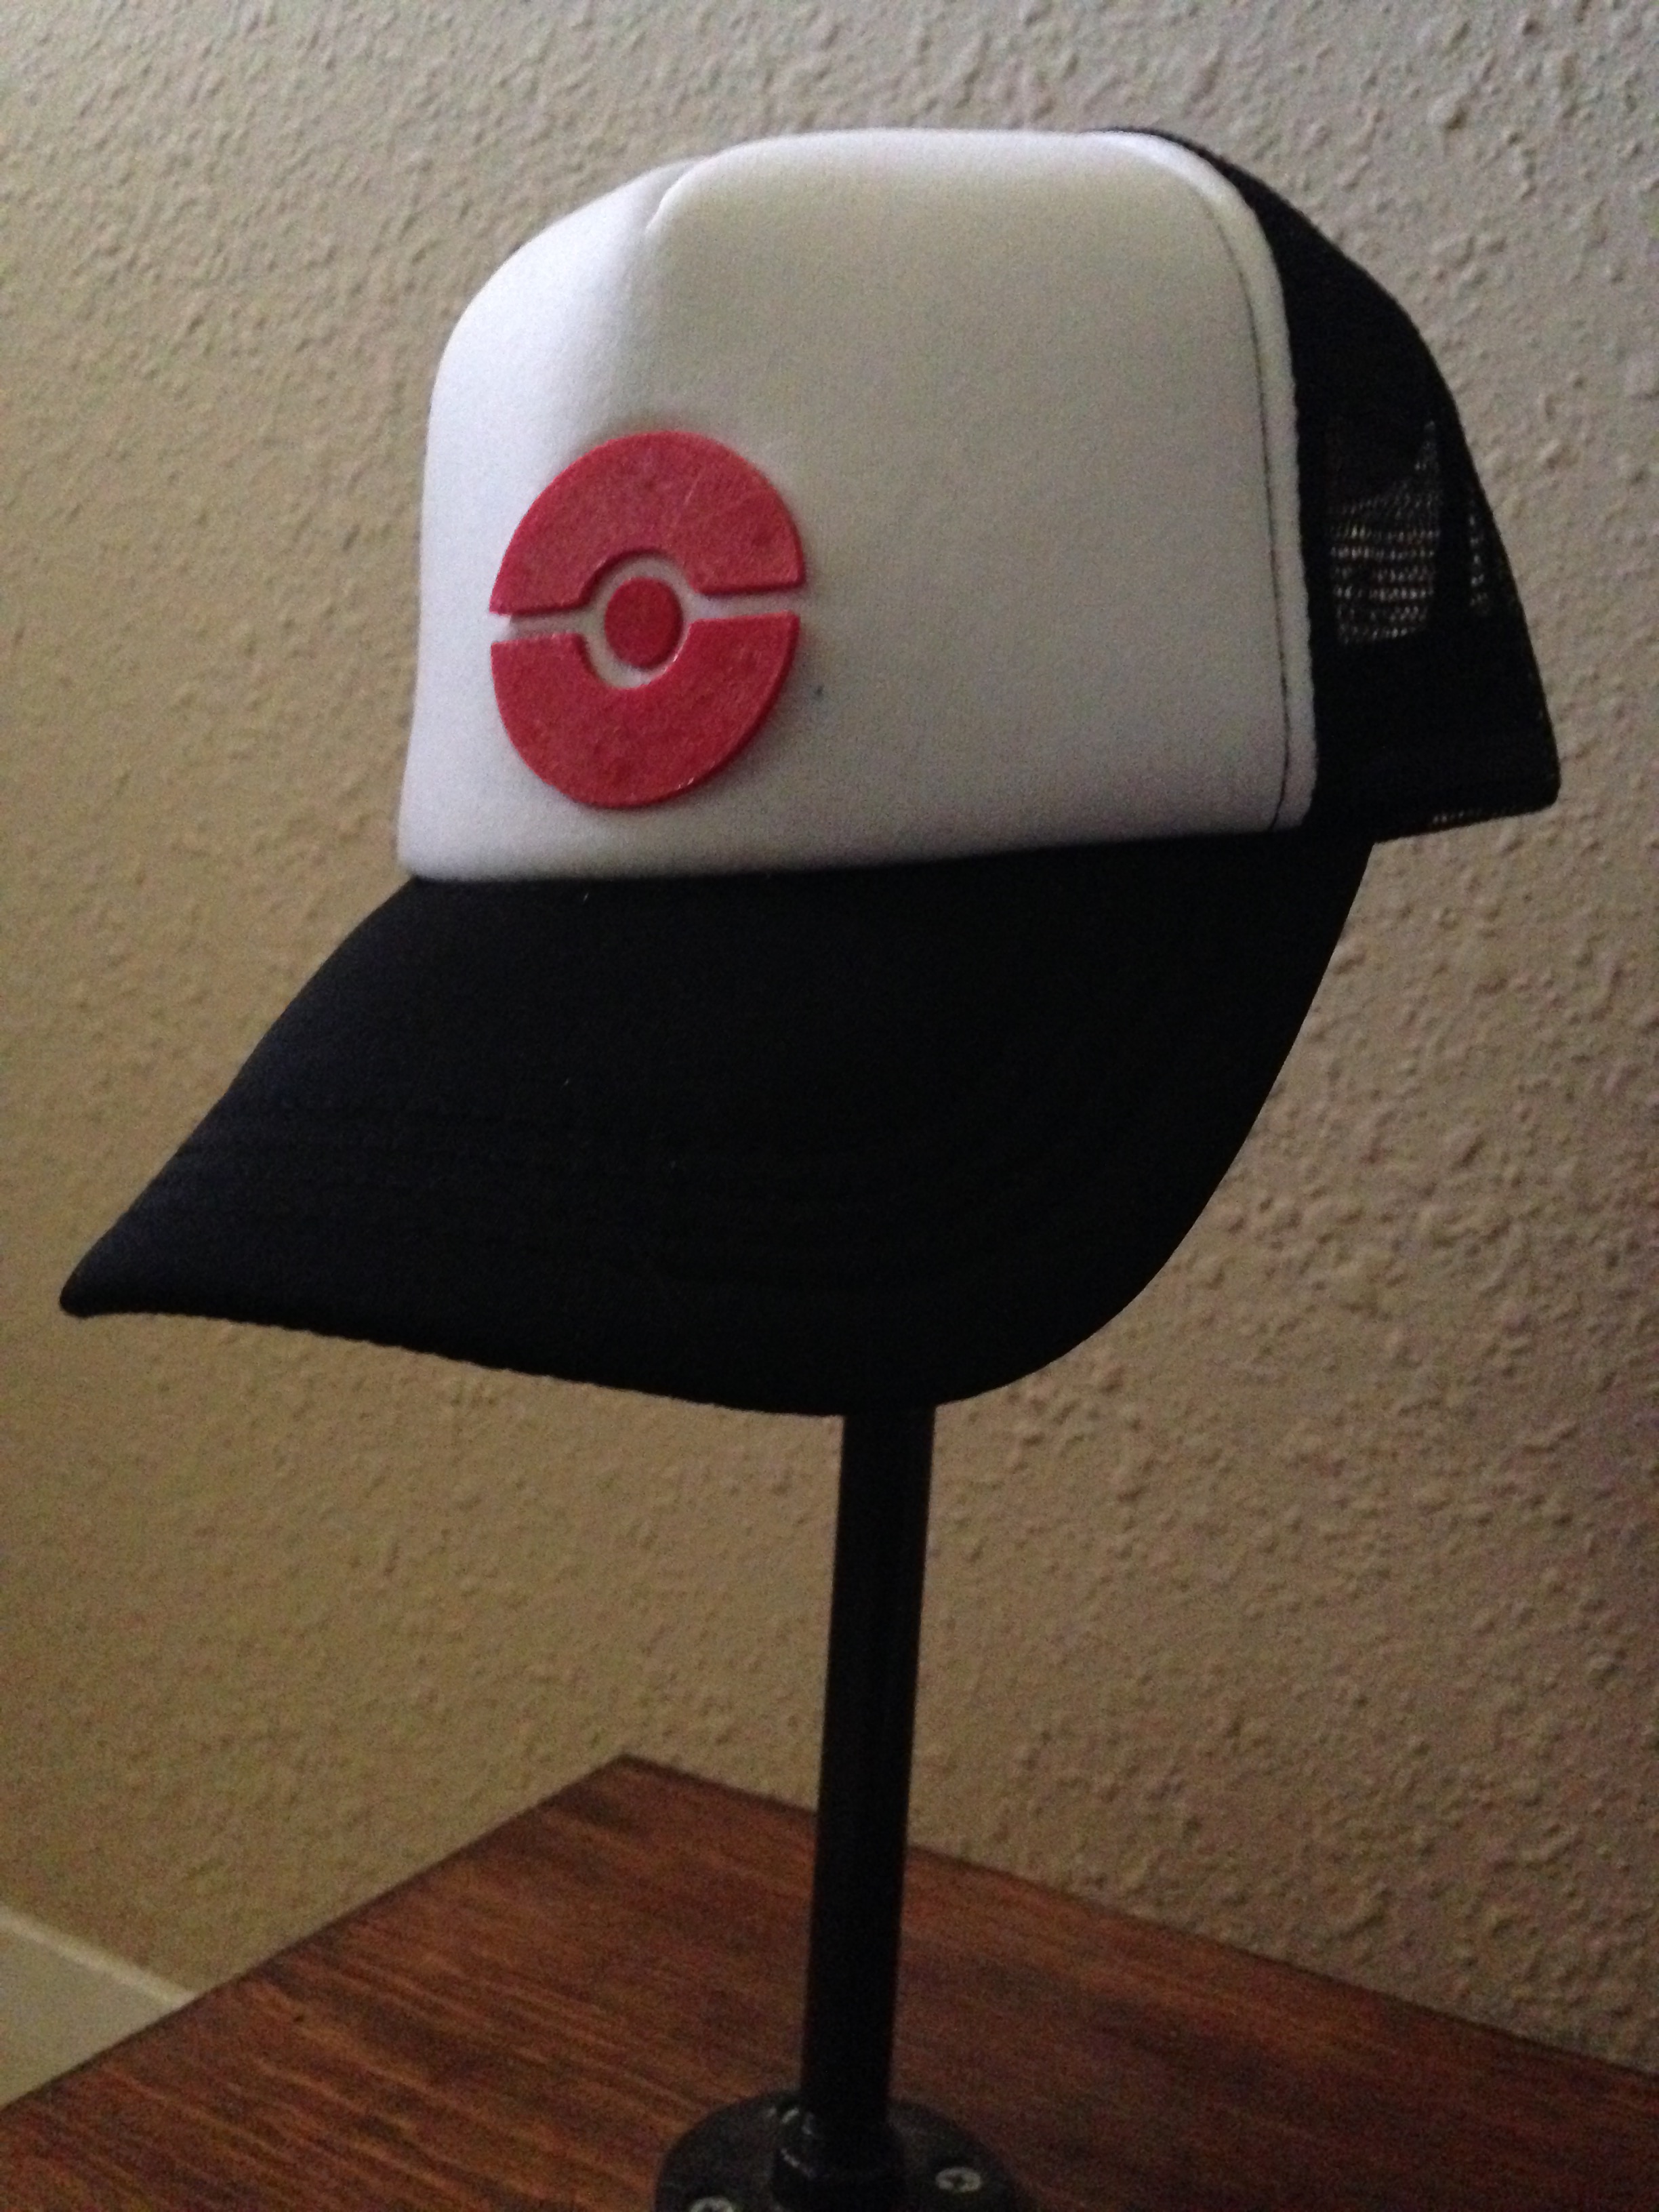
A Wild Trainer Hat Appeared!
Let’s be honest: If you want to be the very best, like no one ever was, you need proper gear.
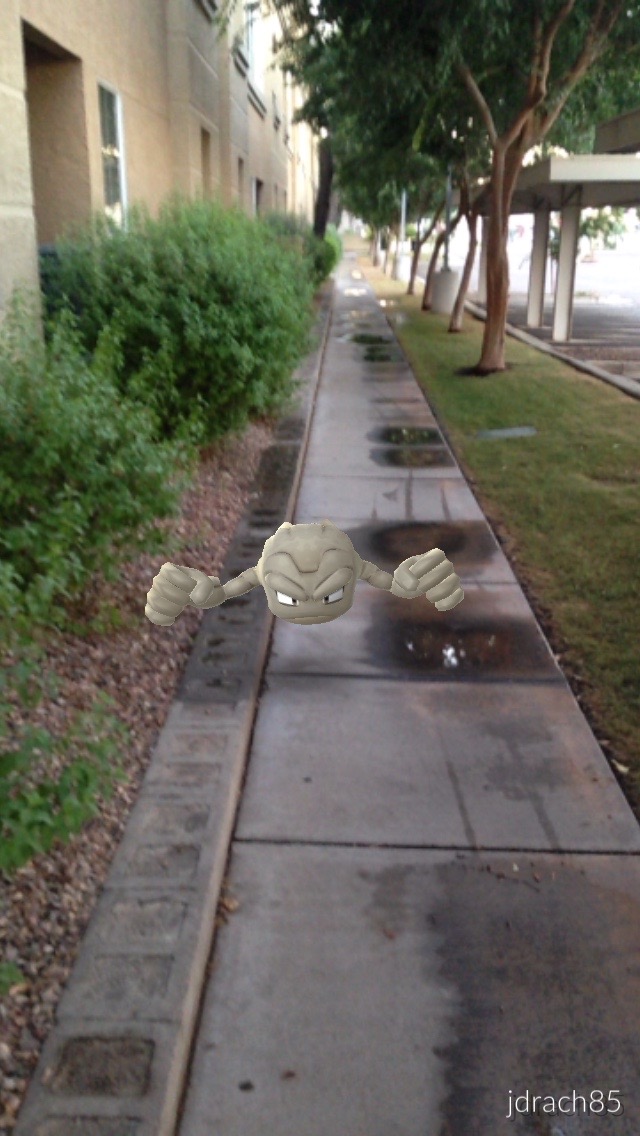
Pokémon GO was released and promptly downloaded to my phone earlier this week. Since then, I’ve been giddy running around my neighborhood under the guise of taking my dog and daughter out for walks (as long as it’s not too hot out), trying to catch ’em all, except…
I need a trainer hat.
You need a trainer hat.
Let’s make a trainer hat.
Parts List:
Blank Hat – eBay (Link is for search results for a trucker-style hat, and depending on who you buy from, they’re not very expensive. You know what though, don’t limit yourself to a baseball/trucker-style hat. Slap this sucker on bandanas or purses or cowboy hats. It’s really your call.)
Ninjaflex Semiflex – Fenner Drives (Or grab some sample quantities from GlobalFSD or Printrbot. Semiflex only comes in limited colors though. Sorry, Team Instinct.)
Helpful Tools:
3D Printer (Capable of properly extruding flexible materials.)
Flush Cutters
Small Flathead Screwdriver
Sharpie Pen
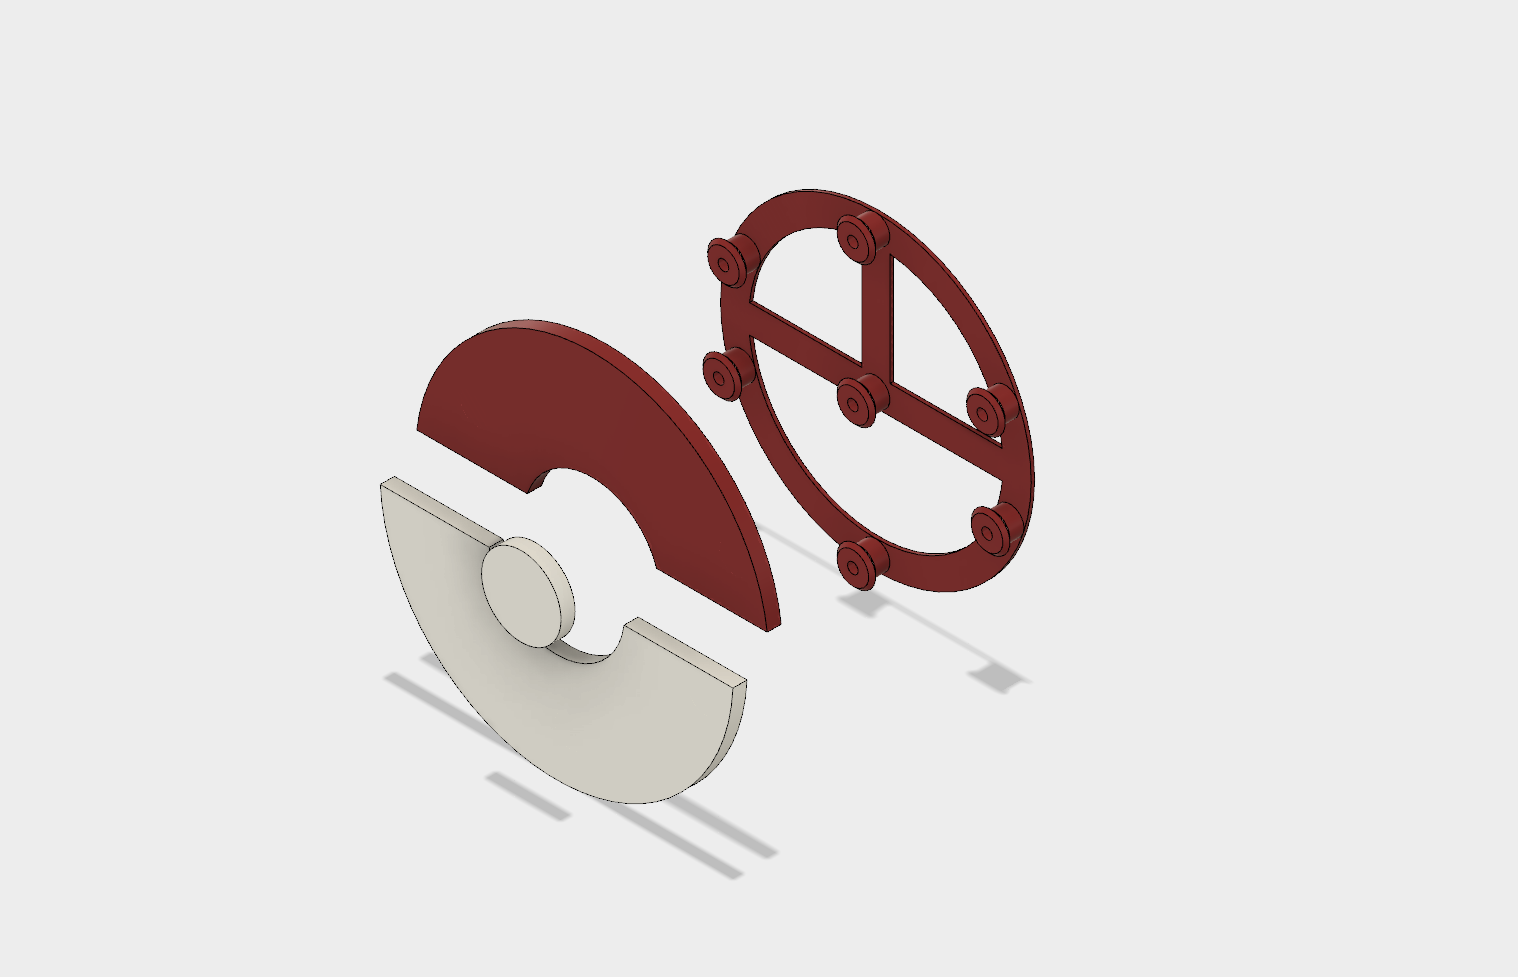
Print Out Parts
These badboys are designed to be printed out in NinjaFlex Semiflex material because PLA would get all weird in the sun.

Components can be found on
Thingiverse,YouMagine,Cults3D, and MyMiniFactory4/11/2018 UPDATE: Consolidating the number of places hosting the files. More changes to come, but they’re still available for free.
March 2020 UPDATE: Files can be downloaded directly from this site at the bottom of the page. They are also available on Prusa Printers!
Use the flush cutters to clean up any strands left from the material.
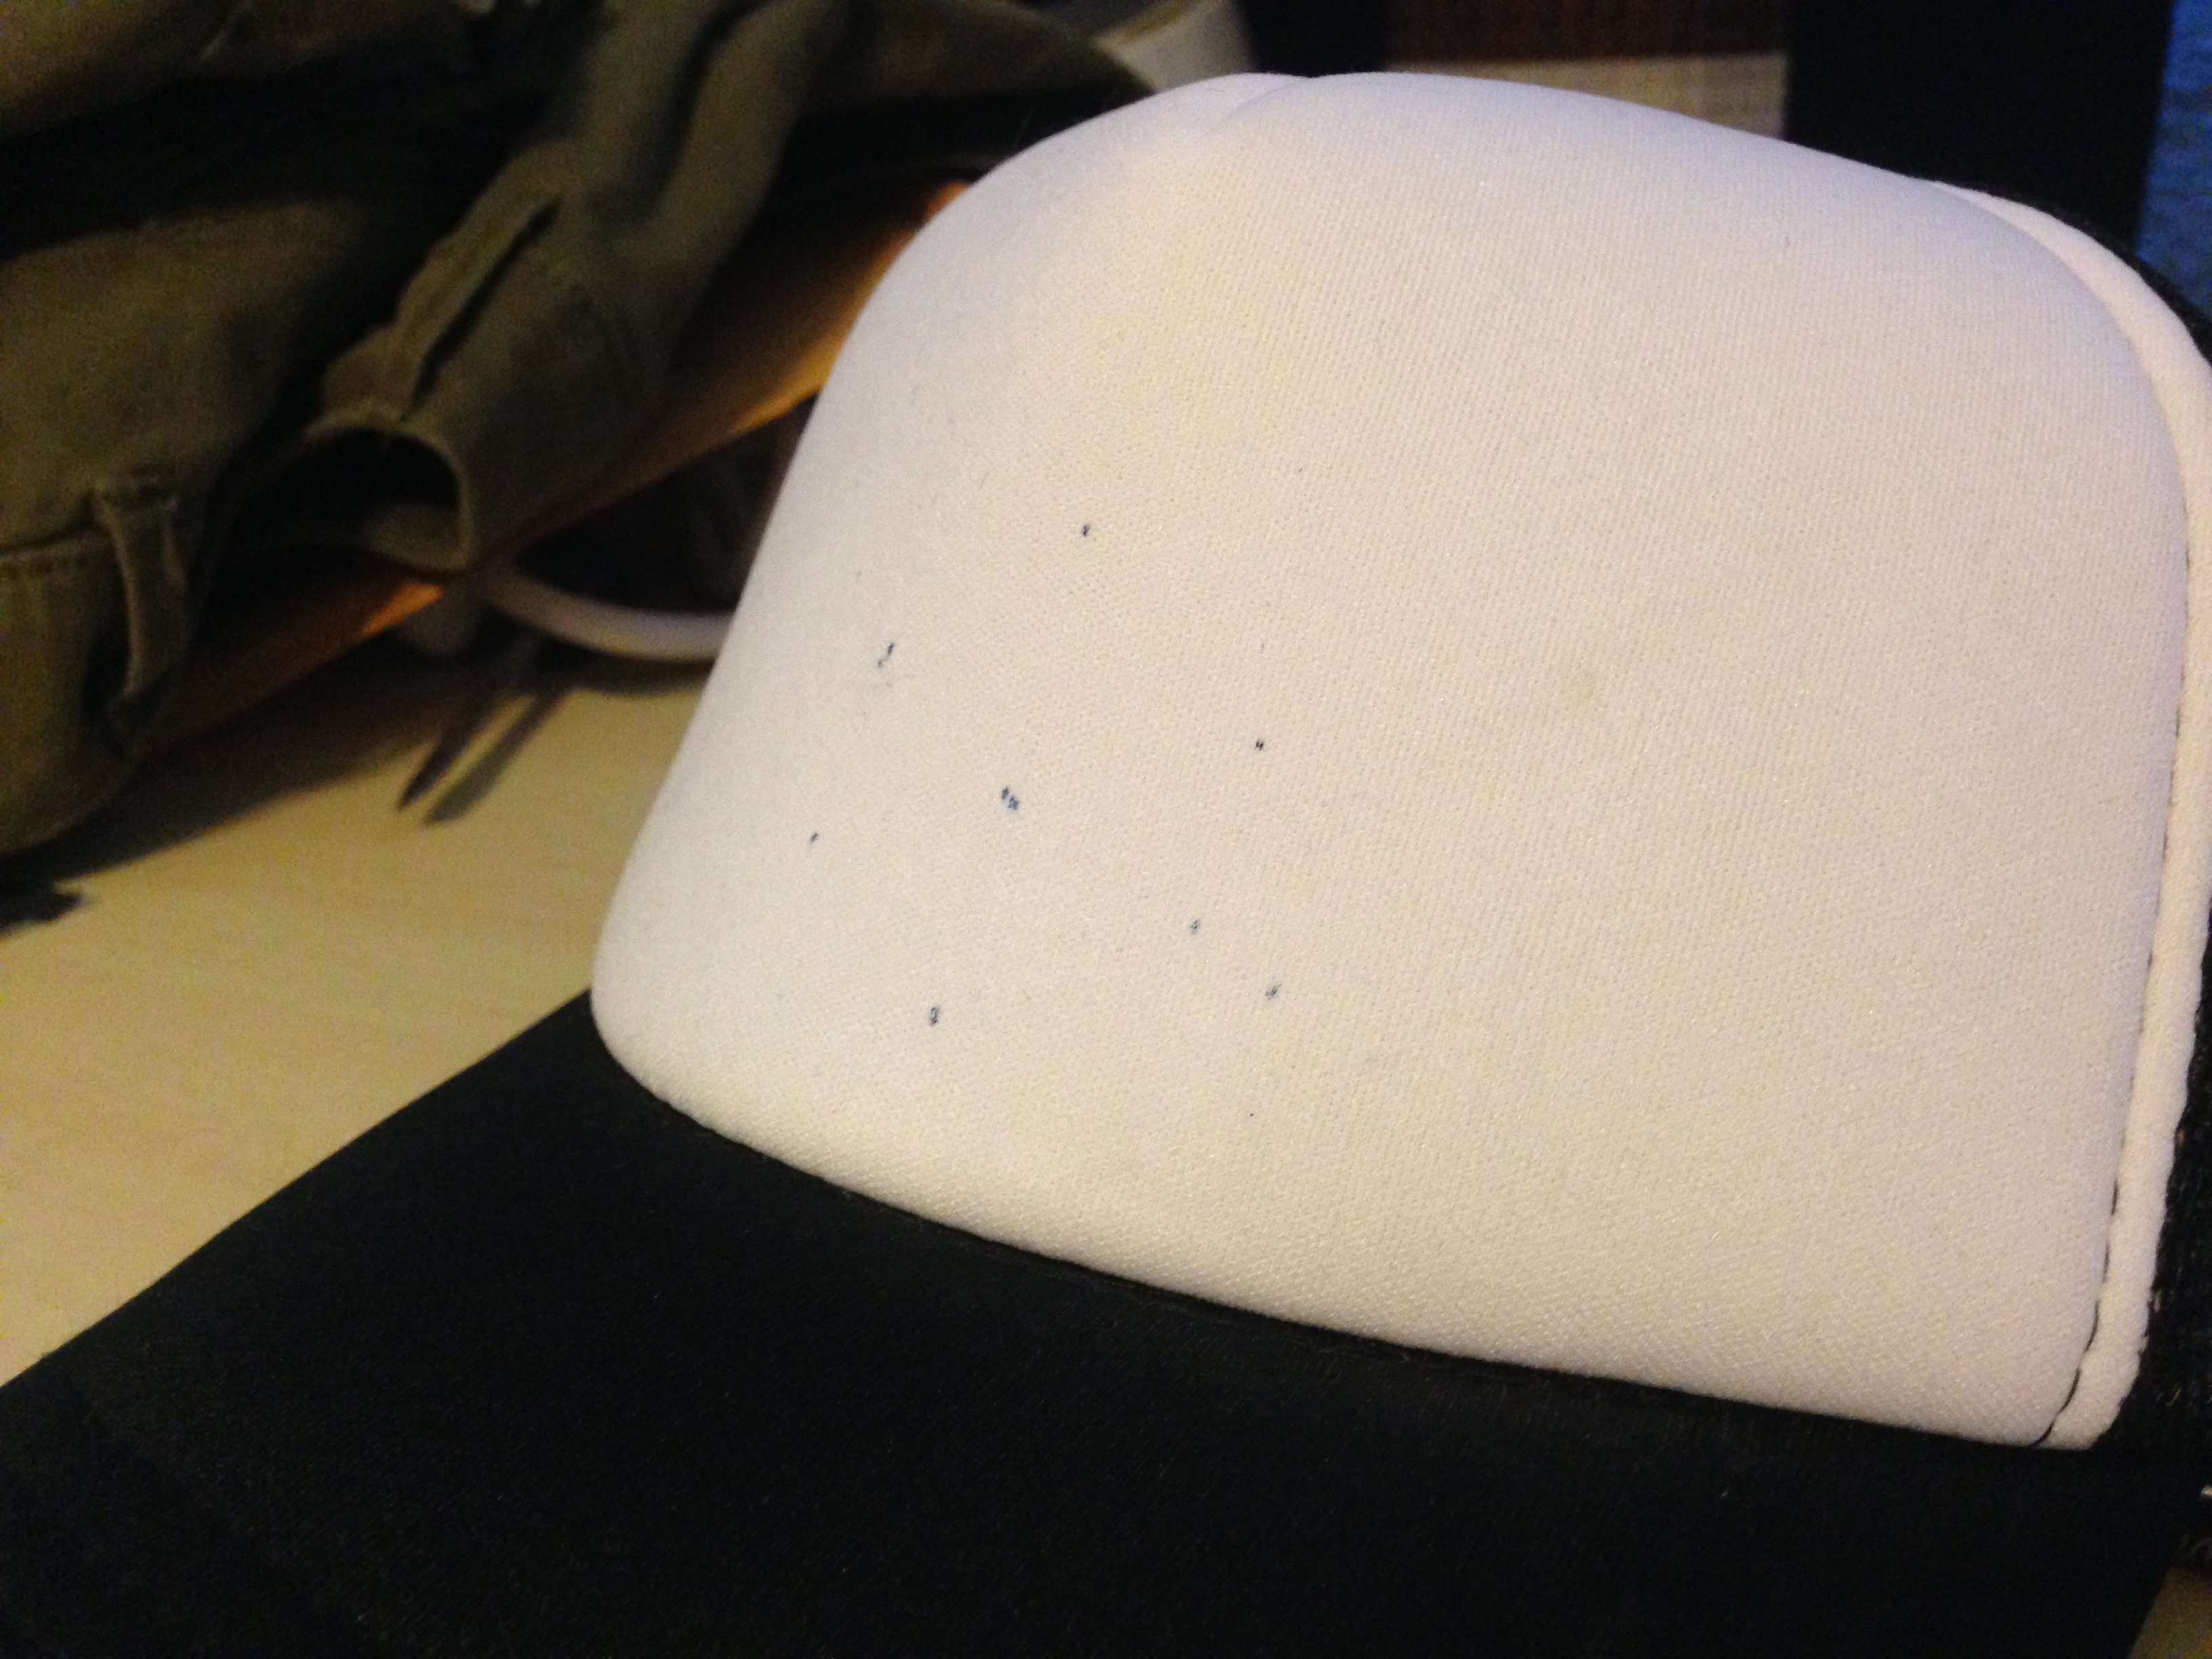
Mark and Cut Hat
Use the “PokeBacking” component to stage where you want to place everything, and mark the centers with a Sharpie Pen.

Using your flush cutters (or small scissors or whatever), cut VERY small slits for the backing to protrude through. There’s not a ton of play until they’d be visible when everything’s finished, so the smaller the better at first.
Assemble
Push the protrusions of the backing through the slits you just cut.

Use the small flathead screw driver to assist in shoving the protrusions into their respective recesses.
Become the Very Best
If you’ve been enjoying what you see here, and you want to protect the world from Team Rocket, follow me on twitter @DragonMtnDesign.
.
.
.
March 2020 UPDATE: Files are available here! Click the Download button below for a zip file.
Files are available under the Creative Commons BY-NC-SA license.
2 Comments
Hey thought you might like my “dragons for everyone” stickers. I see one of them is very close to your logo. On thingiverse and cults3d.
Very cool. Thanks for sharing.